A broken wheel stud is usually a press-out replacement if you can access the back of the hub and the new stud can slide in. If the hub is sealed behind a brake rotor, parking brake drum, or corrosion, you may need more disassembly or a hub replacement. Driving with a missing or loose stud can distort the wheel seat, damage the hub, and may leave the vehicle undrivable. This guide explains how to judge the repair, replace the stud, and stop when the job is unsafe or uneconomical.
What a broken wheel stud means
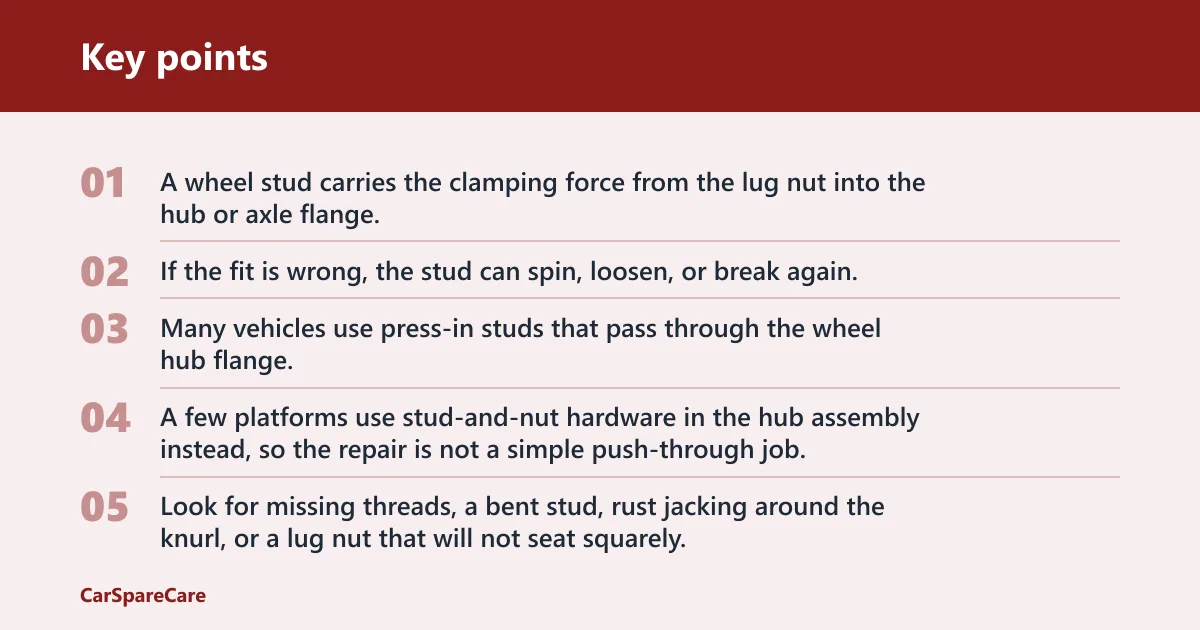


A wheel stud carries the clamping force from the lug nut into the hub or axle flange. Its thread pitch and diameter must match the lug nut, and the knurl size and length must match the hole in the hub so the stud seats tightly. If the fit is wrong, the stud can spin, loosen, or break again.
Many vehicles use press-in studs that pass through the wheel hub flange. Some use screw-in studs. A few platforms use stud-and-nut hardware in the hub assembly instead, so the repair is not a simple push-through job.
Signs the stud or lug nut is damaged
Look for missing threads, a bent stud, rust jacking around the knurl, or a lug nut that will not seat squarely. A damaged lug nut seat also matters: conical, ball, and flat seats are not interchangeable, and using the wrong seat can load the stud unevenly. Do not reuse a lug nut with stripped threads, cracked plating, or a deformed seat.
When the hub turns this into a bigger job
If the flange is cracked, mushroomed, or warped, the new stud may never clamp correctly. Heavy rust can also seize the stud in the hub bore. Penetrating oil can help with removal force, but it cannot repair damaged metal. If the hub or bearing area shows damage, replacing the hub assembly is safer than forcing a bad fit.
What you’ll need
- Replacement wheel stud with the correct thread size, diameter, length, and knurl size
- Matching lug nut with the correct seat type for the wheel
- Floor jack and jack stands
- Wheel chocks
- Lug wrench or breaker bar
- Socket set and ratchet
- Torque wrench
- Penetrating oil
- Press tool or ball joint press
- Brake caliper tool or hanger, if the caliper must come off
- Rotor puller or drum puller, if rust keeps the brake part stuck
- Service information for lug torque, hub nut, or axle nut values
Wheel stud decision table
| Vehicle setup | What to remove | Best removal method | Tools or parts needed | Cost and risk |
|---|---|---|---|---|
| Disc brakes, hub access behind rotor | Wheel, caliper, caliper bracket, rotor | Press out the old stud and press in the new one | Press tool or ball joint press, torque wrench | Low to moderate DIY cost; low risk if hub bore and flange are clean |
| Drum brakes, rear stud area blocked | Wheel, brake drum | Drive or press out the stud if the flange is clear | Penetrating oil, press tool, drum removal tool if seized | Low DIY parts cost; moderate risk if the drum is rusted on or the shoes are damaged |
| Hub on car, clean stud, clear backside access | Wheel only, sometimes rotor or drum | Press tool preferred | Replacement stud and matching lug nut | Lowest cost path; low risk when the hub bore is sound |
| Hub on car, rusted stud or seized knurl | Wheel, rotor or drum, possibly caliper bracket | Press tool with penetrating oil | Press tool, penetrating oil, service manual | Moderate cost; higher risk of flange damage if forced |
| Mushroomed, cracked, or warped hub flange | Wheel, brake parts, hub assembly | Replace hub instead of forcing a stud | Hub assembly, possibly hub nut or axle nut | Higher parts cost, but lower risk than repeated stud failure |
| Hub requires axle nut removal | Wheel, brake parts, hub retaining hardware | Hub disassembly | New hub nut or axle nut if single-use on your platform | Higher labor and parts cost; risk rises if the bearing or axle hardware is disturbed incorrectly |
Secure the vehicle. Park on level ground, chock the wheels, and loosen the lug nuts before lifting. Support the car with jack stands, then remove the wheel so you can inspect the hub and brake layout.
Expose the stud. Remove the brake caliper and bracket on disc-brake setups if needed, then remove the rotor. On drum-brake setups, remove the drum. If the backside of the hub is still blocked, stop and identify the fasteners that retain the hub.
Soak rusted parts. Spray penetrating oil on the stud knurl and the hub bore, then wait 10 to 15 minutes before trying again. This can reduce removal force, but it will not fix damaged metal.
Remove the broken stud. Rotate the hub until the stud can clear the brake backing plate or hub flange opening, then press it out with a press tool or ball joint press. Avoid hammering unless the design and service data explicitly allow it.
Install the new stud. Pull or press the new stud into the hub until the head seats fully against the flange. If the stud stops short, the knurl may be the wrong size, or rust may be blocking the bore. Do not force a mismatch.
Reassemble and torque. Refit the rotor or drum, caliper hardware, and wheel. Tighten the lug nuts in a star pattern with a torque wrench to the manufacturer’s specification, then recheck the torque after about 25 to 50 miles.
Say your car has a front disc brake hub with one missing stud and a clean bore. That is usually the simplest case: wheel off, caliper and rotor off, press the stud through, and torque the lug nuts correctly after reassembly. The same repair on a rust-belt car may become a hub job if the bore is oval or the flange is cracked.
Can you replace a wheel stud yourself?
Yes, if the hub can stay on the car and the back side of the stud is reachable after normal brake removal. The job is within reach for a home mechanic with a torque wrench, a press tool, and the correct replacement hardware. If the hub must come off, the axle nut is one-time-use on some designs, and the repair moves into a more advanced level.
The job is less suitable when the stud is seized in corrosion, the hub flange is damaged, or the wheel-seat and lug-nut hardware do not match the replacement parts. That is where a shop may be cheaper than repeated failed attempts.
When the hub can stay on the car
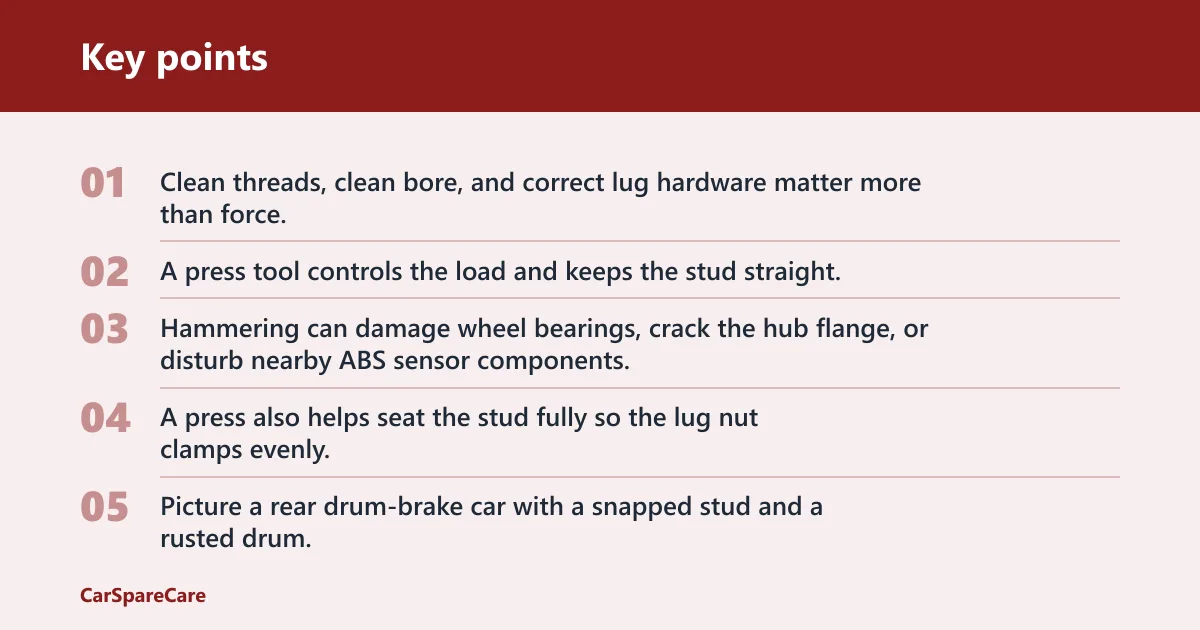
If the stud passes through the flange and the backside is open after rotor or drum removal, the hub often stays in place. That is the common path for simple press-in studs. Clean threads, clean bore, and correct lug hardware matter more than force.
When a press tool is the safer choice
A press tool controls the load and keeps the stud straight. Hammering can damage wheel bearings, crack the hub flange, or disturb nearby ABS sensor components. A press also helps seat the stud fully so the lug nut clamps evenly.
Picture a rear drum-brake car with a snapped stud and a rusted drum. If the drum will not slide off, the fix is not more hammering on the stud. Remove the drum with the proper puller or adjust the shoes back first, then use a press tool on the stud once access is open.
When do you need rotor or drum removal?
Rotor or drum removal is needed whenever the brake hardware blocks access to the back of the hub flange. On disc brakes, that usually means removing the caliper and bracket before the rotor comes off. On drum brakes, the drum often has to come off before the stud area is clear enough to work.
Disc brake access to the hub flange
Many front hubs hide the stud heads behind the rotor hat. If the rotor is retained by rust or a small screw, remove that hardware first. Once the rotor is off, you can press the stud out without hitting the hub, bearings, or ABS tone ring.
Drum brake access to the rear stud area
Rear drum brakes can leave little working room around the stud. Remove the drum and inspect the shoes and adjuster before proceeding. If the drum is stuck because of corrosion, forcing it off carelessly can damage the shoes or wheel cylinder.
When axle nut removal or hub disassembly enters the job
Some vehicles may require hub nut or axle nut removal to separate the hub assembly from the knuckle. That changes the job from a stud swap to hub service. Check whether the retaining nut is one-time-use, because reusing it on the wrong platform can compromise clamp load.
When should you replace the hub too?
Replace the hub when the flange no longer supports a proper press fit, or when a new stud will not seat squarely. A cracked, mushroomed, or warped flange is a failure point, not a minor blemish. If the hub bore is damaged, a fresh stud may loosen again under wheel load.
Hub replacement is also sensible when corrosion has enlarged the bore or when the press fit is no longer tight. If the bearing feels rough, loose, or noisy after the stud work, do not ignore it. The wheel hub carries load, and the stud only clamps the wheel to that structure.
Common mistakes
- Using a hammer when the hub calls for a press tool
- Buying a stud by length alone and ignoring thread pitch, diameter, and knurl size
- Reusing a damaged lug nut or mixing seat types
- Trying to force a stud through rust instead of checking for hub damage
- Skipping rotor or drum removal when access is blocked
- Failing to torque the lug nuts with a torque wrench
- Ignoring the hub nut or axle nut specification on designs that require disassembly
A common first-timer mistake is assuming a stud from the same make will fit without checking the knurl diameter and overall length. That can still leave you with a stud that is too short, too long, or the wrong knurl diameter for the hub hole. The result is poor seating and repeat failure.
Frequently asked questions
How to replace a broken wheel stud drum brakes
Remove the wheel and drum, then check that the brake shoes and adjuster are clear of the work area. Press the old stud out and seat the new one fully with a press tool. If the drum is seized, resolve that before trying to hammer the stud through the flange.
Can you replace a broken wheel stud?
Yes, if the hub bore is sound and the back side is accessible after brake removal. The job becomes less suitable when corrosion, warped metal, or hub-bearing issues are present. In those cases, hub replacement can be the safer and more economical choice than forcing a stud into damaged metal.
How much does it cost to replace a broken wheel stud?
DIY parts cost is usually limited to the stud and sometimes a new lug nut, but the total rises if you need a press tool, rotor removal hardware, or a new hub. Shop labor is typically lower on disc brakes with easy access and higher on drum brakes, rusted assemblies, or hub disassembly jobs.

Hi, I’m Melvin, an automobile engineer with extensive experience in automobile equipment. I currently work for a local automobile firm, where I specialize in the car parts industry. I’ve had the opportunity to collaborate with seasoned inspectors, gaining invaluable hands-on experience that goes beyond just theory.
My passion for automotive care started at a young age, which led me to create CarSpareCare. Through CarSpareCare, I share the knowledge and skills I’ve acquired over the years to help others navigate the world of car maintenance and repairs.
My goal is to provide practical tutorials, essential safety advice, and the latest industry insights so that anyone—whether a beginner or an expert—can confidently tackle their automotive projects.