Let me tell you something straight from my own experience—nothing feels more satisfying than sitting in a clean, dust-free car. It’s not just about looks; it’s about comfort, hygiene, and pride in ownership. If you’re anything like me, you’ve probably noticed how quickly dust settles on every surface inside your car.
Dashboard, air vents, cup holders—even the seats and steering wheel don’t escape. And that thin layer of dust can make your ride feel way older than it is.
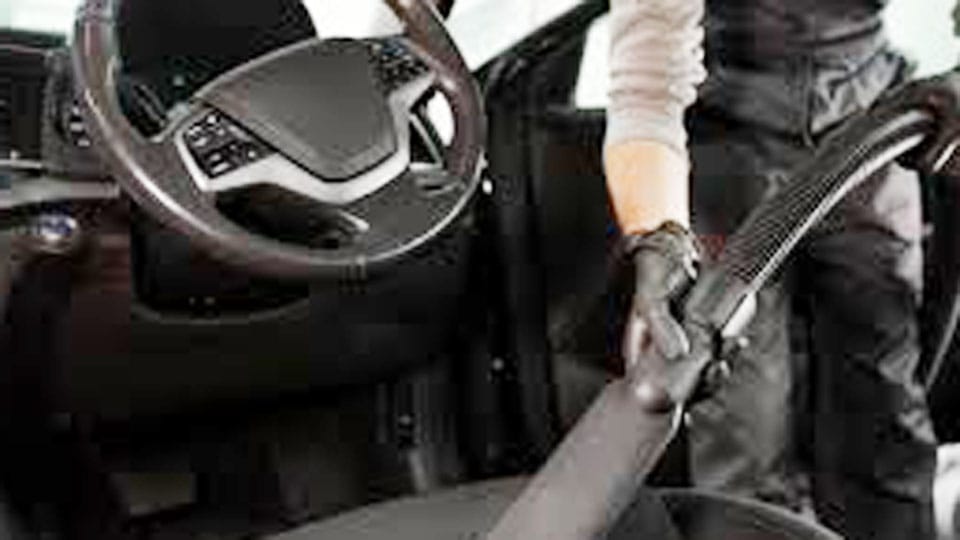
Photo by autoplovykla
Here’s the good news. You don’t need fancy tools or an expensive detailer to handle dust buildup. With the right steps and a little patience, you can easily remove dust from your car interior at home and make it feel fresh again.
I’m going to walk you through everything I’ve learned about how to remove dust from a car interior—using real-life techniques that work, products that help, and tips I wish I knew earlier. Let’s dive in and give your cabin that like-new feeling again.
Why Is There So Much Dust in My Car?
Dust collects in your car for several reasons. And trust me, you’re not alone—it happens even if you rarely open the windows. Here are a few common culprits:
- Airborne particles that enter when you open the doors or windows.
- Dirty HVAC systems that circulate dust through the vents.
- Old carpets and seats that trap particles and release them every time you sit.
- Pet dander, pollen, and hair from passengers and pets.
- Dry weather that carries more dust into your cabin.
Even with the windows up, dust finds its way in. And if you park near trees, construction zones, or dusty roads, it builds up even faster.
Tools You Need to Remove Dust Effectively
Let’s talk tools before we get into technique. You don’t need to break the bank, but having the right items will make a world of difference.
| Tool | Purpose |
|---|---|
| Microfiber cloths | Lifts dust without scratching surfaces |
| Soft detailing brush | Reaches into vents, crevices, buttons |
| Vacuum with attachments | Removes dust from seats, carpet, and hard-to-reach spots |
| Interior cleaner (optional) | Helps lift sticky or greasy dust |
| Compressed air can | Blasts dust from tight corners and vents |
| Interior protectant spray | Prevents dust from sticking after cleaning |
With these tools, you’re ready to tackle every dusty surface inside your car.
Start with a Dry Dusting First
One of the best things I’ve learned is to start dry. Wiping down surfaces with a dry microfiber cloth will trap loose dust and keep it from turning into a mess when you add liquid cleaners later.
Use a high-quality microfiber cloth and lightly go over:
- The dashboard
- Steering wheel
- Center console
- Door panels
- Instrument cluster area
- Rearview mirror and air vent frames
Gently glide the cloth over the surface without pressing too hard. Microfiber naturally picks up dust without needing sprays or pressure.
Use a Brush for Vents and Buttons
Air vents are one of the most overlooked spots. But dust loves to hide there. The best way to clean vents and those tricky little buttons around your stereo or A/C system is with a soft detailing brush. You can also use an unused paintbrush or makeup brush.
Here’s what I do:
- Dip the brush slightly in water or an interior cleaner.
- Lightly brush across the vents and controls.
- Follow with a microfiber cloth to catch any loosened dust.
If you have a can of compressed air, this is a good time to use it for blasting out deep-set dust from the vents.
Vacuuming the Right Way
Dust doesn’t just sit on hard surfaces. It settles deep into carpets, seats, and crevices. That’s where your vacuum steps in. I always vacuum the seats and floor after dry wiping, to avoid spreading even more dust.
Start from the top and work your way down:
- Seats – use a brush attachment to gently lift dust.
- Crevices between seats and console – use the narrow crevice tool.
- Carpet and mats – go over with a powerful suction and multiple passes.
- Trunk or cargo area – especially important if you carry tools or outdoor gear.
Pro Tip: Tap the seat cushions or floor mats lightly to bring dust to the surface before vacuuming.
Use a Damp Cloth for Sticky Dust
Sometimes dust gets mixed with oils or residue from hands, food, or air pollutants. When that happens, it sticks to surfaces and doesn’t come off with dry wiping.
For this, use a lightly damp microfiber cloth. Not dripping wet—just enough moisture to break down the grime.
Steps I follow:
- Spray a gentle interior cleaner onto the cloth (not directly on the surface).
- Wipe the area slowly and evenly.
- Follow up with a dry cloth to remove any remaining cleaner or residue.
This method works great for:
- Center console areas
- Door armrests
- Steering wheel
- Gear shifter
Just avoid using too much cleaner near buttons or electronic panels.
Don’t Forget the Roof and Seat Backs
Most people forget the headliner (roof lining) and the backs of the front seats, but these places collect a surprising amount of dust over time.
The headliner is delicate, so don’t scrub it. Use a dry or barely damp microfiber and wipe gently in one direction. If you go too hard, it may sag or loosen.
Seat backs often get kicked, touched, and scuffed—especially with kids or pets in the car. Use a brush and cloth combo here. For deeper cleaning, vacuum them with an upholstery attachment.
Add Interior Protectant to Reduce Dust Buildup
Once your surfaces are clean, now’s a good time to apply a UV-protecting interior spray. These sprays not only protect plastics and vinyl from sun damage, but they also make it harder for dust to stick in the future.
Look for a non-greasy, matte-finish protectant. I always spray onto a cloth first, then wipe it over the dashboard, door panels, and center console.
Avoid glossy products that attract more dust and make surfaces slippery.
Keep Dust Out Between Cleanings
Once you’ve deep cleaned your car, you’ll want to keep it that way for as long as possible. Here are a few easy habits I stick to that help minimize interior dust:
- Keep windows rolled up on dusty roads.
- Use cabin air filters and replace them on time.
- Avoid eating in the car, which attracts crumbs and airborne dust.
- Park in a covered or garage space to reduce exposure.
- Use sunshades to reduce UV damage and dust attraction.
- Wipe down surfaces weekly with a dry microfiber cloth.
Even just five minutes once a week can keep your interior looking clean and welcoming.
Quick Cleaning Schedule to Stay Dust-Free
Here’s a little routine I follow that helps me stay on top of interior dust without spending hours each time:
| Task | Frequency |
|---|---|
| Dry dust dashboard & console | Weekly |
| Vacuum floor & seats | Every 2 weeks |
| Deep clean vents & buttons | Monthly |
| Shampoo carpets or cloth seats | Every 3-6 months |
| Apply interior protectant | Every 2-3 months |
| Replace cabin air filter | Every 12,000–15,000 miles |
If you stick to this, your car will always feel like a clean, dust-free zone—even during allergy season.
Should You Use Household Products to Clean Car Interior?
This is a question I get a lot. And I’ll tell you this—be very careful with household cleaners. Many of them contain ingredients that aren’t meant for your car’s materials. They can strip finishes, leave sticky residues, or discolor upholstery.
Always use products labeled as automotive interior cleaners when in doubt. They’re formulated to be safe for your dashboard, vents, seats, and everything in between.
Common Mistakes to Avoid
Let me quickly share a few things I’ve learned the hard way so you don’t have to:
- Don’t use paper towels – they can scratch plastics and leave lint behind.
- Avoid spraying products directly on surfaces – always use a cloth.
- Never use excessive water inside the car – moisture can lead to mildew or electrical damage.
- Don’t forget under the seats – that’s where dust, coins, and mystery crumbs live.
- Skip the furniture polish – it’s not made for cars and can leave slippery, shiny surfaces.
Keeping Your Car Interior Dust-Free Is Easier Than You Think
There’s no better feeling than driving a clean car. And once you’ve tackled the dust inside your cabin, you’ll realize how much of a difference it makes—not just in looks, but in comfort and air quality too.
The secret is not overcomplicating it. Stick to simple tools like microfiber cloths, a small vacuum, and a little attention to detail. You don’t need a full detail kit to keep things clean.
Once you get in the habit of wiping things down regularly, it becomes part of your routine—and your car will thank you for it every time you step inside.
Frequently Asked Questions
What’s the best cloth to use for dusting a car interior?
A microfiber cloth works best. It grabs and holds onto dust without scratching surfaces or spreading it around.
Can I use a Swiffer duster inside my car?
Yes, for light dusting. Swiffer dusters are soft and can reach tight spots. Just don’t use them on delicate electronics or screens.
Is vacuuming enough to remove all dust inside the car?
Vacuuming helps, but it won’t clean hard surfaces or buttons. Combine vacuuming with brushing and wiping for the best results.
Can I use baby wipes to clean dust in my car?
They work in a pinch, especially for quick cleanups. But long-term, they may leave a film. Use dedicated interior wipes if possible.
How do I prevent dust from coming back quickly?
Keep the cabin air filter fresh, use interior protectants, avoid driving with the windows down on dusty roads, and clean regularly with a microfiber cloth.
Hi, I’m Melvin, an automobile engineer with extensive experience in automobile equipment. I currently work for a local automobile firm, where I specialize in the car parts industry. I’ve had the opportunity to collaborate with seasoned inspectors, gaining invaluable hands-on experience that goes beyond just theory.
My passion for automotive care started at a young age, which led me to create CarSpareCare. Through CarSpareCare, I share the knowledge and skills I’ve acquired over the years to help others navigate the world of car maintenance and repairs.
My goal is to provide practical tutorials, essential safety advice, and the latest industry insights so that anyone—whether a beginner or an expert—can confidently tackle their automotive projects.