Clean car interior without harsh chemicals by using a pH-neutral cleaner or diluted mild soap, applied to a microfiber cloth, and keeping surfaces damp, not wet, so residue and damage stay low. Bad technique can leave streaks, sticky film, faded trim, swollen leather, or water marks in switches and fabric. This guide shows how to clean glass, plastic, vinyl, leather, fabric, and touchscreens with the right moisture level for each.
What you need before cleaning
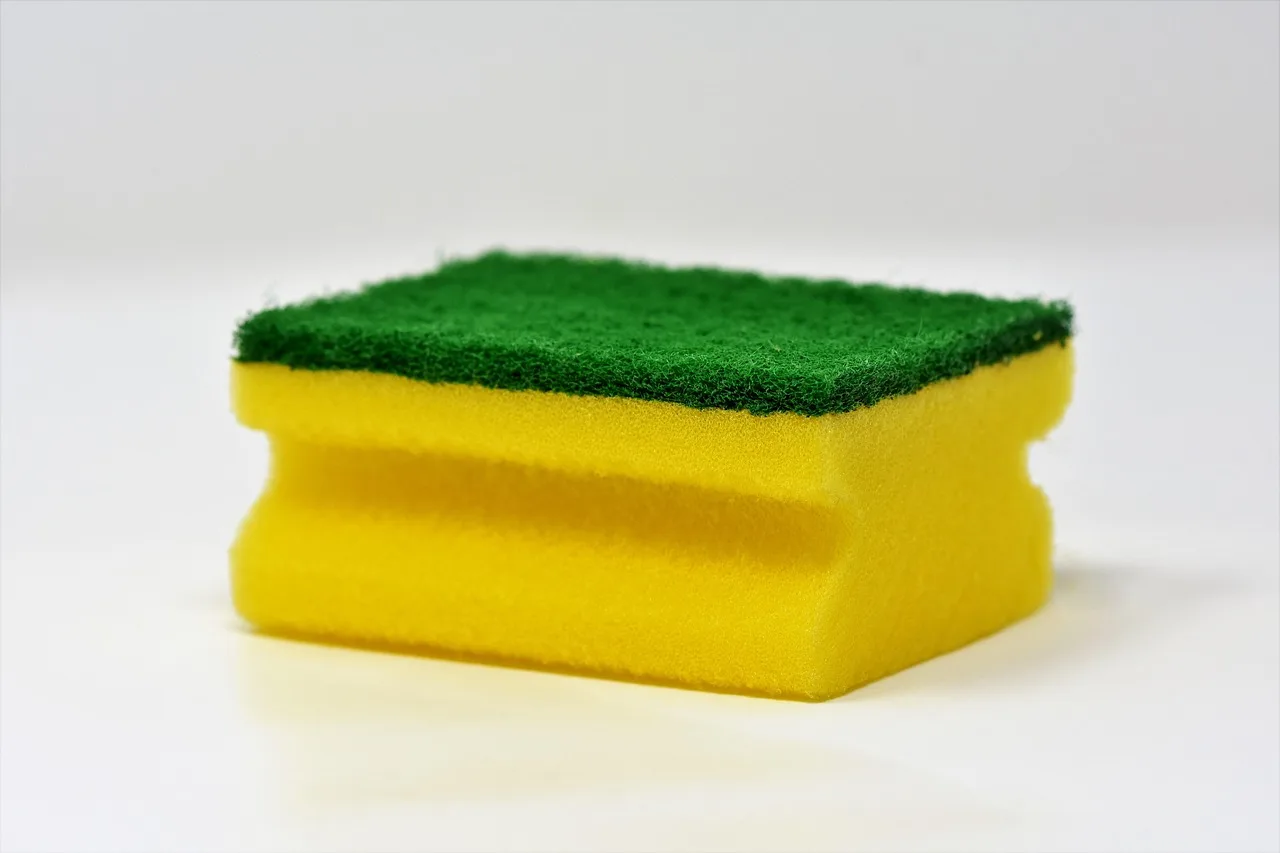
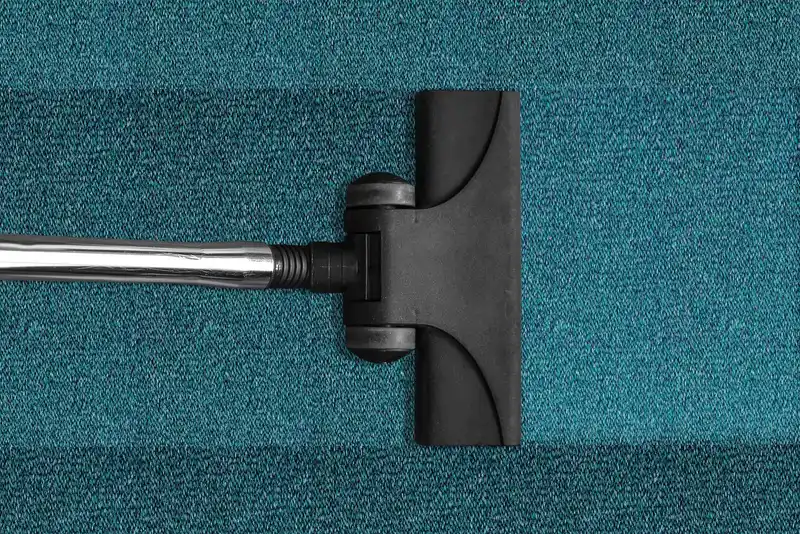
Start with the gentlest tools first. Remove trash and loose items, then vacuum the cabin before any wet cleaning. A vacuum with a crevice tool helps pull grit from seams, under seats, and along console edges, which can help reduce smear marks when liquid is added.
Use at least two microfiber cloths: one dry for dusting and one lightly damp for cleaning. Microfiber suits dashboards, trim, and glass, and the dry cloth traps dust instead of pushing it around. Keep distilled water on hand, because it can help avoid mineral streaking and rings on fabric.
Which cleaners belong in a low-residue kit?
Choose a mild soap or all-purpose cleaner that can be diluted, plus white vinegar for hard surfaces and some stains. Use vinegar only where it fits the material, and spot test it first on sensitive areas. For cloth seats and carpets, upholstery cleaner or carpet shampoo is the better fit because it is made to lift soil without turning the foam into a sponge.
After cleaning leather, use leather conditioner to restore moisture and protection. Do not use that step on vinyl-only surfaces. For dashboards and other plastics, a UV protectant for automotive plastics can help after cleaning, but it should not leave a greasy shine.
How to set up ventilation and protect electronics
Open doors or windows if you can, especially if you are cleaning in a closed garage. That reduces indoor exposure to mist, fumes, and airborne dust, which matters in allergen-sensitive households. Keep aerosol use low, and spray cleaner onto the cloth rather than onto the surface whenever the surface includes buttons, screens, or seams near electronics.
If the cabin sits in a closed garage and someone in the house is sensitive to dust or fragrance, vacuum first, use a damp cloth instead of an aerosol, and finish one area before moving to the next so particles do not stay airborne longer than needed.
How do you clean the interior step by step?
Clean the cabin from top to bottom and from least soiled to most soiled. Remove loose items, vacuum every seam and floor area, then clean hard surfaces, seats, and finally lower areas that catch drips. Use only enough moisture to lift grime, and finish each surface with a dry pass to prevent residue and re-soiling.
- Remove trash, bottles, floor clutter, and personal items.
- Vacuum seats, carpets, mats, seams, and under seats with a crevice tool.
- Dust high surfaces first with a dry microfiber cloth.
- Clean dashboards, trim, and other hard surfaces with a cloth that is only lightly damp.
- Move to seats, vents, cup holders, and touchpoints with the correct cleaner for each material.
- Dry every cleaned area with a fresh microfiber cloth.
Work from the steering wheel area and dashboard down to the door pockets, then the seats and floor. That order helps keep dirty water from running onto areas you already cleaned. If a cleaner leaves a film when it dries, switch to a smaller amount, a cleaner cloth, or a final wipe with distilled water on a fresh microfiber.
Interior cleaning quick-reference table
| Interior material | Safest non-harsh cleaner option | Application method | Common failure to avoid | Do not use |
|---|---|---|---|---|
| Leather | Diluted mild soap or a leather-safe cleaner; finish with leather conditioner | Apply to microfiber cloth, wipe lightly, then dry and condition after cleaning | Over-wetting stitched seams or leaving cleaner to dry on the surface | Strong solvents, abrasive pads, heavy silicone shine products |
| Cloth | Upholstery cleaner or carpet shampoo; distilled water for light wiping | Spray lightly onto cloth or brush, work small areas, blot and dry | Soaking foam, rubbing a stain outward, or leaving mineral rings | Bleach, direct heavy soaking, hard brushes |
| Vinyl | Diluted mild soap or gentle all-purpose cleaner | Apply to microfiber cloth, wipe, then do a dry pass | Sticky film from too much product or residue in seams | Harsh degreasers, solvent cleaners, greasy protectants |
| Plastic | Diluted mild soap, then UV protectant made for automotive plastics | Wipe with a damp microfiber, then a second dry cloth, then apply protectant sparingly | Shiny, slick finish or streaks on textured trim | Ammonia-heavy sprays, oily dressings, abrasives |
| Touchscreen | Distilled water on a microfiber cloth, or a screen-safe cleaner if approved by the vehicle maker | Never spray directly; wipe gently with very light moisture | Liquid entering edges, pressure marks, or cloudy residue | Alcohol-heavy mixes, ammonia, paper towels, direct spraying |
| Headliner | Very lightly damp microfiber with distilled water or a mild cleaner only if needed | Pat gently with minimal pressure and let it air-dry | Sagging, adhesive failure, or water marks from over-wetting | Soaking, scrubbing, steam, harsh stain removers |
| Seat belts | Mild soap or diluted all-purpose cleaner | Pull belt out, clean on both sides with a cloth, then let it dry fully before retracting | Wicking liquid into the retractor or fraying the webbing | Bleach, heat drying, aggressive scrubbing |
How do you clean cloth seats and carpets without soaking them?
Vacuum first, then use the smallest effective amount of upholstery cleaner or carpet shampoo. Cloth needs moisture, but not enough to push cleaner deep into the foam. Let the cleaner sit for a few minutes before wiping if the product directions call for it, then blot and dry before the area feels damp.
How to lift stains without leaving rings
Work from the outside of the stain inward so you do not spread the mark. Use a soft-bristled detailing brush only if the fabric can take light agitation, then follow with microfiber blotting. Distilled water is useful here because it can help avoid mineral streaking and rings on fabric.
For floor mats, a 30-second dwell before scrubbing is a useful baseline when using a compatible cleaner. For cloth seats, let the cleaner sit for a few minutes before wiping, then stop if the fabric starts to feel overly wet or the color begins to shift. A common first-timer mistake is to keep spraying after the first pass looks uneven. That adds moisture, not cleaning power.
How do you clean leather or vinyl safely?
Use diluted mild soap or a gentle interior cleaner for vinyl and finished leather, and apply it to the cloth first rather than spraying the surface. Clean in light passes, then dry immediately. Leather can also need a conditioner after cleaning, while vinyl usually needs only a clean wipe and a non-greasy finish.
What to avoid on stitched seams and coated surfaces
Avoid heavy soaking, because fluid can settle in stitched seams and leave a dark edge or sticky line when it dries. Use a soft-bristled detailing brush only when there is visible grime in the grain or seam line, and keep the brush light enough that it loosens dirt without scratching the coating.
Branch Basics recommends spot-testing leather before cleaning it fully. A good spot test should leave no color transfer, no dull patch, no tacky feel, and no texture change after drying. Stop using the product on that material if any of those signs appear.
What can you use on dashboards, vents, and touchscreens?
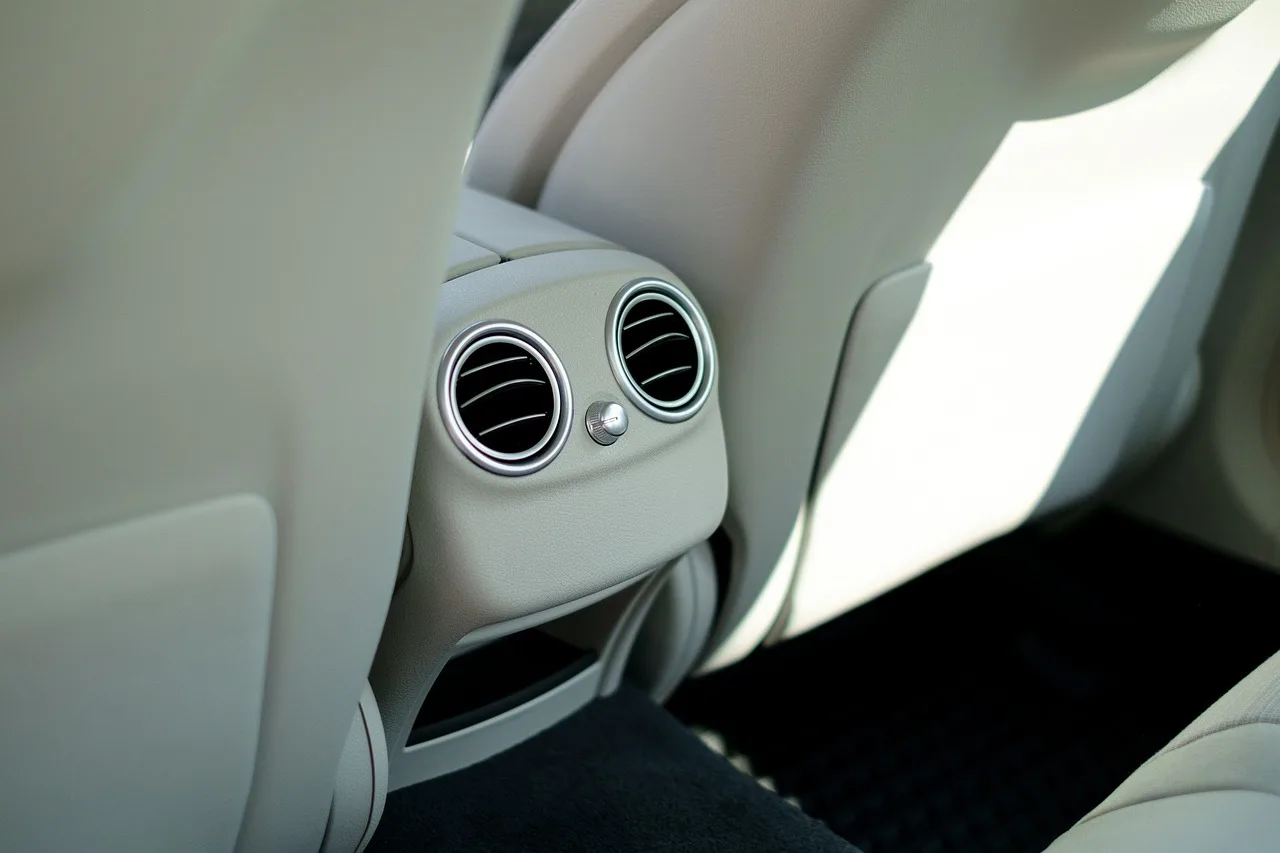
Dashboards, vents, and screens need light moisture, not direct spraying. Use a microfiber cloth for dusting, a lightly damp cloth for cleaning, and a soft-bristled detailing brush for vents, seams, cup holders, and textured trim. That combination loosens grime without scratching or forcing liquid into switches.
Safe wiping for plastics and textured trim
For dashboards and other hard surfaces, let cleaner sit for a few minutes if the product label allows it, then wipe clean and dry. Use a UV protectant made for automotive plastics after cleaning, but choose one that does not leave a glossy, slick finish. Sticky trim usually means too much product or not enough dry wiping.
White vinegar can help on some hard surfaces, but it is not a universal cleaner. Family Handyman recommends a windows mix of one cup of water, two tablespoons of vinegar, and one cup of rubbing alcohol, while their stain mix uses two cups of water, one cup of vinegar, and about a tablespoon of dish soap. Keep those mixes off sensitive surfaces unless a spot test says otherwise.
Screen-safe cleaning without direct spraying
For touchscreens, do not spray liquid onto the glass or onto buttons near the screen. Lightly dampen the microfiber cloth first, then wipe gently and dry the surface with a second cloth if needed. If the display has an anti-glare or fingerprint coating, follow the vehicle maker’s guidance and avoid aggressive wipes that can haze the coating.
How do you avoid residue, streaks, and sticky trim?
Residue usually comes from too much cleaner, too much water, or not enough dry wiping. Use the smallest amount that removes soil, then make a clean wipe-down and a final dry pass. If a surface still feels tacky after drying, it usually needs less product and more removal, not a stronger chemical.
What a failed spot test looks like
A failed spot test can show up as discoloration, darkening that does not fade, a chalky edge, softening, stiffness, or a glossy patch where the original finish was matte. On fabric, watch for rings, rough texture, or a return of the stain after the area dries. On plastic, look for haze or a sticky feel.
If a small hidden area of vinyl turns dull and tacky after cleaning, stop there. Do not repeat the same product on the rest of the panel, because that usually turns one small problem into a full-trim cleanup job.
For the interior, “without chemicals” usually means using the mildest workable cleaner, not skipping cleaning entirely. Distilled water, microfiber cloths, and mechanical removal with a vacuum and brush handle a lot of routine dust and grit. For soils that need more than water, a diluted mild soap or interior cleaner is still the safer choice than a harsh solvent.
Frequently asked questions
What is good to clean car interior?
A good interior kit includes microfiber cloths, a vacuum with a crevice tool, distilled water, a mild soap or gentle all-purpose cleaner, a soft-bristled brush, and a material-specific product for cloth, leather, or plastics. That gives you enough cleaning power without defaulting to harsh chemicals or heavy residue.
How do I clean my car inside?
Start by removing trash and vacuuming every seam, mat, and under-seat area. Then clean from the top down with the right product for each surface, keeping cloth only lightly damp and electronics nearly dry. Finish with a dry microfiber pass so dust, cleaner, and moisture do not stay behind.
Can I use vinegar to clean car seats and dashboard?
Use vinegar with caution. It can work on some hard surfaces and some stains, but it is not a universal answer for seats, screens, or coated trim. Spot test first, and avoid it on sensitive materials unless the test area dries clean with no texture change, dulling, or smell that lingers too strongly.
How do I clean a car interior without leaving residue or shine?
Apply cleaner to the cloth, not the surface, and use only enough to lift the soil. Wipe the area again with a clean microfiber, then dry it. Avoid oily dressings and shiny protectants on trim, because the best interior finish is usually clean and low-gloss, not slick or reflective.
How do I clean cloth seats without soaking them?
Vacuum first, then use upholstery cleaner or carpet shampoo in small sections. Mist lightly, brush gently if needed, blot with microfiber, and let the cleaner sit for a few minutes only if the label calls for it. Stop adding liquid once the fabric feels damp rather than wet.
How do I clean leather or vinyl interior surfaces safely?
Use diluted mild soap or a gentle interior cleaner on a microfiber cloth, then wipe and dry right away. Finished leather can be conditioned after cleaning, while vinyl should not get leather conditioner. Skip strong solvents and heavy soaking, because both can damage coatings and leave the surface sticky.

Hi, I’m Melvin, an automobile engineer with extensive experience in automobile equipment. I currently work for a local automobile firm, where I specialize in the car parts industry. I’ve had the opportunity to collaborate with seasoned inspectors, gaining invaluable hands-on experience that goes beyond just theory.
My passion for automotive care started at a young age, which led me to create CarSpareCare. Through CarSpareCare, I share the knowledge and skills I’ve acquired over the years to help others navigate the world of car maintenance and repairs.
My goal is to provide practical tutorials, essential safety advice, and the latest industry insights so that anyone—whether a beginner or an expert—can confidently tackle their automotive projects.