Clean the cabin in a few steps: clear loose debris, vacuum from the headliner down if you have a HEPA vacuum, wipe hard surfaces with a slightly damp microfiber cloth, and replace the cabin air filter if it looks dirty. If you skip capture-first cleaning, dust, pollen, dander, and mold spores get stirred back into the air and can keep symptoms going. This guide shows the safest order, the right tools, and the moisture checks that keep allergens from recirculating.
What you’ll need
- A HEPA vacuum with useful attachments such as a crevice tool, brush attachment, or narrow nozzle
- Microfiber cloths, several clean and low-lint
- pH-neutral or non-greasy all-purpose interior cleaner
- Glass cleaner labeled for streak-free interior use
- Soft detailing brush for vent fins and seams
- Trash bag for debris and disposable wipes
- Optional stain remover for fabric upholstery
- Dry towels for moisture checks and final wipe-downs
How do I clean my car interior for allergy relief?
Start with the cabin air filter, then clean from the top of the cabin down to the floor. The goal is capture, not appearance alone: remove loose particles, trap what remains with a HEPA vacuum, wipe with damp microfiber, and keep moisture low so dust, pollen, dander, and spores do not cycle back into the air.
Step-by-step allergy-control order
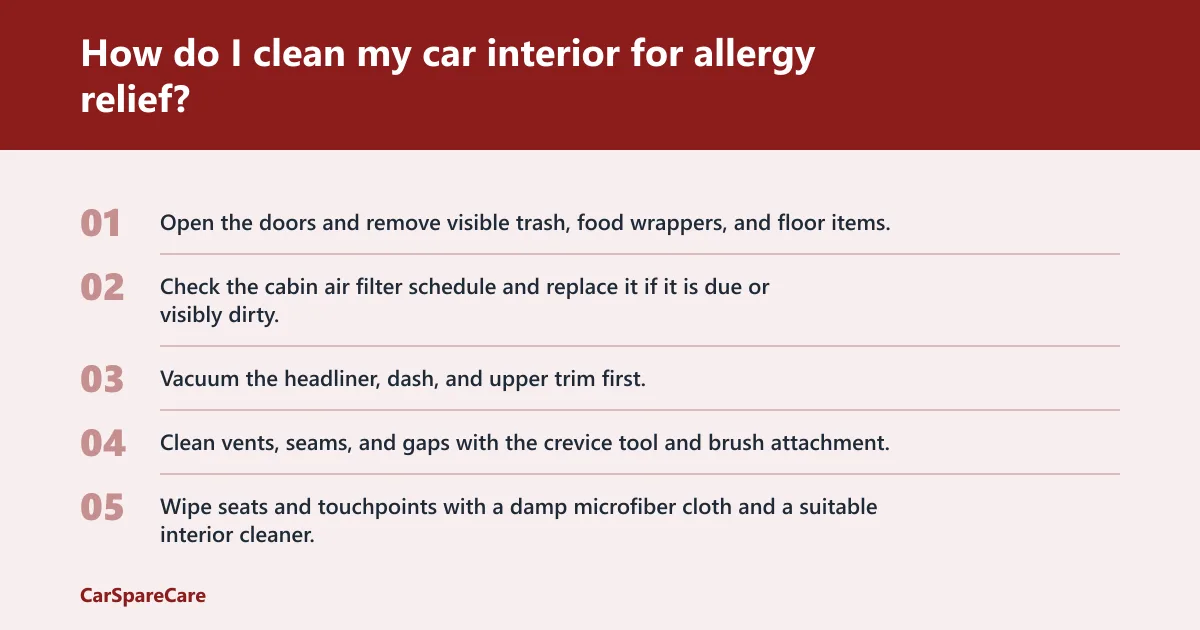
- Open the doors and remove visible trash, food wrappers, and floor items.
- Check the cabin air filter schedule and replace it if it is due or visibly dirty.
- Vacuum the headliner, dash, and upper trim first.
- Clean vents, seams, and gaps with the crevice tool and brush attachment.
- Wipe seats and touchpoints with a damp microfiber cloth and a suitable interior cleaner.
- Remove mats, clean them separately, then vacuum carpets and footwells last.
- Finish with glass, mirrors, and a moisture check for damp carpet or musty odor.
Why this order works
Car interiors collect a lot of dust and grit, especially on the carpet. Cleaning from high surfaces to low surfaces keeps particles from falling onto areas you already cleaned. Regular cleaning also cuts down on wear and discoloration of carpets and trim, which helps keep the cabin easier to maintain between deep cleans.
| Cabin zone | Common allergen or contamination | Safest tool | Mistake that sends particles back into the air |
|---|---|---|---|
| Headliner and upper trim | Dust, pollen | Soft brush attachment, light HEPA vacuuming | Pressing hard and shaking debris loose |
| Vents and dash | Pollen film, fine dust | Crevice tool, soft brush, damp microfiber | Blowing dust with compressed air |
| Seats and seams | Dander, dust mites, crumbs | HEPA vacuum with narrow nozzle | Using a dry cloth first |
| Floor mats and carpets | Dust, grit, pollen, debris | HEPA vacuum, mat-safe cleaner | Skipping mat removal and vacuuming in place |
| Glass and mirrors | Dust and pollen film | Glass cleaner with lint-free microfiber | Paper towels that shed lint |
What is the best way to get dust out of car seats and carpets?
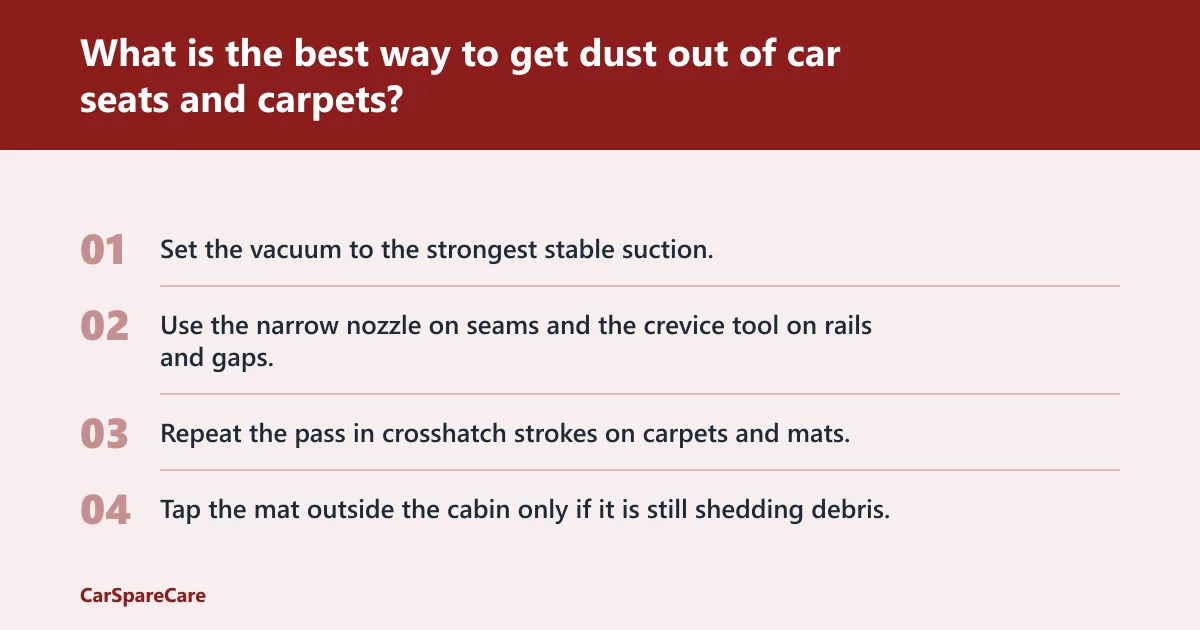
Use a HEPA vacuum with the right attachments, then work slowly so fine dust stays in the filter instead of the cabin air. The crevice tool handles seat rails and console gaps, the brush attachment suits carpets and fabric, and the narrow nozzle reaches seams where dust and pollen settle.
Focus on hidden reservoirs
Floor mats are major reservoirs for dust, pollen, and debris. Remove them and vacuum both sides. Then clean carpet edges, seat tracks, and footwells, where grit collects and gets kicked back up every time you enter or exit the car.
If that didn’t work, try this next
- Set the vacuum to the strongest stable suction.
- Use the narrow nozzle on seams and the crevice tool on rails and gaps.
- Repeat the pass in crosshatch strokes on carpets and mats.
- Tap the mat outside the cabin only if it is still shedding debris.
Say your back seat has a child seat and two weeks of spring pollen in the fabric. A slow HEPA pass with the narrow nozzle reaches the folds better than a quick surface sweep, and it avoids the puff of dust that a dry brush often creates.
Should I use a HEPA vacuum for car interior allergies?
Yes. A HEPA vacuum is the best option for fine dust and pollen because it captures small particles instead of recirculating them. Pair it with the crevice tool, brush attachment, and narrow nozzle so you can reach seams, vents, seats, carpets, and mats without stirring debris back into the cabin.
Where it matters most
Use HEPA capture on seats, carpets, mats, vents, and the narrow spaces around consoles and rails. Clean cloth seats with a vacuum cleaner using a narrow nozzle for deep joints. For allergy control, the filter matters as much as the suction path.
How do I clean car vents to reduce pollen and dust?
Vacuum vent openings gently, then wipe the fins with a slightly damp microfiber cloth if needed. Vents are a major allergen pathway, so the goal is removal without bending fins or pushing dust deeper. Let the area dry with airflow afterward, not with direct blasting.
Safe vent cleaning sequence
- Turn the climate system off.
- Use a soft brush attachment to lift dust from the vent face.
- Use the crevice tool lightly along the edges.
- Wipe the fins with a damp microfiber cloth.
- Run airflow on low with fresh air mode to dry the area.
Do not blow dust out with compressed air. That often spreads pollen and fine particles through the cabin instead of removing them.
What cleaner is safe for car interiors and allergies?
Choose a pH-neutral or non-greasy all-purpose interior cleaner that is suitable for the material you are treating. Apply it to the cloth, not directly to electronics, screens, or switches. For dust control, a damp microfiber cloth beats paper towels because it traps particles instead of shedding lint or scattering them.
Material-specific basics
Fabric upholstery needs blotting, not soaking. Plastic seats can handle a damp cloth and soap and water if they are grimy. Leather, vinyl, and plastic need cleaners approved for those surfaces. Glass cleaner belongs on windows and mirrors only, with a lint-free cloth for a streak-free finish.
Common product guidance
One expert-recommended interior cleaner applies to leather, vinyl and plastic. A near-universal interior cleaner in CNN’s roundup is P&S Double Black Renny Doyle Collection Xpress Interior Cleaner. Koch Chemie Gummifix is described as non-greasy and slip-resistant.
How often should I clean my car interior if I have allergies?

For allergy control, clean high-contact and high-dust areas more often than you would for appearance alone. A full cabin clean at least once a year is a baseline, but drivers with pollen or dander sensitivity usually need quicker touch-up vacuuming and filter checks during peak exposure periods. (howacarworks.com)
Practical cadence
- Every week or two: a quick vacuum of mats, seats, and footwells, using a HEPA vacuum if you have one
- About monthly: wipe the dash, vents, and touchpoints with a damp microfiber cloth
- At least once a year: give the inside of the car a spring clean
- When symptoms spike: inspect the cabin air filter and moisture sources
Prevention
Keep windows closed during high-pollen drives, shake mats outside the cabin, and replace the cabin air filter on the manufacturer schedule. That reduces airborne allergens entering the cabin and slows recontamination.
Can car mold or mildew make allergies worse?
Yes. Mold or mildew can worsen symptoms, especially when there is a persistent musty odor, damp carpet, or moisture around the HVAC system. If you can see growth, find a leak, dry the cabin, and consider professional remediation rather than continuing a dry-cleaning routine that leaves the moisture source in place.
What to inspect first
- Lift floor mats and check the carpet underneath.
- Feel for damp foam under fabric seats.
- Inspect around the cabin air filter housing and AC drain path.
- Look for water entry at door seals, sunroof drains, or trunk leaks.
Suppose the passenger footwell smells musty after rain and the carpet feels cool and damp. Cleaning the surface alone will not solve the problem if water is trapped under the mat or padding.
How do I clean upholstery without spreading allergens?
Vacuum first, then use the least moisture that removes the soil. Fabric upholstery is porous and can hold dust mites and pollen, so blotting and controlled vacuuming matter more than scrubbing. Do not soak cloth because interior foam can take days to dry.
Fabric, vinyl, leather, and plastic
For fabric, vacuum with the narrow nozzle, then blot stains with a cleaner approved for upholstery. For plastic and vinyl, use a damp microfiber cloth, and soap and water only if the surface is grimy. For leather, use a leather-safe cleaner on the cloth, not a sprayed surface.
Watch the high-risk spots
Do not press a suspended headlining too hard or it will sag. A tiny scratch across one heated rear window element can put the heater out of action, so keep hard tools away from delicate trim and glass edges.
Common mistakes that spread allergens back into the cabin
The biggest errors are re-aerosolizing dust, over-wetting fabric, and ignoring the cabin air filter. Home cleaning products can damage surfaces and set stains in car interiors, while paper towels are inferior to clean microfiber cloths for car interior cleaning. Fragrance-heavy products can also bother sensitive drivers.
What goes wrong and how to avoid it
- Dry dusting: Use damp microfiber so particles stay trapped.
- Wrong vacuum setup: Use HEPA capture with the crevice tool, brush attachment, and narrow nozzle.
- Spraying cleaner onto electronics: Put cleaner on the cloth first.
- Soaking fabric: Keep upholstery damp, never wet through.
- Skipping the filter: Replace the cabin air filter on schedule.
- Treating odor only: Check for moisture, mold, or a clogged filter.

Hi, I’m Melvin, an automobile engineer with extensive experience in automobile equipment. I currently work for a local automobile firm, where I specialize in the car parts industry. I’ve had the opportunity to collaborate with seasoned inspectors, gaining invaluable hands-on experience that goes beyond just theory.
My passion for automotive care started at a young age, which led me to create CarSpareCare. Through CarSpareCare, I share the knowledge and skills I’ve acquired over the years to help others navigate the world of car maintenance and repairs.
My goal is to provide practical tutorials, essential safety advice, and the latest industry insights so that anyone—whether a beginner or an expert—can confidently tackle their automotive projects.