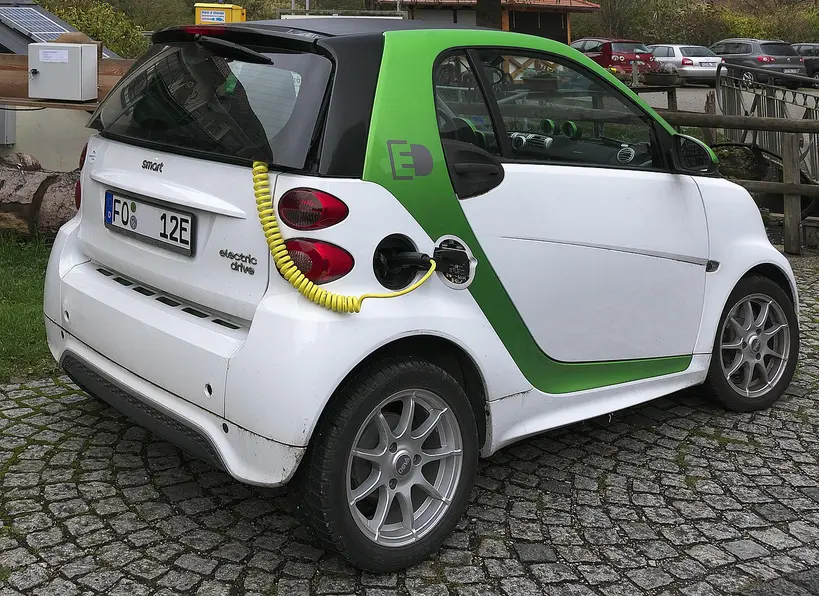
Connect the charger’s positive clamp to the battery’s positive terminal first, then attach the negative clamp to the battery’s negative terminal or an approved chassis ground point; disconnect in reverse. Mix up the order and you can spark, damage electronics, or ruin the battery and charger. This guide shows the safe clamp sequence and when to charge the battery in the car, remove it, or leave it alone. (Caranddriver)
Battery charging cable basics
Car battery charging cables are not the same thing as jump-start cables. A charger lead carries controlled charging current from a battery charger, while jump-start cables move high starter current from one battery to another. That difference matters because charger clips must be placed only after the charger is switched off or unplugged.
Start by identifying the battery posts. The positive terminal is marked with a “+” sign, and the negative terminal is marked with a “-” sign. The red connector goes to positive. The black connector goes to negative, or to an approved ground point only when the vehicle maker allows that setup.
Newer chargers may stop automatically when the battery is full. Older chargers usually need manual stopping to avoid overcharging. That is why the charger manual matters before you clip anything on, especially if the unit offers only basic amperage selection. (Wikihow)
📊 Car battery charging setup can take about 5 minutes. Source: Caranddriver.
How do you prepare the battery and car?
Switch the ignition off, turn off accessories, and remove the key or keep the key fob away from the vehicle. Then check the battery label or owner’s manual for battery chemistry and voltage. That quick check helps you avoid a charger profile that does not match the battery.
Wear eye protection and gloves, work in a ventilated area, and keep children away. A battery can vent gas while charging. You also want all electronics off to reduce the chance of a power surge when the charger is connected or disconnected.
Look at the battery case before you touch the clamps. Stop if the case is cracked, swollen, leaking, or badly corroded at the posts. A charger cannot safely fix a damaged battery shell, and a loose clamp on a crusted terminal can arc or fail to start charging.
- Switch the car off and remove the key.
- Check the battery label for voltage and chemistry.
- Confirm the charger setting matches that chemistry.
- Inspect the posts, clamps, and nearby wiring.
- Keep the charger unplugged or switched off before connection.
Battery cable hookup checklist
Use this checklist to decide whether the battery should be charged in the car, outside the car, or not at all. The connection order stays the same for most setups: red to positive first, black to negative second, with the charger still off. The stop condition matters just as much as the hookup.
| Battery type | Terminal condition | Charger setting | Connection order | Stop condition | Do not charge if |
|---|---|---|---|---|---|
| Wet cell | Clean, dry, clamps grip firmly | Set to the battery voltage on the label; choose normal charge rate | Red to + first, black to – second | Stop when the charger indicates full charge, or manually on older units | Cracked case, heavy corrosion, or charger chemistry mismatch |
| VRLA | Posts intact, no loose acid residue | Use the charger mode approved by the charger manual for sealed batteries | Red to + first, black to – second | Stop at automatic shutoff or manual stop when charge is complete | Cracked case, heavy corrosion, or incompatible charger chemistry |
| AGM | Clean terminals, secure clamp contact | Use the AGM setting if the charger offers one | Red to + first, black to – second | Stop at full-charge indication; do not leave an older charger running | Cracked case, heavy corrosion, or charger lacks AGM support |
| Gel Cell | Clean and sound, with no swelling or leakage | Use only a charger profile that explicitly supports Gel Cell batteries | Red to + first, black to – second | Stop exactly as the charger manual directs | Cracked case, heavy corrosion, or charger does not list Gel Cell support |
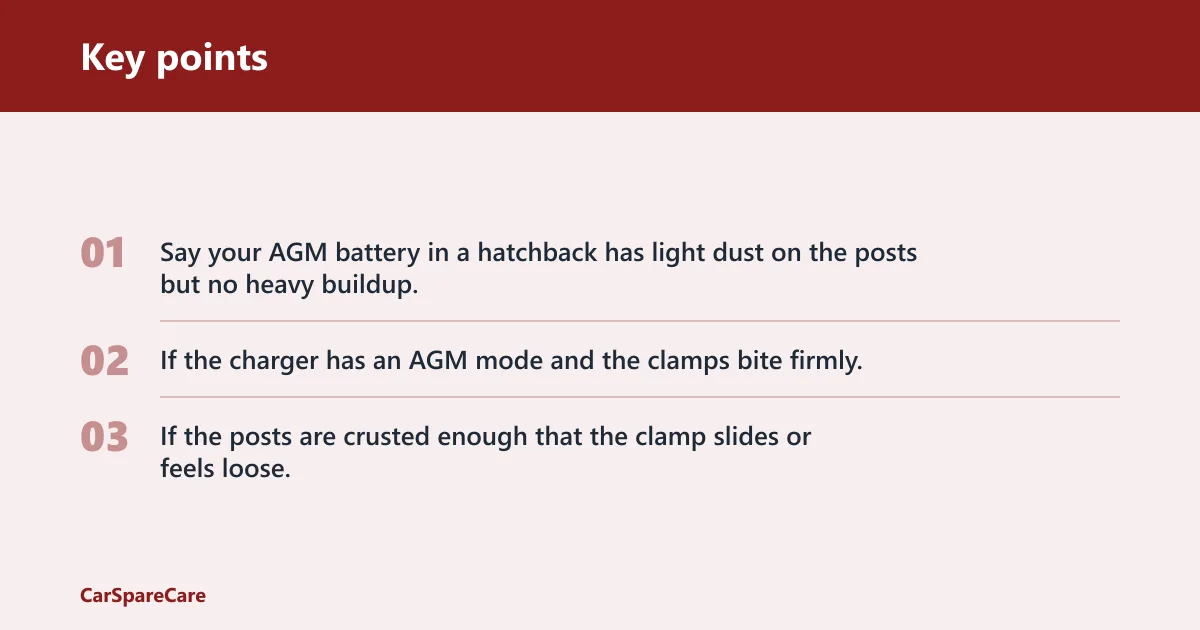
Say your AGM battery in a hatchback has light dust on the posts but no heavy buildup. If the charger has an AGM mode and the clamps bite firmly, charging in the car is usually reasonable. If the posts are crusted enough that the clamp slides or feels loose, stop and clean or remove the battery first.
How do you connect the charger clamps?
Connect the red clamp to the battery’s positive terminal first, then connect the black clamp to the negative terminal or the approved ground point listed by the vehicle maker. The charger should be unplugged or switched off before either clamp touches metal. That avoids a live spark at the battery.
After each clamp is on, do the wiggle test. Gently move the clamp by hand. It should stay firmly seated on clean metal, not wobble or slip. If the clamp cannot hold because of corrosion, damaged posts, or an odd terminal adapter, stop and correct the problem before switching the charger on.
A common first-timer mistake is clipping the black lead to a painted bracket or random bolt that is not listed as an approved ground point. Paint and rust add resistance. That can trigger a poor charge, a hot clamp, or a charger that refuses to start.
Most passenger vehicles use 4 to 6 AWG cable for the main positive lead in the vehicle’s charging path, but the charger clips themselves still need clean, secure contact. A voltage drop exceeding 0.5 volts indicates excessive resistance, so a weak grip or dirty post is not a small problem.
Can you charge the battery while it stays in the car?
Yes, many batteries can be charged in the car if the charger manual and vehicle manual allow it, the battery is sound, and the charger chemistry matches the battery. You still need the ignition off, electronics off, and the key or key fob away from the vehicle. The battery’s location does not materially change charge time.
Remove the battery instead when the terminals are badly corroded, the case is cracked, the battery sits in a cramped location that blocks safe clamp placement, or the manual says to charge it out of the vehicle. That includes some trunk and under-seat setups where access is poor and clamps cannot sit squarely.
Some vehicles place a remote positive post under the hood when the battery sits in the trunk or under a seat. Use that post only if the owner’s manual identifies it as the correct connection point. The negative lead may still go to an approved chassis ground point, but not to random sheet metal.
Picture a sedan with the battery in the trunk and a remote positive post under the hood. If the manual names that post and the chassis ground point, the battery can usually stay in place. If the manual says to disconnect the battery for charging, follow that instruction instead of guessing.
What charger settings and charge time should you use?
Choose the charger setting that matches the battery chemistry and voltage. Many chargers have an automatic shutoff on newer units, while older chargers need manual stopping. Speed chargers use higher amperage and finish faster; trickle chargers use lower amperage and charge more slowly. The wrong setting can overcharge a battery or undercharge it for too long.
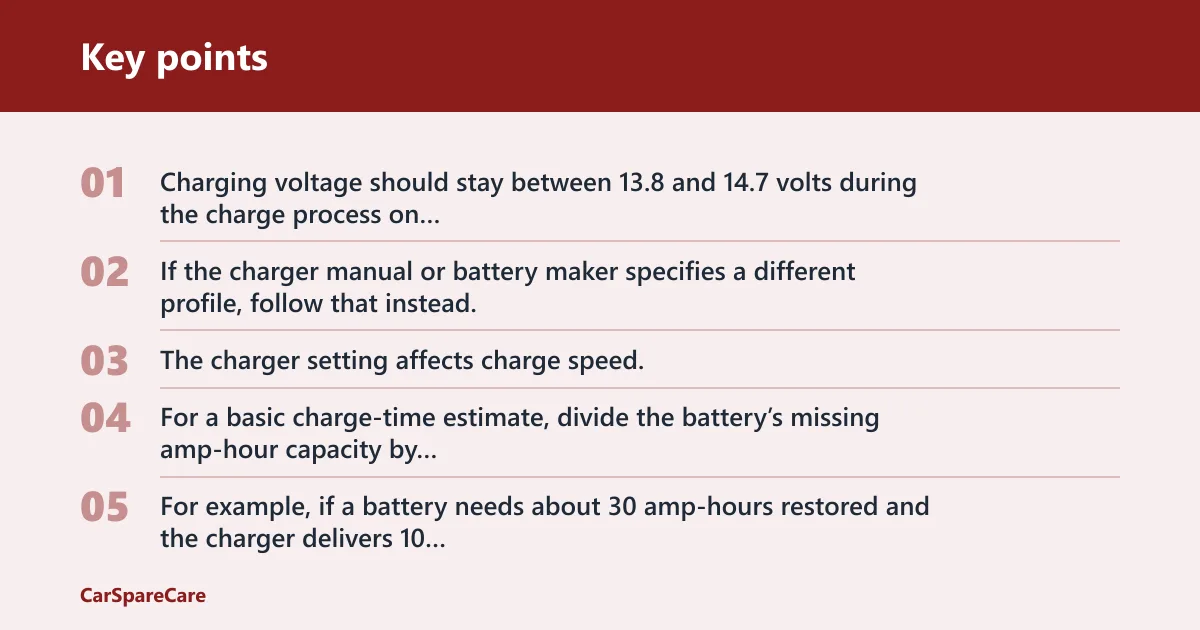
If the charger manual or battery maker specifies a different profile, follow that instead. The charger setting affects charge speed, not the simple fact of whether the battery can be charged in the car.
For a basic charge-time estimate, divide the battery’s missing amp-hour capacity by charger amperage. For example, if a battery needs about 30 amp-hours restored and the charger delivers 10 amps, the math points to about 3 hours, then add extra time for the last part of the charge. A full recharge may take overnight.
Battery charging itself can often take about 1–6 hours, and setup may take about 5 minutes. A smaller battery or higher-amperage charger may finish sooner; a larger battery or low-amperage trickle charger may take much longer. If the charger is older, stay near it and stop it manually when the battery reaches full charge.
How do I use car battery charging cables?
Use the charger with the vehicle off, the charger off, and the battery identified by chemistry and voltage first. Then attach red to the positive terminal and black to the negative terminal or approved ground point. Turn the charger on only after both clamps are secure. Disconnect in reverse when charging ends.
How do I connect car battery charging cables correctly?
Connect red to the terminal marked “+” first. Then connect black to the terminal marked “-” or to a maker-approved ground point if the manual calls for that. Make sure the charger is switched off or unplugged before either clamp touches metal, and check for a firm grip before starting the charger.
Can I charge my car battery with the cables connected?
Yes, if you mean the battery stays connected to the car’s electrical system and the manual allows in-car charging. The battery should still be isolated by turning the car off, removing the key or key fob, and switching off accessories. Do not assume every battery chemistry or charger profile is safe in place.
What if my battery terminals are corroded before connecting the charger?
Light surface buildup can sometimes be cleaned enough to allow a solid clamp grip, but heavy corrosion should be treated as a reason to stop and inspect further. If the clamp cannot sit firmly, if the post is damaged, or if the battery case is cracked, do not charge. Clean or repair the connection point first, or remove the battery if the manual allows that.
Can I leave the battery connected to the car while charging?
Sometimes, yes. Leave it connected only when the vehicle manual allows it, the charger chemistry matches the battery, and the battery and terminals are in safe condition. If the battery is in a trunk or under a seat, use the remote positive post and approved ground point named by the vehicle maker, not an improvised contact point.
Frequently asked questions
Which battery cable goes on first when charging?
Connect the red cable to the positive terminal first. After that, connect the black cable to the negative terminal or approved ground point. Keep the charger off or unplugged until both clamps are secure. When you finish, remove the black lead first, then the red lead.
Do I connect red or black first to a car battery charger?
Connect red first. Red goes to the battery’s positive terminal, which is marked with a “+” sign. Then connect black to the negative terminal marked “-”, or to a ground point if the manual says that is the correct setup. The charger should still be off before connection.
How do I charge a car battery at home safely?
Switch the car off, remove the key or keep the key fob away, wear eye protection and gloves, and confirm the charger matches the battery chemistry. Then connect red to positive and black to negative or approved ground. Work in a ventilated area and stop if the case is cracked or the clamps will not hold.

Hi, I’m Melvin, an automobile engineer with extensive experience in automobile equipment. I currently work for a local automobile firm, where I specialize in the car parts industry. I’ve had the opportunity to collaborate with seasoned inspectors, gaining invaluable hands-on experience that goes beyond just theory.
My passion for automotive care started at a young age, which led me to create CarSpareCare. Through CarSpareCare, I share the knowledge and skills I’ve acquired over the years to help others navigate the world of car maintenance and repairs.
My goal is to provide practical tutorials, essential safety advice, and the latest industry insights so that anyone—whether a beginner or an expert—can confidently tackle their automotive projects.