Match the wheel’s center bore, retention style, and exact cap diameter before you buy a replacement wheel center cap; if any one of those three is wrong, the cap usually will not seat or stay put. A poor fit can mark the wheel, rattle loose, or send you back to the parts counter. This guide gives you a fitment-first checklist and a simple decision tree for damaged, missing, or hard-to-identify caps.
Quick answer
A wheel center cap sits in the center bore of the wheel and covers the hub area. It gives the wheel a finished look and helps keep dirt, moisture, and road grime off the hub. Missing caps are usually not an urgent safety issue, but the open hub can collect rust or debris.
Replacement caps are sold as wheel center caps and hub caps. On many aftermarket wheels, the cap is wheel-specific or vehicle-specific, so logo alone is not enough. Matching the wheel model and cap style is part of the process.
What you’ll need
- Calipers or a ruler for wheel bore diameter
- Flashlight
- Plastic trim tool, if the cap is snug
- Double-sided tape for safer pull-out removal
- Clean rag
- Brake cleaner or mild wheel-safe cleaner
- Replacement cap details: diameter, finish, part number, clip count, and mounting style
Fitment checklist table
| Wheel type | Retention style | Measurement needed | Safest removal method | Replacement risk | Likely failure symptom |
|---|---|---|---|---|---|
| OEM alloy wheel | Snap-in clips | Bore diameter and clip count | Pull straight out by hand; use tape if tight | Wrong clip shape or diameter | Cap pops loose or sits crooked |
| Aftermarket wheel with branded cap | Snap-in or push-through | Wheel model, bore diameter, part number | Double-sided tape pull | Brand-specific mismatch | Cap starts to rock or falls out |
| Deep center bore wheel | Push-through fit | Bore diameter and cap depth | Push from the back if accessible | Depth too short or too long | Cap will not seat flush |
| Performance wheel with bolts | Bolt-on | Bolt pattern and center cap part number | Remove bolts evenly | Wrong bolt circle or thread style | Cap wobbles or will not mount |
How do you remove the old cap?
Start by identifying the retention system: snap-in clips, push-through fit, or bolt-on attachment. Tool-free removal is not always possible, but prying first is the fastest way to bend retaining tabs or scratch the wheel. If the cap is branded, check whether the back carries a part number before you move it far.
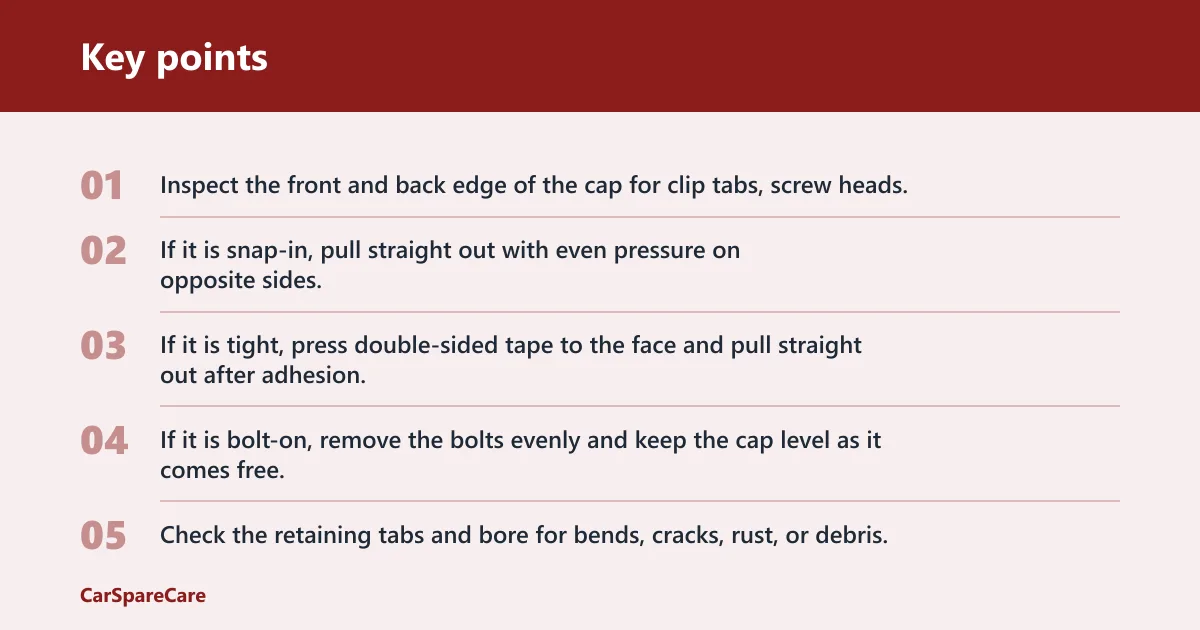
- Inspect the front and back edge of the cap for clip tabs, screw heads, or a center fastener.
- If it is snap-in, pull straight out with even pressure on opposite sides.
- If it is tight, press double-sided tape to the face and pull straight out after adhesion.
- If it is bolt-on, remove the bolts evenly and keep the cap level as it comes free.
- Check the retaining tabs and bore for bends, cracks, rust, or debris.
A common first-timer mistake is using a screwdriver because the cap looks soft enough to pry. That usually leaves marks on painted spokes and can crack a tab that was still usable.
How do you know the new cap will fit?
Measure the wheel bore diameter before ordering, or check it against the wheel cap’s fitment guidance. That is the main dimension, and it is usually checked with calipers. Then confirm depth, clip count, finish, and part number. If the old cap is available, remove it and read the back for the part number; when a part number is listed, it should match exactly.
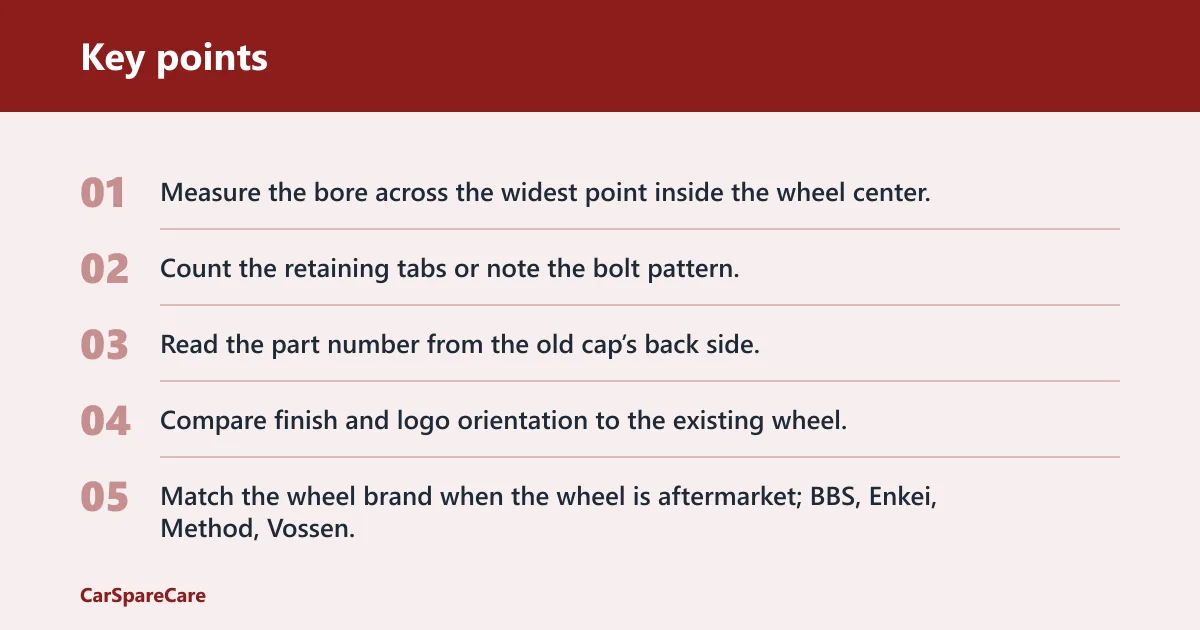
- Measure the bore across the widest point inside the wheel center.
- Count the retaining tabs or note the bolt pattern.
- Read the part number from the old cap’s back side.
- Compare finish and logo orientation to the existing wheel.
- Match the wheel brand when the wheel is aftermarket; BBS, Enkei, Method, Vossen, Weld Racing, Gram Lights, Konig, Raceline, and Forgestar often use brand-specific caps.
If a wheel measures one diameter on the face but has a shallower inner shoulder than the replacement cap expects, the cap may start in place, then stop short and spring back out later. That is a fitment problem, not a pressing problem.
How do you install the replacement cap?
Clean the hub and the inside of the bore before refitting. Dirt, rust, and old adhesive can stop a new cap from seating fully. Once the area is clean, align the cap so the clips or bolt holes match the wheel, then press it in evenly. Do not force it past the point where resistance changes sharply.
- Wipe the hub and bore clean with a rag and wheel-safe cleaner.
- Dry the area completely.
- Line up the cap so the logo faces the correct direction.
- Press the cap in with steady, even pressure.
- Check that the edge sits flush and does not rock.
If the cap does not seat flush, stop and recheck diameter, clip count, and bore damage before pressing harder.
What if the cap keeps failing?
If the new cap will not stay in, the problem is often not the cap itself. A cracked bore, bent retaining tabs, or an ovalized opening can eject a correct part. In that case, replacing another cap only repeats the failure. The wheel may need repair or replacement if the mounting area is no longer round.
- Check for a cracked bore lip or chipped retaining edge.
- Inspect whether the opening is round or visibly oval.
- Compare the broken cap to the replacement for clip count and depth.
- If the bore is damaged, stop and have the wheel inspected before ordering another cap.
Common mistakes
Ordering by logo only is a bad bet. The same badge can appear on different diameters, clip styles, and finishes. A wheel brand may also use more than one cap design across product lines, so the part number matters when it is available.
Do not mix up center caps, hub caps, and wheel covers. Replacement caps for alloy wheels are often not universal, and vehicle fitment does not always guarantee wheel fitment. Also avoid driving the cap into a cracked or ovalized bore; that hides the damage until the part falls out again.
Frequently asked questions
How to remove wheel center caps without damaging them
Work from the edge with straight pull force, not a twist. Protect painted surfaces, avoid metal screwdrivers, and stop as soon as the cap starts to move. The tabs are the weak point; bending them once can make the cap loose even if it survives removal.
Are wheel caps universal?
No. Many replacement options are wheel-specific or vehicle-specific, and matching diameter and retention system is part of the process. Some caps are snap-in, some are push-through, and some are bolt-on, so two caps that look similar can still be incompatible.
Do you need center caps for rims?
You do not usually need them for the wheel to roll, but you do need the correct cap if you want a proper fit and a covered hub. The exposed hub can collect dirt and moisture, so replacing a missing cap is still a sensible repair when the wheel is intact.

Hi, I’m Melvin, an automobile engineer with extensive experience in automobile equipment. I currently work for a local automobile firm, where I specialize in the car parts industry. I’ve had the opportunity to collaborate with seasoned inspectors, gaining invaluable hands-on experience that goes beyond just theory.
My passion for automotive care started at a young age, which led me to create CarSpareCare. Through CarSpareCare, I share the knowledge and skills I’ve acquired over the years to help others navigate the world of car maintenance and repairs.
My goal is to provide practical tutorials, essential safety advice, and the latest industry insights so that anyone—whether a beginner or an expert—can confidently tackle their automotive projects.