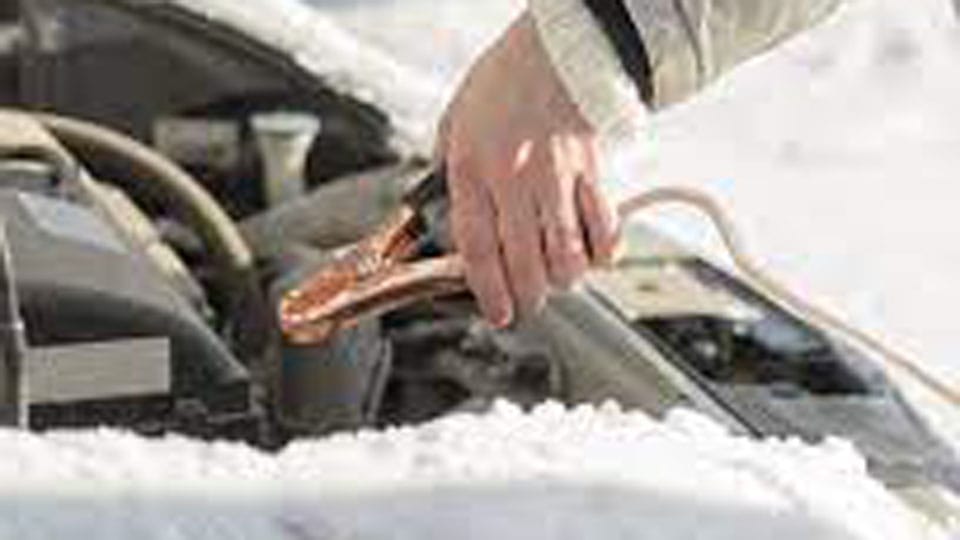
Use jumper cables on a 12V car battery only. Connect red to the dead battery positive, red to the donor positive, black to the donor negative, black to bare metal on the dead car. Stop if the battery is cracked, leaking, frozen, or still dead after a few minutes. Reversed leads can spark, damage control modules, or rupture a battery. This guide covers the safest jump-start sequence, pre-checks, and the signs that mean you should not jump at all.
What you’ll need
- Jumper cables rated about 4 to 6 gauge and at least 20 feet long
- A donor vehicle with a healthy 12V battery, or a jump-start power pack
- The vehicle owner’s manual
- A voltmeter or multimeter for battery-voltage checks
- Gloves and eye protection, if available
Should you jump-start the battery?
Check the battery and the car first. Stop if the battery is cracked, swollen, leaking, or frozen, or if the owner’s manual says a conventional jump is not suitable for your battery type or start-stop system. A healthy resting 12V battery should read slightly more than 12 volts, and both vehicles should be on similar-voltage systems.
Inspect the battery before anything else
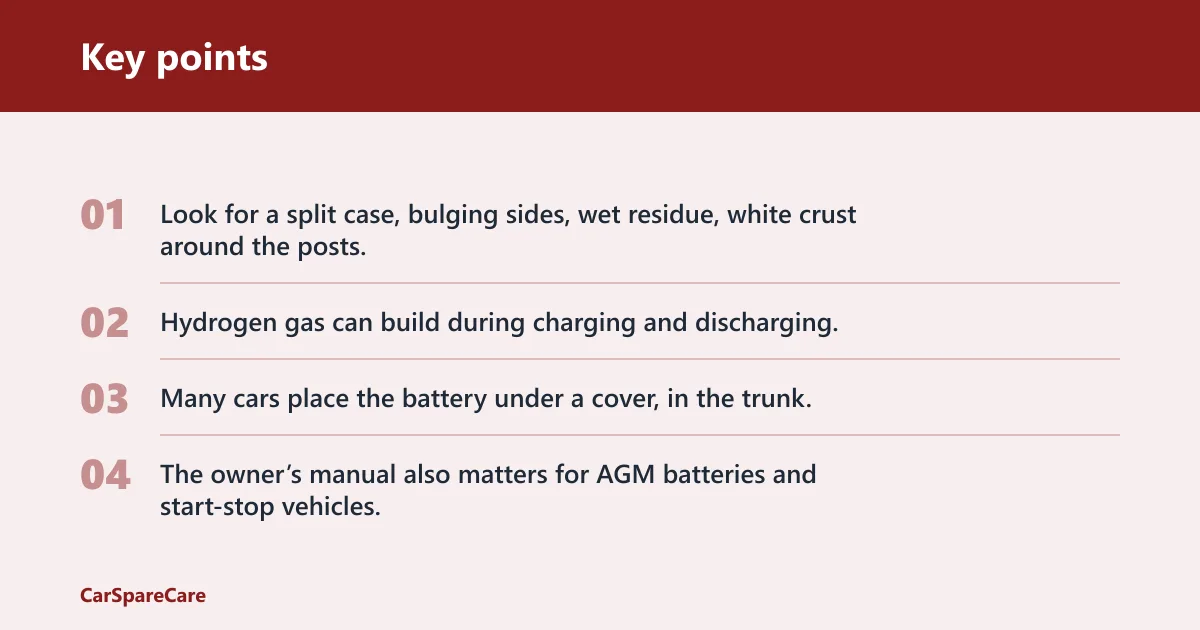
Look for a split case, bulging sides, wet residue, white crust around the posts, or frost on the battery. Any of those signs means no jump start. Hydrogen gas can build during charging and discharging, so a damaged battery is a spark risk.
Check the manual for access and battery type
Many cars place the battery under a cover, in the trunk, or behind a remote jump point under the hood. The owner’s manual also matters for AGM batteries and start-stop vehicles, because some models need a special procedure or should use a power pack instead of a donor vehicle.
| Condition | Action | Stop / continue rule |
|---|---|---|
| Cracked, swollen, leaking, or frozen battery | Do not connect cables | Stop and arrange service |
| Owner’s manual calls for a remote jump point or special battery procedure | Follow the manual exactly | Continue only if the manual allows it |
| Both vehicles are 12V and battery voltage is similar | Proceed with the jump plan | Continue if readings are close enough for the manual’s guidance |
| Battery is damaged, frozen, or voltage is far off | Use roadside help or a power pack only if approved by the manual | Stop the cable jump |
| Engine cranks but will not start after a few attempts | Stop cranking and inspect for another fault | Do not keep trying with cables attached |
Park the vehicles close enough for the cables to reach, but do not let them touch. Keep both ignitions off while you connect the cables. The red clamp goes to the dead battery’s positive (+) terminal first, then to the donor battery’s positive terminal. The black clamp goes to a bare metal ground on the disabled vehicle, not the battery negative post unless the manual says otherwise.
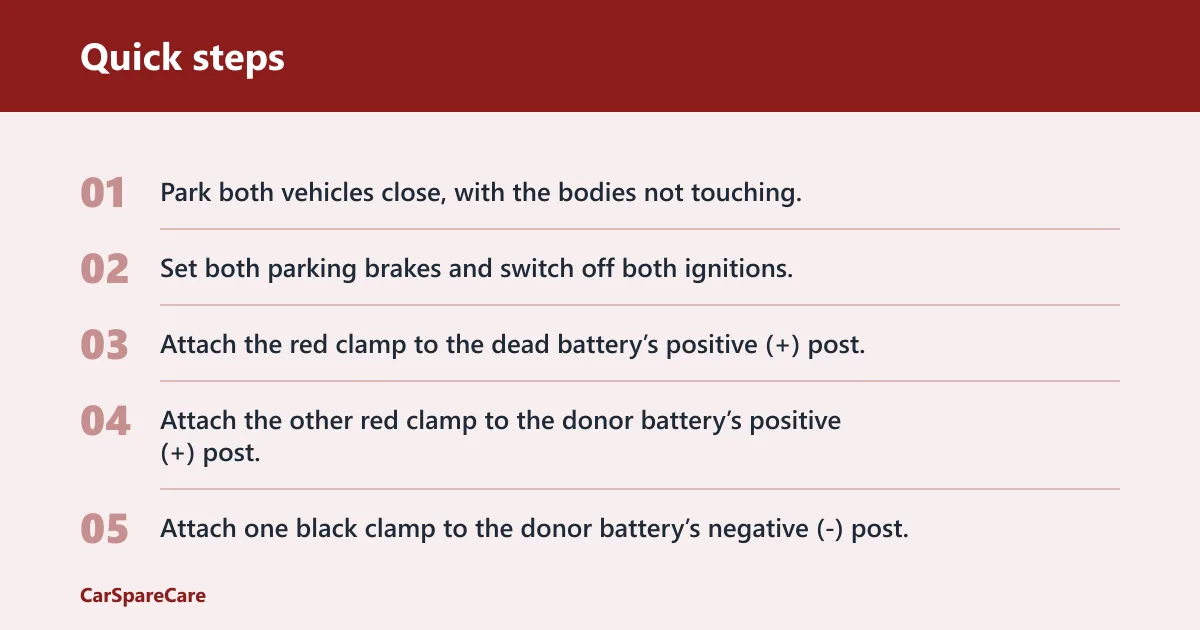
- Park both vehicles close, with the bodies not touching.
- Set both parking brakes and switch off both ignitions.
- Attach the red clamp to the dead battery’s positive (+) post.
- Attach the other red clamp to the donor battery’s positive (+) post.
- Attach one black clamp to the donor battery’s negative (-) post.
- Attach the final black clamp to a clean, unpainted engine bolt or engine block on the dead vehicle.
Why the ground point matters
That last black clamp belongs away from the battery. A ground on the engine block or another unpainted metal part reduces spark risk near battery gases. Good Housekeeping warns not to place the final black clamp on the dead battery’s negative post, and the donor car should be parked close without touching.
Say your sedan’s battery is under a plastic cover and the terminals are tight. Use the remote jump posts under the hood if the manual provides them, rather than prying at the battery itself. Suppose the battery sits in the trunk. Follow the manual to the designated jump point instead of running a long cable route across sharp edges.
Once the cables are attached, start the donor vehicle first and let it idle for a few minutes. Then try the disabled car. If it cranks and starts, leave both cars connected briefly so the weak battery gets some charge before disconnection. If it only clicks, cranks slowly, or will not start after a few tries, stop and look for another fault.
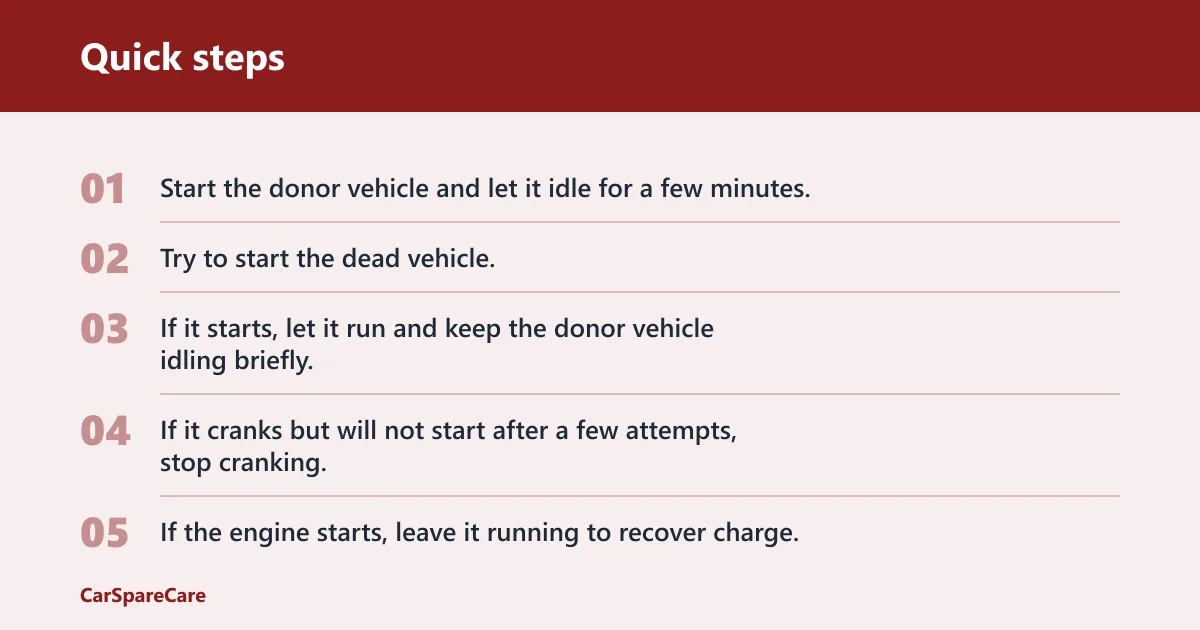
- Start the donor vehicle and let it idle for a few minutes.
- Try to start the dead vehicle.
- If it starts, let it run and keep the donor vehicle idling briefly.
- If it cranks but will not start after a few attempts, stop cranking.
- If the engine starts, leave it running to recover charge.
What to do if it cranks but still will not start
A crank-with-no-start result means the battery was not the only problem. The fault may be fuel delivery, ignition, or a charging-system issue. If the car does not start after several short tries, do not keep cycling the key with the cables connected. Use roadside assistance or a proper diagnosis instead.
Picture a hatchback that starts on the third try, then dies again after a short idle. That repeated failure points away from a simple flat battery. Check battery voltage after the jump, and if the car needs another jump the same day, the battery or alternator needs attention.
Common mistakes
- Connecting the final black clamp to the battery negative post: use a clean engine ground unless the manual says otherwise.
- Letting clamps touch: keep the red and black clamps apart at every step.
- Ignoring battery damage: stop if the battery is cracked, swollen, leaking, or frozen.
- Jumping mismatched systems without checking the manual: some AGM and start-stop vehicles need specific procedures.
- Repeating jump starts without repair: a battery that keeps dying or a car that still will not start needs diagnosis.
Jumper cable choice matters too. A heavy-duty set in the 4 to 6 gauge range and around 20 feet long gives you enough length to keep the cars close without touching, while still leaving room to reach a safe ground point on the dead vehicle.
Jump-start alternatives and voltage checks
If there is no second car nearby, use a jump-start power pack that the vehicle manual approves. It is a separate power source, not the same as connecting to another vehicle. After the jump, a voltmeter check can help confirm whether the battery is recovering; a resting 12V battery should read slightly more than 12 volts with the engine off. (Wikipedia)
If that reading stays low after charging, or the car needs repeated jumps, the battery or charging system should be tested. A jump start can get the car moving, but it does not fix a battery that is already failing or a charging system that is not replenishing it.
Frequently asked questions
How do you connect jumper cables for car?
Connect red to the dead battery’s positive (+) terminal first, then red to the donor battery’s positive (+). Next, connect black to the donor battery’s negative (-) terminal, and finish with black on a clean, unpainted engine ground on the dead car. Do not let the clamps touch.
Are jumper cables safe?
They are safe only when the battery is intact, the vehicles are compatible, and the clamps go on in the correct order. A cracked, swollen, leaking, or frozen battery is not a safe candidate. A spark near hydrogen gas can ignite, so grounding away from the battery matters.
How to use jump leads for car
Use the leads only on a 12V system, with the donor vehicle running at idle for a few minutes before starting the disabled car. If the engine only cranks and will not start after a few tries, stop and look for a deeper fault. Repeated jumps point to repair, not another cable attempt.

Hi, I’m Melvin, an automobile engineer with extensive experience in automobile equipment. I currently work for a local automobile firm, where I specialize in the car parts industry. I’ve had the opportunity to collaborate with seasoned inspectors, gaining invaluable hands-on experience that goes beyond just theory.
My passion for automotive care started at a young age, which led me to create CarSpareCare. Through CarSpareCare, I share the knowledge and skills I’ve acquired over the years to help others navigate the world of car maintenance and repairs.
My goal is to provide practical tutorials, essential safety advice, and the latest industry insights so that anyone—whether a beginner or an expert—can confidently tackle their automotive projects.