Remove salt stains from car floor mats by vacuuming first, then wiping rubber mats with mild dish soap and cleaning carpet mats with a 50/50 white vinegar-and-hot-water mix; stop and use extraction if white residue remains after about 2 passes. Salt pulls moisture into the mat, leaves crusty marks, and can speed up carpet wear and odor. This guide separates carpet and rubber methods and explains when DIY cleaning is no longer enough.
How salt stains form
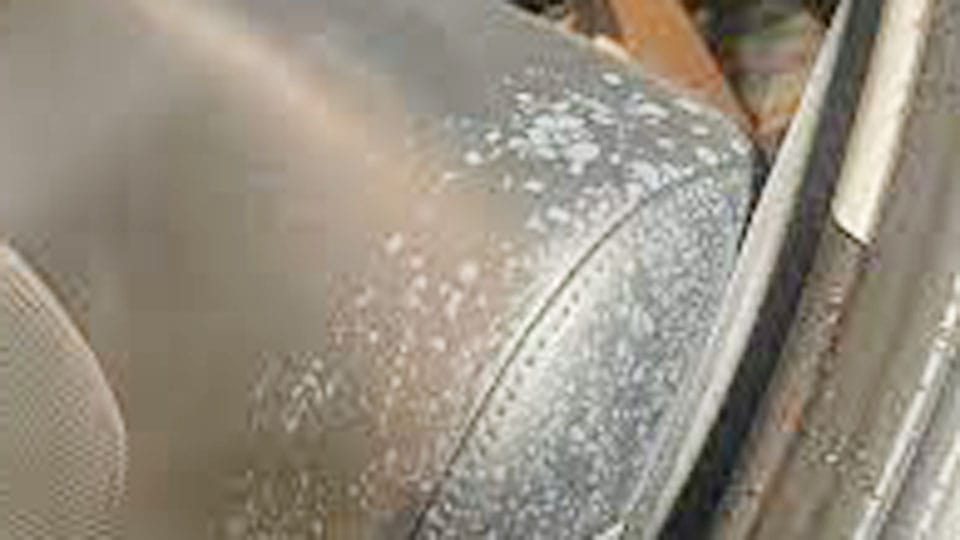
Road salt and other de-icing salt get tracked in on shoes. Once the slush dries, it can leave a white crust on the mat surface and hold moisture in carpet fibers or rubber texture. That lingering dampness can contribute to mildew, and in the vehicle it can also leave the area slippery.
Car floor mats should come out of the vehicle before wet cleaning. That keeps liquid out of the cabin carpet, protects anchors and clips, and makes it easier to tell whether the stain is on the mat surface or wicking up from the backing.
What you’ll need
- Vacuum cleaner or shop vac
- White vinegar
- Hot or warm water
- Spray bottle or bucket
- Soft detailing brush for carpet mats
- Stiff-bristled brush for rubber mats and deep grooves
- Microfiber towels
- Wet/dry vacuum or extractor for carpet mats and damp floor areas
- Mild dish soap for rubber mats
- Optional: baking soda for a backup DIY mix
How do you clean carpet mats?
Vacuum the mat first, then treat the stain with a 50/50 white vinegar-and-hot-water mix. Use a soft brush, blot moisture out, and dry the mat completely before reinstalling it. If the white residue is still there after two passes, the stain may be wicking from the backing and needs extraction rather than harder scrubbing.
- Remove the carpet mat from the vehicle and vacuum both sides.
- Mix equal parts white vinegar and hot water in a spray bottle. A 50/50 blend is the standard DIY mix in competitor guidance.
- Spot-test one hidden corner first for colorfastness.
- Lightly spray the salt stain and wait 2 to 3 minutes for the residue to loosen. (Wikihow)
- Agitate with a soft detailing brush, moving in one direction to avoid fuzzing the fibers.
- Blot with a microfiber towel, then use a wet/dry vacuum or extractor to pull out the moisture.
- Repeat once if needed. Add 1 to 2 more spray passes, then recheck after drying.
If the mat still shows a white ring after drying, do not keep scrubbing the same spot. That usually means salt is sitting deeper in the pile or moving back up from the backing. A common first-timer mistake is soaking the area again and again, which leaves the mat damp long enough for mildew to develop.
Suppose a driver-side carpet mat has a 6-inch salt mark after a snow week. A vinegar pass clears the top crust, but the stain returns at the edges once the mat dries. That pattern points to wicking, so the next step should be extraction and deeper drying, not a stronger brush.
How do you clean rubber mats?
Rubber mats need a different workflow. Shake off loose salt and grit, wash with warm soapy water, brush the grooves, and rinse until no slippery film remains. Keep the water warm rather than hot, and do not put the mat back until it is fully dry.
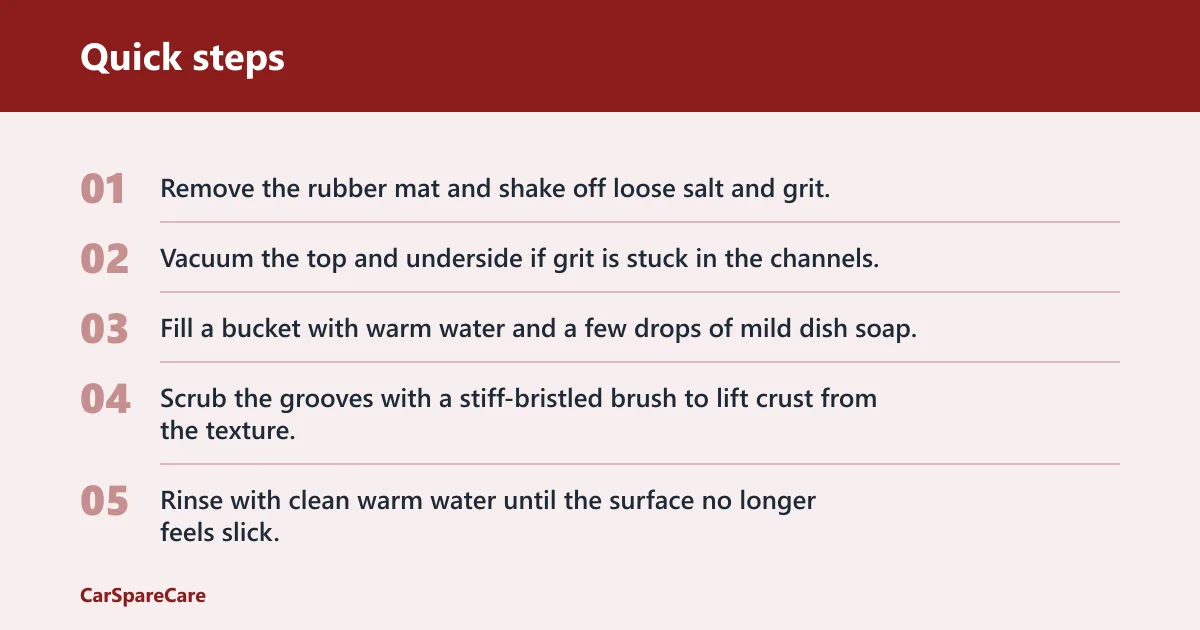
- Remove the rubber mat and shake off loose salt and grit.
- Vacuum the top and underside if grit is stuck in the channels.
- Fill a bucket with warm water and a few drops of mild dish soap.
- Scrub the grooves with a stiff-bristled brush to lift crust from the texture.
- Rinse with clean warm water until the surface no longer feels slick.
- Wipe dry, then air-dry fully before reinstalling.
Do not use hot water on rubber mats unless the product label says it is acceptable. Heat can distort some mats, and a leftover film can make them slippery underfoot. A stiff brush helps on textured rubber, but the goal is to clear the grooves, not rough up the surface.
What if salt returns after drying?
If white residue shows up again after the mat dries, the problem is often wicking from the backing rather than fresh surface dirt. In that case, repeat moisture removal instead of scrubbing harder. For carpet mats, a wet/dry vacuum or extractor is the better next step because it removes liquid from deeper in the pile.
- Let the mat dry fully, then inspect the same spot in daylight.
- Press a dry towel on the area; if it pulls up dampness, the backing is still wet.
- Run a wet/dry vacuum or extractor over the area again.
- Move the mat to a warm, ventilated place until the backing is dry.
- Stop DIY cleaning and move to deeper interior cleaning if the stain keeps returning after about 2 drying cycles.
Mixed road grime can also leave a gray or brown cast over salt. That is a different cleanup problem. If the white crust is gone but the spot remains discolored, a salt-only rinse will not fully fix it.
Salt mat triage table
This table helps you stop at the right point. The safest cleaner depends on the mat material, how deep the stain looks, and whether the salt is returning after drying.
| Mat type | Stain severity | Safest cleaner | Agitation tool | Drying method | Stop-and-escalate trigger |
|---|---|---|---|---|---|
| Carpet mats | Light white crust on top fibers | 50/50 white vinegar and hot water | Soft detailing brush | Blot, then wet/dry vacuum or extractor | White residue still visible after 2 passes |
| Rubber mats | Salt in grooves or on the surface film | Warm water with mild soap | Stiff-bristled brush | Wipe dry, then air-dry fully | Slip still feels present after rinsing |
| Salt wicking back after drying | Stain returns at edges or the same center point | Extraction only, then deeper drying | Minimal brushing | Wet/dry vacuum or extractor, then ventilated drying | Reappears after 2 drying cycles or spreads into floor carpet |
Common mistakes
Do not clean the mats while they are still in the vehicle. That can soak the floor carpet and hide whether the stain is on the mat or below it. Do not use bleach on salt stains, and do not leave a damp carpet mat in place for more than a day.
Over-wetting is another common problem. Carpet backing can hold moisture longer than the face fibers, so a mat may feel dry on top and still be wet underneath. Heat can also make stains permanent, so avoid aggressive drying that bakes the residue in place.
One more miss: brushing carpet too hard. Salt crust may feel stubborn, but a stiff brush can fuzz the fibers. Save the stiff-bristle tool for rubber mats and use a softer brush on carpet unless the mat manufacturer says otherwise.
How to prevent winter salt buildup
Prevention starts with faster cleanup after storms. Knock out loose slush as soon as you notice it, and use all-weather floor mats if winter salt is a regular issue. Entry mats outside the vehicle also help reduce how much de-icing salt gets tracked onto the floor mats in the first place.
Keeping the cabin drier matters too. Wet mats left in place invite odor and mildew, especially if the carpet backing stays damp. The sooner you remove slush and dry the mats, the less likely salt is to crust up again.
Frequently asked questions
Can vinegar remove salt stains from car mats?
Yes, vinegar can help dissolve salt residue on carpet mats when mixed with hot or warm water, commonly at a 50/50 ratio. Spot-test first for dye stability. It is less useful as the main cleaner for rubber mats, where soap and rinsing work better.
Do I need a wet/dry vacuum for salt stains in car carpet?
It is strongly recommended for carpet mats and any damp floor area after cleaning. A wet/dry vacuum or extractor removes moisture from the backing instead of leaving it behind. That matters when the stain keeps reappearing after drying or when the mat feels damp under the surface.
What removes salt stains from car carpet?
A vinegar rinse is the best first DIY step for carpet mats because it helps loosen the crusty residue. Use a soft brush, then extract the moisture. If the stain stays after two passes, move to deeper extraction rather than adding more liquid.

Hi, I’m Melvin, an automobile engineer with extensive experience in automobile equipment. I currently work for a local automobile firm, where I specialize in the car parts industry. I’ve had the opportunity to collaborate with seasoned inspectors, gaining invaluable hands-on experience that goes beyond just theory.
My passion for automotive care started at a young age, which led me to create CarSpareCare. Through CarSpareCare, I share the knowledge and skills I’ve acquired over the years to help others navigate the world of car maintenance and repairs.
My goal is to provide practical tutorials, essential safety advice, and the latest industry insights so that anyone—whether a beginner or an expert—can confidently tackle their automotive projects.