
Wash road-trip paint in this order: rinse, pre-wash, hand wash, remove bugs, tar, and salt, clay only if the surface still feels rough, then dry and reapply protection within about 24–48 hours. Skip that order and grit can grind into the clear coat, leave stains, and turn removable contamination into scratches or etching. This guide shows how to identify what stuck, remove it safely, and restore wax or sealant before the next drive.
What road trips leave behind
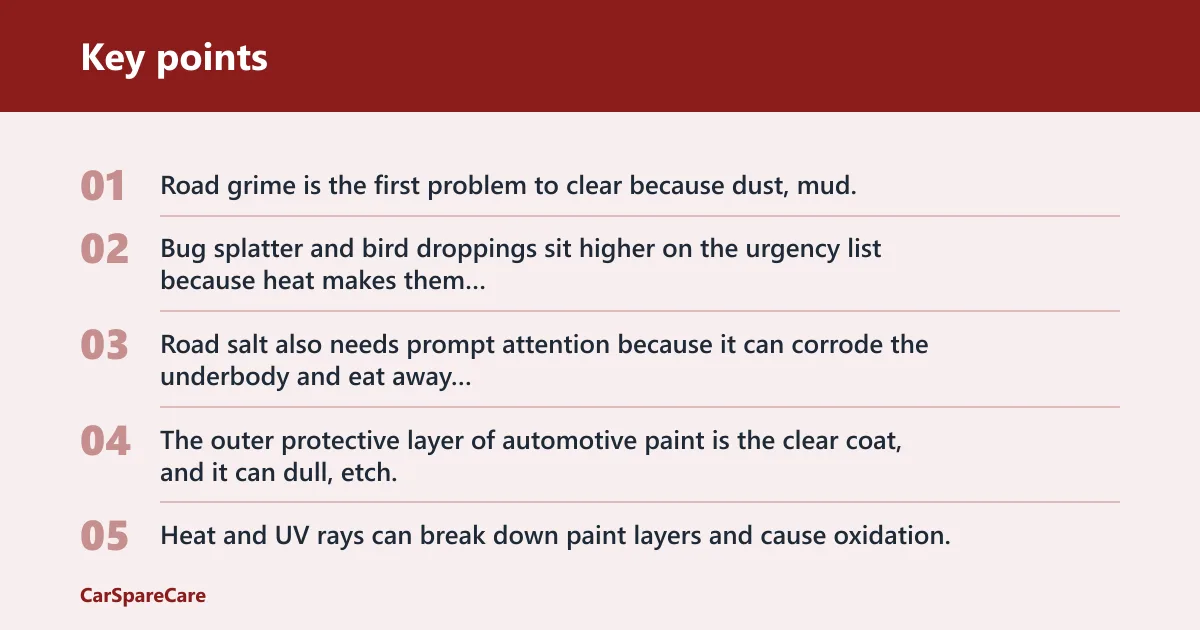
Road grime is the first problem to clear because dust, mud, and debris can scratch paint if you rub them dry. Bug splatter and bird droppings sit higher on the urgency list because heat makes them harder to remove, and bird droppings can etch paint if left too long in the sun. Road salt also needs prompt attention because it can corrode the underbody and eat away at paint if not washed off.
The outer protective layer of automotive paint is the clear coat, and it can dull, etch, or crack when contamination stays on it. Heat and UV rays can break down paint layers and cause oxidation, while sticky contaminants cling harder in hot weather. That is why the safest order starts with lift-off, not wiping.
Why the order matters
Fresh contamination is easier to remove than baked-on residue. That changes the product choice, the dwell time, and how much pressure you should use. If you start with a towel on dry grit, dust dragged across paint can create micro-scratches. If you start with the right rinse, you lower that risk before anything touches the clear coat.
What you’ll need before you wash
- Two buckets with grit guards, or one bucket and a dedicated rinse bucket
- pH-balanced car shampoo
- Clean microfiber wash mitts
- Several microfiber towels for drying and spot lifting
- Bug remover
- Tar remover
- Dedicated tree sap remover
- Soft drying aid or spray sealant, if you already use one
- Wax or sealant for the protection reset
- Hose or pressure sprayer for pre-rinse
- Clay bar only for rough paint that stays contaminated after washing
Road trip paint triage checklist
| Contaminant type | Safest first move | When to escalate |
|---|---|---|
| Fresh bug splatter | Soak with bug remover or pH-balanced shampoo, then lift with microfiber | If it is baked on after heat exposure, repeat with longer dwell time before a second gentle wipe |
| Baked-on bug splatter | Use bug remover, short dwell, then soft microfiber wiping | If stains remain, use a clay bar only after washing |
| Bird droppings | Moisten, lift with microfiber, and rinse the panel | If etching or a shadow remains, seek paint correction |
| Tree sap | Apply dedicated sap remover to a microfiber towel and hold it on the spot briefly | If the resin stays bonded, repeat once; then stop before scrubbing |
| Road salt | Rinse the full body, wheel arches, and underbody after winter travel | If residue is still visible, wash again with shampoo and rinse thoroughly |
| Water spots | Wash and dry first, then inspect for mineral rings | If rings remain, use a water-spot remover; drying alone will not remove them |
| Tar | Use tar remover on a microfiber towel, then wipe gently | If a smear remains, repeat once before claying |
Fresh versus baked-on residue
Fresh residue usually needs less dwell time and less product. Baked-on contamination needs patience, not pressure. If heat has hardened the spot, let the cleaner sit for the label’s shortest recommended contact time, then wipe lightly. Suppose a front bumper has fresh bug spatter from a 200-mile highway run in warm weather. A short dwell and one gentle pass can be enough, while the same spot left until the next day may need a second round.
How do you clean road grime without scratching paint?
Start with a full pre-rinse, then wash from top to bottom with pH-balanced car shampoo and a clean microfiber mitt. That lifts dust, mud, and debris before any towel touches dry paint. Rinse often so grit does not stay trapped in the mitt and drag across the clear coat.
- Park in shade and let hot panels cool fully before washing.
- Rinse the roof, glass, hood, and sides from top to bottom.
- Fill one bucket with shampoo mix and one with clean rinse water.
- Wash one panel at a time with a microfiber mitt.
- Rinse the mitt after each panel.
- Rinse the car again before drying.
A common first-timer mistake is wiping dry dust with a single cloth. That turns loose grit into scratch marks. Soft-cloth or touchless car washes are safer choices than old-style brush washes if you cannot hand wash right away.
How do you remove bugs, bird droppings, sap, and tar?
Start with the gentlest method that will free the residue. Fresh bug splatter and bird droppings should be softened first, not scrubbed. Tree sap and tar usually need a dedicated remover because they bond to the surface. Road salt should be rinsed thoroughly after winter travel because it can affect paint and the underbody.
- Lay a damp microfiber towel over the spot for 30 to 60 seconds.
- For bugs, mist bug remover and let it dwell for the label time.
- For bird droppings, lift straight up with microfiber, then rinse.
- For sap, apply dedicated remover to the towel, then press and wipe gently.
- For tar, use tar remover the same way, with one short pass.
- For road salt, rinse the lower body, wheel wells, and underbody, then wash again.
Bird droppings can etch paint if left too long in the sun. Tree sap can bond to the surface and damage the finish over time. Heat makes sticky contaminants cling harder to the surface, so park in shade if you need a few minutes before washing.
Say your hood picked up sap near a tree-lined rest stop and the car sat in full sun for two hours. The spot is still raised, but it feels sticky, not hard. A dedicated remover on microfiber, then a gentle wipe, is safer than trying to chip it off with a fingernail.
How do you dry a car without water spots?
Use a clean microfiber drying towel and blot or drag it lightly with almost no pressure. Water spots are mineral deposits that can etch into paint when they dry, so a thorough dry matters after every wash. Drying alone will not remove spots that have already formed.
- Fold the towel into multiple clean sections.
- Blot the roof, hood, and glass first.
- Pat the mirrors, trim edges, and door handles.
- Flip to a dry side when the towel loads up.
- Inspect each panel under angled light for mineral rings.
If spots are already there, use a water-spot remover instead of adding more drying passes. More rubbing only spreads the minerals or adds marring. Picture a white sedan that dried in direct sun after a mountain drive. The film looks clean, but round rings remain on the doors. That is a mineral-removal job, not a towel-only job.
When should you reapply wax or sealant?
Run the protection reset after cleaning if beading has weakened, the surface feels less slick, or the trip exposed the car to heavy sun, salt, or repeated highway grime. Wax every 3 to 6 months is a common maintenance window, and some advice recommends washing every two weeks and waxing every three months. Match the interval to the product type and exposure, not the calendar alone.
- Wash the car fully and dry it.
- Inspect the paint under daylight or a bright garage light.
- Feel for roughness and look for missed residue.
- Apply wax or sealant according to the label directions.
- Buff with a clean microfiber towel.
The wax layer is a protective barrier against UV and contaminants, and it helps maintain gloss after washing. If the paint still beads well and feels slick, you may only need a top-up on the front end, mirror caps, and hood after a harsh trip. A practical top-up is one panel at a time, then recheck beading before moving on.
Common mistakes
Wiping dry dust or grit causes micro-scratches. Use a rinse first. Dirty sponges and rough cloths hold debris against the clear coat. Replace them with clean microfiber. Leaving bugs, sap, bird droppings, or road salt to sit lets heat and chemistry do more damage. Skipping the final inspection leaves mineral spots, missed tar, or dull patches behind.
Another mistake is using household cleaners on paint. They are not made for automotive clear coat and can strip or haze protection. Keep the wash chemistry simple: pH-balanced shampoo, dedicated spot treatment where needed, then a fresh layer of wax or sealant if the old protection is weak.
If that didn’t work, seek detailing help
If residue remains after the wash-and-lift process, do not keep scrubbing. A stubborn bonded spot may need machine paint correction, especially if you can see dull halos, etched bird-dropping marks, or a rough patch that does not clear after claying. Brake fluid is a different emergency entirely: it can cause paint to bubble or peel, so that needs immediate professional attention.
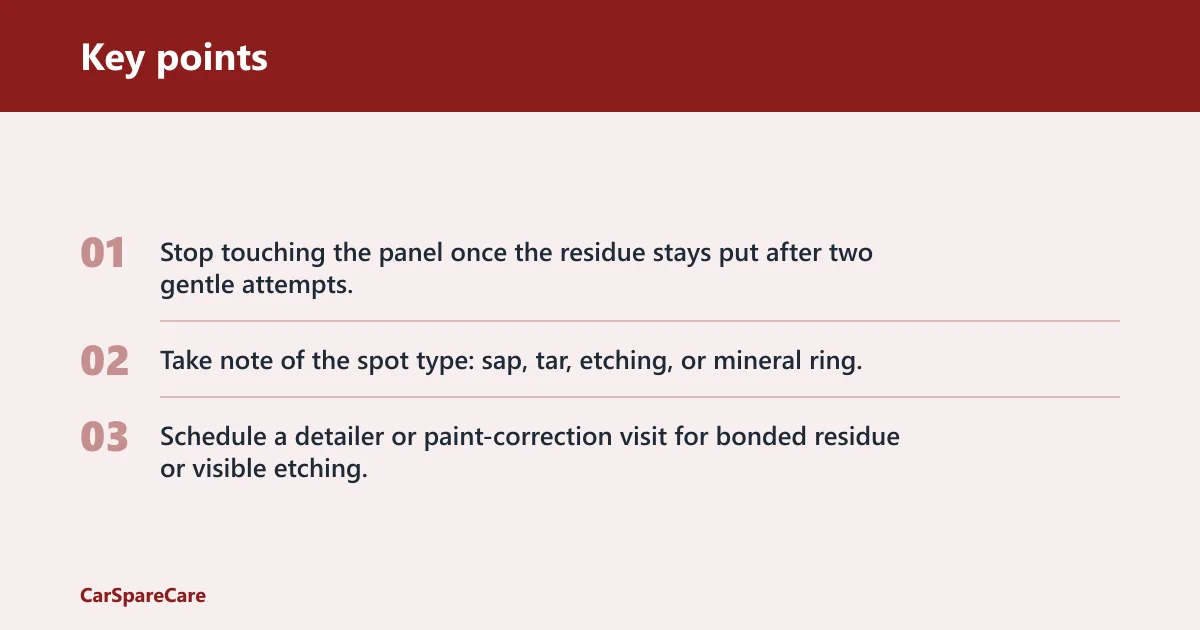
- Stop touching the panel once the residue stays put after two gentle attempts.
- Take note of the spot type: sap, tar, etching, or mineral ring.
- Schedule a detailer or paint-correction visit for bonded residue or visible etching.
What if the car was washed but a section still feels rough? Clay that area only after the wash is complete, then rewash and dry before protection. If the roughness stays after claying, that is a sign the contamination is bonded more deeply than routine washing can solve.
Frequently asked questions
How to keep car paint looking new after a road trip
Rinse first, wash with pH-balanced shampoo, dry with microfiber, and reapply wax or sealant if beading has faded. The biggest gains come from removing bugs, salt, sap, and droppings before they bake on. Shade parking helps too, because heat speeds up staining and bonding.
How to protect car paint after driving long distances
Do the protection reset after the wash. Inspect the surface, clean any leftover residue, then add wax or sealant according to the product label. For heavy highway use, recheck the front bumper and hood first, since those panels take the most impact from bugs and grit.
How to wash a car without scratching the paint after a trip
Use a pre-rinse, a two-bucket method, and a clean microfiber mitt. Work top to bottom and rinse the mitt often so grit does not move back onto the panel. Soft-cloth or touchless car washes are safer than old-style brush washes if you are short on time.
How to dry a car without water spots after washing
Dry immediately with a clean microfiber towel and blot high-load areas first. Water spots are mineral deposits, so if rings appear after drying, you need a spot remover rather than more towel work. Inspect under angled light before putting the car away.
How to remove bird droppings from car paint safely
Moisten the area, lift the droppings with microfiber, and rinse right away. Do not scrub a dry spot, especially in sun, because bird droppings can etch paint if left too long. If a shadow remains, move to a paint-safe cleaner or detailer.
How often should you wax a car after road trips?
A common window is every 3 to 6 months, with some advice pointing to every three months for exposed vehicles. If the car sees long trips, winter salt, or strong sun, check the beading sooner. When water stops beading and the paint feels less slick, it is time.

Hi, I’m Melvin, an automobile engineer with extensive experience in automobile equipment. I currently work for a local automobile firm, where I specialize in the car parts industry. I’ve had the opportunity to collaborate with seasoned inspectors, gaining invaluable hands-on experience that goes beyond just theory.
My passion for automotive care started at a young age, which led me to create CarSpareCare. Through CarSpareCare, I share the knowledge and skills I’ve acquired over the years to help others navigate the world of car maintenance and repairs.
My goal is to provide practical tutorials, essential safety advice, and the latest industry insights so that anyone—whether a beginner or an expert—can confidently tackle their automotive projects.

