

Test spark plugs for wear by checking the electrodes, measuring the gap against the service spec, and using a multimeter for resistance on resistor plugs; replace any plug with heavy erosion, cracked insulator, oil fouling, or a gap beyond spec. Missed wear can keep a misfire alive, waste fuel, and damage the ignition system or catalytic converter. This guide shows a simple at-home process to tell normal aging from fouling or electrical failure.
What you’ll need
- Spark plug socket in the correct size
- Extension and ratchet
- Insulated pliers for safe handling during grounding checks
- Gap gauge
- Multimeter with an ohms setting
- Clean work surface or tray for keeping each plug in order
- Service information for the engine’s plug type and gap spec
- Flashlight or bright work light
Start with symptoms, then inspect the removed plugs as a set. Rough idling, difficult starting, weak acceleration, and a check-engine light are common reasons to look sooner than the service interval. One plug that looks different from the others often points to a single-cylinder issue, not general age.
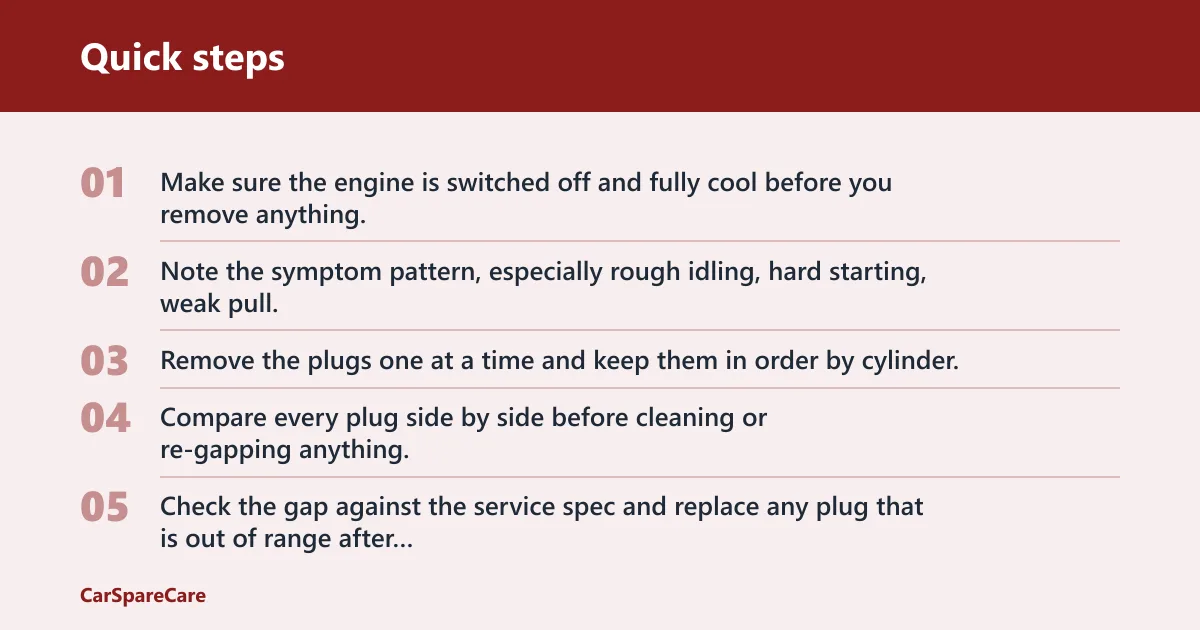
- Make sure the engine is switched off and fully cool before you remove anything.
- Note the symptom pattern, especially rough idling, hard starting, weak pull, or a check-engine light.
- Remove the plugs one at a time and keep them in order by cylinder.
- Compare every plug side by side before cleaning or re-gapping anything.
- Check the gap against the service spec and replace any plug that is out of range after wear is visible.
Compare the whole set
A single worn plug matters more when it differs from the rest. A normal set usually ages in a similar way, though one cylinder can run hotter, richer, or leak oil and show different wear. That difference helps separate normal service life from a cylinder-specific fault that needs more diagnosis.
Say one plug in a four-cylinder engine has a noticeably wider gap, a rounded ground electrode, and dark deposits while the other three still look even. That plug is not aging at the same rate. The cylinder may have its own ignition or engine issue, so replacement alone may not solve the fault.
How do you inspect a removed spark plug?
Inspect the plug after removing it carefully, then read the center electrode, ground electrode, terminal, shell, and ceramic insulator as one set of clues. Look for wear shape, heat marks, fouling, and damage. Compare those clues with the other plugs from the same engine before deciding whether to clean, replace, or keep diagnosing.
Check the center and ground electrodes
The center electrode and ground electrode should have clean edges and a gap that still matches the spec. Rounded edges, heavy erosion, or a gap that has opened up point to wear. If the fine edge is gone or the metal is badly shortened, replacement is the safer choice.
Read the insulator and terminal
The ceramic insulator should be intact, not cracked or carbon-tracked. Heat staining, chips, and black tracking lines can point to failure under load or poor sealing around the plug. The terminal and shell can also show corrosion or heat marks that suggest trouble at the wire or boot connection.
Inspect the wire or boot too
Look at the spark plug wire or boot for cracks, cuts, scorch marks, and corrosion at contact points. A damaged high-voltage lead can mimic plug trouble and cause an erratic idle or misfire. If the boot is loose or the terminal looks corroded, fix that before blaming the plug alone.
How to test spark plugs with a multimeter
A multimeter helps on the bench, not in the cylinder. Set it to measure resistance in ohms, then use it to check a resistor plug for continuity or an open circuit across the parts the design allows. It can reveal an internal break or abnormal resistance, but it cannot simulate cylinder pressure or combustion conditions.
Measure only what the plug design allows
Modern resistor plugs contain an internal resistor between the terminal and center electrode. Resistance between those points varies by plug design, so do not compare every plug to one universal number. Use the manufacturer spec for the exact plug style when it is available.
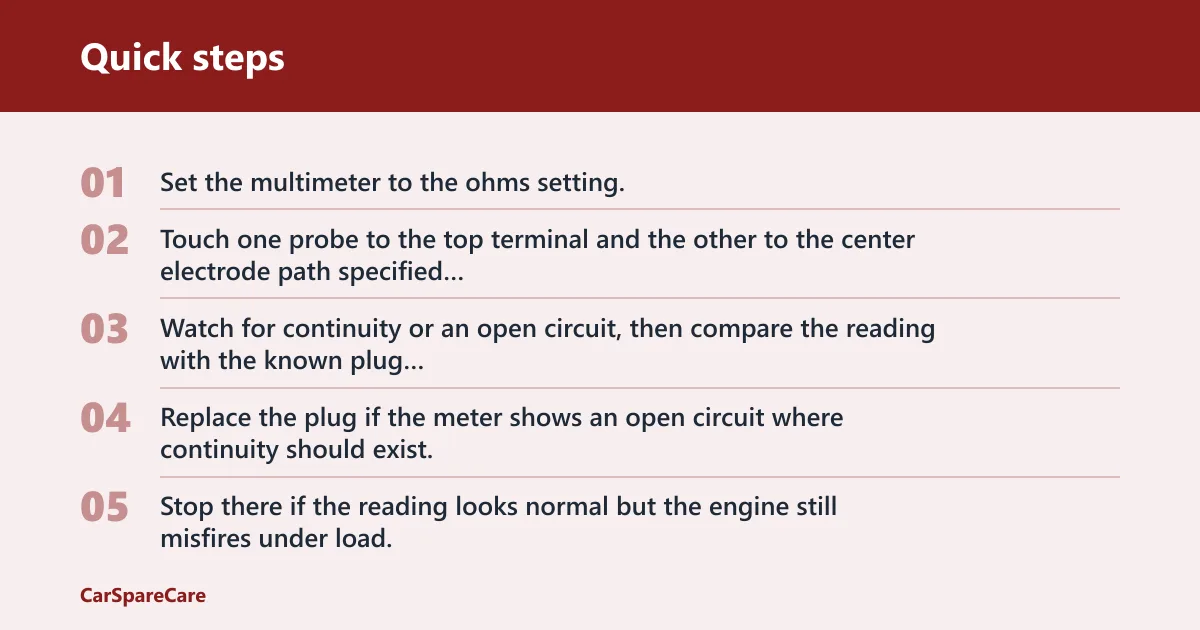
- Set the multimeter to the ohms setting.
- Touch one probe to the top terminal and the other to the center electrode path specified by the plug design.
- Watch for continuity or an open circuit, then compare the reading with the known plug type.
- Replace the plug if the meter shows an open circuit where continuity should exist, or a reading that is far outside the expected pattern for that design.
- Stop there if the reading looks normal but the engine still misfires under load, because the meter cannot duplicate combustion pressure.
Suppose a resistor plug reads within spec on the bench but the engine still stumbles under acceleration. That does not clear the plug by itself. The fault may show only when cylinder pressure rises, or the problem may sit in the coil, wire, boot, fuel delivery, or engine management.
Spark plug wear decision table
| Symptom | Visual clue | Likely cause | Test to run next | Action |
|---|---|---|---|---|
| Normal wear | Even light discoloration, rounded edges starting to show, gap still near spec | Normal service life | Gap gauge and compare all plugs side by side | Replace at the service interval, or sooner if the gap is out of spec |
| Fouling | Dry black soot or heavy deposits on the tip | Too much fuel, weak spark, or short-trip driving | Inspect wire, boot, and cylinder-specific misfire codes | Replace the plug; clean only if the deposit is light and the plug is otherwise sound |
| Oil ash | Wet oily film or baked ash on the firing end | Oil entering the chamber | Check valve cover seals, rings, and PCV-related issues | Replace the plug and correct the oil source before fitting another set |
| Electrode rounding | Sharp edges worn smooth, gap opened up | Age and heat erosion | Measure the gap and compare with the other plugs | Replace the set if wear is even, or the odd plug if only one cylinder differs |
| Cracked insulator | Chip, crack, or carbon track on the ceramic | Physical damage or electrical tracking | Replace and inspect the boot and wire for marks | Replace immediately; do not reuse or clean |
| Isolated cylinder misfire | One plug looks different from the rest | Single-cylinder wear or a separate ignition issue | Swap coil or wire if the design allows, then retest | Replace the plug if worn; continue diagnosis if the fault follows the coil or wire |
What common mistakes should you avoid?
Do not treat every dirty plug as reusable. Fouling, cracked ceramic, or a badly opened gap usually means replacement, not aggressive cleaning. Fine-wire platinum and iridium plugs deserve extra care; they can be damaged by rough brushing or careless re-gapping.
Do not mix up plug wear and other ignition faults
A bad spark plug wire can cause an erratic idle and engine misfire, and a corroded boot can do the same. If the plug looks normal but the misfire stays on one cylinder, inspect the wire, boot connection, and coil path before blaming the plug again.
Do not reinstall a plug out of spec
If the gap is outside the service spec after inspection, replace the plug or the whole set rather than forcing a correction on a damaged tip. A plug that passes resistance testing can still misfire under load, so a normal meter reading does not override visible wear or gap drift.
When should you replace the plug instead of cleaning it?
Replace the plug when the ceramic is cracked, the electrodes are heavily eroded, the gap is out of spec, or the firing end is oil fouled. Cleaning is only reasonable for light dry deposits on an otherwise sound plug. Heavy fouling or physical damage should end the decision there.
Use service intervals and symptom checks together
Follow the manufacturer recommendation for the service interval, but inspect sooner if the engine starts rough, idles poorly, loses acceleration, or lights the check-engine lamp. Early inspection matters when only one cylinder acts up, because a single worn plug can hide a larger ignition or engine problem.
Replace the whole set when wear is even
If all plugs show similar erosion and the engine has reached the interval, replace them as a set. That keeps the ignition demand even across cylinders. If only one plug looks different, replace that plug and keep diagnosing the cylinder if the symptom returns.
Frequently asked questions
How do I know if my spark plugs are worn?
Worn plugs usually show rounded electrodes, a gap that has grown beyond spec, or deposits on the firing end. The engine may also idle roughly, start hard, or feel weak under acceleration. Compare all plugs from the same engine so one cylinder with faster wear stands out.
Can I test a spark plug with a multimeter?
Yes, if the plug is removed and you set the meter to ohms. On resistor plugs, the meter can show the internal resistor path or reveal an open circuit. It cannot tell you how the plug will behave under cylinder pressure, so a good reading does not end the diagnosis.
What does a worn spark plug look like?
A worn plug often has rounded electrodes, a widened gap, and lighter or darker deposits than the others. The insulator may still be intact, but the edge detail is gone. If the ceramic is cracked or tracked, that is damage, not normal wear, and replacement is the right call.
Should I replace spark plugs if they are fouled?
Yes, if the fouling is heavy, oily, or baked on. Light dry soot may come from a separate running issue, but a heavily fouled plug is rarely worth saving. Replace it, then inspect the wire, boot, and cylinder condition so the new plug does not foul again.
How do I test a spark plug safely at home?
Begin with the engine off and cool, then remove the plug with the correct socket and extension. Hold the plug with insulated pliers during a grounding check, keep fuel vapors away, and use only a brief spark test. If the spark is weak or absent, replace the plug rather than forcing more tests.
What symptoms mean spark plugs need checking?
Rough idling, difficult starting, weak acceleration, higher fuel consumption, and a check-engine light are the common signs. Check the plugs sooner if the symptom is limited to one cylinder, because that pattern often points to a single worn plug, a bad wire, or a separate ignition fault.

Hi, I’m Melvin, an automobile engineer with extensive experience in automobile equipment. I currently work for a local automobile firm, where I specialize in the car parts industry. I’ve had the opportunity to collaborate with seasoned inspectors, gaining invaluable hands-on experience that goes beyond just theory.
My passion for automotive care started at a young age, which led me to create CarSpareCare. Through CarSpareCare, I share the knowledge and skills I’ve acquired over the years to help others navigate the world of car maintenance and repairs.
My goal is to provide practical tutorials, essential safety advice, and the latest industry insights so that anyone—whether a beginner or an expert—can confidently tackle their automotive projects.

