Clean car sun visors with a dry microfiber cloth first, then use a barely damp cloth with mild soap for fabric, vinyl, or mirror areas. Stop before you soak seams or backing. Bad cleaning can stain fabric, loosen foam, warp trim, or cause sagging that is hard to fix. This guide covers safe steps by visor material, plus what to do with mirrors, stains, and drooping visors.
What to check before you clean
Start by identifying the surface you are touching. Fabric and foam-backed cloth can hold moisture, vinyl usually tolerates a little more, and mirror-equipped or lighted visors need extra care around frames, labels, and wiring.
Identify the visor material
Run a dry finger over the face of the visor and look at the edges. If it feels cushioned, foam padding may be inside, which means liquid can move into the core and swell or distort it. If it wipes like plastic, it is more likely vinyl or a coated surface.
A soft cloth face with stitching usually means fabric or foam-backed cloth. A hard, smooth face is more likely vinyl. If there is a mirror, check whether it is plain, framed, or paired with a light and switch before any liquid touches it.
Spot damage, sagging, or loose stitching
Look for loose seams, lifted adhesive labels, soft spots, water marks, or a visor that droops when you lower it. Those are warning signs. Cleaning can make weak glue, warped cardboard cores, or loosened stitching worse if the visor is already damaged.
Picture a 10-year-old visor with a soft center and a seam opening near the mirror frame. That is not a normal cleaning job. Wiping lightly is fine, but if the foam feels spongy or the hinge no longer holds position, stop and plan for repair or replacement.
Decide whether to clean in place or stop
If the visor is only dusty or lightly soiled, clean it in place. If grime sits in seams, around a vanity mirror, or under a lighted cover, you can still clean it in place, but work in small sections and keep liquid to a minimum. Remove the visor only if access is blocked or the hardware is already failing.
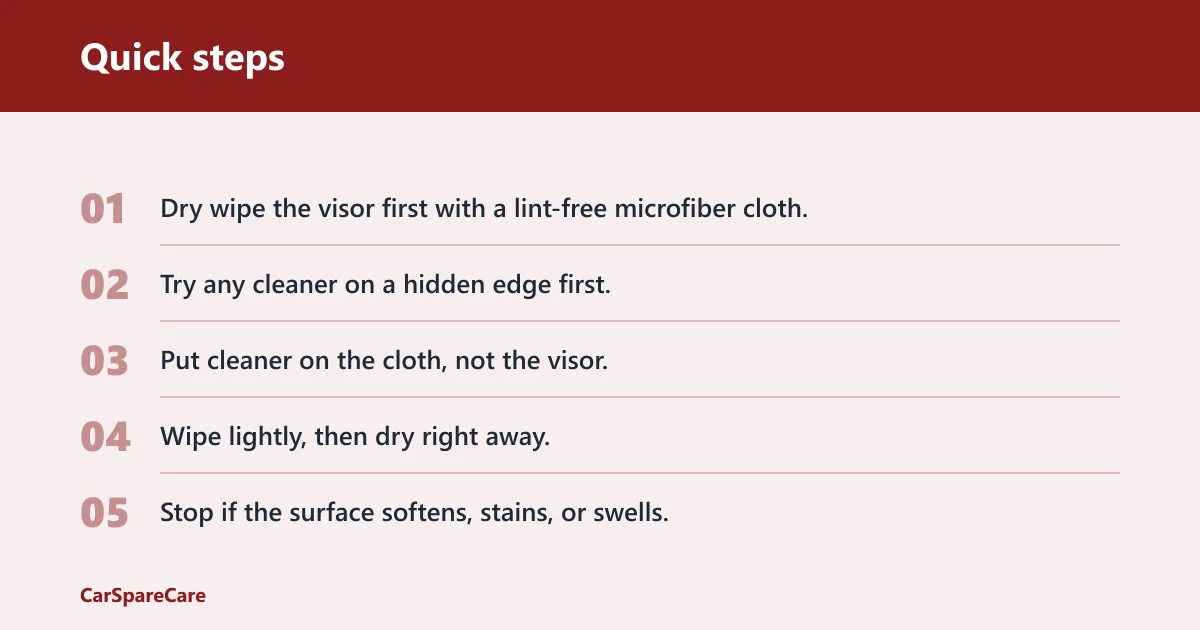
- Dry wipe the visor first with a lint-free microfiber cloth.
- Try any cleaner on a hidden edge first.
- Put cleaner on the cloth, not the visor.
- Wipe lightly, then dry right away.
- Stop if the surface softens, stains, or swells.
Sun visor cleaner table
| Visor type | Safe first-step cleaner | Unsafe cleaners | When to stop cleaning and repair or replace |
|---|---|---|---|
| Fabric | Dry microfiber, then a damp microfiber with warm water; add mild soap only for general grime | Paper towels, abrasive wipes, soaking, heavy alcohol use, hydrogen peroxide as a default | Stop if the cloth face pills, fades, frays, or the core feels soft |
| Vinyl | Damp microfiber with warm water; mild soap for sticky grime; light isopropyl alcohol only where the finish tolerates it | Scouring pads, strong solvent sprays, direct alcohol spraying, hydrogen peroxide on colored trim | Stop if the surface cracks, turns cloudy, or the edge trim lifts |
| Foam-backed cloth | Very lightly damp microfiber with warm water; minimal mild soap on the cloth for spots | Soaking, repeated wet passes, blasting with compressed air, excess detergent, heavy alcohol | Stop if the visor feels heavy, soft, warped, or keeps spotting after drying |
| Mirror-equipped and lighted | Dry microfiber first; damp microfiber around the frame; cotton swab for corners; compressed air from a distance for dust | Liquid near the lamp opening, direct spraying, abrasive cloths, forcing swabs into wiring gaps | Stop if the mirror loosens, the light flickers, or moisture reaches the housing |
Use that table as your filter. A dry microfiber cloth is the default tool because it is lint-free and gentle on delicate surfaces. Paper should never be used on optical surfaces because it is abrasive, and that caution fits mirrors and clear lens covers here as well.
Can you use water on a sun visor?
Warm water can often be enough for dust, fingerprints, and light grime. Use it on a microfiber cloth that is damp, not dripping wet, and keep it away from foam layers, seams, and hinge openings. If the visor is only slightly dirty, water is the safest first step.
When warm water is enough
Use warm water first when the stain is fresh, the visor is only dusty, or the face material looks intact. A microfiber cloth with warm water often lifts ordinary road film without adding cleaner that can leave residue or discolor trim.
A common first-timer mistake is assuming more liquid means faster cleaning. It does not. More liquid raises the chance of rings, seam swelling, and glue failure, especially on foam-backed cloth or around mirror housings.
How damp is damp enough
The cloth should feel slightly cool and moist, not wet enough to leave drops. If you can press it and see liquid run out, it is too wet. Keep a lint-free drying towel ready so you can dry each section right after wiping.
That matters because foam padding can absorb moisture and swell. A visor that feels cushioned is especially vulnerable. If moisture reaches the core, the face can wrinkle, the hinge area can weaken, and the visor may later sag.
Why soaking causes problems
Soaking pushes liquid into seams, stitching, labels, and backing layers. It can leave water spots, loosen adhesive, and mark fabric with rings that return after drying. If the visor has a mirror or lighted switch, excess moisture can also move into the housing.
If you need more than one light pass to remove grime, pause and let the area dry between passes. That is better than chasing a stain with repeated wet scrubbing.
Which cleaners are safe, and which are not?
Use the mildest cleaner that works. Warm water is the starting point. Mild soap or detergent in warm water is the next step for general dirt. Isopropyl alcohol belongs near the top of the list for specific materials only, not as a default cleaner.
Mild soap or detergent
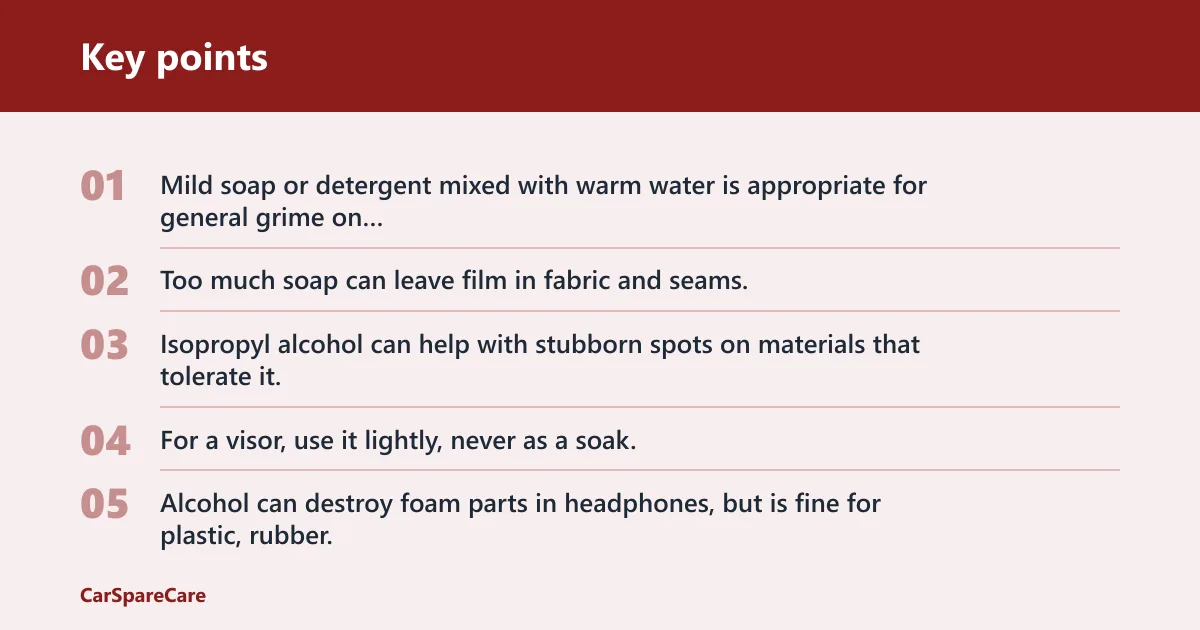
Mild soap or detergent mixed with warm water is appropriate for general grime on delicate surfaces when water alone is not enough. Use very little. Too much soap can leave film in fabric and seams, so wring the cloth well and wipe again with plain damp water if residue remains.
Isopropyl alcohol
Isopropyl alcohol can help with stubborn spots on materials that tolerate it, and a 70% solution is recommended for some laptop cleanup. For a visor, use it lightly, never as a soak, and never spray it directly onto the surface. Put a small amount on the cloth first.
Alcohol can damage some finishes and foam. Alcohol can destroy foam parts in headphones, but is fine for plastic, rubber, or silicone. That same caution applies here: keep it away from foam-backed cloth and try a hidden area before you touch a visible section.
Hydrogen peroxide
Hydrogen peroxide can remove some set-in grime, but it is a stronger cleaner and can bleach or discolor fabric, stitching, or printed labels. It should not be your first choice for a sun visor. Use it only when you already know the material can tolerate stronger treatment.
What to avoid on delicate finishes
Avoid abrasive wipes, paper towels, and rough scrubbing. Paper should never be used on optical surfaces because it is abrasive, and mirrors inside visors deserve the same care. Avoid direct spraying of any cleaner onto the visor; Apple says never spray liquid directly on the computer, and the same logic applies to electronics and sensitive trim here.
Do not use compressed air as a blasting method. Compressed air can be used on laptop vents and ports from a distance, and the distance rule matters here too. Too close, and it can push dust deeper into seams or force debris around the mirror frame.
How do you clean seams, mirrors, and edges?
Use small tools with light pressure. Seams, mirror corners, stitching, and lighted switches collect grime where a cloth cannot reach, but those areas are also where damage happens first if you scrub too hard or flood the edge with liquid.
Use cotton swabs for tight corners
Cotton swabs work well for mirror edges, stitched seams, and tiny corners. Keep them barely moist. Too much liquid on the swab can wick into fabric or slip behind adhesive labels. Replace the swab often so you are lifting dirt instead of moving it around.
Use a soft toothbrush on textured grime
A soft toothbrush can lift dirt from textured edges and seams when paired with mild cleaner. Use a soft-bristled brush only, and brush lightly. Hard bristles can fray fabric, disturb stitching, or scratch a vinyl edge, especially near corners that already flex.
Handle mirror frames and lighted parts carefully
For a vanity mirror, clean the frame first, then the mirror face, then the hinge area. Keep liquid away from the lamp opening, switch, and wiring path if the visor has a lighted mirror. If the light flickers after cleaning, stop and let the visor dry before testing again.
Suppose the mirror has dried toothpaste specks around the frame. A cotton swab dampened with warm water and a tiny amount of mild soap can clear the edge without flooding the housing. That is safer than soaking the whole panel.
Use compressed air only at a distance
Compressed air can help dislodge dry dust from seams, mirror edges, and the hinge gap, but keep the nozzle far enough back that it does not blast debris into the visor. Use short bursts, not a sustained stream, and do not aim it into openings that could trap moisture or dust deeper inside.
When should you stop cleaning and repair or replace?
Stop cleaning when the visor shows structural failure. Recurring water spots, loose seams, soft padding, warped edges, or a hinge that no longer holds position point to damage rather than dirt. At that stage, more cleaner can make the problem worse.
Water spots that keep returning
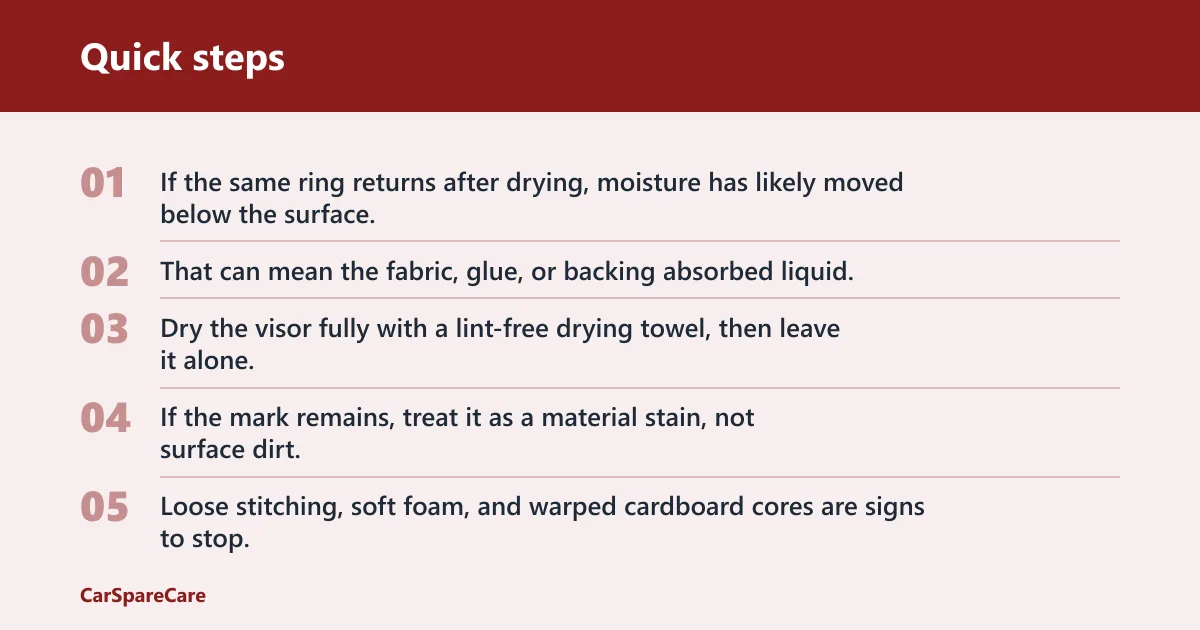
If the same ring returns after drying, moisture has likely moved below the surface. That can mean the fabric, glue, or backing absorbed liquid. Dry the visor fully with a lint-free drying towel, then leave it alone. If the mark remains, treat it as a material stain, not surface dirt.
Loose seams, soft spots, or warped padding
Loose stitching, soft foam, and warped cardboard cores are signs to stop. Those parts usually do not recover from more cleaning. Continued wetting can widen the seam, distort the face, or leave the visor lumpy where it should be flat.
Sagging visors and broken hinges
A sagging visor is often a hardware problem, not a cleaning problem. If it falls down on its own, droops at the pivot, or no longer stays in place, cleaning will not fix the hinge. That is the point to repair, remove, or replace the visor instead of washing it again.
When removal is worth the risk
Removing the visor can help only when you need bench access and the hardware is already coming apart. If the visor is full of liquid damage, has a failing mirror assembly, or is sagging badly, removal may make replacement easier. If it still works and only needs spot cleaning, leave it installed.
How do I clean a car sun visor without damaging it? Start dry, then move to a lightly damp microfiber cloth and mild soap only if needed. Keep liquid off seams and foam, try a hidden spot first, and stop when the surface starts to swell, soften, or stain.
Frequently asked questions
How do I clean a car sun visor without damaging it?
Start with a dry microfiber cloth, then use a barely damp microfiber cloth with warm water for light dirt. Add a small amount of mild soap only if needed. Keep liquid off seams, stitching, mirrors, and lighted openings, and dry the visor right away with a lint-free drying towel.
Can I use water to clean a sun visor?
Yes. Warm water is often enough for dust and light grime when used on a damp, not wet, microfiber cloth. Do not soak the visor or let water run into seams or foam padding. If the material is already soft, warped, or peeling, stop before moisture makes it worse.
What cleaner is safe for cloth sun visors
For cloth visors, start with warm water on a microfiber cloth. If that does not lift the dirt, use a very small amount of mild soap or detergent mixed with warm water. Avoid heavy alcohol use, hydrogen peroxide as a first choice, and anything that leaves the fabric wet for long.
How do I clean a sun visor with a mirror?
Dust the mirror area first with a dry microfiber cloth. Then clean the frame and mirror face with a lightly damp cloth, using cotton swabs for corners and a soft toothbrush for grime in the seam. Keep liquid away from the lamp, switch, and any wiring opening on a lighted visor.
Should I remove the sun visor to clean it?
Usually no. Clean it in place unless grime is trapped in hardware or the visor already has failing seams, a loose mirror assembly, or broken hinges. Removal adds risk because wiring, fasteners, and trim can be damaged. If the visor is sagging, repair or replacement may make more sense than removal for cleaning.
How do I fix a sagging sun visor?
Cleaning does not fix sagging. If the visor droops, the hinge or internal support is failing. Check whether the pivot is loose, the foam is soft, or the core is warped. If it will not hold position after drying, repair or replace the visor rather than trying more cleaner.

Hi, I’m Melvin, an automobile engineer with extensive experience in automobile equipment. I currently work for a local automobile firm, where I specialize in the car parts industry. I’ve had the opportunity to collaborate with seasoned inspectors, gaining invaluable hands-on experience that goes beyond just theory.
My passion for automotive care started at a young age, which led me to create CarSpareCare. Through CarSpareCare, I share the knowledge and skills I’ve acquired over the years to help others navigate the world of car maintenance and repairs.
My goal is to provide practical tutorials, essential safety advice, and the latest industry insights so that anyone—whether a beginner or an expert—can confidently tackle their automotive projects.