Use one lightly damp microfiber to lift grime, then a second dry, low-pile microfiber for the finish. Mist cleaner onto the cloth, not the panel, and work out of direct sun. Bad technique leaves haze, lint, and wipe marks that stand out on black trim. This guide shows the cloth order, product amount, and light sequence that keep black interiors streak-free.
Black trim can show residue more quickly than lighter surfaces because a thin film of cleaner, dust, or skin oil changes how light reflects. Matte plastic usually turns patchy or cloudy. Glossy black trim shows wipe lines and dried product more sharply, especially around the dashboard and trim where hands touch most often.
Why black interiors streak so easily
Dust and grit are part of the problem too. Car interiors collect dust and grit, especially on carpets, which can accelerate wear, and those particles get dragged into nearby plastic or leather if you wipe too early. Vacuum first, then clean, to help avoid scratching and leaving dull tracks that can show up as streaks on black surfaces.
Product residue is another common failure point. Too much cleaner, glossy dressing, or a cloth that is already loaded with grime can leave witness lines that only appear after the panel dries. On black interiors, the fix is usually less product, tighter control, and a dry finish pass.
What should you use first?
Start with a vacuum cleaner with a narrow nozzle, then use a soft brush for vents, seams, and textured trim, and keep a clean microfibre cloth ready for the finish pass. That sequence removes grit before wiping, lowers lint transfer, and keeps abrasive particles out of the cloth so they do not scratch or smear black surfaces.
Vacuum before any wiping
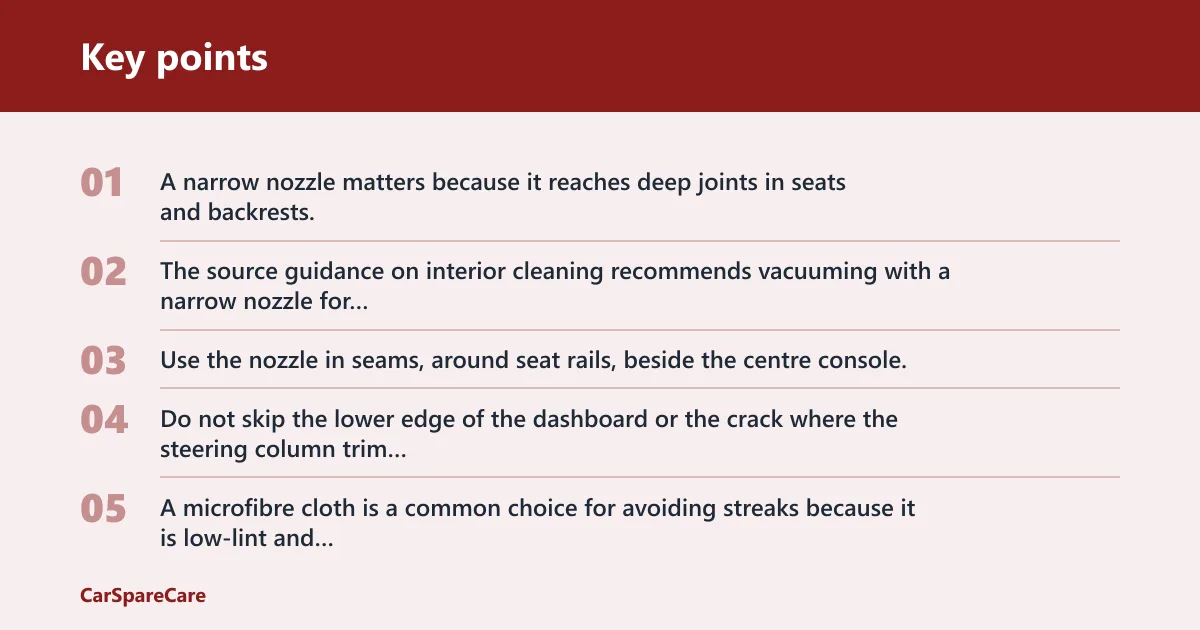
A narrow nozzle matters because it reaches deep joints in seats and backrests, where dust and crumbs hide. The source guidance on interior cleaning recommends vacuuming with a narrow nozzle for those areas, and that advice matters even more on black interiors because loose grit becomes obvious once a wet cloth spreads it around.
Use the nozzle in seams, around seat rails, beside the centre console, and at the base of door pockets. Do not skip the lower edge of the dashboard or the crack where the steering column trim meets the dash; those spots collect dust that later becomes a grey smear on black plastic.
Set up two microfibre cloths
A microfibre cloth is a common choice for avoiding streaks because it is low-lint and can be used with a slightly damp pass. Keep one cloth for lifting residue and a second clean, dry cloth for buffing. Switch to a clean side often, because a dirty fold can re-deposit cleaner and leave haze.
Use low-pile cloths on glossy trim and touchscreen bezels. Higher-pile cloths can move more product than needed and leave fibres behind. If the cloth starts to drag or looks damp with soil, fold to a fresh side or change it.
Use a soft brush where cloths cannot reach
A soft brush works on vents, grain patterns, and seams where a cloth pushes dust deeper instead of lifting it. Keep the bristles non-abrasive. The goal is to loosen debris so the vacuum or cloth can remove it, not to scrub the finish.
Picture a black dashboard with fine grain and a thin line of dust in the vent slots. A dry brush lifts the dust, the vacuum removes the loose particles, and then a small amount of cleaner on a cloth handles fingerprints. That order keeps the panel from turning grey or smeared.
Black interior streak checklist
This checklist is the quickest way to match the surface to the right method. The same cleaner can behave very differently on matte plastic and glossy black trim, so the drying step matters as much as the product choice.
| Surface type | Likely streak cause | Safest cleaner type | Drying / buffing method | Common mistake |
|---|---|---|---|---|
| Matte plastic | Thin residue, cloudy patches | Interior detailer spray, matte finish formula | Wipe with a lightly damp microfibre, then buff dry immediately | Using too much product or a glossy dressing |
| Glossy trim | Wipe lines, towel marks, dried film | Minimal interior detailer spray on the cloth only | Short strokes, then a separate dry cloth side | Letting cleaner dry on the panel |
| Leather | Oiliness, patchy sheen, residue at seams | Label-approved interior detailer spray used sparingly | Wipe, then dry buff before product settles | Soaking seams or over-wiping one spot |
| Cloth and upholstery | Water marks, dark rings, drying lines | Carpet shampoo or upholstery cleaner, light use | Blot and air dry; do not scrub hard | Over-wetting foam or backing |
| Touchscreen bezels | Smears, dust edge lines, finger oil | Very small amount of interior detailer spray on cloth | Wipe once, then dry with a fresh cloth side | Spraying directly at the screen edge |
| Door pull areas | Greasy transfer marks, handprint haze | Interior detailer spray or vinyl cleaner where needed | Two-step wipe: damp pass, then dry buff | Leaving cleaner in the grip recess |
| Headliner | Light patches after stain removal | Minimal moisture only, spot-treated | Press lightly and let it dry fully | Pressing hard or saturating the fabric |
How do you clean the dashboard and trim without haze?
Use interior detailer spray sparingly, apply it to the microfibre cloth rather than the panel, and buff with a dry cloth straight away. Dashboard and trim are high-touch surfaces, so they show streaking easily on black finishes. The safest approach is a controlled wipe, not a wet one.
Work from top surfaces down
Follow a top-first wipe order: upper dashboard, instrument surround, centre stack, door tops, touchpoints, then lower panels and kick areas. That keeps loosened dust from falling onto already-cleaned trim. It also prevents your hand from dragging residue from a lower, dirtier area back across the dash.
Say your dashboard has sunscreen smears near the steering wheel and a dusty vent row above it. Clean the upper vent row first, then the wheel-area touchpoints, then the lower plastic. If you reverse that order, dust from the top can land on the fresh lower wipe and leave a second set of marks.
Use matte formulas on black trim
Prefer matte-finish formulas over glossy dressings on black trim. Glossy products often leave a wet look that reads as streaking under daylight. Matte plastic and glossy trim do not react the same way, so do not treat them the same. Matte plastic needs residue control; glossy trim needs even lighter product use.
For fingerprints and greasy transfer marks, a small amount of interior detailer spray is usually enough. If water alone is not sufficient on stubborn vinyl or plastic stains, use vinyl cleaner lightly on a cloth and wipe it off fully. The point is to remove the mark, not to build a coating.
Handle sticky marks carefully
Sticky residue from drinks, hand lotion, or dashboard protectants can be cleaned, but heavy rubbing usually makes the mark broader. Work in short passes. If the spot resists, repeat with a little more cleaner on the cloth rather than flooding the area.
How should you handle seats, cloth, and sticky marks?

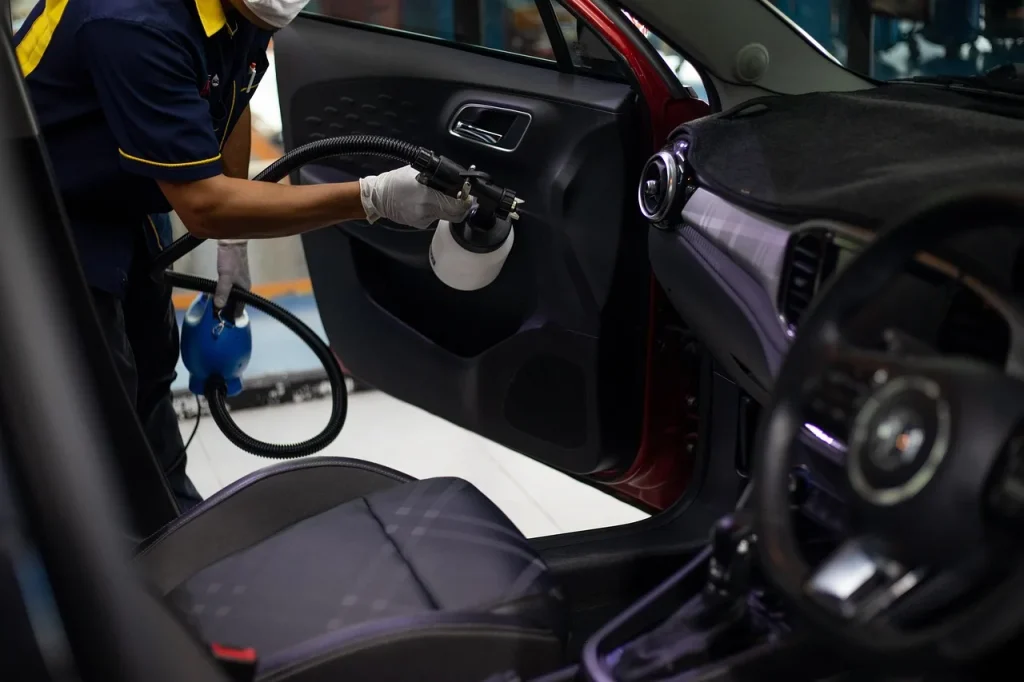
For cloth, upholstery, and sticky marks, use the lightest cleaner that will remove the stain, and spot-test first. Carpet shampoo or upholstery cleaner belongs on fabric areas only, used lightly and never soaked in. Too much moisture can slow drying, deepen marks, and in some cases make the backing take much longer to dry.
Use the right cleaner on the right material
Carpet shampoo or upholstery cleaner is commonly used for fabric seats, floor mats, and cloth panels when used lightly. Popular Mechanics used Turtle Wax Power Out Carpet & Mats Cleaner on rugs and mats, and it also described Griot’s Garage Interior Cleaner as suitable for vinyl, cloth, headliner, and leather. Even then, the method matters more than the brand.
Some interior cleaners can leave upholstered door panels looking wet. That is a warning sign, not a finish. If a panel looks shiny when it should not, go back with a dry cloth and remove the residue before it dries into a film.
Do not over-wet foam or backing
The source warning is direct: do not soak cloth upholstery because foam can take days to dry. Use a light spray on the cloth or a small amount on the stain, then blot and lift. If the foam or backing gets drenched, the surface may dry unevenly and leave a darker edge around the cleaned spot. (Howacarworks)
Headliners need even less moisture. Press hard, and you can bruise the fabric or pull a lighter patch where the stain lifted unevenly. Use minimal moisture, very light pressure, and stop as soon as the mark releases.
A common first-timer mistake is to chase a coffee spot on a black cloth seat with repeated sprays. That usually creates a larger damp ring than the original stain. One light pass, then blot, is the safer route.
Know where vinyl cleaner fits
Vinyl cleaner belongs on stubborn stains on plastic or vinyl when water alone does not work. Apply it lightly to the cloth, not directly onto the panel. It is a spot tool, not a general dressing, and it should still be wiped clean so the surface does not stay tacky or shiny.
How do you finish black surfaces cleanly?
Finish with a dry buff, then check under strong side light for haze, lint, or missed residue. Separate glass cleaning from plastic and fabric cleaning, because each surface leaves a different kind of film. Glass needs its own cloth and method, and it should not pick up trim cleaner from your interior pass.
Drying and buffing sequence
After the damp wipe, use a clean dry side of the microfibre cloth to remove any remaining film. Turn the cloth often so you are always buffing with a clean face. The final pass should be lighter than the first, with enough pressure to lift residue but not enough to smear it around.
The mirror-cleaning guide warns that suds can dry and leave milky streaks. That is exactly the kind of issue black trim reveals. If a surface still looks cloudy after buffing, it usually needs less product next time, not more rubbing.
Clean glass separately
Glass is best handled as its own task. The Express article recommends microfibre cloths as the best tool for a streak-free finish, and it advises cleaning on a grey day because sun can dry solution too fast and cause streaks. That advice is even more useful inside a car where a warm windshield can flash-dry product.
Do not use the same cloth that touched dashboard dressings on glass. Product transfer can create faint haze on the inside of the windshield and side windows. Keep a separate glass cloth, and finish the glass last so no trim residue lands on it afterward.
Check your work in angled light
Move to an angle where light crosses the dash, door tops, and centre console. Black surfaces reveal missed film quickly at that angle. If you see a line, a lint trail, or a wet-looking patch, use a clean dry side and make one short correction pass.
Suppose a black door pull looks clean from straight on but shows a dull line when the light hits from the side. That usually means cleaner remained in the grain or recess. A small dry buff and a brush pass around the seam usually fix it without starting over.

Hi, I’m Melvin, an automobile engineer with extensive experience in automobile equipment. I currently work for a local automobile firm, where I specialize in the car parts industry. I’ve had the opportunity to collaborate with seasoned inspectors, gaining invaluable hands-on experience that goes beyond just theory.
My passion for automotive care started at a young age, which led me to create CarSpareCare. Through CarSpareCare, I share the knowledge and skills I’ve acquired over the years to help others navigate the world of car maintenance and repairs.
My goal is to provide practical tutorials, essential safety advice, and the latest industry insights so that anyone—whether a beginner or an expert—can confidently tackle their automotive projects.