Wheel studs usually break because the wheel has been loose, the load is uneven, or the wheel and tire fitment is wrong; one failed stud often means the rest have been overloaded too. Ignore it and the wheel can wobble, damage the hub, shear more studs, or come off. This guide shows how to trace the real cause before you replace parts.
What a wheel stud does
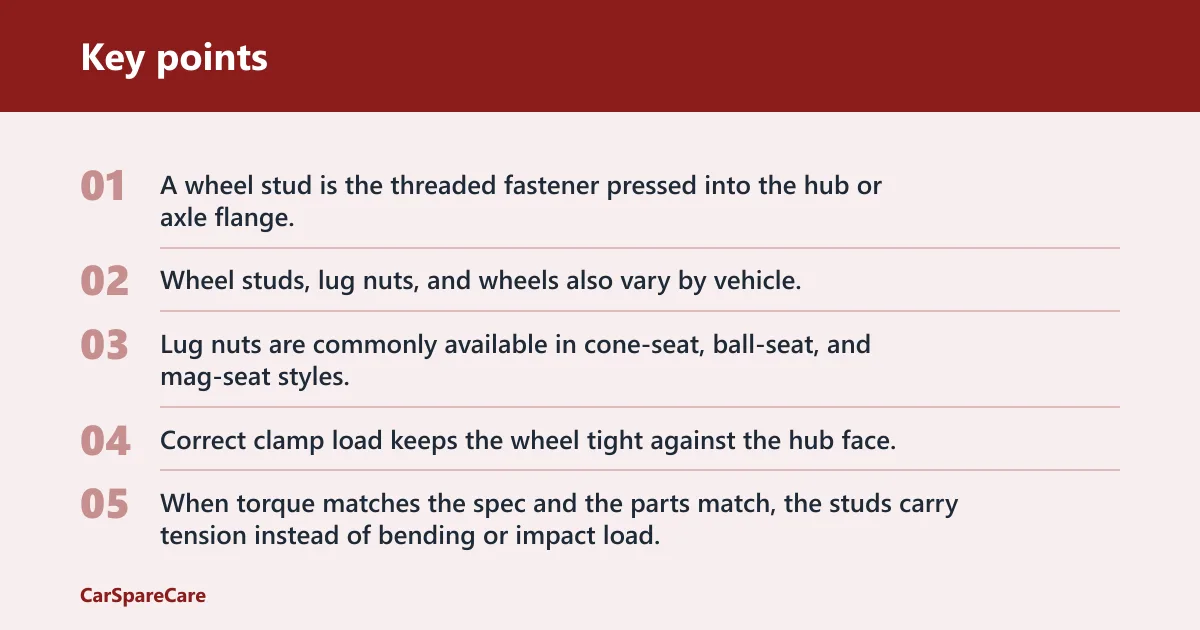


A wheel stud is the threaded fastener pressed into the hub or axle flange. It works with the lug nut to clamp the wheel to the hub, and that clamp load keeps the wheel from moving under braking, cornering, and road shock.
Studs can fail in more than one way. They can shear, stretch, or strip, and the result can depend on stud length, thread condition, and the load path through the wheel and hub.
Stud, nut, and hub fitment
The stud does not work alone. The lug nut must match the wheel seat and the stud thread, while the hub face and flange must stay flat and clean so clamp load is spread evenly.
Wheel studs, lug nuts, and wheels also vary by vehicle. Thread size, seat style, and stud length are application-specific, so a part that fits the thread may still clamp badly if the seat type is wrong.
Lug nuts are commonly available in cone-seat, ball-seat, and mag-seat styles. If the seat does not match the wheel, the nut may bottom out or contact the wheel at the wrong angle, which reduces clamping force and can overload the stud.
How clamping load keeps the wheel secure
Correct clamp load keeps the wheel tight against the hub face. When torque matches the spec and the parts match, the studs carry tension instead of bending or impact load.
Once clamp load drops, the wheel can shift microscopically. That movement is small at first, but it starts fretting, loosens the joint, and turns one bad fastener into repeated failures.
Why do wheel studs break?
Wheel studs break when the joint is overloaded, the threads are damaged, or the wheel is not seated correctly on the hub. Over-torque, under-torque, cross-threading, corrosion, impact damage, and repeated looseness all change the load path and can push a stud past its limit.
Over-torque and under-torque
Use the manufacturer torque spec. Tighten the lugs with a calibrated torque wrench for the final pass, because under-torque lets the wheel move and over-torque can stretch the stud or crush the wheel seat.
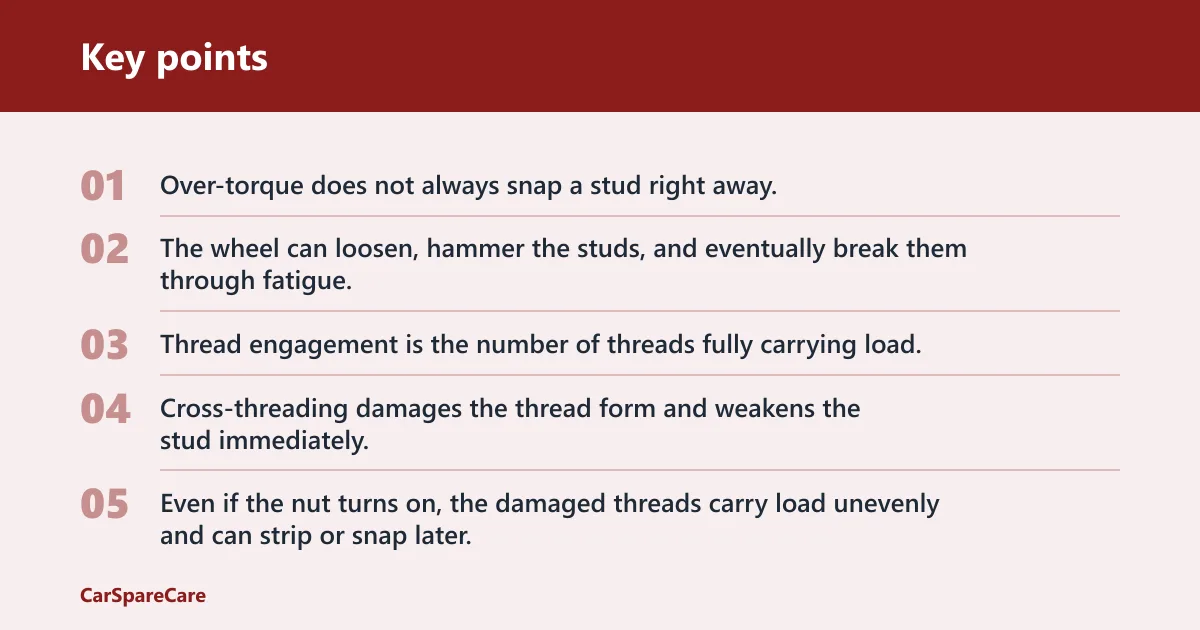
Over-torque does not always snap a stud right away. It can plastically stretch the fastener, which lowers clamp stability and leaves it weaker for the next bump, stop, or heat cycle.
Under-torque is damaging in a different way. The wheel can loosen, hammer the studs, and eventually break them through fatigue.
Cross-threading and short thread engagement
Thread engagement is the number of threads fully carrying load. Short studs, thick aftermarket wheels, or the wrong nuts can leave too few engaged threads to hold the clamp load safely.
Cross-threading damages the thread form and weakens the stud immediately. Even if the nut turns on, the damaged threads carry load unevenly and can strip or snap later.
Corrosion, seizure, and damaged hardware
Rust changes how the wheel fastener set behaves. Corrosion can seize lug nuts to studs, hide thread damage, and reduce effective clamping by preventing the nut from seating correctly.
Salt-belt vehicles are especially prone to this. Corroded threads can gall during removal, and the extra force needed to free the nut may twist the stud or tear already weakened threads.
Impact load, fatigue, and repeated looseness
Potholes, curb strikes, and wheel-off events overload studs fast. Impact can bend the wheel mounting surface, distort the hub face, and start fatigue cracks that finish the job later.
Fatigue failure is repeated cyclic loading over time. A stud that has been loosened, bent, rusted, or over-torqued may survive for a while, then break after a few more heat cycles or road shocks.
Suppose a car gets a front-wheel impact from a deep pothole, then one stud snaps a week later during tire rotation. The impact may have started a crack, and the removal torque exposed the damage rather than causing it alone.
Why do wheel studs keep breaking?
Repeated breakage usually means the root cause was not fixed. One corner may have hidden hub or wheel damage, the stud length may not suit the wheel or spacer, or the wheel may be lug-centric when it should be hub-centric for that application.
One-corner failures from hidden damage
If the same corner keeps failing, inspect beyond the broken stud itself. A bent hub flange, a distorted wheel seat, or a damaged lug nut seat can keep loading the replacement stud in the same wrong way.
That pattern matters. A single replacement stud will not last if the mounting surface is still out of flat or the wheel seat is no longer concentric.
Spacer use and wrong stud length
Wheel spacers change both load and thread engagement. A spacer can reduce the usable thread length, and many setups need longer studs to preserve safe engagement.
Low-quality or incorrect-thickness spacers can also add bending load. That extra force puts more stress on the studs, especially on heavy wheels or under repeated cornering loads.
Hub-centric versus lug-centric fitment
Hub-centric wheels locate on the hub bore, while lug-centric wheels locate on the studs and nuts. If an aftermarket wheel does not center correctly, it can run slightly off-axis and place bending load on the studs.
That off-axis loading often shows up as repeated breakage on the same corner. Even when torque is correct, fitment errors can keep the stud in a bad loading pattern.
Trailer and heavy-load cases
Trailer hubs, tow vehicles, and heavy-load service expose weak hardware faster. High tongue weight, sustained heat, and repeated shock loading can reveal short engagement, poor seat match, or marginal studs sooner than light-duty driving.
A common first-timer mistake is replacing a snapped stud on a trailer hub without checking the other nuts for seat mismatch or the wheel for wobble wear. The next trip then repeats the failure on the same side.
Wheel stud failure table
| Symptom | Likely cause | Quick check | Next action |
|---|---|---|---|
| Loose wheel | Under-torque, worn seat, or low thread engagement | Check nut torque, wheel seat contact, and visible stud stretch | Remove the wheel, inspect all fasteners, and retorque to spec with a calibrated wrench |
| Snapped stud after tire rotation | Cross-threading, prior stretch, or over-torque during removal or installation | Inspect the broken thread end and the matching lug nut | Replace the damaged stud and any nut that dragged or stripped |
| Repeated breakage on one corner | Hub flange distortion, wheel-seat damage, or fitment mismatch | Measure runout if possible and compare the wheel seat on all studs | Inspect the hub and wheel together; replace the wheel or hub parts if the mounting face is bent |
| Seized lug nuts | Corrosion, damaged threads, or wrong nut material/coating for the environment | Look for rust on exposed threads and galling at the nut face | Use controlled removal methods, then replace damaged nuts and any compromised studs |
| Rusted threads | Salt-belt corrosion and age | Check the full thread length for pitting or thinning | Replace hardware if thread profile is reduced or flaky rust has weakened it |
| Spacer use | Reduced engagement or insufficient stud length | Confirm that the nut still reaches full thread engagement after the spacer is installed | Fit longer studs or remove the spacer if the setup cannot meet engagement requirements |
| Pothole or curb impact | Shock load, bent mounting surface, or fatigue crack initiation | Inspect the wheel face, hub flange, and nearby studs for bends or fresh cracks | Replace damaged parts before returning the vehicle to service |
How do you inspect the wheel, hub, and threads?
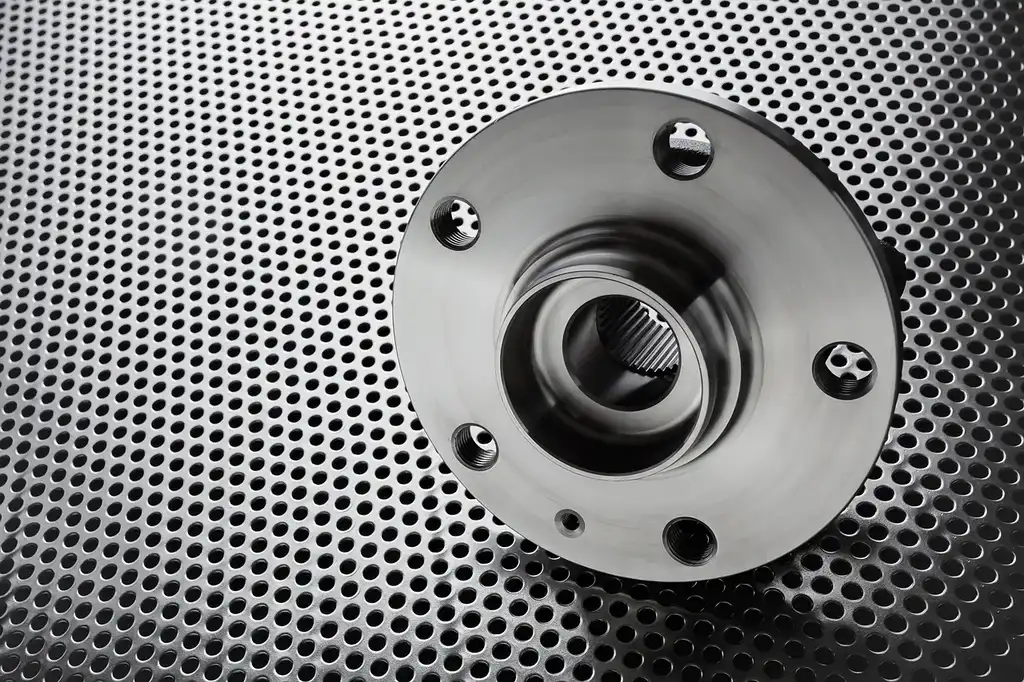
Start with the wheel and fasteners, then move inward to the hub. The goal is to find the damage path, not just the broken stud, because hidden wheel-seat or hub damage can keep breaking replacements.
Remove the wheel safely. Support the vehicle correctly, then take the wheel off and inspect the broken stud area with good light. Do not reuse any nut that shows rounding, galling, or a distorted seat.
Check the wheel seat. Match the lug nut style to the wheel seat type: cone-seat, ball-seat, or mag-seat. A wrong seat can reduce clamp force or concentrate load on a small contact ring.
Inspect the stud threads. Look for flattening, rust pitting, stretching, or a shiny necked-down section near the failure point. Those signs point to overload or fatigue rather than a one-time mistake alone.
Inspect the hub face. Clean rust and debris from the hub face and flange, then look for distortion, fretting marks, and uneven witness marks. A warped or corroded surface changes how the wheel clamps.
Check fitment and engagement. Verify that the stud length still leaves enough engaged threads after any spacer or wheel change. If the nut does not fully seat with proper thread purchase, the setup is wrong.
Compare the opposite side. If one corner failed, inspect the other side for the same corrosion, wheel-seat wear, or spacer setup. Matching damage often points to a system problem, not a random break.
Picture a wheel with a 5 mm spacer and aftermarket nuts that match the thread size but not the seat. The car may drive for months, then a stud breaks after a brake job because the nut never clamped squarely and the spacer reduced the remaining thread engagement.
When should you replace one stud or all of them?
A single stud is reasonable to replace after an isolated failure if the hub, wheel seat, and neighboring hardware are still in good shape. Once the hardware is old, heavily corroded, or failing in the same corner, replacing the full set is often the safer call.
Single replacement after isolated damage
Replace only the broken stud when the rest of the studs have clean threads, the wheel seats are correct, and the hub face is flat. The matching lug nut should also be replaced if it shows any damage.
Full-set replacement after age or rust
If several studs show rust, stretching, or uneven thread wear, replace the full set on that hub. Mixed-age hardware can leave one weak fastener in a joint that depends on even clamp load.
Replace related hardware too
Do not stop at the stud if the nut seat is damaged, the hub threads are stripped, or the flange is distorted. In some designs the stud is serviceable; in others the hub assembly is the practical repair path.
A broken stud after a wheel-off event is a warning, not a one-off nuisance. The remaining studs may have taken a sharp hit, and driving on them can turn a repairable fault into a wheel loss.
Frequently asked questions
What causes wheel studs to break off?
Wheel studs usually break off because they were overloaded by looseness, impact, corrosion, or bad fitment. Over-torque can stretch them, under-torque can let the wheel move, and short thread engagement leaves too little material carrying the load. A broken stud often points to a larger mounting problem.
What causes wheel studs to break off while driving?
Breakage while driving usually means the joint was already weakened. Loose clamp load is a common cause, and fatigue cracks may then lead to failure under braking, cornering, or a pothole hit. If one stud snaps on the road, the wheel and hub should be checked before more driving.
What causes wheel studs to break?
Any condition that changes the load from clean clamping to bending or repeated shock can break a wheel stud. Common causes include wrong torque, damaged threads, corrosion, spacer use without longer studs, and wheels that do not center correctly on the hub.
What causes lug studs to break?
Lug studs break for the same reasons as wheel studs: load, fitment, and condition. If the lug nut seat does not match the wheel, the stud can be loaded off-axis. If the stud has been cross-threaded or reused after damage, it may fail even with normal torque.
What can cause wheel studs to break?
Several faults can cause breakage at once. A wheel with the wrong seat style, corroded threads, and low engagement after a spacer is a common combination. Add pothole hits or repeated looseness, and fatigue can finish the failure path.
What causes wheel studs to keep breaking?
Repeated breakage usually means the root cause is still present. Look for one bent hub flange, a mismatched wheel, a spacer that shortens engagement, or lug nuts that do not seat correctly. If the same corner keeps failing, replacing only the stud will not solve it.
What causes lug nuts to break off?
Lug nuts can break off when they seize to the stud, corrode badly, or are over-torqued and cracked during removal. A damaged seat can also concentrate force and split the nut. Once the nut is visibly deformed, it should not be reused.
What causes wheel studs to break off while driving: that usually means the wheel
That usually means the wheel was already loose or the stud had an existing crack. Driving then adds cyclic load, heat, and impact, which can finish the break. If this happens, the wheel, hub, and remaining studs need inspection before the vehicle goes back on the road.
What causes wheel studs to break: wheel studs break
Wheel studs break from overload, poor fitment, damaged threads, or corrosion. The exact trigger can be torque error, cross-threading, impact, or a wheel-seat mismatch, but the failure often develops over time. One broken stud is a sign to inspect the whole joint, not just that one part.

Hi, I’m Melvin, an automobile engineer with extensive experience in automobile equipment. I currently work for a local automobile firm, where I specialize in the car parts industry. I’ve had the opportunity to collaborate with seasoned inspectors, gaining invaluable hands-on experience that goes beyond just theory.
My passion for automotive care started at a young age, which led me to create CarSpareCare. Through CarSpareCare, I share the knowledge and skills I’ve acquired over the years to help others navigate the world of car maintenance and repairs.
My goal is to provide practical tutorials, essential safety advice, and the latest industry insights so that anyone—whether a beginner or an expert—can confidently tackle their automotive projects.