Deep clean your car interior after winter by vacuuming first, then treating salt stains, washing hard surfaces, drying every damp area, and finishing with odor control. Skip that order and salt, moisture, and grit spread around, stains set deeper, and mildew can start in carpets, seat foam, and trim. This guide shows the fastest cleaning sequence for carpets, mats, seats, vents, glass, and hidden moisture so the cabin dries faster and stays cleaner longer.
What you need before you start


- Microfiber cloths for dry dusting and damp wiping.
- Vacuum cleaner with attachments, including a crevice tool.
- Upholstery cleaner that is fabric-safe.
- Leather cleaner and conditioner for leather seats only.
- Interior cleaner or cockpit cleaner for plastics, vinyl, and trim.
- Ammonia-free automotive glass cleaner.
- Soft brush for vents, seams, and textured trim.
- Bucket, towels, and a drying area for floor mats.
What should you clean first after winter?
Start by removing trash and loose items, then take the floor mats out before any wet cleaning. That order keeps grit from getting pressed back into carpet and gives mats a head start on drying while you work through the rest of the cabin. (Caranddriver)
Follow this order
- Remove bottles, wrappers, receipts, and other loose items.
- Take out all floor mats and shake off loose debris outside.
- Open doors for airflow if weather allows.
- Vacuum before any damp cleaner touches the cabin.
- Work from the roofline down to the floor.
Say your driver’s side mat has a crust of white salt along the heel pad and a damp edge from slush. Remove it first, then vacuum the carpet before wiping trim. That keeps the salt from dissolving into a gray smear on fresh surfaces.
How do you vacuum the cabin properly?
Use the vacuum with a crevice tool to pull winter grit from seams, rails, cupholders, and under the seats. Cloth seats should be vacuumed with a narrow nozzle for deep joints, because loose grit hides where cloth panels meet seams and stitched channels.
Vacuum in this order
- Start at the headliner edges and upper trim with a soft brush attachment if dust is visible.
- Vacuum vents, cupholders, console gaps, and seat rails with the crevice tool.
- Vacuum seats, then carpets, then under the seats.
- Lift floor mats and vacuum both sides.
- Repeat on any seam that releases more grit after the first pass.
Picture a rear footwell with a mat that looks clean on top but sheds gritty sand when lifted. A narrow nozzle reaches the carpet edge under the mat, where winter debris collects and keeps grinding into the fibers every time a passenger steps in.
How do you clean dashboards, vents, and glass?
Dust first with a dry microfiber cloth, then use the right cleaner for each surface. Interior cleaner works on plastics, vinyl, and trim; automotive glass cleaner should be ammonia-free for inside glass and mirrors; vents should be brushed and wiped, not sprayed heavily.
Use the right method on each surface
- Wipe dust from the dashboard and trim with a dry microfiber cloth.
- Put interior cleaner onto the cloth, not directly onto the panel.
- Wipe plastics and vinyl, then dry-buff any remaining film.
- Use a separate microfiber cloth with glass cleaner on inside glass and mirrors.
- Brush vents lightly, then collect loosened dust with a cloth.
Do not soak dashboard plastic. The board backing on panels can distort if wetted, and shiny residue on the dash can attract more dust. For high-contact dash areas, disinfecting wipes are commonly used, but avoid bleach-based products in the cabin. (Howacarworks)
How do you deep clean car seats without an extractor?
Clean cloth seats with a fabric-safe upholstery cleaner, then blot rather than soak. Leather seats should be cleaned with leather cleaner first and conditioned after. Test any cleaner on a hidden spot first, because winter dirt often sits in seams and can react differently on dyed or coated surfaces.
Clean by seat material
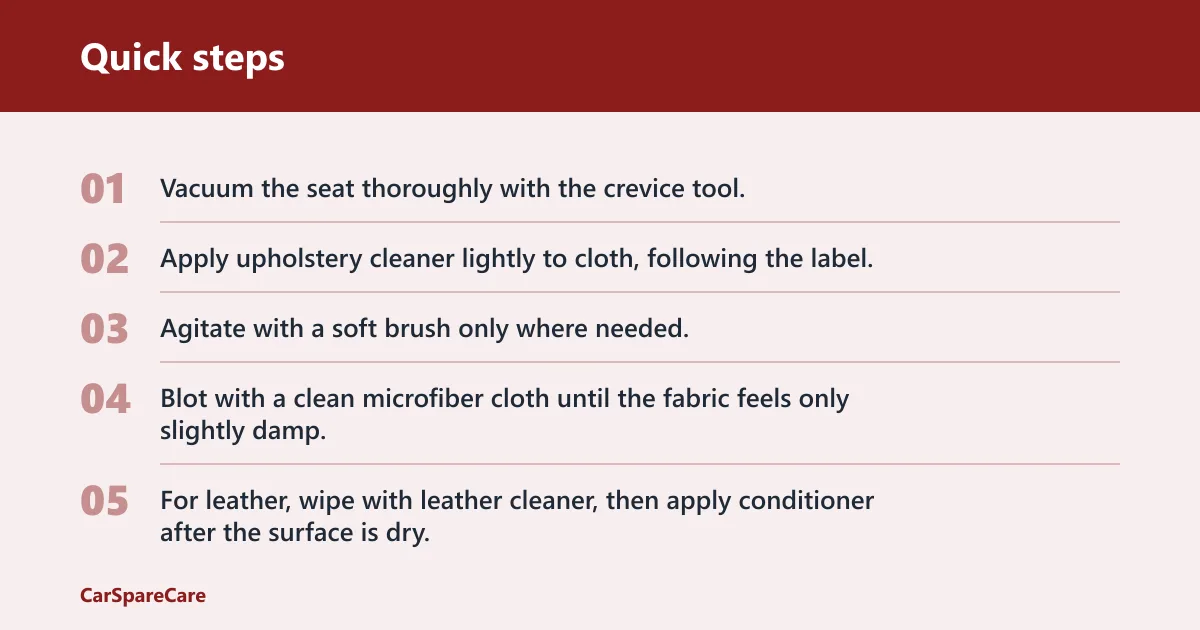
- Vacuum the seat thoroughly with the crevice tool.
- Apply upholstery cleaner lightly to cloth, following the label.
- Agitate with a soft brush only where needed.
- Blot with a clean microfiber cloth until the fabric feels only slightly damp.
- For leather, wipe with leather cleaner, then apply conditioner after the surface is dry.
Do not soak cloth seats. Interior foam may take days to dry, and trapped moisture can cause odor or mildew. If a stain needs more work, repeat one light pass rather than loading the fabric with cleaner.
If that didn’t work, try this next
- Use a second dry microfiber cloth to lift remaining moisture.
- Run the cabin fan on fresh air with windows cracked if weather allows.
- Revisit only the stained seam with a lightly dampened cloth and a fabric-safe cleaner.
How do you remove winter salt and damp from carpets?
Break up crusted salt with a dry vacuum pass first, then use a light damp clean on stained carpet and blot it dry. Floor mats should come out and dry separately, and rubber mats can be scrubbed and rinsed while carpeted mats need full drying before reinstalling.
Treat salt and moisture in the right order
- Vacuum dry salt and grit from the carpet surface.
- Apply a thin layer of carpet shampoo and water to the stained area if the label allows it.
- Blot with microfiber towels until the carpet no longer feels wet.
- Set carpeted mats aside to dry fully.
- Scrub rubber mats with cleaner, rinse them, and dry both sides before reinstalling.
How do you remove winter salt and damp from car carpets? Focus on dry removal first, because wetting crusted salt can spread the stain wider. A common first-timer mistake is reinstalling a mat that still feels cool and damp underneath. That locks moisture under the carpet and slows drying.
Car interior cleaning checklist table
| Zone | Contamination type | Best cleaner | Wet or dry method | Drying risk | Common mistake | Time estimate |
|---|---|---|---|---|---|---|
| Floor mats | Salt, mud, grit, moisture | Carpet shampoo for carpeted mats; mild cleaner for rubber mats | Remove, clean separately, dry fully | High if reinstalled damp | Putting mats back before they are dry | 20-30 minutes |
| Carpets | Salt residue, grit, damp odor | Upholstery cleaner or carpet-safe cleaner | Dry vacuum first, then light damp clean and blot | High if over-wet | Soaking foam under the carpet | 25-40 minutes |
| Seats | Salt dust, crumbs, moisture, odors | Upholstery cleaner for cloth; leather cleaner and conditioner for leather | Vacuum, then light wipe or blot | High for cloth foam; moderate for leather | Using one product on every seat type | 20-35 minutes |
| Dashboard and trim | Dust film, road salt haze, fingerprints | Interior cleaner | Dry dust first, then damp wipe | Low to moderate | Using shiny dressing that leaves residue | 15-20 minutes |
| Vents and cupholders | Hidden grit, crumbs, salt dust | Interior cleaner and soft brush | Dry vacuum, then controlled wipe | Low | Spraying liquid straight into openings | 10-15 minutes |
| Glass and mirrors | Interior film, streaks, haze | Ammonia-free automotive glass cleaner | Spray cloth, then wipe and buff dry | Low | Using the same cloth that touched greasy trim | 10-15 minutes |
| Headliner | Light dust, mild odor | Very mild upholstery cleaner if needed | Dry dust first; use only light dabbing | Very high if soaked | Hard scrubbing or heavy wetting | 5-10 minutes |
Common mistakes to avoid
Most winter interior damage comes from cleaning in the wrong order or using too much liquid. Stay dry wherever possible, and keep wet work controlled and targeted.
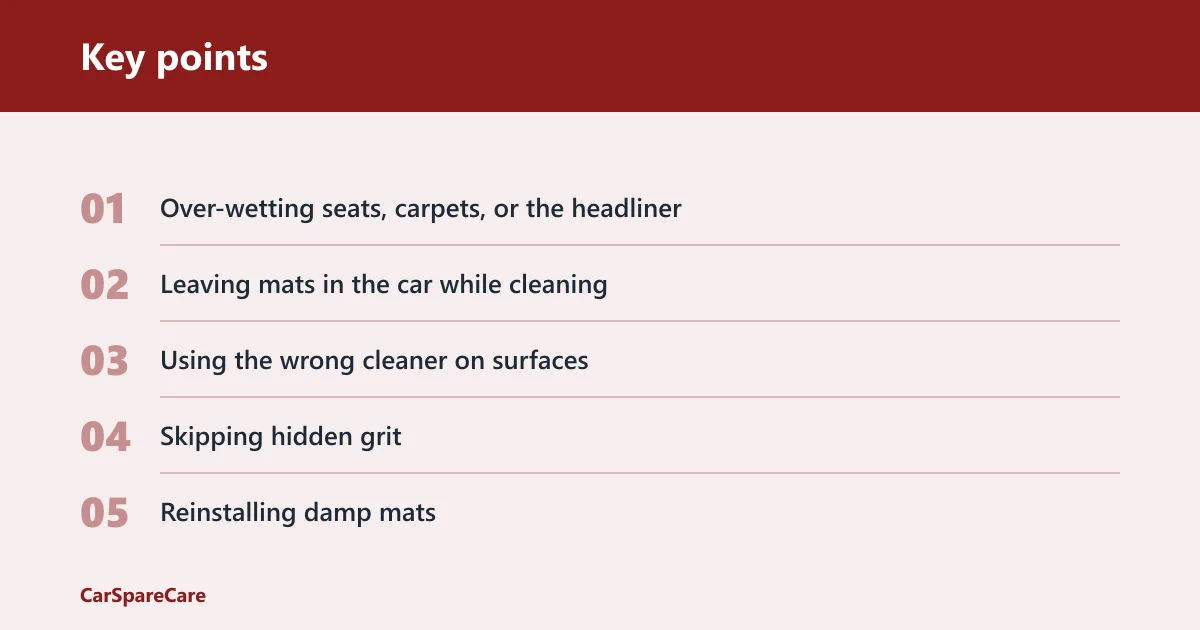
- Over-wetting seats, carpets, or the headliner: use light passes and blot dry instead of saturating the fabric.
- Leaving mats in the car while cleaning: remove them early so they can dry while you work.
- Using the wrong cleaner on surfaces: use ammonia-free glass cleaner on glass, interior cleaner on plastics, and leather products only on leather.
- Skipping hidden grit: clean seat rails, seams, and under-seat areas with a crevice tool.
- Reinstalling damp mats: wait until both sides are dry before putting them back.
Frequently asked questions
How do I remove winter salt and damp from car carpets?
Vacuum the dry salt first, then use a light damp cleaner on the stained carpet and blot until nearly dry. Take carpeted mats out and dry them fully before reinstalling them. Rubber mats can be scrubbed and rinsed separately, then dried on both sides.
What should I clean first when deep cleaning a car interior?
Remove trash and personal items first, then take out the floor mats. After that, vacuum the cabin before any wet cleaning. That sequence keeps winter grit from turning into muddy residue and lets the mats dry while you handle the rest of the cabin.
Can I deep clean cloth seats without soaking them?
Yes. Use a fabric-safe upholstery cleaner in light passes, then blot with clean microfiber cloths. A narrow nozzle helps remove grit from seams before the cleaner goes on. If the seat still feels damp after the first pass, stop and dry it before adding more product.
How long should a full interior deep clean take?
A full winter reset commonly takes about 90 to 150 minutes, depending on how much salt, mud, and moisture are present. The biggest time factors are drying time, seat material, and whether the mats and carpets need repeated blotting before they can go back in.
For a quick winter refresh, skip only the deep stain work on clean surfaces. For a full reset, complete every zone in order, then leave doors open or run airflow long enough to remove the last trace of dampness.

Hi, I’m Melvin, an automobile engineer with extensive experience in automobile equipment. I currently work for a local automobile firm, where I specialize in the car parts industry. I’ve had the opportunity to collaborate with seasoned inspectors, gaining invaluable hands-on experience that goes beyond just theory.
My passion for automotive care started at a young age, which led me to create CarSpareCare. Through CarSpareCare, I share the knowledge and skills I’ve acquired over the years to help others navigate the world of car maintenance and repairs.
My goal is to provide practical tutorials, essential safety advice, and the latest industry insights so that anyone—whether a beginner or an expert—can confidently tackle their automotive projects.