A common rule of thumb in automotive trim work is to choose a patch-and-fuse kit for fabric holes when the surrounding cloth is still stable, a leather or vinyl repair filler for punctures when the surrounding material is still flexible, and to replace the panel or headliner section when the hole is larger, on a seam, or near stress points. This guide shows which repair method fits each material, hole size, visibility zone, and seam risk, plus the tools and steps for a clean fix. See also our related guides on headliner repair, leather seat repair, vinyl repair, stain removal, and when to replace upholstery.
Visible trim repairs are most likely to fail when the damage crosses a seam, reaches a highly visible driver-eye line, or exposes failed foam or backing. In those cases, the safest choice is often panel replacement or re-covering rather than another patch. This is especially true when the surrounding material is already stressed, brittle, or losing its bond.
What you’ll need
- Vacuum, microfiber cloths, and a mild interior cleaner
- Leather-safe degreaser for leather repairs
- Backer material, patch fabric, or repair mesh sized slightly larger than the hole
- Flexible upholstery adhesive matched to the kit and material
- Repair compound, liquid vinyl, or color-matching filler or dye
- Fine scissors or a sharp hobby knife
- Plastic spreader, cotton swabs, and a small pressing tool
- Masking tape and clean gloves
- Low-tack clamp, book, or flat weight for curing pressure where suitable
How do you identify the damage?
Start by naming the material and the failure mode. Fabric, leather, vinyl, and headliner backing fail in different ways, so one fix can hold on one surface and fail on another. Size matters too: tiny punctures and snags are often repairable, while frayed, heat-spread, or seam-adjacent damage often needs a trimmer. A useful check is whether the edges are stable, whether the damage sits in a high-flex zone, and whether the hole can be disguised without disturbing the surrounding grain or weave.
Check the material first
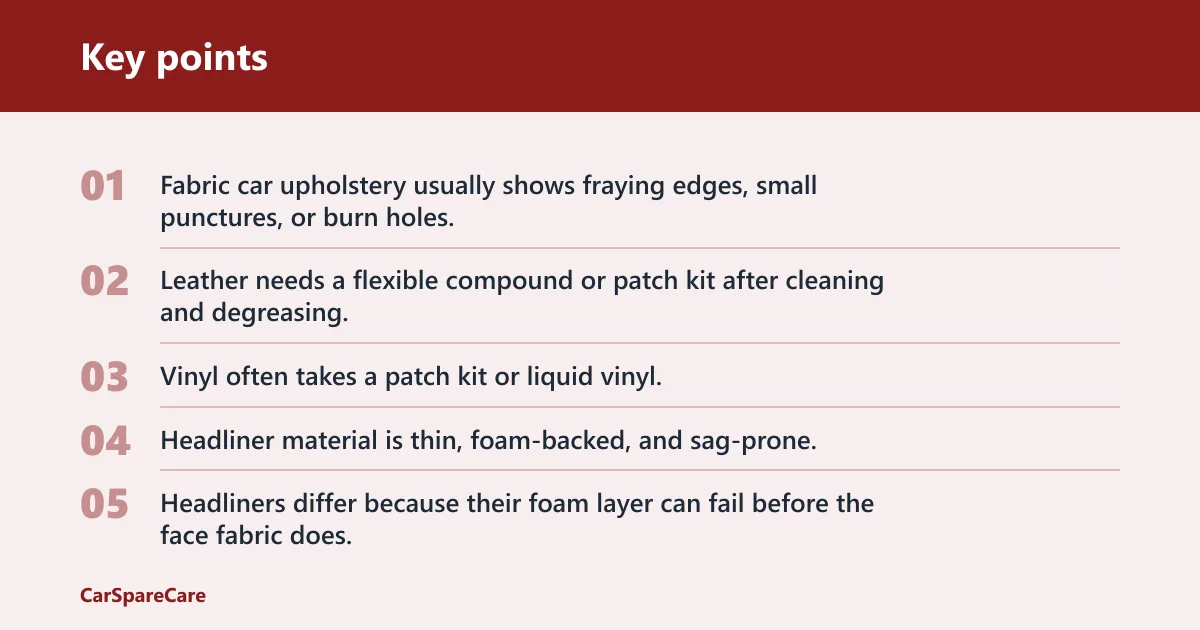
Fabric car upholstery usually shows fraying edges, small punctures, or burn holes. Leather needs a flexible compound or patch kit after cleaning and degreasing. Vinyl often takes a patch kit or liquid vinyl. Headliner material is thin, foam-backed, and sag-prone, so it needs a lighter touch than seat upholstery. Headliners differ because their foam layer can fail before the face fabric does; once that foam crumbles, spot adhesive rarely restores long-term support.
Measure the hole and inspect the edge
If the opening is small and the surrounding material is still sound, a filled repair may hold. Once the edge is charred, brittle, or stretched, the damage tends to grow during cleaning or curing. A hole that sits on a seam, curve, or stress point is also more likely to re-open. In practice, the best predictor is not only diameter but edge quality: a small hole with sound edges can be easier to stabilize than a slightly larger burn with brittle, heat-embrittled fibres or cracked finish.
Say your fabric seat has a cigarette burn in the cushion face. The surrounding cloth is intact, so a backing plus fill method is a realistic DIY fix. Suppose the same burn reaches the seam line. That changes the risk, because stitching and foam movement can pull the repair apart. That is the point where upholstery shops usually shift from repair to panel work or insert replacement.
Which repair method fits your hole?
| Material | Hole type | Hole size | Visibility zone | Seam proximity | Recommended method | Time | Success likelihood | When to stop DIY and seek upholstery repair |
|---|---|---|---|---|---|---|---|---|
| Fabric | Snag or puncture | Up to 12 mm | Low- to medium-visibility panel | Not on a seam | Backing plus patch, adhesive-backed repair, or thread-based closing | 30–60 minutes | Good when the weave is stable and color/texture match closely | Fraying spreads, the hole sits on a seam, or the weave is melted |
| Fabric | Burn hole | Up to 10 mm | Low-visibility seat or side panel | Not on a seam | Burn hole repair kit with backing, filler, and color compound | 45–90 minutes | Fair to good if char is minimal and backing fabric is intact | Charred edges are brittle or the foam below is damaged |
| Leather | Puncture or small tear | Up to 10 mm | Low-visibility bolster or seat base | Not across a crease | Flexible repair compound or leather patch kit after cleaning and degreasing | 45–90 minutes | Good if grain is intact and the finish is not flaking | Leather is split across a crease or the finish is flaking |
| Vinyl | Puncture or nick | Up to 10 mm | Low-visibility trim or seat edge | Not near a seam or crease | Vinyl patch kit or liquid vinyl with heat and flexibility matched to the kit | 30–75 minutes | Good on flat panels; lower on high-flex edges | Heat damage has spread or the vinyl has hardened and cracked |
| Headliner | Small pull, poke, or sagging spot | Up to 10 mm | Low-visibility roof edge or center span | Away from trim edges where possible | Lightweight adhesive with minimal moisture and a small backing patch | 20–45 minutes | Fair when the foam layer is still sound; poor if the liner is sagging broadly | The foam layer has failed, the liner sags broadly, or the area is large |
How do you repair a small hole in car upholstery?
Clean the surface, add backing from behind when possible, and apply the chosen repair material in thin layers. Then match the surrounding color, sheen, and texture before curing. For fabric, a patch or thread-based closure usually gives the best finish. For leather and vinyl, a flexible fill is usually better. The strongest repairs are the ones that stay flexible after curing rather than building a hard plug over a moving panel.
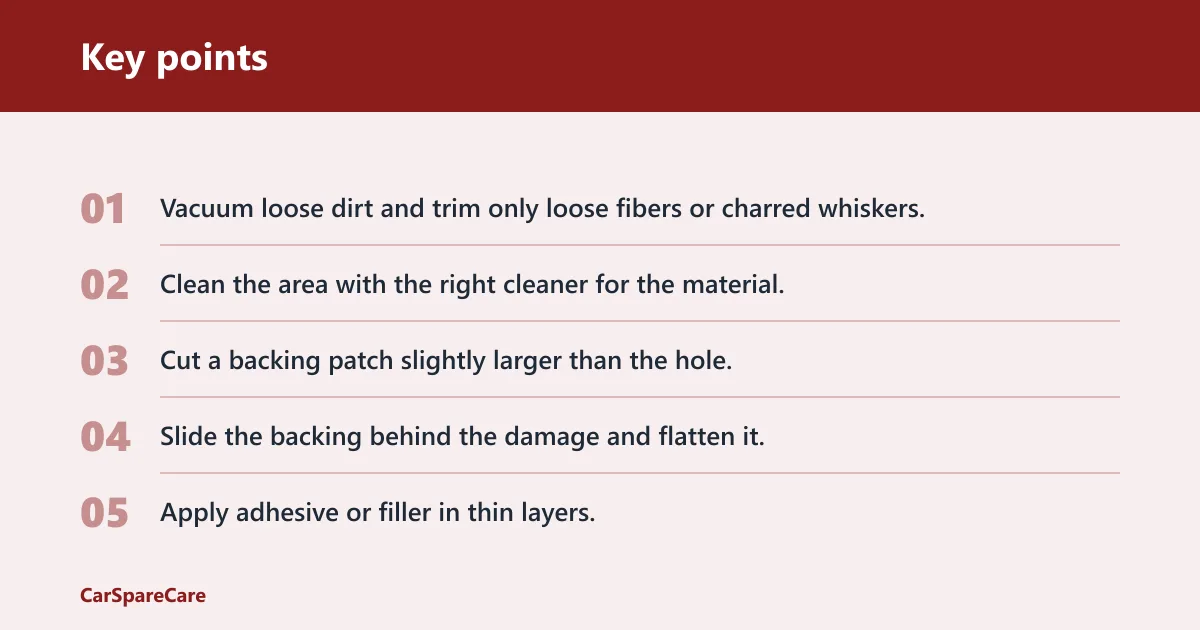
- Vacuum loose dirt and trim only loose fibers or charred whiskers.
- Clean the area with the right cleaner for the material.
- Cut a backing patch slightly larger than the hole.
- Slide the backing behind the damage and flatten it.
- Apply adhesive or filler in thin layers.
- Add color-matching filler or dye only after the base layer sets.
- Press or level the surface, then let it cure fully before use.
Fabric upholstery: patch, adhesive-backed repair, or thread-based closure
Fabric car upholstery takes patches, adhesive-backed repairs, or careful stitching when the hole is small and the weave is stable. A burn hole repair kit often includes adhesive, filler, backing fabric, or color compounds, and it works best on isolated damage rather than stretched cloth. If the weave is loose, pull the loose threads closed before sewing. The best DIY range for fabric is small, stable openings with intact backing; once the cloth is frayed to the next weave or the hole is large enough to distort the pattern, the repair becomes much more visible.
A transparent duct tape backing is sometimes mentioned as a quick workaround for fabric only, but it is not best-practice automotive upholstery repair. Use it, if at all, only as a short-term stabilization step before a proper backing patch, and never on leather, vinyl, or headliner. Another workaround-only idea is lightweight iron-on interfacing on the wrong side of the fabric; that can help stabilize a small fabric hole, but it is less durable than purpose-made upholstery backing and can telegraph through thin cloth. These are fallback measures, not the preferred method for a lasting automotive repair.
Leather upholstery: flexible compound or patch kit
Leather repair starts with cleaning and degreasing. If oils remain, the filler lifts or softens at the edge. Use a flexible repair compound or a leather patch kit, and match the grain and finish as closely as possible. A smooth patch in the wrong sheen will still read as a repair, even if the color is close. Leather repair can be difficult when the topcoat is cracked, the finish is flaking, or the crease has split; the material has to remain flexible enough to move with the seat.
Suppose a leather seat has a puncture in the bolster. A flexible filler can work if the edge is stable and the grain is intact around the opening. If the surface is cracking across a crease, stop before the repair expands, because the new compound can split with the old leather. That is one of the clearest replacement signals in leather work: once the crack follows the fold line, the panel is failing, not just punctured.
Vinyl upholstery: patch kit or liquid vinyl
Vinyl seats, panels, and trim often take either a vinyl patch kit or liquid vinyl. Heat and flexibility matter here. If the repair cures too stiffly, it can crack when the panel flexes. Match the sheen and the color together. A shiny patch on matte vinyl is obvious even when the hue is close. Trim repair work also warns that vinyl with heat shrink, hardened grain, or alligator cracking is often beyond a neat spot fix because the base material has already lost elasticity.
Headliner material: lightweight adhesive and minimal moisture
Headliner material is not seat upholstery. It has a thin backing and foam layer, so heavy adhesive or wet filler can make the fabric sag or stain. Use a lightweight adhesive, keep moisture low, and support the area gently from behind if the liner is still bonded and accessible. Large sagging areas usually need re-trimming rather than spot repair. A headliner with collapsed foam across a wide span is a replacement candidate, not a patch candidate, because the face fabric has lost the support that keeps it flat.
Common mistakes
Most failed repairs come from the wrong material choice, too much adhesive, or poor surface prep. Heat damage can also keep spreading after the visible hole is filled. If the edge is brittle or the backing has broken down, the repair may look tidy for a while and then open again. That is why edge stability and backing condition matter before any cosmetic work begins.
- Using too much adhesive: it can bleed through fabric or stiffen leather and vinyl.
- Skipping cleaning or degreasing: glue and filler will not bond well.
- Ignoring heat-damaged edges: charred material keeps crumbling.
- Choosing a patch that is too visible: poor sheen or grain matching makes the repair stand out.
- Using a heavy repair on a headliner: the liner can sag or wrinkle.
Top up filler gradually, then recheck the surface before adding more. That pace helps you stop before the repair crowns above the surrounding trim. Keep the cabin ventilated while working. Open doors or windows, and avoid breathing concentrated adhesive or dye vapour in a closed car. On thin materials, especially headliners and light vinyl, less product is usually more durable than a thick fill that has to be sanded or compressed into shape later.
When should you stop DIY?
Stop when the hole is too large, the edges are spreading, or the damage is on a seam or stress point. That is also the point to stop if the foam or backing has failed, the repair would land in a high-visibility area, or the finish needs recoloring across a wide panel. A spot fix will not correct structural failure, and replacement is often the better option once the substrate can no longer support the surface repair.
- Inspect whether the hole is still stable after cleaning.
- Check for missing backing, crushed foam, or peeling finish.
- Compare the location with the seat edge, bolster, or headliner span.
- Choose professional re-trimming if the damage is active or visible from the driver’s eye line.
Picture a vinyl door insert with a puncture near a crease. The size looks repairable, but the crease keeps flexing. That is a higher failure-risk case than the same hole in a flat panel, so the safer choice may be a pro repair if you want the finish to hold. In the same way, a leather tear that crosses a stitched seam or a headliner hole that sits in a sagging zone usually looks small but behaves like a larger failure.
Frequently asked questions
How do I fix a small hole in a car seat?
Choose the method by seat material first, then by hole size. For a small puncture in fabric, use a backing patch and adhesive-backed repair. For leather or vinyl, use a compatible filler kit and build the surface carefully. Stop if the edge is frayed, brittle, or on a seam. Seat bolsters and other high-flex areas are the ones most likely to reopen if the repair is too stiff.
How do I fix a small hole in a car headliner?
Use a lightweight headliner-safe adhesive and a small backing patch only if the surrounding foam is still intact and the area can be accessed. Keep moisture low, because excess liquid can stain or weaken the liner. If the headliner is sagging across a wide area, spot repair usually will not hold. Once the foam backing has degraded, the practical fix is usually re-covering or replacement rather than patching the face fabric alone.
How do I repair a small hole in leather car seat?
Clean and degrease the leather first, then apply a flexible repair compound or a leather patch kit that matches the grain and sheen. The finish matters as much as the color. A close color match with the wrong gloss will still stand out under cabin light. Leather repair works poorly when splits run across a crease; those usually continue to open because the panel is flexing at the exact repair line.
How do I repair a small burn hole in a car seat?
Use a burn hole repair kit when the burn is isolated and small. The kit usually includes adhesive, filler, backing fabric, or color compounds. Cut the backing slightly larger than the hole, bond it from behind, then fill and texture the surface carefully. If the burn edge is brittle or the hole has reached the seam, the repair is more likely to fail and may need an upholstery shop instead.
How do I repair a small hole in vinyl car seat?
Use a vinyl patch kit or liquid vinyl, and match both flexibility and sheen. Vinyl must keep moving after the repair cures, so a hard finish can crack quickly. If heat has already spread the damage or the vinyl has gone brittle, a patch may not last. On aged vinyl, the failure is often broader than the visible hole, which is why replacement is sometimes the more durable option.

Hi, I’m Melvin, an automobile engineer with extensive experience in automobile equipment. I currently work for a local automobile firm, where I specialize in the car parts industry. I’ve had the opportunity to collaborate with seasoned inspectors, gaining invaluable hands-on experience that goes beyond just theory.
My passion for automotive care started at a young age, which led me to create CarSpareCare. Through CarSpareCare, I share the knowledge and skills I’ve acquired over the years to help others navigate the world of car maintenance and repairs.
My goal is to provide practical tutorials, essential safety advice, and the latest industry insights so that anyone—whether a beginner or an expert—can confidently tackle their automotive projects.