Identify the cap type first: clip-in center caps usually pop out from the front, screw-retained caps need the screws removed, and a stuck cap should be worked free with plastic tools before you use any metal prying. Forcing the wrong method can snap the cap body, bend the wheel lip, or mark the finish. This guide shows how to spot each design and remove it with the least damaging method.
What you’ll need


- Plastic trim tool or hook tool with a non-marring tip
- Penetrating lubricant
- Rubber mallet
- Clean cloth
- Gloves
- Jack stands, if the wheel must come off; follow the vehicle manual and never work under a vehicle held only by a jack
Start by identifying the cap type
Before you pry, sort the cap into one of three groups: center cap, wheel nut cap, or full wheel cover. A center cap sits in the wheel center bore; a wheel nut cap covers a lug nut; a full wheel cover clips over the whole wheel face. That single check changes the safest removal method.
Look for clip slots, a rear backing ring, or a tool hole. OEM and aftermarket center caps can differ in diameter, clip count, and part number matching, so a cap that looks similar may still fit differently. If the cap has rear tabs or a hidden retaining ring, it may come out from the back after wheel removal rather than from the front.
Center cap or wheel nut cap?
A center cap is held by center cap retaining clips that snap into the wheel and can seize from corrosion, dirt, or paint buildup. A wheel nut cap is a decorative cover over a lug nut, and many of them pull off with a key or simple puller. Do not treat them the same way.
OEM or aftermarket?
OEM caps are more likely to match the wheel exactly, while aftermarket caps often use different tab shapes or backing rings. Check the wheel maker’s part number, the cap’s outside diameter, the clip count, and whether the listing says front-access or rear-push-out. If any of those differ, stop and confirm fitment before you force it.
Front access or back access?
Some center caps are designed to be pushed out from the back after the wheel is removed. Others must be released from the face with a trim tool. If the front lip is painted or blacked out, rear access is often safer because it helps avoid visible pry marks.
Center cap removal decision table
| Cap type | Safest removal method | Common failure point | Reusable? | Replacement-fitment checks |
|---|---|---|---|---|
| Front snap-in cap | Use a plastic trim tool at two or more points, then work evenly | Bent clips from one-sided prying | Usually yes if clips stay straight | Outside diameter, clip count, part number, wheel brand |
| Rear-push-out cap | Remove the wheel, then press the cap out from the back evenly | Broken retaining tabs during uneven pushing | Usually yes if tabs and ring stay intact | Rear tab layout, ring shape, diameter, model-specific listing |
| Cap with backing ring | Support the ring from behind and release the cap without twisting | Cracked plastic or bent metal ring | Only if the ring is not cracked or warped | Ring material, tab spacing, part number, OEM versus aftermarket match |
| Screw-retained or special-key cap | Remove the fasteners or use the supplied key, then lift straight off | Stripped screw heads or damaged key recess | Yes if fasteners and threads remain sound | Key style, screw pattern, cap diameter, vehicle-specific part number |
| Wheel nut cap | Use the puller or removal key supplied for that cover | Cracked plastic cover from twisting | Sometimes; many are replaced as a set | Lug nut size, cover style, puller/key style, vehicle listing |
How do you remove a stuck center cap without breaking the clips?
Work the cap free from more than one side with light force and a non-marring tool. A stuck cap is usually held by corrosion, dirt, or paint buildup at the seam, not by brute strength. If the clips begin to bend, stop and change the approach before the cap becomes unusable.
- Inspect the seam and clip layout, and find the thinnest gap.
- Clean loose dirt from the edge with a cloth.
- Slip in a plastic trim tool and lift a little at one point, then move to another point.
- Apply penetrating lubricant sparingly around the cap seam only, then wait about 15 minutes before retrying.
- Tap the cap lightly with a rubber mallet if corrosion is holding it, keeping the blows on the cap face or edge, not the wheel.
- Stop if a retaining clip, backing ring, or tab starts to deform.
A common first-timer mistake is prying hard at one spot on a black-painted wheel. The cap may come free, but the finish will show every slip mark. A plastic hook tool gives you a better grip without scratching alloy paint.
Wheel nut caps are not the same as center caps. Most are decorative plastic covers that pull off with a tool supplied with the vehicle or with a dedicated puller, and many are not threaded at all. Twist-free removal matters here, because the cover can crack if you rotate it while pulling.
- Check for a supplied puller or removal key before touching the cap.
- Hook the cover straight off instead of twisting it side to side.
- Replace damaged plastic covers as a set if the covers or puller points are worn.
If the cover resists, stop and inspect the lug shape. Forcing a wheel nut cap can crack the cover and leave debris around the lug nut, which makes the next removal harder.
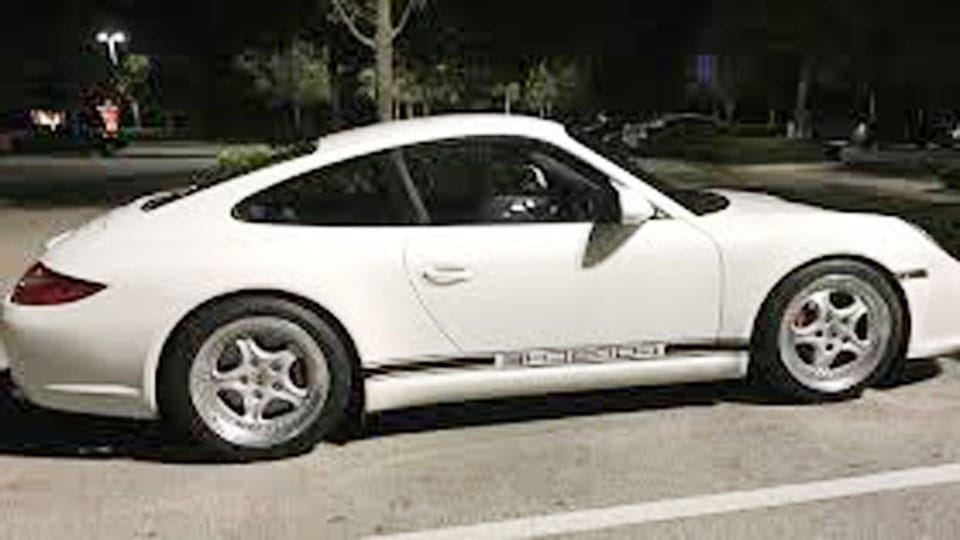
Porsche center caps can vary by wheel style, so confirm the cap shape and the wheel’s clip layout before you pull. Many versions are removed from the front with a dedicated puller or a non-marring tool, but some wheel designs allow rear access after wheel removal. The exact fit varies by model and wheel.
Check the cap diameter, the tab pattern, and the part number on the replacement listing before buying another cap. If the cap uses a backing ring, inspect the ring for cracks during removal; a damaged ring usually means the cap should not be reused.
Can you push the cap out from the back?
Yes, if the wheel design allows rear access and the cap was built for it. This is often the safest method for caps that sit flush in the wheel face, because you can support the cap and backing ring evenly instead of prying against the visible front edge. It is not universal.
- Remove the wheel only if the design allows it and the vehicle is safely supported on jack stands; follow the manual and never work under a vehicle held only by a jack. (Wikihow)
- Support the cap and backing ring from the rear.
- Press evenly around the retaining tabs, not on one tab alone.
- Inspect the cap for cracked clips, a broken ring, or bent tabs before reinstalling it.
Suppose a cap comes off a wheel with four retaining tabs but one tab is flattened. The cap may still look fine from the front, yet it can rattle or fall out later. In that case, replacement is safer than forcing a reused fit.
How to remove alloy wheel centre caps
Alloy wheel centre caps often show pry marks quickly, so the safest approach is the gentlest one that matches the design. Use a plastic center cap removal tool first, then step up to light tapping or rear access if the wheel layout permits it. Avoid a metal pick unless there is no painted edge to mark.
Penetrating lubricant can help if the seam is crusted, but use it sparingly and keep it away from brakes and the tire bead. If the cap sits in a corroded wheel hub area, clean the exposed edge before reinstalling so the next removal is easier.
Common mistakes
- Prying from one side only, which bends center cap retaining clips and can warp the cap.
- Using a metal pick on painted wheels, which can chip the finish if the tool slips.
- Flooding the area with lubricant, which can contaminate brakes or the tire bead.
- Reinstalling a bent clip or cracked backing ring, which usually leads to a loose fit.
Another mistake is mixing up a center cap with a wheel nut cap or a full wheel cover. Those parts release differently, and the wrong tool can damage the cover before it ever moves.
Clean the wheel hub area and the cap mating surface before reinstalling. That removes grit that can keep the cap from seating fully. If the vehicle maker allows it, use a light film of synthetic grease only in the center bore or pilot area, not on the wheel mounting surface.
- Wipe the wheel hub area and cap edge clean.
- Inspect the clips, tabs, and backing ring for damage.
- Align the cap with the wheel opening.
- Press evenly until the cap clicks into place.
- Check that the cap sits flush and does not rock.
For repeat sticking, clean and inspect the fit at each tire rotation. If the cap still will not seat or release normally, the wheel or cap may be out of spec, and a tire shop can confirm the fit before more damage happens.
When to stop and get help
Stop if the cap will not move after light tapping, if the clips are already bent, or if the backing ring cracks during removal. A tire shop can remove a seized cap without turning a small repair into a damaged wheel or an unusable replacement cap. Follow the vehicle manual and local laws if the wheel has to come off.

Hi, I’m Melvin, an automobile engineer with extensive experience in automobile equipment. I currently work for a local automobile firm, where I specialize in the car parts industry. I’ve had the opportunity to collaborate with seasoned inspectors, gaining invaluable hands-on experience that goes beyond just theory.
My passion for automotive care started at a young age, which led me to create CarSpareCare. Through CarSpareCare, I share the knowledge and skills I’ve acquired over the years to help others navigate the world of car maintenance and repairs.
My goal is to provide practical tutorials, essential safety advice, and the latest industry insights so that anyone—whether a beginner or an expert—can confidently tackle their automotive projects.