Prevent car interior plastic cracks by cleaning gently, using the right protectant for the material, and reducing UV exposure. If a product leaves trim slick, cloudy, or sticky, stop using it. Drying, dust, and sun exposure weaken dashboards and trim, then cracks start at edges, vents, and seams. This guide covers plastic types, sun protection, cleaning choices, and the mistakes that weaken interior trim before cracks appear.
This guide is part of our Car interior maintenance guide series.
Why sunlight and wear damage cabin plastics
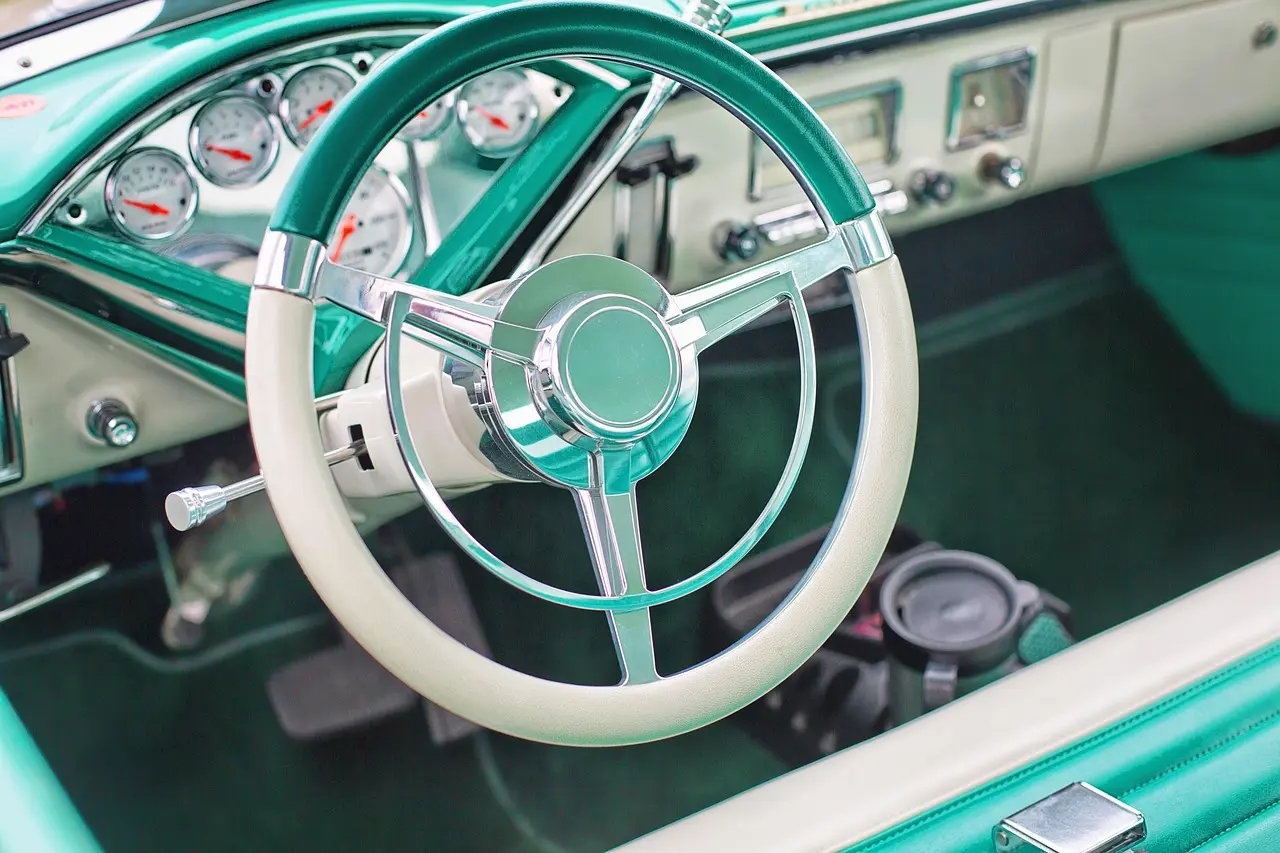


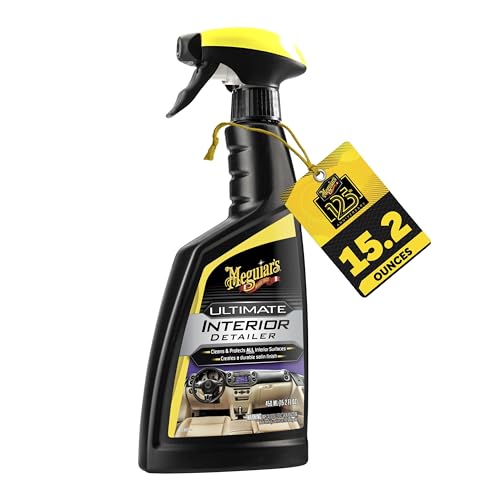
UV from sunlight is the main long-term cause. It passes through windows and windscreens, slowly breaking down plastic on the dashboard, upper door panels, and other exposed trim. Heat, dust, skin oils, and rough cleaning add wear until the surface loses flexibility and starts splitting at stress points. For a closer look at how materials vary, the main plastic types in a cabin all age a little differently, but they all benefit from lower heat and less UV.
Cracks usually begin where the material flexes or gets hit by sun first. Edges, vents, seams, and the top of the dash take the most abuse. Reduce UV load, keep abrasive grit off the surface, and avoid overworking the finish, and you slow that failure chain. Even with glass in place, ultraviolet exposure still reaches the cabin and ages trim over time, so parking habits matter as much as product choice.
How UV exposure weakens interior plastics
Sunlight through glass is enough to age plastic even when the cabin looks shaded. Parking in direct sun, skipping a UV-blocking product, and leaving the same panel exposed day after day all raise the risk. The dashboard and upper trim take the worst exposure because they sit closest to the windshield and side glass. Reputable guidance on UV and interior materials consistently points to sun exposure as a major cause of fading, drying, and cracking over time.
How heat, dust, and surface wear speed failure
Heat makes brittle plastic more likely to crack, while dust works like fine grit when it is dragged across the surface. Skin oils and dirty towels can also leave a film that traps more dirt. Once the surface starts to lose texture or gloss balance, damage tends to spread faster from those worn areas. That is why heat, neglect, and abrasion together are more damaging than any one factor alone.
Why cracks start in the highest-exposure zones
Dashboard tops and upper door panels sit closest to the glass and take the most UV. Vents and seams collect debris, then get brushed repeatedly. Piano black trim shows the problem sooner because scratches and swirl marks stand out in sunlight, even before a crack forms. Areas that flex, heat up, and collect dust usually fail first.
What you’ll need
- pH-neutral interior cleaner
- Protectant or UV protectant for interior plastics and vinyl-like trim
- Microfibre towel in the 300-350 GSM range
- Soft-bristle brush for vents, seams, and textured trim
- Compressed air for lifting embedded dust
- Vacuum with a soft brush attachment
- Foam applicator or clean microfiber applicator pad
- Separate towel for glossy piano black trim
How should you clean plastic trim without weakening it?
Clean in two stages: remove loose dust and grit first, then apply a pH-neutral cleaner to the applicator, not directly onto the surface. That lowers the chance of liquid getting into switches, seams, or electronics, and it keeps you from saturating trim that can deform or stain. Safe interior-cleaner guidance from manufacturers and detailers consistently favors mild, non-etching formulas for cabin plastics and vinyl-like surfaces. A pH-neutral interior cleaner is the simplest general choice.
- Dry the surface first. Use compressed air on vents, grain patterns, and seams before vacuuming. That lifts debris out of texture valleys so you do not grind it across the plastic.
- Vacuum with care. Follow with a soft brush attachment and light pressure. Work one section at a time, such as one door panel before the dashboard, so dirt is not pushed around the cabin.
- Apply cleaner to the applicator. Spray the pH-neutral interior cleaner onto the towel or pad, not directly onto the trim. Wipe one panel, then turn the cloth to a clean side as it loads with soil.
- Use the right towel. Choose a 300-350 GSM microfibre towel and fold it into quarters for multiple clean sides. Avoid terry cloth or cotton on glossy plastics because they can leave visible marring.
- Finish with protection. After the surface is clean and dry, apply a protectant or UV protectant to dashboards, upper door panels, trim, and vinyl-like surfaces. The goal is slowing fade and cracking, not hiding damage.
A common first-timer mistake is flooding the center console with cleaner, then wiping the puddle into button gaps. That adds risk without improving the finish. Use only enough product to dampen the applicator, then recheck the area after it dries. On slick or coated trim, less product and lighter pressure are usually safer than repeated passes.
Which materials need different care?
Modern car interiors contain four main plastic types, and they do not all react the same way. Soft-touch TPO is commonly used on dashboards and upper door panels, hard ABS often appears on lower door panels and under-dash areas, textured polypropylene is used where grain matters, and piano black trim usually needs the lightest touch. Heat and UV can age each one differently, but all of them benefit from gentler maintenance and less direct sun.
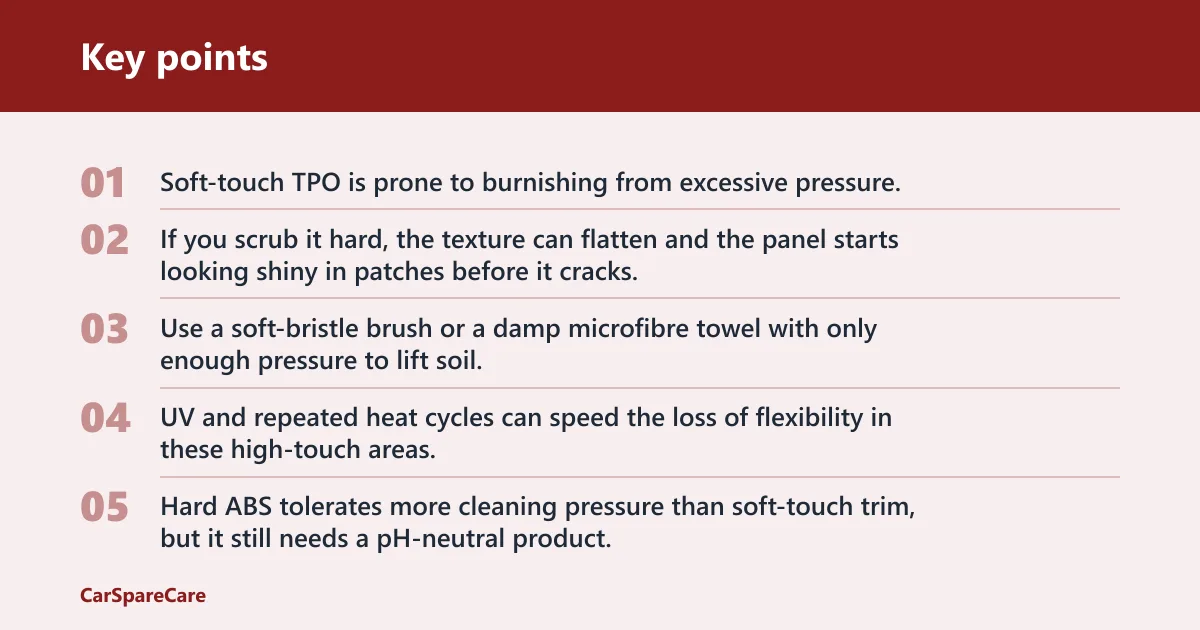
Soft-touch TPO on dashboards and upper door panels
Soft-touch TPO is prone to burnishing from excessive pressure. If you scrub it hard, the texture can flatten and the panel starts looking shiny in patches before it cracks. Use a soft-bristle brush or a damp microfibre towel with only enough pressure to lift soil. UV and repeated heat cycles can speed the loss of flexibility in these high-touch areas.
Hard ABS in lower panels and under-dash areas
Hard ABS tolerates more cleaning pressure than soft-touch trim, but it still needs a pH-neutral product. Use it on lower door panels and under-dash plastic where grime builds up. The surface is tougher, yet harsh chemicals can still discolor it over time. Because it often sits near shoes and vacuum hoses, scratches and scuffs can appear before cracking does.
Textured polypropylene in grained trim and kick panels
Textured polypropylene has grain patterns that hold dust in the valleys. The goal is to dislodge dirt without forcing it deeper into the texture. Compressed air first, then a soft-bristle brush, then a towel for the residue gives you better control on these parts. That order reduces the chance of dragging grit across the surface.
Piano black trim on high-gloss surfaces
Piano black trim scratches as easily as painted surfaces and shows swirl marks in sunlight. Keep the touch light. Use a clean 300-350 GSM microfibre towel, folded so you can rotate to a fresh side, and avoid terry cloth or cotton altogether. It is the finish that makes these marks obvious, not necessarily a more fragile substrate.
Picture a glossy center-console strip that looks fine in shade but shows circular marks when the sun hits it at an angle. That is a towel issue, not just a product issue. Switching to a cleaner microfibre side often matters more than adding more chemical.
Crack prevention priority matrix
This matrix puts the highest-risk cabin zones in order and ties each one to a specific prevention move. Use it with a weekly clean, a monthly protectant application, and a seasonal check before peak heat or winter dryness. The extra column helps you spot early warning signs before a small issue becomes a visible split.
| Interior area | Main failure risk | Exact prevention action | Cadence or early warning sign |
|---|---|---|---|
| Dashboard top | UV embrittlement and edge cracking | Park in shade or use a windshield sunshade, clean monthly, and apply UV protectant after drying | Recheck monthly; watch for dulling, whitening, or tiny lines near the windshield base |
| Upper door panels | Burnishing and fade from hand contact and sun | Wipe weekly with a 300-350 GSM microfibre towel and refresh protectant monthly | Weekly touchpoint; look for shiny patches or texture loss where arms rest |
| Center console | Cleaner buildup around switches and gloss wear | Apply cleaner to the applicator, not the panel, then dry-buff before residue settles | Check after each clean; residue, tackiness, or cloudy edges are early clues |
| Vents | Dust packed into slats and brittle vane tips | Blow out dust with compressed air before brushing with a soft-bristle brush | Inspect monthly; look for dust clumps or vanes that feel stiff or chalky |
| Piano black trim | Swirl marks and fine scratches | Use the lightest pressure, separate towels, and no cotton or terry cloth | Watch for haze in angled light; marks appear before cracking on this finish |
| Lower kick panels | Grime embedding in texture and abrasion from shoes | Vacuum first, then clean with a pH-neutral product and a soft brush | Seasonal check; look for darkened texture, scuffs, or embedded grit |
Weekly: dust, vacuum, and inspect the sun-exposed areas for whitening, dull spots, or early edge lifting. Monthly: deep-clean and reapply protectant to high-exposure trim. Seasonally: check the dashboard, upper door panels, and any panel that sits in direct sun for reapplication sooner if parking habits have changed.
What mistakes make cracks appear sooner?
Over-scrubbing, direct spraying, and the wrong towel do the most damage. Soft-touch TPO can lose texture if you press too hard. Piano black trim can pick up swirl marks from terry cloth or cotton. Textured polypropylene can trap grit if you wipe it before loosening dust. Products that leave a greasy film can also attract more dust and make the surface degrade faster.
Another problem is using a shiny dressing that leaves trim slick or sticky. That finish attracts more dust and can make the surface look cloudy. If a product changes the feel of the plastic instead of just protecting it, stop using it. Interior protectants should leave a controlled finish, not a wet or grabby one.
- Stop the current damage source. Switch to a pH-neutral interior cleaner and a clean microfibre towel. If the panel is glossy, use a dedicated towel that has not touched rough trim.
- Reduce UV load immediately. Park in shade when possible, use a sunshade on the windshield, and close the tint-free side of the cabin to the sun if you can choose the parking angle.
- Reset the cleaning method. Do not scrub soft-touch areas harder to “restore” the texture. That can accelerate burnishing and make the surface look worse.
If that did not stop the damage, move from cleaning to inspection. A crack that is still hairline and not lifting at the edges can often be slowed with gentler care, reduced UV exposure, and a proper protectant schedule. If the panel is splitting, flexing, or opening at a seam, replacement is usually the better route; protectant will not reverse structural failure.
Suppose a dashboard top has an about 20 mm hairline crack near the windshield base. You can still slow spread by cutting sun exposure and avoiding pressure near the crack. If the same crack begins opening at the edge or catches a fingernail, that is beyond prevention and should be treated as a repair or replacement problem.
Frequently asked questions
How can I prevent cracks in car interior plastics?
Use shade, a windshield sunshade, and a UV protectant on exposed trim. Clean with a pH-neutral interior cleaner, dry with a 300-350 GSM microfibre towel, and avoid over-scrubbing soft-touch TPO. A monthly protectant schedule and regular dust removal do more than occasional heavy cleaning.
How do I clean car interior plastic without damaging it?
Apply cleaner to the applicator instead of spraying the panel, then wipe one section at a time. Start with compressed air or vacuum on textured surfaces, use a soft-bristle brush for seams, and keep pressure light on soft-touch and piano black trim. That lowers scratch risk and avoids liquid in gaps.
What is the best thing to use on car interior plastic?
A pH-neutral interior cleaner followed by a suitable UV protectant is the safest general combination. Use the cleaner on the towel or pad, then protect the surface after it dries. Match the tool to the finish: soft-touch needs gentle pressure, while textured plastic benefits from light agitation.
How often should I protect dashboard and door trim?
For high-sun cabins, about a monthly protectant schedule is a practical starting point for dashboard tops and upper door panels. If the car sits outside daily or the windshield gets strong direct sun, shorten the interval. Reapply after a thorough cleaning so the protectant bonds to a dry, dust-free surface.
Does UV exposure really crack car interior plastics?
Yes. UV passes through glass and slowly breaks down plastics, which makes them dry, fade, and lose flexibility. The effect is strongest on top surfaces near the windshield and side windows. Parking habits, sunshade use, and regular UV protection all reduce the load on those panels.
What kind of towel is safest for car interior plastics?
Use a 300-350 GSM microfibre towel and fold it into quarters so you can keep rotating to a clean side. Avoid terry cloth or cotton on glossy plastic because they can leave visible swirl marks. On piano black trim, a soft, clean microfibre is the safer choice.
How do I restore car interior plastic?
Start by cleaning away dust, oils, and residue, then use a suitable protectant on dry trim to improve the look and slow further aging. That can revive faded or dull surfaces, but it will not rebuild missing texture or repair structural cracks. If the plastic is split, replacement is the real fix.
How do I fix cracks in car paint?
This article is about interior plastic, not exterior paint. Paint cracks usually need bodywork, sanding, and refinishing rather than an interior cleaner or trim protectant. If the damage is on painted body panels, the problem is different from dashboard or door trim cracking and should be treated separately.

Hi, I’m Melvin, an automobile engineer with extensive experience in automobile equipment. I currently work for a local automobile firm, where I specialize in the car parts industry. I’ve had the opportunity to collaborate with seasoned inspectors, gaining invaluable hands-on experience that goes beyond just theory.
My passion for automotive care started at a young age, which led me to create CarSpareCare. Through CarSpareCare, I share the knowledge and skills I’ve acquired over the years to help others navigate the world of car maintenance and repairs.
My goal is to provide practical tutorials, essential safety advice, and the latest industry insights so that anyone—whether a beginner or an expert—can confidently tackle their automotive projects.