
Read a wheel stamp left to right: width, diameter, bolt pattern, and offset. Then confirm the wheel matches your car’s required size, PCD, and offset. A wrong reading can mean a wheel that will not bolt on, rubs the suspension, or damages the tyre and hub. This guide decodes each rim marking and checks fitment in three steps.
Wheel marking decoder table
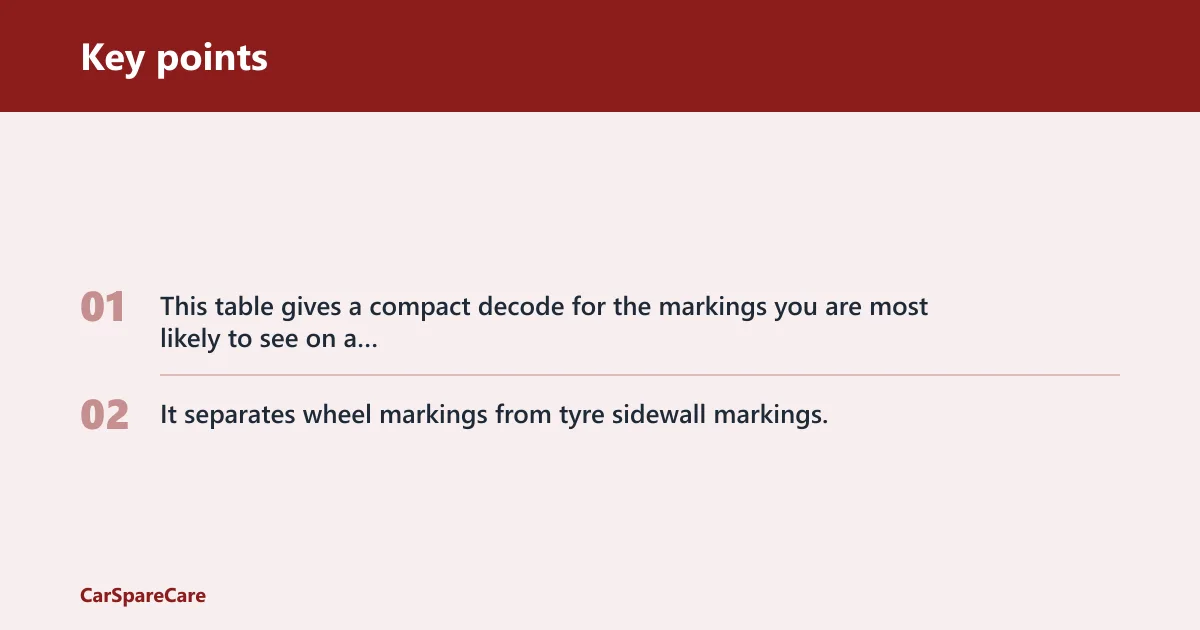
This table gives a compact decode for the markings you are most likely to see on a passenger-car rim. It separates wheel markings from tyre sidewall markings, and it shows what each stamp means, the unit used, the common values, and the fitment risk if the value is wrong.
| Mark | What it means | Unit | Common passenger-car values | Fitment risk if wrong | How to verify |
|---|---|---|---|---|---|
| 7 | Rim width | Inches | 5.5, 6.0, 6.5, 7.0, 8.0 | Tyre may not seat or may fit poorly | Check the first number on the rim stamp and compare it with the tyre and wheel spec. |
| J | Bead-seat profile letter | Profile code | J is common; JJ and K also appear | Tyre bead profile mismatch can affect seating | Match the letter to the tyre bead profile required for that wheel. |
| x | One-piece construction | Construction symbol | x | Misread construction can confuse identification | Read the symbol between width and diameter; x marks one-piece construction. |
| 16 | Rim diameter | Inches | 15, 16, 17, 18, 19 | Tyre will not fit the rim if diameter differs | Match this number to the tyre’s rim diameter field. |
| H2 | Hump / flange type | Code | H, H2, FH, CH | Bead retention may be wrong for the tyre and load use | Read the hump code after the diameter and check wheel documentation. |
| 5/120 | Bolt pattern / PCD | Count + millimetres | 4/100, 5/112, 5/120, 5×120 | Wheel may not bolt to the hub | Count the bolts or studs and measure the pitch circle diameter. |
| 66.6 | Center bore | Millimetres | 54.1, 57.1, 66.1, 66.6, 72.6 | Wheel may not center on the hub | Compare the bore to the hub pilot or use a hub-centric ring if allowed. |
| ET47 | Offset | Millimetres | ET20 to ET55, positive, zero, negative | Rubbing, inward contact, or changed track width | Check the offset stamp and compare it with OEM or manual data. |
| 690 kg | Load rating | Mass rating | Varies by wheel and vehicle class | Wheel may be under-rated for vehicle weight | Check the stamped load rating against axle and vehicle requirements. |
| Manufacturer code | Maker, part, or production code | Alphanumeric code | Varies widely | Wrong part identification or wrong variant | Use it to match the exact wheel model in OEM or parts data. |
Where are wheel markings found?
Wheel markings are usually on the inside of the rim, often on the barrel or near a spoke, and they may be partly hidden by paint, dirt, corrosion, or brake dust. Read the stamp as a complete line only after you clean the area enough to see every character.
Inside barrel locations
Most wheels carry the size code on the inner face, so it is not visible from the outside. Look around the rear side of the spokes, the inner barrel, and the area near the valve stem or hub pad. Some cast wheels also have several marks in different spots.
What to do with paint, corrosion, or dirt
If the stamp is faint, use mild cleaner and a soft brush first. Heavy corrosion or thick paint can hide the width, diameter, or offset, so do not guess from partial characters. A stamped “ET47” that reads like “ET4?” is not enough to order from.
How to handle multiple stamps
When there are several marks, look for the full size line rather than isolated symbols. A wheel may also show part numbers, casting numbers, load marks, and supplier codes. If two stamps appear to disagree, confirm the exact wheel against OEM data or the owner’s manual before buying.
Say your rim shows two nearby marks, one reading 7Jx16 H2 and another with a longer alphanumeric code. The size line is the one that tells you the wheel width, diameter, bead profile, hump, and construction. The longer code is usually a maker or part reference, not the fitment size.
How do you read rim width and diameter?
Read the first number as the rim width in inches and the next main size number as the rim diameter in inches. In the example marking 7J x 16 H2 5/120 ET47, 7 is the width and 16 is the diameter. A 16-inch rim equals 406.4 mm.
First number: rim width in inches
The first number is rim width, measured between the bead seats, not the outside edge. To convert inches to millimetres, multiply by 25.4. So 7 inches is about 178 mm. That conversion helps when you compare wheel listings written in metric form.
Second size number: rim diameter in inches
The diameter number must match the tyre and wheel fitment. In the example, 16 means the wheel takes a 16-inch tyre bead seat. A tyre with a different rim diameter will not mount correctly, even if the width looks close.
Inch-to-millimetre conversion examples
Use 25.4 for a clean conversion. A 6.5-inch wheel is about 165 mm wide, and a 16-inch wheel is about 406 mm in diameter. The same wheel can be described in inches on the stamp and in millimetres in fitment notes, so check both systems carefully.
What do the letter and symbols mean?
The letter and symbols tell you how the rim is shaped and built. J, JJ, and K describe the bead-seat profile; x shows one-piece construction; and hump or flange codes such as H2 help retain the tyre bead. These marks matter because they affect how the tyre sits on the wheel.
Bead-seat profile letter
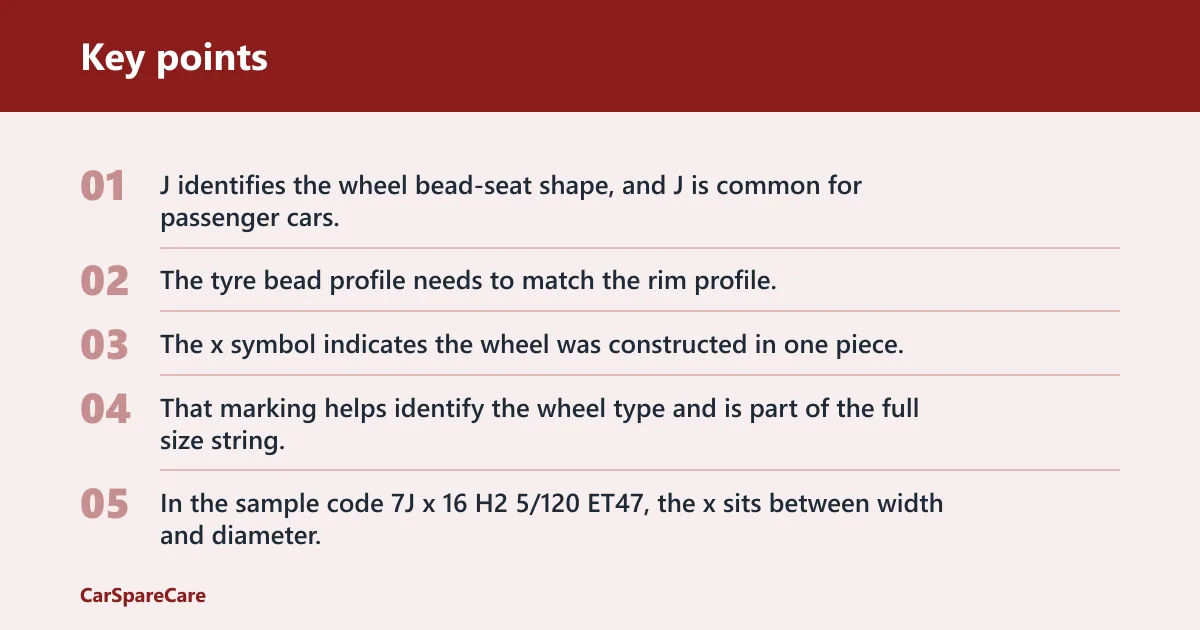
J identifies the wheel bead-seat shape, and J is common for passenger cars. JJ and K also appear on some wheels. The tyre bead profile needs to match the rim profile, or the tyre may not seat correctly and may be harder to inflate or keep seated.
Construction symbol x
The x symbol indicates the wheel was constructed in one piece. That marking helps identify the wheel type and is part of the full size string. In the sample code 7J x 16 H2 5/120 ET47, the x sits between width and diameter.
Hump or flange codes
H2 refers to the flange type on the wheel. Hump features help retain the tyre bead so the tyre stays seated under load and air pressure changes. You may also see other hump or flange codes, but the key point is that they are part of the rim shape, not the tyre size.
How do you check bolt pattern and offset?
Check bolt pattern first, then offset, and finally the center bore. The bolt pattern or PCD is shown as the bolt count plus pitch-circle diameter, such as 5/120 or 5×120. Offset is measured in millimetres and can be positive, zero, or negative.
Bolt count and PCD
5/120 indicates five bolts and a 120 mm pitch circle diameter. That means the wheel has five mounting holes arranged on a circle 120 mm across. A wheel with the wrong bolt count or PCD will not line up with the hub correctly, even if the center opening looks close.
Offset examples such as ET47
ET47 means the offset is 47 mm in the example marking. Offset is the distance between the wheel centerline and the hub mounting plane. Too much positive or negative offset can move the wheel inward or outward enough to cause rubbing, steering changes, or clearance problems.
Why centre bore still matters
The center bore is the wheel’s hub opening, and it helps the wheel locate on the hub. If the bore is too small, the wheel will not fit. If it is too large, the wheel may need the correct hub-centric ring where permitted, or it may not center properly.
Picture a 5/120 wheel with the right diameter but an ET value that is far different from the OEM spec. It may bolt on, yet the rim can sit too far inboard and contact a strut, or sit too far outboard and rub the arch under steering lock or suspension travel.
How do wheel markings compare with tyre sizes?
Wheel markings and tyre sidewall markings are not the same thing. A wheel code tells you the rim width, diameter, construction, bead profile, bolt pattern, and offset. A tyre code such as 225/45 R18 95Y includes section width in mm, aspect ratio as a percentage, rim diameter in inches, load index, and speed rating.
Rim code versus tyre sidewall code
On a tyre, 225 is the section width in millimetres, 45 is the aspect ratio, and R18 means the tyre fits an 18-inch rim. On the wheel, 18 is only the rim diameter. Do not mix the two codes when checking fitment.
Example of a full fitment check
Suppose the wheel stamp reads 7J x 16 H2 5/120 ET47. That tells you the rim is 7 inches wide, 16 inches in diameter, uses J bead-seat shape, has H2 humps, five bolts on a 120 mm PCD, and 47 mm offset. Then compare that with the vehicle placard or manual before ordering.
ISO 5775 is the wheel sizing standard used for standardization, and a 700c wheel size corresponds to a 622 mm rim diameter. A 700c rim uses a bead seat diameter of 622 mm. That is a reminder that the same wheel size can be described using more than one system.
One common first-timer mistake is reading the tyre size and assuming the wheel matches. A tyre marked 225/45 R18 95Y includes width, profile, construction, rim diameter, load index, and speed rating, but it says nothing about wheel offset, bolt pattern, or center bore. Those remain separate checks.
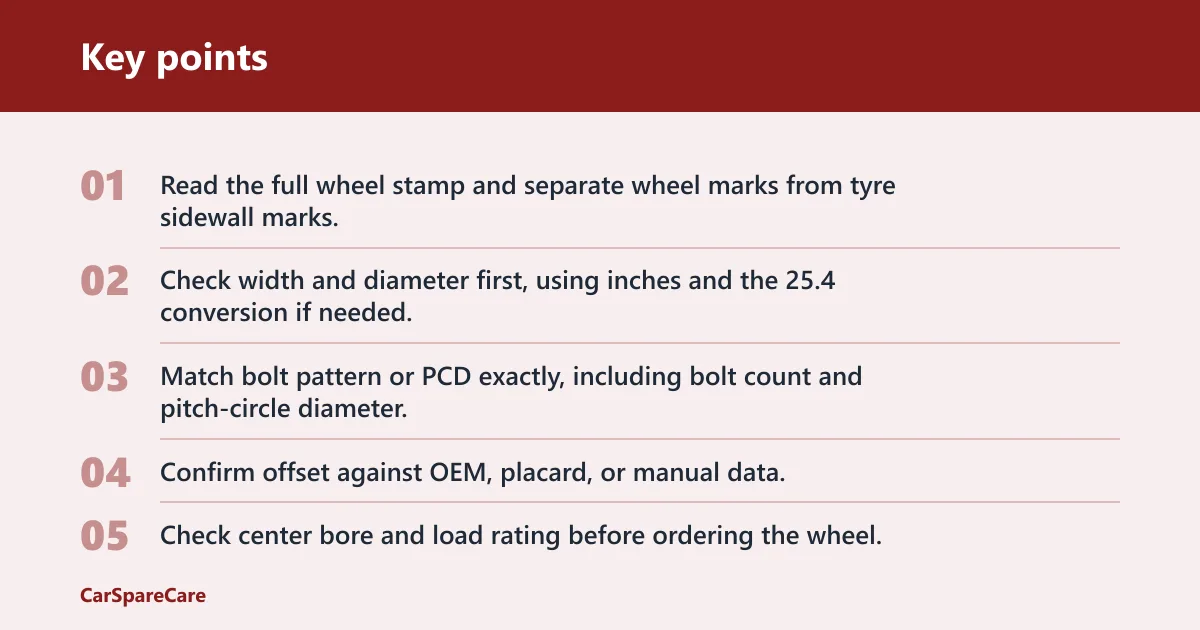
- Read the full wheel stamp and separate wheel marks from tyre sidewall marks.
- Check width and diameter first, using inches and the 25.4 conversion if needed.
- Match bolt pattern or PCD exactly, including bolt count and pitch-circle diameter.
- Confirm offset against OEM, placard, or manual data.
- Check center bore and load rating before ordering the wheel.
Frequently asked questions
How to read rim sizes
Read rim sizes left to right and treat each part separately. Width and diameter tell you the basic size; the bead letter, hump code, and construction tell you the shape; the bolt pattern, center bore, and offset tell you whether it will fit the car. Always confirm before buying.

Hi, I’m Melvin, an automobile engineer with extensive experience in automobile equipment. I currently work for a local automobile firm, where I specialize in the car parts industry. I’ve had the opportunity to collaborate with seasoned inspectors, gaining invaluable hands-on experience that goes beyond just theory.
My passion for automotive care started at a young age, which led me to create CarSpareCare. Through CarSpareCare, I share the knowledge and skills I’ve acquired over the years to help others navigate the world of car maintenance and repairs.
My goal is to provide practical tutorials, essential safety advice, and the latest industry insights so that anyone—whether a beginner or an expert—can confidently tackle their automotive projects.