

Wash first, then use a clay mitt on cool, lubricated paint: spray clay lubricant on a small panel, move the mitt in straight lines with light pressure, wipe dry, and inspect; stop if the mitt grabs or picks up grit. Skip this and you can drag bonded dirt across the clear coat, leaving marring that needs polishing to fix. This guide shows the beginner-safe technique, the warning signs to check, and when a clay mitt makes more sense than a clay bar.
What a clay mitt does on car paint

A clay mitt removes bonded contamination from the car paint clear coat after washing. Soap clears loose dirt, but it does not pull off embedded particles from brake dust, road film, or industrial fallout. The goal is simple: after treatment, the surface should feel smooth.
How bonded contaminants differ from normal dirt
Normal dirt sits on top of the paint and usually comes off during washing. Bonded contamination sticks to the clear coat and can make the paint feel gritty even when it looks clean. Clay, which is slightly abrasive, can lift that bonded material when used with proper lubrication.
Where a clay mitt fits in paint care
A clay mitt is a mitt-style decontamination tool with a synthetic working surface. It is used with lubricant on clean paint, can be rinsed and reused, and is often sold in a few grades, such as fine or medium. Compared with a clay bar, it can be quicker for maintenance decontamination and easier for beginners to handle.
How to prepare the car before claying
Wash the vehicle first, then work in shade on cool panels. Gather a spray clay lubricant, a rinse bucket, and clean microfiber towels before you start. Claying on dirty or hot paint raises the risk of dragging grit and leaving marks in the clear coat.
Wash and rinse before you start
Claying removes contaminants that soap alone cannot carry away, but soap still matters because it clears loose grime first. A clean surface gives the mitt a better chance of contacting bonded debris rather than loose dirt. Dry the panel enough that you can see what remains, but keep lubrication ready.
Choose shade and cool panels
Heat can make lubricant flash off faster. That leaves dry spots, and dry clay can mar and scratch paint. Work a panel at a time in shade when possible, and let hot bodywork cool before touching it with any clay surface.
Gather lubricant, towels, and a rinse bucket
A spray-on detailer is recommended because it helps the clay slide across the surface. A damp medium-pile microfiber towel is recommended to remove excess lubrication after each section. Keep a rinse bucket nearby so you can clean the mitt surface when it starts loading up.
How do you test the paint before using a clay mitt?
Use a baggy-hand or fingertip test on a washed panel before claying. If the paint feels rough, gritty, or peppered with tiny bumps, it likely has bonded contamination. That test also helps you judge whether a mitt is enough or whether the car needs a stronger clay bar approach.
Use the baggy-hand or fingertip test
Slip a thin bag over your hand or run a clean fingertip lightly over the paint. Roughness means contamination is still embedded in the clear coat. Smoothness means the panel may need little or no clay work, depending on what you feel and see.
Identify roughness, grit, and stubborn fallout
Lower doors, bumpers, and rear panels often collect more debris. A common first-timer mistake is checking only the hood and roof, then moving too fast over dirtier areas below. Dirty lower panels are best left until later because they may load the mitt more quickly.
Decide whether the panel needs only a mitt or something stronger
If the panel feels lightly rough after washing, a fine clay mitt is often a reasonable choice. If the contamination is heavy, you may need more time, more lubricant, or a clay bar with greater tactile control. A heavily neglected surface can also need polishing after claying if marring has already happened.
Step-by-step clay mitt workflow
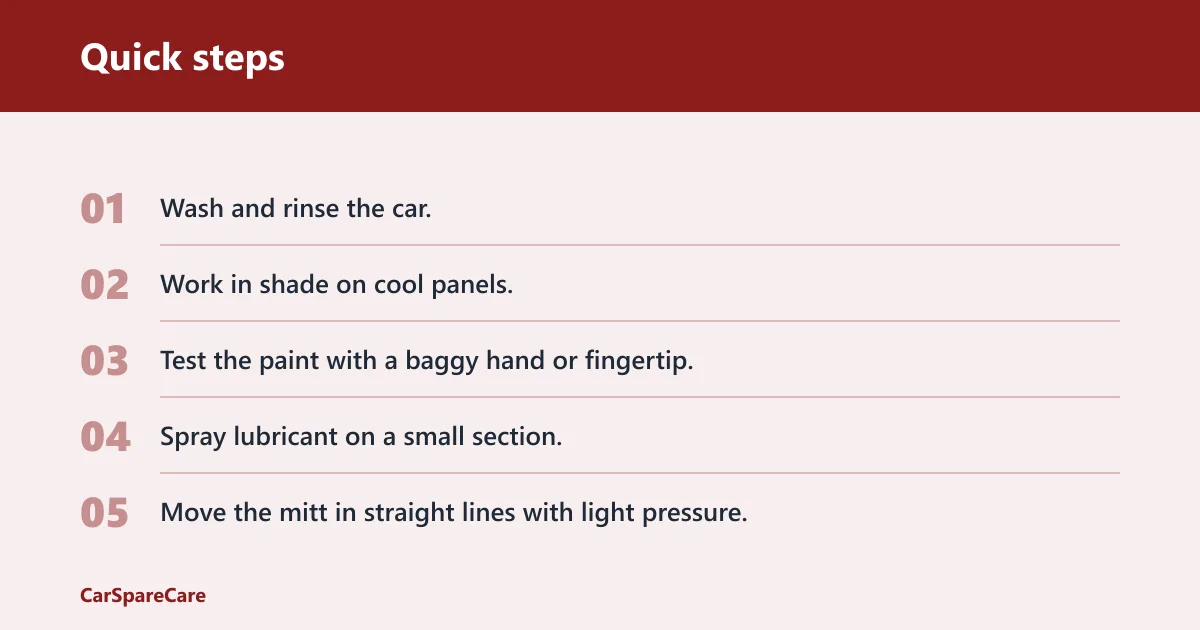
Work in small sections, keep the mitt wet with lubricant, and move in straight lines with light pressure. Wipe residue after each section and inspect the paint before moving on. This panel-by-panel approach keeps you from missing dry spots and helps you stop early if the surface starts to feel wrong.
1. Divide the panel into small sections
Pick a section small enough to manage comfortably, such as part of a hood or a door section. Smaller sections reduce the chance that lubricant dries before you finish. They also make it easier to see contamination loading on the mitt surface.
2. Apply enough lubricant for strong slip
The paint should feel slick under the mitt. If the surface feels sticky, draggy, or dry at any point, add more lubricant immediately. The goal is continuous glide, not occasional wetting. A good amount of lubricant should leave the mitt moving freely without snagging.
3. Use straight-line passes with light pressure
Move back and forth in one direction, not circles. Apply no pressure beyond the weight needed to keep the mitt in contact with the paint. Circular motion and force increase the chance of visible marring if a trapped particle crosses the clear coat.
4. Wipe residue and inspect after each section
Use a clean microfiber towel to remove excess lubricant and loosened residue. A medium-pile or plush towel is preferred because it can lift product without being harsh on the finish. Then check the paint by touch again. The treated area should feel smooth.
5. Rinse, flip, or clean the mitt as it loads up
Watch for a change in feel or visible grime on the working surface. If one side starts to look dirty, flip to a clean section or rinse the mitt. When the mitt starts collecting residue, stop and clean it before continuing. That keeps grit from being carried across fresh paint.
| Checkpoint | What you should feel or see | What to do next |
|---|---|---|
| Before claying | Roughness or grit on the washed panel | Choose a small section and add lubricant |
| During passes | Strong slip with no dragging | Keep moving in straight lines with light pressure |
| Lubricant starts drying | Surface feels tacky or noisy | Stop and spray more lubricant |
| Mitt loads up | Grainy feel or visible debris on the surface | Rinse, flip, or clean the mitt |
| After wiping | Paint feels smooth to the touch | Move to the next section |
- Wash and rinse the car.
- Work in shade on cool panels.
- Test the paint with a baggy hand or fingertip.
- Spray lubricant on a small section.
- Move the mitt in straight lines with light pressure.
- Wipe residue with a microfiber towel.
- Inspect by touch and sight.
- Rinse, flip, or clean the mitt when it loads up.
- Stop if the surface starts grabbing or feels gritty.
What should you do if the mitt starts grabbing?
If the mitt starts grabbing, stop and check for dry spots, contamination, or a dirty working face. Add more lubricant if the panel simply needs more slip. If you feel dragging or grit after that, rinse the mitt and inspect the paint again before resuming.
Check for dry spots and add lubricant
Dry spots are the easiest reason for drag. Spray more lubricant before continuing, and overlap the previously worked area slightly so the transition stays smooth. If the mitt begins to glide again, the problem was likely lubrication rather than embedded grit.
Stop if you feel dragging or grit
Dragging is a warning, so it’s better to stop, clean it, and reset rather than pushing through. Force can turn a bad pass into a visible defect on soft black paint or any other delicate finish. If the mitt keeps catching after relubricating, stop the section and reset rather than trying to finish it under pressure.
Rinse the mitt and inspect the paint again
A mitt that has picked up grit should not keep going until it is cleaned. Rinse it, check the surface with your hand again, and make sure the panel still needs clay work. A contaminated mitt can undo careful prep in a few passes.
Clay mitt vs clay bar: which should you choose?
Choose a clay mitt for quicker maintenance decontamination on paint that is already washed and only lightly to moderately rough. Choose a clay bar when you want more tactile control or when the car has heavier contamination. The best choice depends on paint condition, not habit.
Use a mitt for faster maintenance decontamination
A clay mitt is useful when you want to work panel by panel with less kneading and less handling. Many beginners find it easier because the surface stays on the glove-like tool and can be rinsed as needed. Fine and medium synthetic surfaces are common choices for routine use.
Use a clay bar for more tactile control
A clay bar is the traditional decontamination medium. It is usually kneaded to expose fresh surface as it gets dirty, and it can give more feedback in your hand. That tactile control helps on stubborn contamination, especially when you want to feel exactly what the paint is doing.
Choose by contamination level and paint condition
For soft black paint, a safer path is a test spot with a fine mitt or fine bar before you work the whole car. For neglected lower panels or heavily contaminated cars, start carefully and expect more cleaning of the tool. The goal is controlled removal, not speed at any cost.
Say your daily driver has road film on the doors and a rough rear bumper after winter. A fine clay mitt is often enough for those panels if the paint has been washed, kept wet, and checked often. If the lower panels feel like sandpaper, slow down and consider a clay bar or more intensive correction.
What to do after claying the paint
After claying, remove residue with a clean microfiber towel and check the panel again for roughness or marring. After treatment, the paint should feel smooth. Because claying removes contamination and leaves the surface bare, waxing or sealing afterward helps protect the clear coat.
Remove residue with a clean microfiber towel
Use a medium-pile or plush towel gently. Do not scrub the paint to chase off lubricant. Light wiping is enough when the panel has been properly lubricated and the clay work is complete.
Inspect for remaining roughness or marring
Run the baggy-hand test again after drying. If the paint still feels gritty, a second careful pass may be needed. If you see haze or light marks, stop claying and assess whether polishing is needed before any protection product goes on.
Apply wax or sealant after decontamination
Freshly clayed paint has had contaminants removed from the clear coat, so it benefits from protection. Wax or sealant helps preserve the smooth feel and gives the surface a sacrificial layer. Claying is not an every-wash task, and it should not be used every month.
Frequently asked questions
how to use a clay mitt
Wash the car first, then work on one lubricated section at a time with straight-line passes and light pressure. Wipe each section with a microfiber towel, inspect the finish, and rinse or flip the mitt when it starts loading up. Stop if it grabs or feels gritty.
how to use clay mitt on car
Use the mitt on cool paint with enough lubricant to create strong slip. Keep your passes short and controlled, and avoid circles or pressure. A clay mitt works best on panels that have been washed and tested for roughness, not on dirty paint or dry panels.
how to clay a car properly
Wash, test the paint, and clay only small sections at a time. Use lubricant generously, move in one direction, and wipe residue after each section. Check the surface by touch as you go. Proper claying leaves the clear coat smooth without forcing the tool across dry spots.
how to clay your car
Start with the dirtiest areas only after the paint has been washed and the car is cool. Use a baggy-hand test to find rough spots, then work the clay mitt gently with lubricant. Clean the mitt often, because a loaded tool can drag grit across the finish.
clay mitt vs clay bar
A clay mitt is usually better for faster, beginner-friendly maintenance on lightly to moderately contaminated paint. A clay bar gives more tactile control and is often preferred for stubborn contamination. Choose the mitt for speed and convenience, and choose the bar when the surface needs finer feedback.
how to apply clay bar to car
Knead the clay bar to expose fresh surface, then use it on lubricated paint with straight-line passes and no pressure. Work in small sections and fold or replace the clay when it gets dirty. The same safety rules apply: plenty of slip, no circles, and stop if the bar starts grabbing.

Hi, I’m Melvin, an automobile engineer with extensive experience in automobile equipment. I currently work for a local automobile firm, where I specialize in the car parts industry. I’ve had the opportunity to collaborate with seasoned inspectors, gaining invaluable hands-on experience that goes beyond just theory.
My passion for automotive care started at a young age, which led me to create CarSpareCare. Through CarSpareCare, I share the knowledge and skills I’ve acquired over the years to help others navigate the world of car maintenance and repairs.
My goal is to provide practical tutorials, essential safety advice, and the latest industry insights so that anyone—whether a beginner or an expert—can confidently tackle their automotive projects.

