Use diluted dish soap or a 1:1 water-vinegar mix only on sealed hard surfaces. Use plain water or a pH-neutral cleaner for leather, suede, screens, and electronics. Wrong mixes can stain fabric, haze plastics, dry leather, and damage touchscreens or switches. This guide shows which DIY cleaner fits each interior material, what to avoid, and how to test it safely first.
Quick decision table for interior surfaces
Match the cleaner to the material first. A mix that works on a sealed plastic dash can fail on a coated screen, Alcantara, or piano black trim.
| Surface | Safest homemade mix | Dilution ratio | Application method | Dwell time | No-go warnings |
|---|---|---|---|---|---|
| Dashboard | Water + a few drops of dish soap | 1 quart water with 2 to 3 drops | Spray onto a microfiber cloth, then wipe | None; wipe and dry right away | Avoid overspray into vents, gauges, and switches |
| Coated plastic and vinyl | White vinegar and water | Half a cup of distilled white vinegar with 2 cups of water | Light mist on cloth, then wipe and buff dry | Short contact only | Do not use on screens, piano black trim, or worn coatings |
| Leather | Plain water on a cloth | No added cleaner | Wipe gently with a barely damp microfiber cloth | None | Avoid vinegar, peroxide, heavy soap, and soaking seams |
| Fabric seats and carpet | Water, vinegar, and a tiny amount of dish soap for spot cleaning | Use only enough soap to create light suds; keep the mix weak | Apply to the cloth or spot, agitate lightly, then blot | 15 minutes for stain spots before wiping clean | Avoid over-wetting, which can drive odor deeper and leave residue |
| Alcantara | Plain water or a very light upholstery cleaner | No DIY mix unless the label allows it | Blot with a microfiber cloth; use a soft brush only if the label permits | Minimal | Vinegar, peroxide, and soap can flatten or stain the finish |
| Touchscreens | Dry microfiber cloth, or a cloth barely dampened with water | No vinegar, no soap, no peroxide | Wipe gently; never spray the screen | None | Do not use alcohol or acid mixes unless the vehicle maker allows it |
| Piano black trim | Plain water on microfiber | No added cleaner first | Lift dust, then wipe without pressure | None | Easy to scratch and streak; skip abrasive brushes |
| Vents and seams | Microfiber cloth plus soft-bristled detailing brush | No direct spray into openings | Brush debris loose, then vacuum with crevice tool | None | Do not flood seams or electrical controls |
📊 The stain mix should sit for 15 minutes before wiping clean. Source: Familyhandyman.
What tools and ingredients you need
You do not need a large kit. A small spray bottle, microfiber cloths, a vacuum with a crevice tool, and one or two basic ingredients are enough for most interior jobs.
White vinegar, water, baking soda, dish soap, and hydrogen peroxide
White vinegar and water are the main homemade cleaner for limited hard-surface use, and one recipe uses half a cup of distilled white vinegar with 2 cups of water. Baking soda helps with odor absorption and spot pastes. Dish soap cuts grease in tiny doses. Hydrogen peroxide belongs only in narrow spot use, and it should never be mixed directly with vinegar because that combination can create peracetic acid.
Skip scent additives if pets ride in the car. Many essential oils can be dangerous for pets, so leave fragrance out unless the ingredient is known to be safe.
Microfiber cloth, spray bottle, soft brush, and vacuum
A microfiber cloth lifts dust, traps loose grime, and lowers scratch risk on glossy trim. A plastic spray bottle gives controlled application, which matters because liquid should go on the cloth or the stain, not into electronics. A soft-bristled detailing brush helps with vents and seams. A vacuum with a crevice tool should handle loose debris before any liquid cleaner touches the cabin. (STCC)
How do you prepare the car before cleaning?
Clear the cabin first. Remove trash, loose items, coins, and floor debris, then vacuum seats, seams, under-seat areas, and mats before you touch any liquid. That keeps grit from scratching trim and keeps dirt from turning into mud.
Remove trash and loose items
Take out bottles, wrappers, car seats if needed, and anything that blocks access to cup holders or seat tracks. Loose objects hide grit and can trap moisture later.
Vacuum seams, seats, and under-seat areas
Use the crevice tool along seat seams, rails, console gaps, and the space under the front seats. If pet hair remains, a rubber-dipped glove can help lift fur that the vacuum misses.
Check labels and finish type before any liquid
Look at the surface finish before spraying anything. Touchscreens, piano black trim, Alcantara, and coated plastics need far less liquid than a vinyl panel or a fabric stain. If a label says “do not use solvents,” treat that as a hard stop.
How do you spot-test a homemade cleaner?
Spot-test every mix in a hidden area before wider use. Check for colorfastness, tackiness, streaking, and finish change after the area dries, not just while it is wet.
Choose an inconspicuous area
Pick a hidden spot such as the lower edge of a door pocket, the underside of a seat bolster, or a rear corner of trim. Apply the smallest amount possible with a cloth, not a direct spray.
Check color transfer, tackiness, and streaking
Rub lightly with a white microfiber cloth. If dye transfers, the surface feels sticky, or the finish turns hazy, stop. Say your steering-wheel trim looks normal while wet but feels tacky after drying; that is a sign the mix is too aggressive for the coating.
Wait and inspect after drying
Give the test area time to dry fully, then inspect it under bright light. Look for dull spots, whitening, edge lift, or residue. A common first-timer mistake is judging the result before the solvent and water have flashed off.
Make the safest DIY mixes
Use the lightest mix that still does the job. Stronger is not safer, and over-concentrated cleaners can leave residue, streak glass, or dry materials that need to stay flexible.
Vinegar-water cleaner for limited hard-surface use
For sealed vinyl and some coated hard plastics, mix half a cup of distilled white vinegar with 2 cups of water in a spray bottle. Spray the cloth, not the panel, then wipe and dry with a second microfiber cloth. Use it for odor control on hard surfaces as well, but keep it away from screens, raw aluminum, leather, and damaged coatings.
White vinegar can help with smell, but odor control is not the same as deep cleaning. If a spill keeps returning as the car warms up, the source may be under the seat or in carpet padding.
Baking soda for odor control and spot paste
Baking soda works best as an odor absorber or a spot paste for fabric and carpet. For smells, sprinkle it lightly, let it sit, then vacuum thoroughly with the crevice tool. For stains, mix a small paste with water, apply only to the spot, let it sit, then vacuum or blot away every grain.
Do not leave baking soda residue in seams. Powder left behind can attract dust and turn chalky once damp.
Tiny-dose dish soap mix for grime and grease
For greasy residue on dashboards, cup holders, and some vinyl panels, add only a tiny amount of dish soap to water. Use enough to break surface tension, not enough to leave bubbles. Overuse can leave a film on fabric and upholstery, and that residue often attracts more dirt.
Say a coffee spill lands on a vinyl console and dries sticky. A lightly soaped microfiber cloth can lift the film, but the area should be wiped again with plain water and dried so the finish does not stay slick.
Hydrogen peroxide spot use with strict caution
Hydrogen peroxide is for limited spot use only, mainly on light-colored fabric where a stain needs targeted treatment. Use a low-concentration solution intended for household cleaning, apply it sparingly to the stain, and keep contact short. Do not mix it with vinegar, and do not use it on dark fabric, leather, or sensitive trim unless the material maker or care guidance allows it.
It can bleach or lighten the area. That risk rises on dyed fabric, Alcantara, and trim with a matte finish.
How should you clean each surface type?
Match the tool and mix to the part in front of you. The right cleaner on the wrong surface can do more damage than the dirt you are trying to remove.
Hard surfaces and vents
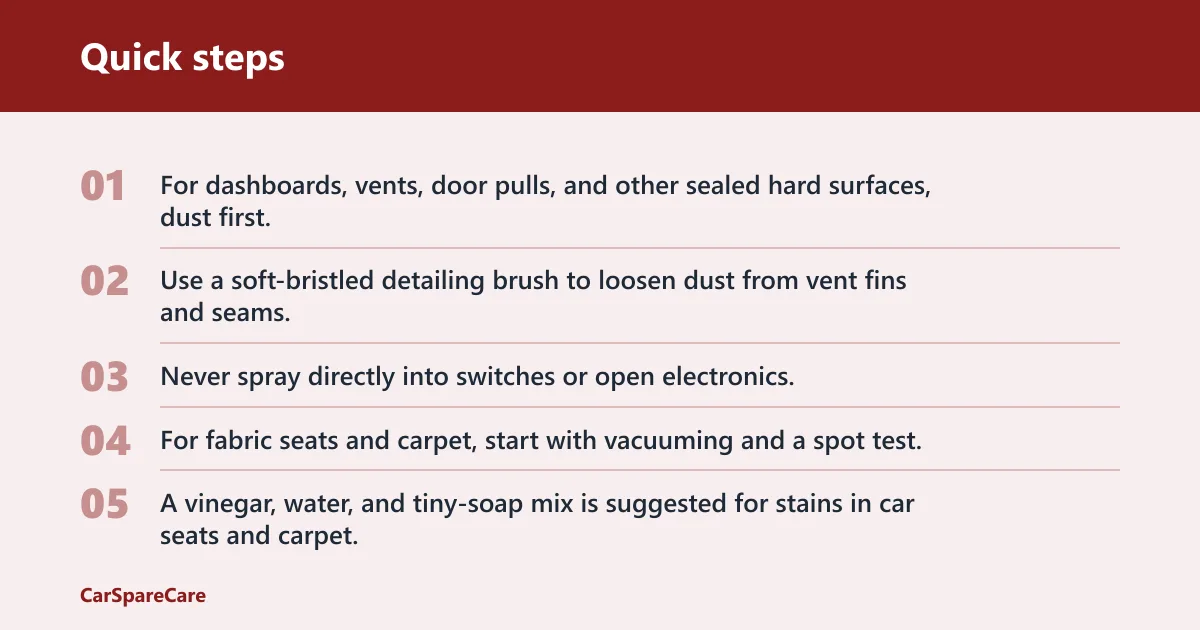
For dashboards, vents, door pulls, and other sealed hard surfaces, dust first, then wipe with a microfiber cloth lightly dampened with water or a very weak vinegar mix if the finish tolerates it. Use a soft-bristled detailing brush to loosen dust from vent fins and seams, then vacuum what falls out. Never spray directly into switches or open electronics.
Fabric seats and carpets
For fabric seats and carpet, start with vacuuming and a spot test. A vinegar, water, and tiny-soap mix is suggested for stains in car seats and carpet, and the stain mix should sit for 15 minutes before wiping clean. Blot instead of scrubbing, then dry the area fully to prevent musty odor or residue buildup.
Leather and vinyl
For leather, plain water on a microfiber cloth is the safest first move. For vinyl, a weak vinegar-water mix can work on sealed, intact material if a spot test passes. Avoid soaking seams, and do not use hydrogen peroxide or heavy soap on leather because drying and finish changes can be hard to reverse.
Headliners and delicate trim
Headliners need very little liquid. Use a barely damp microfiber cloth and light blotting only, because too much moisture can loosen adhesive and cause sag. For piano black trim and coated decorative pieces, dry dust first, then wipe gently with almost no pressure. If a surface scratches easily, skip brushes and stick with cloth only.
When should you avoid DIY cleaners?
Stop using homemade mixes when the material is sensitive, the stain is spreading, or the surface starts to change. At that point, a pH-balanced automotive cleaner or professional cleaning is a better choice than another pass with vinegar or soap.
Sensitive finishes and electronics
Do not use DIY liquid on touchscreens, instrument clusters, exposed charging ports, or controls with unclear coatings. Many of these surfaces need only a dry microfiber cloth or a cleaner approved by the vehicle maker. Direct spray can seep into seams and leave sticky residue or electrical problems.
Stains that keep returning
If a stain returns after drying, the cause is often below the surface. That is common with drinks, milk, oil, and old spills that reached foam or padding. More cleaner on top usually makes the issue worse by spreading it wider.
Odors or residue that stay after drying
If odor returns after drying, the problem is usually moisture trapped in carpet, foam, or under-seat material. If a panel feels slick or dusty after cleaning, the mix was too strong or not wiped off well enough. That is the point to switch to a specialty cleaner, not to repeat the same recipe.
Frequently asked questions
How do I use car interior cleaner safely?
Vacuum first, test the cleaner in a hidden spot, and apply liquid to a cloth rather than spraying the part directly. Use the lightest mix that fits the material, then wipe dry. For electronics, screens, and delicate trim, use only what the vehicle maker allows.
What household items can I use to clean the interior of my car?
Useful household items include distilled white vinegar, water, baking soda, a small amount of dish soap, microfiber cloths, a spray bottle, and a soft brush. Each one has limits. Vinegar and soap are for certain hard surfaces and spots, not for screens, leather, or every trim piece.
How do I make car interior cleaner?
For a basic hard-surface cleaner, mix half a cup of distilled white vinegar with 2 cups of water in a spray bottle. For greasy grime, use water with only a few drops of dish soap. Keep recipes separate, and do not mix vinegar with hydrogen peroxide.
What can I use to disinfect my car interior?
Cleaning and disinfecting are different jobs. A homemade cleaner may remove dirt and some contamination, but it does not automatically disinfect every surface. Hydrogen peroxide has limited spot use, yet it should never be mixed with vinegar, and it still is not a universal answer for every car material.
Can I use vinegar on car interior surfaces?
Yes, but only on limited sealed hard surfaces after a spot test. A diluted vinegar-water mix can help on some vinyl and coated plastic, and it can help with odor control. Keep it away from leather, touchscreens, piano black trim, and any surface that clouds or turns sticky.
How do I avoid damaging leather, vinyl, or plastic with homemade cleaner?
Use the mildest cleaner that fits the surface, apply it to a cloth, and dry the area right away. Leather usually gets plain water, vinyl may tolerate a weak vinegar mix, and plastic needs very little liquid. If the finish changes, stop and switch cleaners.

Hi, I’m Melvin, an automobile engineer with extensive experience in automobile equipment. I currently work for a local automobile firm, where I specialize in the car parts industry. I’ve had the opportunity to collaborate with seasoned inspectors, gaining invaluable hands-on experience that goes beyond just theory.
My passion for automotive care started at a young age, which led me to create CarSpareCare. Through CarSpareCare, I share the knowledge and skills I’ve acquired over the years to help others navigate the world of car maintenance and repairs.
My goal is to provide practical tutorials, essential safety advice, and the latest industry insights so that anyone—whether a beginner or an expert—can confidently tackle their automotive projects.