A parasitic draw is current that stays above about 50 mA after the vehicle has gone to sleep; a common rule of thumb is to wait about 20 to 45 minutes, then measure battery current and compare it with the car’s sleep spec. Repeated no-starts, flat batteries, and wasted parts swaps follow when you skip that check. This guide shows how to separate normal wake-up activity from a true drain, then isolate the fault fast on modern cars with modules, telematics, and aftermarket add-ons.
What parasitic draw means
Parasitic draw is standby current that remains after the vehicle should be asleep. Some current is normal because modules, security systems, and memory circuits stay alive. The problem starts when the draw stays high after shutdown activity ends, or when it drops only after an unusually long wait.

Normal sleep current versus abnormal draw
A healthy modern vehicle often settles to 20-50 milliamps after sleep. Some sources treat roughly 50 milliamps as the dividing line, while some manufacturers allow up to 80 milliamps. Use the vehicle’s specification first, because telematics and always-on modules can change what counts as normal.
A draw of 100 mA or more can flatten a typical 60 Ah battery in days. That is why a car may start fine after a short stop, then fail after a weekend or a few nights. Compare the final sleeping current with the proper spec, not a guess.
Common symptoms that point to a drain
Look for an overnight dead battery, a car that starts after a jump but fails again the next day, or a new battery that dies fast. A battery that only goes flat after sitting for several days points more strongly to standby current than to a simple weak-battery complaint.
Picture a hatchback that starts every day if driven for an hour, but will not crank after three days parked. That pattern fits standby drain better than a charging problem. A charging fault usually shows up while driving, while a parasitic draw shows up when the car is parked.
📊 The parasitic test should use a multimeter with a 10 A DC range. Source: Thedrive.
Check the battery and charging system first
Before chasing a drain, confirm the battery can hold a charge and the alternator can recharge it. A weak battery, corroded terminals, or undercharging can mimic parasitic draw. If the battery is already near failure, the current test can look guilty when the real problem is battery health.
Quick battery condition check
Check terminal tightness and look for corrosion first. Then verify state of charge with a battery tester or a resting voltage check after the car has sat long enough to stabilize. A battery that is deeply discharged or sulfated may not recover even if the drain is fixed.
Alternator output target range
A common charging target is roughly 13.5 to 14.8 volts at the battery with the engine running, though the exact target depends on the vehicle. If charging voltage is clearly outside that range, deal with the charging fault first. Do not confuse a bad alternator with a parked-car drain.
When a no-start is not a parasitic draw
If the battery goes flat after short trips, the issue may be repeated short-trip use, a weak battery, or low alternator output rather than a parasitic drain. A battery that fails the load test should not be used as proof of excess standby current. Fix the battery problem first, then retest.
How do you measure parasitic draw safely?
Set up the meter in series at the battery negative cable, with the car asleep and the ignition off. Use the 10 A DC range first, because the inrush during setup can exceed a milliamps setting. Never crank or start the engine with the meter inline, and protect the meter fuse by connecting it correctly before opening the circuit.
Set up a digital multimeter in series
Disconnect the negative battery cable and bridge the meter between the negative post and the removed cable end. That creates the current path through the meter. Keep the car closed and untouched while you set up, because opening doors or waking a module can change the reading.
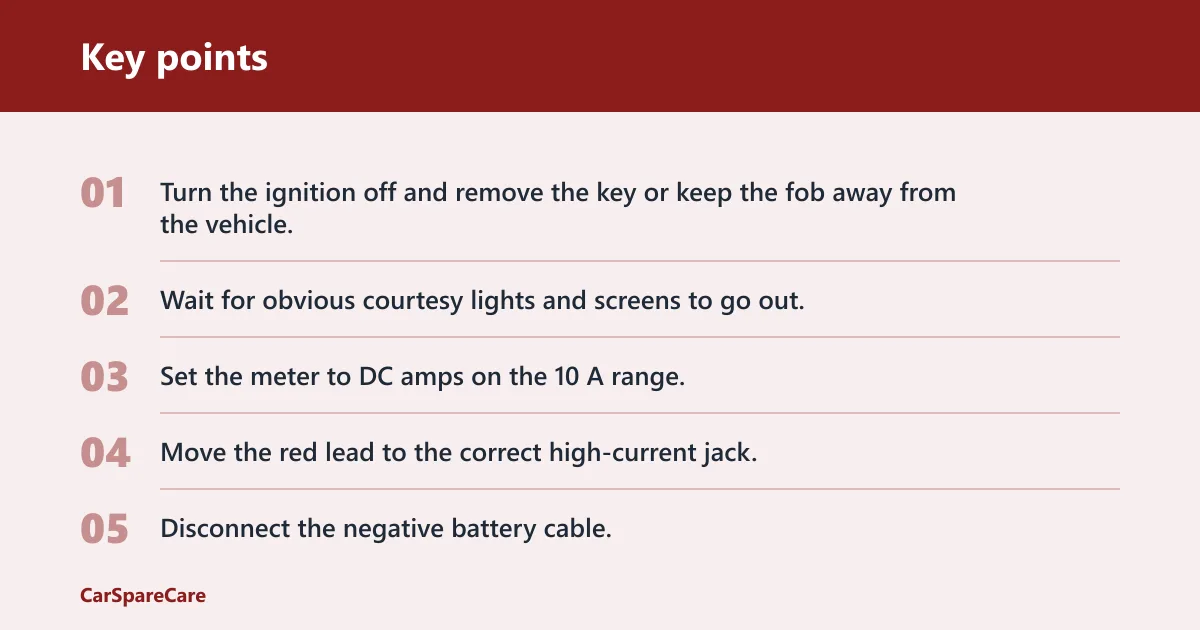
- Turn the ignition off and remove the key or keep the fob away from the vehicle.
- Wait for obvious courtesy lights and screens to go out.
- Set the meter to DC amps on the 10 A range.
- Move the red lead to the correct high-current jack.
- Disconnect the negative battery cable.
- Connect the meter in series between the negative post and the cable end.
- Wait for the reading to settle before changing ranges.
Many meters use a separate fused jack for current. If the lead is in the volts jack, the reading will be wrong. If you connect the meter across the battery like a voltage test, or if you start the engine with the meter inline, you can blow the internal fuse or damage the meter.
Use the correct amps jack and range
Use a multimeter with a 10 A DC range. Many testers also have a milliamps mode for the final reading, but you should not begin there. Start high, confirm the current path is stable, then step down only after the draw is clearly below the high-current limit and the meter is protected.
A common first-timer mistake is reconnecting the cable while the meter is still set to milliamps and then turning the key on. That can blow the meter fuse instantly. Keep the key out, keep the doors shut, and move slowly between steps.
Can a clamp meter find a parasitic draw?
A DC clamp meter can find a parasitic draw without breaking the battery circuit, which makes it a useful first pass on modern cars. Zero the meter first, clamp around the negative battery cable only, and read one cable at a time. Clamping both battery cables together cancels the current and gives a misleading near-zero reading.
Zero the DC clamp meter first
Set the clamp meter to DC amps and zero or tare it before use. Small offset errors matter when you are hunting milliamps. If the meter is not zeroed, a minor offset can look like a real drain, or hide a borderline one.
Clamp the negative battery cable only
Clamp around the single negative battery cable after the vehicle is off and asleep. Do not clamp around a cable bundle that includes both battery leads. Current flowing out one cable and back through the other can cancel the magnetic field and make the reading appear near zero.
Why the clamp method is useful
The clamp method avoids opening the circuit, so it is safer for quick checks on vehicles with sensitive modules. It also helps when you want to watch the reading while moving from one fuse to another. A clamp meter is especially handy when the battery is hard to access.
Wait for sleep mode before trusting the reading
Modules shut down gradually after key-off, so an early reading can be falsely high. Wait for the vehicle to enter sleep mode before trusting the number. Some vehicles take 30 to 60 minutes to settle, and the final current should be recorded only after the reading stops drifting.
Why early readings are misleading
Immediately after shutdown, body controllers, infotainment systems, telematics, and security modules may still be awake. That is normal. If you record the current too soon, you may chase a false drain and start pulling fuses before the vehicle has had a chance to sleep.
What stable current looks like
A stable reading does not keep bouncing with door-ajar chimes, screen activity, or accessory wake-ups. It should settle into a repeatable range and stay there. Compare that final figure with the manufacturer parasitic draw specification, because that spec is the final standard for the vehicle.
Suppose a sedan shows 220 mA right after shutdown. After 40 minutes, it settles to 32 mA. That final number is within the common 20-50 mA range and is far less suspicious than the early figure. The test must always follow the sleep cycle, not the shutdown moment.
Parasitic draw decision table
| Symptom pattern | Likely draw range | First test | Next test | Probable culprit |
|---|---|---|---|---|
| Overnight dead battery | 100 mA or more after sleep | Check battery state and charging voltage first | Measure standby current after full sleep | Stuck relay, lamp, module staying awake |
| Weekend-only failure | 50-100 mA | Confirm the final sleeping draw | Pull fuses one at a time | Telematics, comfort module, aftermarket add-on |
| New battery dying fast | Above the vehicle spec, often 50 mA or higher | Verify alternator output and battery health | Retest after the car sleeps fully | Charging fault, drain, or bad battery |
| Early testing before sleep | High reading that later falls | Wait 30 to 60 minutes | Record the final stable current | Normal wake-up activity, not a fault |
| Intermittent draw that disappears after unplugging accessories | Borderline or fluctuating | Unplug add-ons one by one | Repeat the sleep test | Dash cam, tracker, USB hub, charger |
Find the circuit with fuse-by-fuse testing
Once you have a real sleeping current above spec, pull one fuse at a time with a fuse puller. Watch for a current drop after each removal. When the current falls sharply, you have found the circuit to inspect next. This works best after the vehicle has fully gone to sleep.
Pull one fuse at a time
Work methodically. Remove a fuse, wait for the reading to stabilize, then reinstall it before moving to the next fuse. Keep notes. If a fuse causes no change, move on. If a fuse makes the current fall, the fault is on that circuit, not every component on the vehicle.
Common culprits: lamps, relays, telematics, aftermarket gear
Common offenders include glove box lamps, trunk lamps, relays that stick, and aftermarket accessories such as dash cams, trackers, remote starts, and USB chargers. Modern cars also have telematics and control modules that can stay awake because of a wake event or a software fault.
Some drains disappear only after an accessory is unplugged or after a sleep cycle reset. That usually means the circuit is borderline or intermittent. In that case, repeat the test after a full sleep period instead of assuming the fault has cured itself.
How to find a parasitic draw on car battery with scanner
A good parasitic draw test can start by looking for trouble codes with an OBD scanner. Scan-tool clues help you avoid blind fuse pulling, because they can show which module stayed awake, logged a wake-up event, or set a communication fault that points to the right circuit.
Use the scan tool before brute-force testing
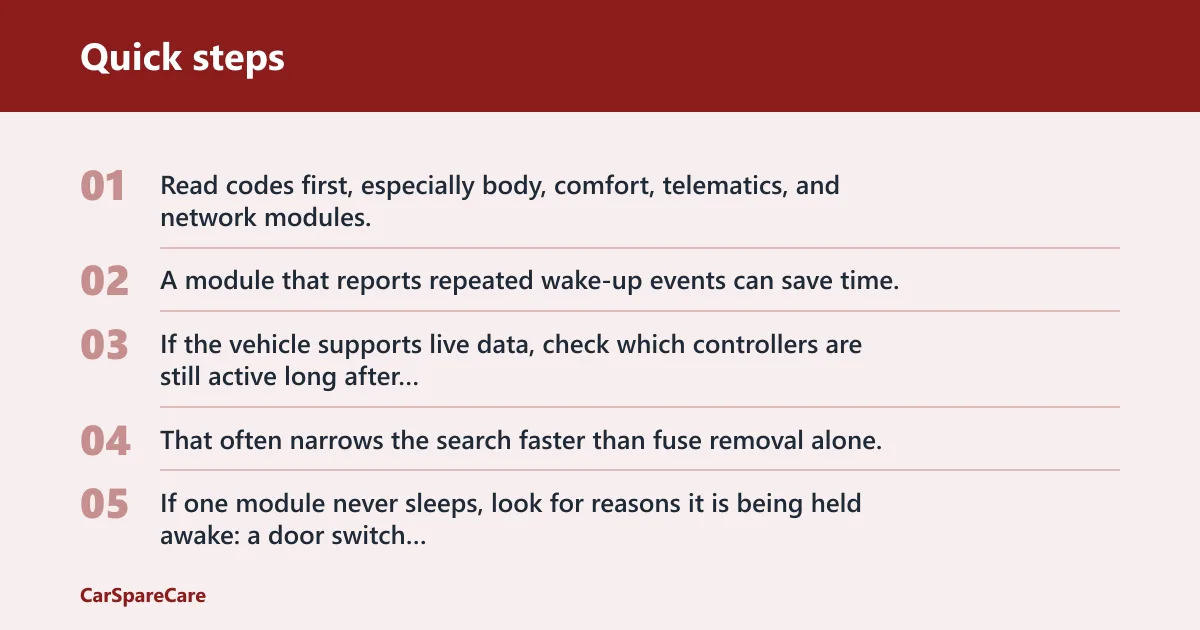
Read codes first, especially body, comfort, telematics, and network modules. A module that reports repeated wake-up events can save time. If the vehicle supports live data, check which controllers are still active long after key-off. That often narrows the search faster than fuse removal alone.
Spot modules that stay awake
If one module never sleeps, look for reasons it is being held awake: a door switch reading wrong, a stuck relay, a faulty hood or latch switch, a keyless-entry issue, or an add-on that keeps sending wake requests. The scan tool can separate a draw from a communication problem.
Track wake-up events from keyless entry and add-ons
Modern vehicles can wake for passive entry, remote start commands, phone apps, and aftermarket trackers. If the draw disappears when a tracker or camera is unplugged, that is strong evidence. The fix is then on that accessory circuit, not on the entire vehicle body network.
Use the manufacturer parasitic draw specification as the final decision point. Generic rules help with triage, but the vehicle’s own spec wins. That matters on models with telematics, battery management systems, or always-on security hardware.
Frequently asked questions
How to find a parasitic draw on car battery without meter
You cannot measure current accurately without a meter, but you can narrow the problem by checking battery health, looking for lights or accessories that stay on, and using a scan tool for wake-up clues. That still leaves the final current test for a clamp meter or multimeter.
How to find a parasitic draw on car battery with scanner: start by scanning every module
Start by scanning every module for trouble codes and wake events, especially body and telematics systems. A scanner will not measure current directly, but it can show which controller stays active after shutdown. That often points you to the circuit before you ever pull a fuse.

Hi, I’m Melvin, an automobile engineer with extensive experience in automobile equipment. I currently work for a local automobile firm, where I specialize in the car parts industry. I’ve had the opportunity to collaborate with seasoned inspectors, gaining invaluable hands-on experience that goes beyond just theory.
My passion for automotive care started at a young age, which led me to create CarSpareCare. Through CarSpareCare, I share the knowledge and skills I’ve acquired over the years to help others navigate the world of car maintenance and repairs.
My goal is to provide practical tutorials, essential safety advice, and the latest industry insights so that anyone—whether a beginner or an expert—can confidently tackle their automotive projects.