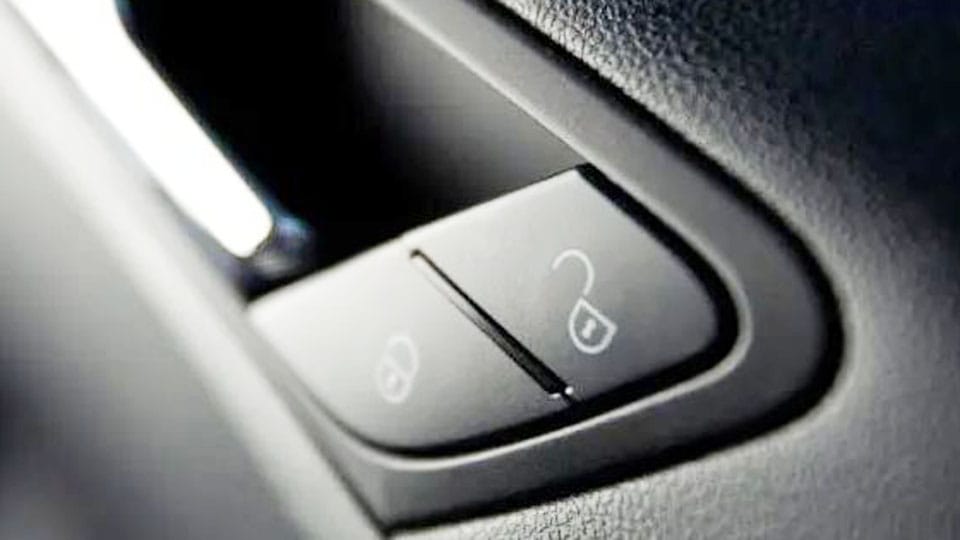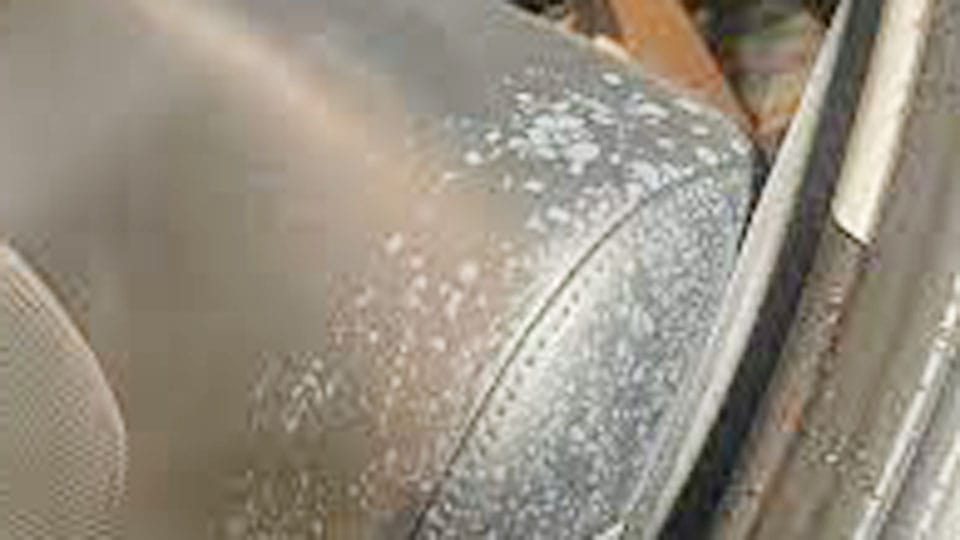
Use a barely damp microfiber towel and a pH-neutral interior cleaner, then dry the panel at once; if spots sit in seams or around switches, a detailing swab may be better than spraying. Left wet, mineral residue can seep into electrical controls, speaker grilles, and trim seams, leaving stains, sticky residue, or switch problems. This guide shows a moisture-controlled method for removing white water spots from door panels without pushing liquid into sensitive openings.
What causes white marks on door panels


Hard water minerals such as calcium and magnesium can leave white spotting after the water dries, and the marks may show up faster on dark or textured trim. Interior door panels also pick up runoff from spills, condensation, and overzealous cleaning, so the stain may be mineral residue, sticky grime, or a dried beverage ring rather than one thing.
Mineral residue from tap water
Tap water can leave calcium and magnesium behind when it evaporates. That residue often looks chalky on vinyl, hard plastic, and glossy trim, then hides in grain lines and seams where a towel cannot reach easily.
Runoff from spills, condensation, and cleaning
Door cards can collect liquid from drinks, wet hands, rain gear, and cleaning overspray. If the liquid travels into switch bezels, speaker perforations, or window seams, it can leave a ring, stain the trim edge, or stay trapped behind the panel backing.
Why dark and textured trim shows spots faster
White mineral marks stand out more on black or deep-colored panels. Texture also catches residue, so a light film can look like a larger stain once it dries on a patterned surface.
What you’ll need
- Microfiber cloths, clean and low-lint, with at least two for wiping and one for drying
- pH-neutral interior cleaner for vinyl, plastic, and coated trim
- Distilled water for final wipe or dilution when mineral spotting is the issue
- White vinegar solution mixed in about equal parts with distilled water for mineral residue only
- Soft detail brush for seams, stitching, buttons, grab handles, and speaker grilles
- Detangling-style detailing swab or foam-tipped applicator for tight recesses
- Dry towel for final buffing
- Small spray bottle for controlled application, not flooding
Door panel cleaning matrix
| Panel material | Safest cleaner type | Moisture level | Wipe direction | Drying method | Red-flag areas | Best for |
|---|---|---|---|---|---|---|
| Vinyl | pH-neutral interior cleaner | Lightly damp cloth, spray on cloth | Straight passes, then follow grain | Dry microfiber buff | Switch bezels, seams, speaker perforations | Grime |
| Hard plastic | pH-neutral interior cleaner or distilled water | Lightly damp, never soaked | Top to bottom, then across texture | Fresh dry microfiber | Door pull recesses, window seals, button edges | Mineral spots or grime |
| Soft-touch trim | pH-neutral interior cleaner only, spot-tested | Barely damp cloth | Light passes, no scrubbing | Immediate dry wipe | Glossy wear points, seam edges, switch housings | Grime |
| Leather insert | Leather-safe interior cleaner, then dry wipe | Very light moisture | With the panel grain | Dry microfiber buff | Perforations, stitching, piping, sharp corners | Grime |
| Fabric insert | Light fabric-safe cleaner or distilled water on cloth | Minimal moisture | Blot, then lift straight up | Dry towel plus air dry | Foam backing, lower edge, seam tape | Sticky residue or spill marks |
How do you clean car door panels without leaving water spots?
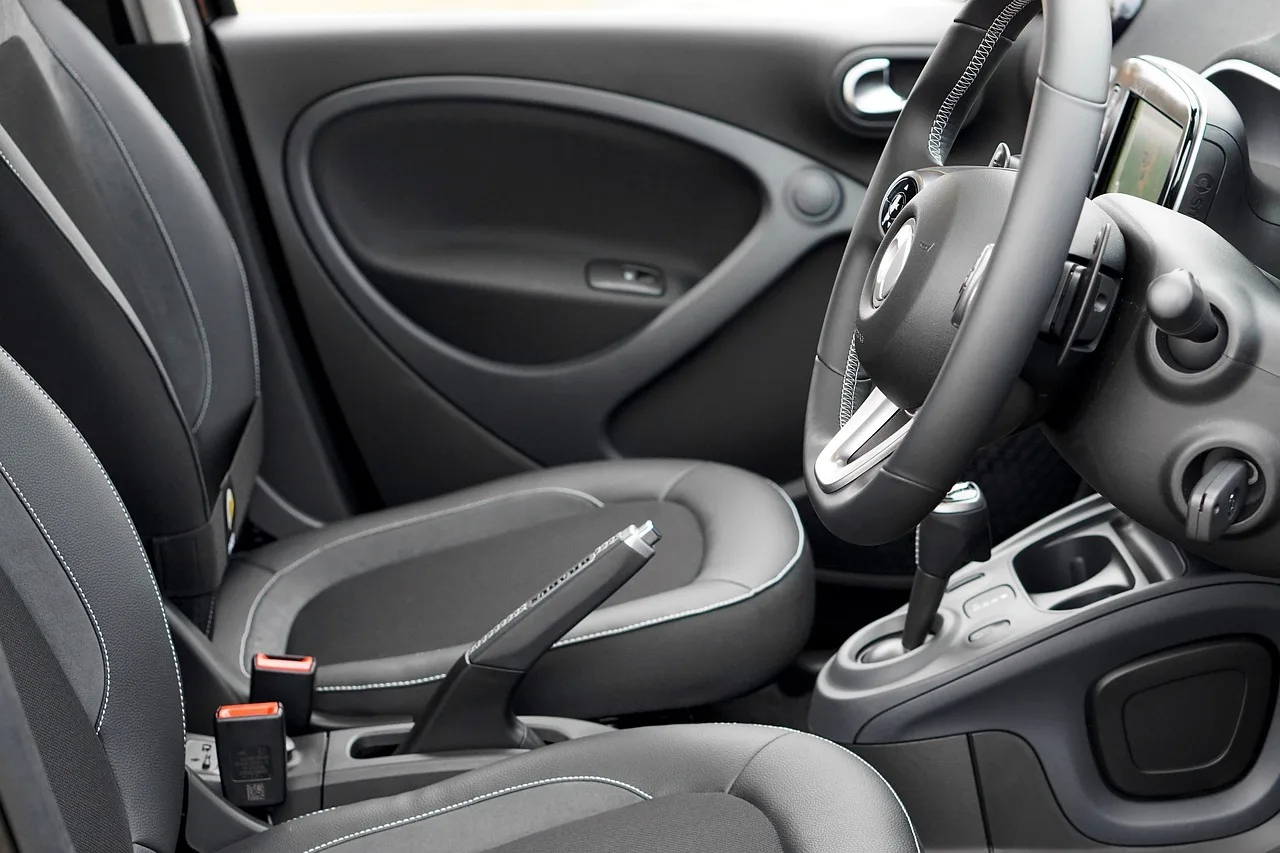
Start with the least wet method that matches the mark. For ordinary grime, use a pH-neutral interior cleaner on a cloth. For mineral residue, use distilled water, and for confirmed mineral buildup only, use a diluted white vinegar solution. Dry each section before moving on so liquid does not travel into seams or switches.
- Identify the mark. Decide whether the spot looks chalky, sticky, greasy, or like a dried splash. Mineral residue usually looks white and dusty; sticky residue feels tacky; soap film looks hazy after wiping.
- Clear loose dust first. Wipe the panel with a dry microfiber cloth. That keeps grit from scratching soft-touch trim and stops you from smearing dry minerals into the grain.
- Clean by section. Spray cleaner onto the cloth, not the panel, then wipe one hand-sized section at a time. Use top-to-bottom passes so runoff does not track over already cleaned areas.
- Use distilled water for mineral spots. If the white mark remains after cleaner, lightly dampen a clean cloth with distilled water and wipe once more. Distilled water reduces new spotting compared with tap water, which matters most on dark plastic.
- Dry immediately. Follow with a fresh dry microfiber cloth before moving to the next section. If moisture sits on the trim, it can pool at seams and leave a fresh ring when it dries.
Say your black plastic door pull has a 3-inch white ring after a drink splash. A dry microfiber pass may remove the surface film, but a second pass with distilled water and immediate drying is the better next move if the mark still looks chalky rather than greasy.
What cleaner is safe for vinyl car door panels?
For vinyl, hard plastic, and coated trim, a pH-neutral interior cleaner is commonly the safest routine choice. Use spray-on-wipe-off application, keep the cloth only lightly damp, and avoid harsh solvents on soft-touch surfaces because they can leave haze or a patchy finish.
Vinyl and hard plastic
These surfaces usually handle a pH-neutral interior cleaner well. Spray the product onto a microfiber cloth, wipe gently, then dry the area with a second cloth. If the stain is mineral-based, finish with distilled water before the final dry pass.
Soft-touch trim
Soft-touch panels are more sensitive. Use a spot test on a hidden edge first, then clean with minimal moisture and short passes. If you see smearing, stop and switch to a drier cloth rather than repeating solvent wipes.
Leather insert or fabric insert variants
Leather inserts need a leather-safe cleaner and a dry follow-up, not a soak. Fabric inserts should be treated like upholstery: light blotting, very little liquid, and a dry towel pressed against the area to pull moisture out before it reaches the foam backing.
How do you dry door panels so they don’t streak?
Drying prevents streaks, mineral tracks, and liquid from settling into hidden openings. Use a clean microfiber cloth for the first dry pass, then swap to a fresh one as soon as the cloth starts feeling damp. Work around seams, buttons, and grilles with a dry tool rather than more cleaner.
- Switch to dry cloths early. Use a fresh microfiber cloth before the first one feels wet. A damp towel can re-deposit minerals instead of lifting them, especially on textured trim.
- Dry around openings first. Press, then lift, around switch bezels, door pull recesses, speaker perforations, and window seals. Do not drag liquid into those edges.
- Use the brush dry. For seams, stitching, and grille edges, use a soft detail brush with minimal moisture or none at all. That reaches trapped residue without flooding the panel.
- Buff glossy trim last. Finish with a clean dry microfiber cloth and light pressure. This helps remove haze on glossy inserts and keeps streaks from forming as the panel dries.
Suppose a silver trim strip looks clear right after wiping, then turns cloudy 5 minutes later. That usually means moisture was left behind in the grain or edge, not that the cleaner failed. A second dry pass with a fresh cloth usually fixes it before the haze sets.
Common mistakes
The biggest mistake is treating every mark as water spots. Sticky residue needs cleaning, mineral residue needs a mineral-safe wipe, and soap film needs a clean rinse-on-cloth pass. Another problem is over-wetting the panel, which can push liquid into switches, speaker openings, and foam-backed inserts.
- Soaking the panel. This can leave runoff in seams and create new spotting when it dries.
- Using a sponge. A sponge holds too much liquid for tight trim and can push it into openings.
- Scrubbing textured trim hard. Aggressive pressure can grind residue deeper into the grain and haze soft-touch surfaces.
- Using repeated solvent wipes. Too much solvent can dull coated trim or leave a patchy sheen.
- Skipping the spot test. A hidden corner is the place to check for haze, color change, or tackiness.
Frequently asked questions
Can vinegar remove water spots on car interior panels?
Yes, but only for mineral residue and only when diluted with distilled water in equal parts. Put it on a cloth, not directly on the panel, and spot-test first because sensitive finishes can haze. Do not keep reapplying it on soft-touch trim.
How do I clean around switches and handles without soaking them?
Use a detailing swab or a barely damp microfiber corner, then work around the edge of the switch bezel and pull recess with short passes. Keep liquid off the buttons themselves and dry the area immediately. A soft brush helps lift dirt from seams without flooding them.
What should I do if water got inside my car door?
Stop adding liquid, dry the visible trim, and avoid operating wet switches until the area is dry. If water has pooled at the lower door edge or inside a speaker opening, let the panel air-dry and check for residue or odor before cleaning again.
Should I use microfiber or a sponge on car door panels?
Microfiber is the better choice because it holds less liquid, lifts minerals well, and can be used dry or only lightly damp. A sponge carries too much water for door panels and raises the chance of streaking, runoff, and trapped moisture in seams.

Hi, I’m Melvin, an automobile engineer with extensive experience in automobile equipment. I currently work for a local automobile firm, where I specialize in the car parts industry. I’ve had the opportunity to collaborate with seasoned inspectors, gaining invaluable hands-on experience that goes beyond just theory.
My passion for automotive care started at a young age, which led me to create CarSpareCare. Through CarSpareCare, I share the knowledge and skills I’ve acquired over the years to help others navigate the world of car maintenance and repairs.
My goal is to provide practical tutorials, essential safety advice, and the latest industry insights so that anyone—whether a beginner or an expert—can confidently tackle their automotive projects.