For seats with airbags, occupancy sensors, or integrated heaters, use the vehicle-specific service information before disassembly.
Replace car seat foam only when the cushion has local damage, such as a tear or a small collapsed area. If the foam is broadly compressed, crumbling, or the seat frame and springs are failing, replace the foam or rebuild the seat. Ignoring the root cause wastes time and can leave the seat unsafe, uneven, and uncomfortable. This guide helps you sort sagging seats and choose between patching foam, replacing foam, or doing a full seat rebuild.
For related trim jobs, see seat covers, upholstery repair, airbag warning light diagnosis, and seat heater troubleshooting.
Recognizing collapsed cushions and worn bolsters
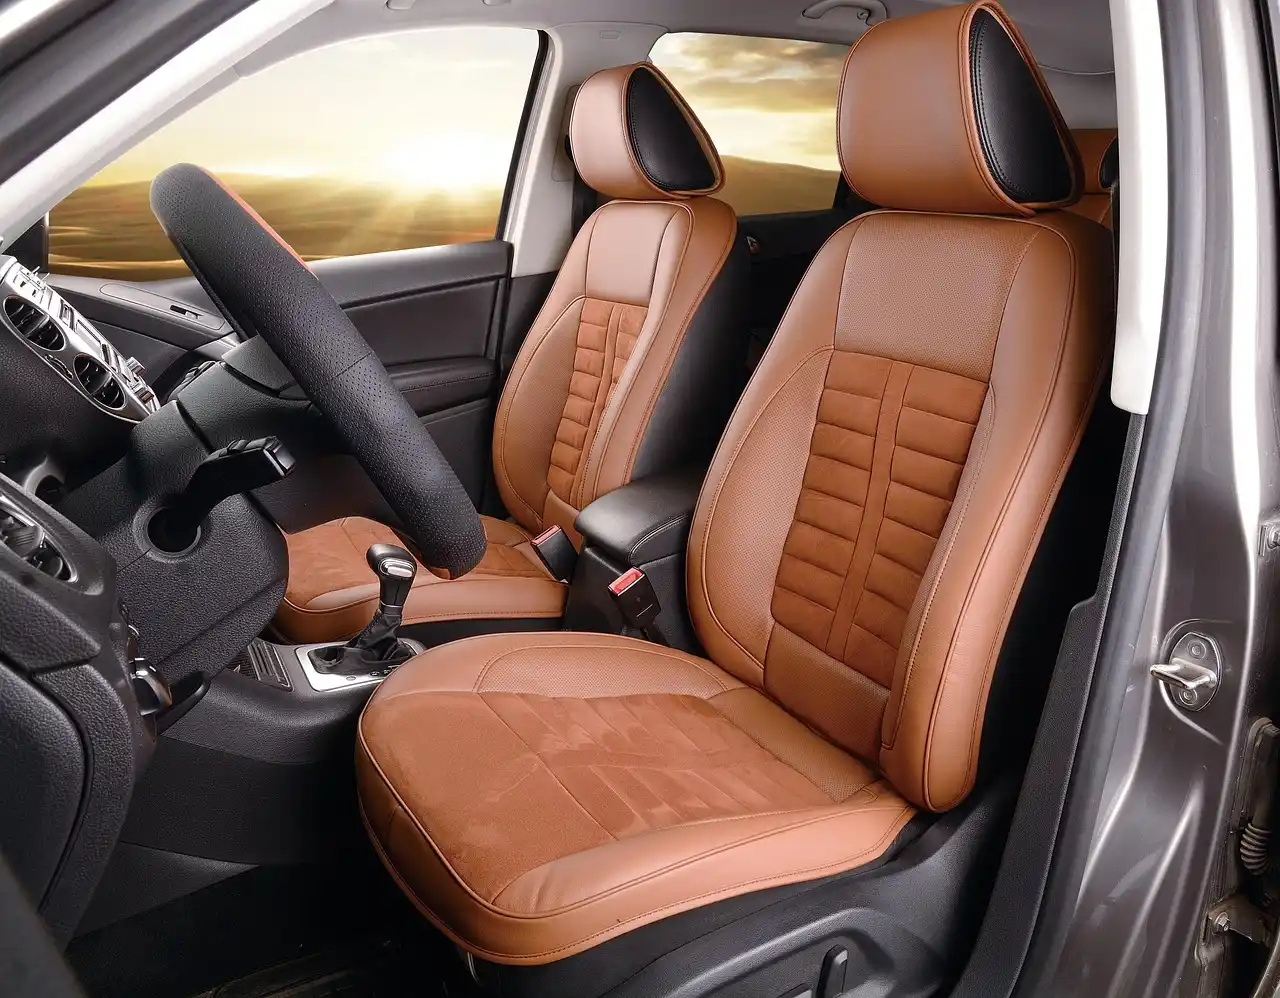
Seat foam supports your weight, shapes the cushion, and helps the cover keep its contour. In the seat bottom, failure usually shows up as a dip where you sit. In the seat back, it often shows as weak lumbar support or flattened side bolsters.
Do not assume every sagging seat means bad foam. Broken springs, a bent frame, torn listing wires, or a worn cover can create the same feel. Match the repair to the failed part, and verify the seat layout before you cut or glue anything. OEM service manuals often identify the seat’s heater mat, occupancy sensor, and airbag routing before trim removal.
Collapsed cushion vs normal wear
Normal wear is gradual softening with a still-even shape. A failed cushion usually feels sunken in one spot, bottoms out quickly, or has a lumpy edge where the foam has split. If the seat bottom collapses under the hip area but the outer bolsters still hold shape, the foam may be the main problem.
Side bolster wear and pressure points
Side bolsters wear faster because they take repeated entry and exit loads. If the outer edge is thin, cracked, or no longer guides you into the seat, the foam there may need replacement or a shaped patch. Pressure points at one hip or shoulder can also mean the cover has stretched or the foam contour is missing.
Torn cover, lumps, and uneven support
A torn cover is not the same as failed foam. If the foam beneath still holds shape, you may only need upholstery repair or a replacement cover. Lumps can come from broken listing wires, a slipped pad, or foam that has been folded under during prior repairs. If the cover has seam damage, compare your repair plan with the seat-specific guidance in upholstery repair before opening the cushion.
Should you replace the foam?
Foam replacement is commonly used when the cushion has lost shape, the damage is structural, or the seat still feels uneven after the cover is refitted. Patch minor local damage only when the surrounding foam is still firm and the seat frame, springs, and cover attachments are intact.
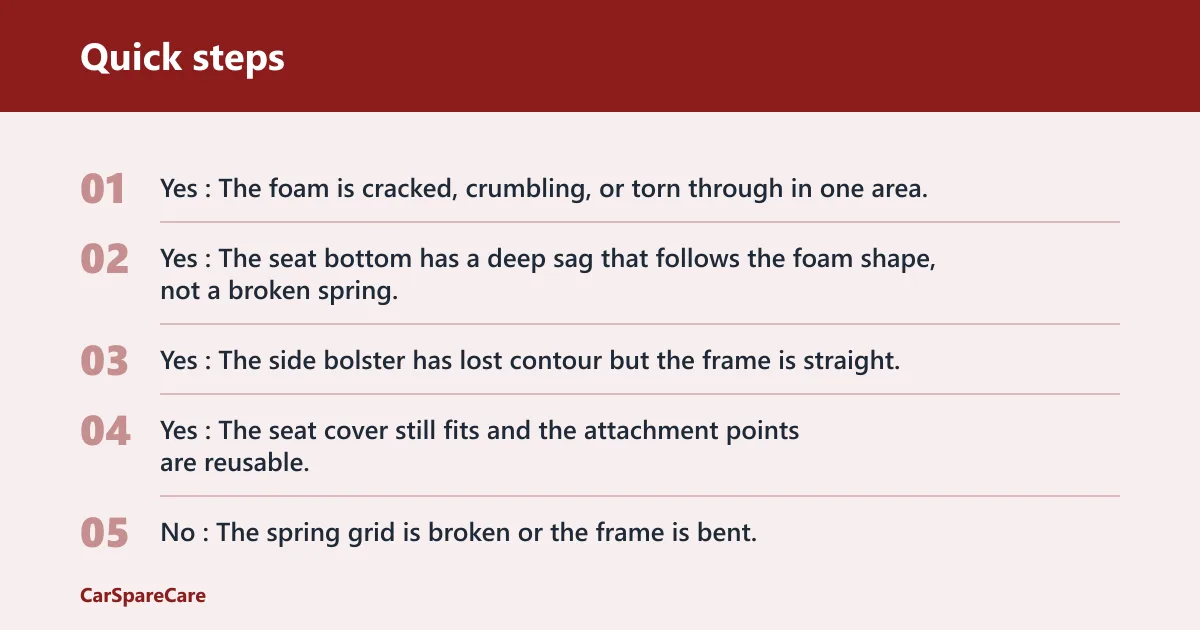
Yes/no checklist for foam replacement
- Yes: The foam is cracked, crumbling, or torn through in one area.
- Yes: The seat bottom has a deep sag that follows the foam shape, not a broken spring.
- Yes: The side bolster has lost contour but the frame is straight.
- Yes: The seat cover still fits and the attachment points are reusable.
- No: The spring grid is broken or the frame is bent.
- No: The occupancy sensor or heater is damaged and needs a component-level repair.
- No: The cover is torn at multiple seams or has dry-rotted foam backing.
When patching is enough
Patch foam when the seat has a small split, a shallow hollow, or a worn edge that does not affect the whole cushion. Adhesive spray can help bond a repair piece or secure a small rebuilt section, but it is not a substitute for foam that has failed across a broad area. Follow the product label, and keep adhesive away from heater pads, sensor mats, listing wires, and cover seams. Adhesives used near seat heaters should be checked against the product datasheet for temperature rating, cured flexibility, and compatibility with polyurethane foam so the bond does not soften or embrittle after heat cycling.
When to rebuild the seat instead
A full rebuild makes more sense when foam, springs, and cover attachment points all show wear, or when the seat has repeated failures from old trim. If the vehicle is worth keeping, but the seat base has broken supports, a torn cover, and crushed foam, replacing only the foam often leaves the same complaint behind.
Diagnosis and repair decision table
Use this table to match the symptom to the likely cause before you order parts. It also shows when foam replacement is the right move and when you should stop and inspect the seat structure first.
| Symptom | Likely cause | Recommended action | Risk level |
|---|---|---|---|
| Collapsed cushion in one sitting area | Foam compression or a split in the seat bottom foam | Replace or patch the foam after checking the frame and springs | Medium |
| Side bolster wear | Outer foam edge worn down by entry and exit | Replace the bolster foam or use a shaped repair piece if the rest is sound | Medium |
| Torn cover | Upholstery damage, often with still-usable foam underneath | Repair or replace the cover; replace foam only if the foam is also failed | Low to medium |
| Broken spring feel | Seat frame support spring or listing wire failure | Repair the spring or frame first; foam replacement alone will not fix the sag | High |
| Heated seat warning or dead heater area | Damaged heater pad, connector, or wiring under the foam | Inspect the heating system before any foam work; follow the vehicle manual | High |
| Occupancy sensor warning light | Seat sensor mat, connector, or wiring disturbance | Disconnect and handle the seat per the manual; do not crush or crease the sensor | High |
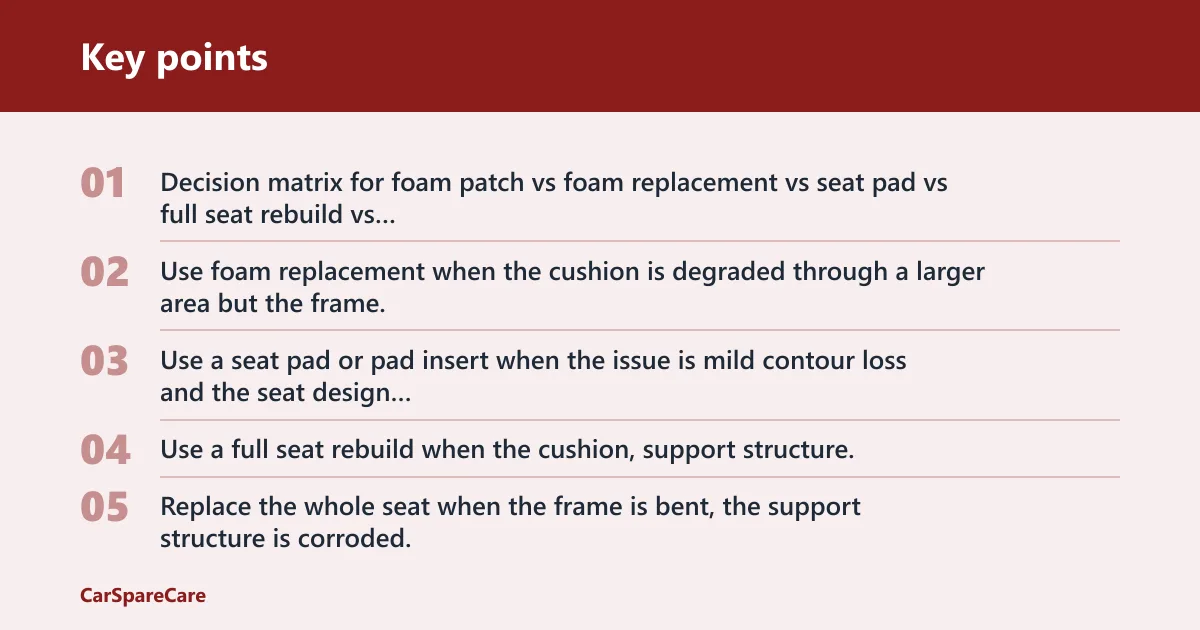
Decision matrix for foam patch vs foam replacement vs seat pad vs full seat rebuild vs full seat replacement: Use a foam patch when the damage is small and localized, the cover is reusable, and the seat structure is intact. Use foam replacement when the cushion is degraded through a larger area but the frame, springs, heater, and sensor system are still serviceable. Use a seat pad or pad insert when the issue is mild contour loss and the seat design allows a shaped add-on without interfering with the cover, occupancy sensor, or airbag module. Use a full seat rebuild when the cushion, support structure, and trim hardware all need work. Replace the whole seat when the frame is bent, the support structure is corroded, the integrated electronics are damaged, or the cost of parts and labor exceeds the seat’s value.
| Repair option | Best use case | Cost | Time | Difficulty | Typical risk by seat type |
|---|---|---|---|---|---|
| Foam patch | Small split, shallow hollow, or localized bolster wear | Low | Low | Moderate | Low on manual seats; medium on heated seats; high on seats with occupancy sensors or side airbags if access is tight |
| Foam replacement | Collapsed cushion, broken contour, or widespread compression with usable frame | Low to moderate | Moderate | Moderate to high | Medium on manual seats; high on heated seats; high on occupancy-sensor seats; high on airbag-equipped seats |
| Seat pad | Minor comfort correction where the OEM design supports an add-on insert | Low to moderate | Low | Low to moderate | Low on non-sensored seats; medium on heated seats; high if the pad could compress a sensor mat |
| Full seat rebuild | Foam, springs, listing wires, and trim hardware all need attention | Moderate to high | High | High | Medium on manual seats; high on heated seats; high on airbag/occupancy-equipped seats |
| Full seat replacement | Frame damage, corrosion, failed electronics, or a repair that is no longer economical | High | Low to moderate | Moderate | High if the replacement seat carries the wrong airbag, heater, or sensor configuration for the vehicle |
What tools and parts do you need?
Gather the right trim tools before you start. A seat cover is held by clips, hog rings, hooks, zippers, or a mix of these, and forcing it with the wrong tool usually tears seams or bends the hardware. Have the OEM service information open so you can confirm connector locations, bolt order, and whether the seat contains an occupancy sensor or side airbag.
Hog ring pliers and replacement hog rings
Hog ring pliers are used to remove and reinstall rings that secure the cover to the frame or listing wires. Any bent or rusted ring should be replaced rather than reused. If the old ring cuts into the listing wire or will not close cleanly, fit a new one.
Trim tools and panel tools
Trim tools help release plastic clips without gouging the cover or frame. Panel tools reduce damage to brittle tabs and hidden retainers. A thin screwdriver can work in a pinch, but it is easier to tear vinyl or crack a clip with the wrong blade.
Replacement seat foam and adhesive spray
Replacement foam may be OEM or aftermarket, pre-cut or trim-to-fit, and it may be sold for the seat bottom, bolster, or backrest. Check make, model, trim, and seat equipment carefully. Adhesive spray is useful for minor foam patching or holding a repair piece in place, but not for structural failure. Choose a product only if the datasheet confirms compatibility with foam type and the temperatures expected near heater elements.
- Confirm the seat type: bottom, backrest, or bolster.
- Check whether the seat has heat, occupancy sensing, or side airbags.
- Gather hog ring pliers, trim tools, and replacement rings.
- Buy foam that matches the seat layout and trim level.
- Read the adhesive label before using it near sensitive components.
How do you remove the seat safely?
Remove the seat in the order given by the vehicle manual. Power-seat tracks, memory modules, side airbags, heaters, and occupancy sensors can all change the access order. Keep the battery, connectors, and seat position steps aligned with the manual so you do not trap bolts or damage wiring. NHTSA guidance for airbag-equipped vehicles stresses careful handling of modules and connectors, so treat the seat as a safety component, not just trim.
Power-seat and manual-seat access order
On some vehicles, you must move a power seat to expose the mounting bolts before disconnecting power. On others, the manual calls for battery disconnection first. Follow the manual exactly. Never work under a seat while it is unstable, and never force a connector that has not been released.
Battery, airbag, and sensor precautions
Many modern seats contain side airbags or occupancy sensors. Disconnect and handle them as the manufacturer directs. Keep items out of airbag zones and the driver’s view, and check local laws if the job affects roadworthy trim or safety gear. A warning light after reassembly usually means a connector or sensor was disturbed. If the seat includes an occupancy sensor mat, do not crease, fold, clamp, or drill through it.
Removing the seat without damaging trim
Remove fasteners in a clean order, then lift the seat without dragging the rails across the sill trim. Protect painted edges with a towel or trim protector. If the seat is bulky, have help ready before you unbolt the last fastener.
How do you remove the seat cover without damage?
Seat covers are not all attached the same way. Some use hog rings and listing wires, some use hooks or zippers, and some combine several fasteners. Pulling without finding the attachment points first is the quickest way to tear seams.
Locating clips, hooks, zippers, and hog rings
Work from the underside and from the seams where the cover is tied to internal rods. Use the trim tool to release clips, then cut or open hog rings with the proper pliers. Keep track of every fastener so you can reinstall the cover in the same pattern.
Protecting seams and listing wires
Do not yank on the face of the cover. Grip near the attachment point, and release one fastener at a time. Listing wires help pull the cover into the foam contour, so bending or losing them changes the seat shape and creates wrinkles later.
What to do if clips or rings are rusted
If a ring is rusted, distorted, or stuck to the wire, cut it out and replace it. Brittle clips should be replaced as well. Reusing damaged hardware often causes a cover to pop loose after a few weeks of use.
How do you cut seat foam?
Cut seat foam only after you have matched the new piece to the original contour and confirmed that no heater wire, sensor mat, or listing channel runs through the area. The safest method is to trim gradually, test-fit often, and remove less material than you think you need. If the cut line is wrong, you can remove more later, but you cannot add foam back without creating a ridge.
Mark the cut before you remove material
Lay the old foam over the replacement piece and trace the outline with a marker. Mark the depth of any recess, chamfer, or bolster relief separately so you do not flatten a contour that the cover depends on. If the original foam has a split, trace the undamaged side rather than copying the damaged side.
Use the right foam-cutting tool
A long serrated knife, electric carving knife, or purpose-made foam cutter gives a cleaner edge than a utility blade for thick seat foam. Keep the blade moving in smooth strokes to avoid tearing the cell structure. A coarse edge is harder to hide under the cover and can create pressure points.
Trim in small passes and test fit often
Remove a small amount, then place the foam back on the seat frame and check how the cover will sit over it. Watch the edge of the bolster, the seat-bottom centerline, and the transition into the listing-wire channel. If the foam starts to look uneven, stop and square the cut before you continue.
Finish the edge without over-rounding it
Lightly shape the final edge so the cover can slide over it, but do not round it so much that the seat loses support. A seat cushion needs a defined contour, not a pillow-like lump. Keep adhesive use limited to spots that need reinforcement, and confirm the product can be used on the specific foam and temperature range described by the datasheet.
How do you fit and trim replacement foam?
Choose foam that matches the seat bottom, bolster, or backrest shape you are repairing. The closer the fit, the less trimming you need. A good replacement should restore contour without creating a hard ridge or a loose pocket under the cover.
Matching seat bottom, bolster, or backrest foam
Seat-bottom foam usually carries the most load, so its density and firmness matter more than appearance alone. Backrest foam affects support and posture, while bolster foam affects side hold and entry wear. Compare the old piece to the new one before you trim anything.
Aligning contours and support points
Line up the new foam with the seat frame, support springs, and listing-wire channels before fastening the cover. If the foam sits too far forward or back, the cover will pull unevenly. A common first-timer mistake is trimming one side aggressively and then finding the seat feels lopsided.
Using adhesive only where appropriate
Use adhesive only where the label allows it and only on compatible foam surfaces. Keep it away from heater pads, occupancy sensors, airbag modules, and moving latches. Picture a bolster patch that sits flat on the foam but does not cross a sensor wire; that is the kind of small, controlled repair adhesive can support.
How do you reinstall the cover and seat?
Reinstall the cover slowly so the foam keeps its shape and the seams stay aligned. The final feel of the seat depends on even tension, intact listing wires, and secure fasteners. If the cover is pulled too tightly in one spot, it can create a new pressure point.
Reattaching hog rings and cover fasteners
Fit new hog rings where needed and close them fully with hog ring pliers. Reinstall hooks, clips, and zippers in their original locations. If a fastener does not seat cleanly, stop and check the alignment instead of forcing it.
Checking foam shape before final tightening
Before the last fastener goes in, press the foam and check that the contour looks even from side to side. The seat should feel supported, not hollow at one edge. If the foam shifts, reopen the cover and reset it now rather than living with a wrinkle or dip.
Reinstalling the seat and confirming no warning lights
Set the seat back in place, reconnect the wiring, and follow the vehicle manual for the power-up sequence. After installation, check for a seat airbag or occupancy warning light, seat heater function, and normal fore-aft travel. Any warning lamp means the seat should be rechecked before driving. If the warning stays on, revisit the connectors and sensor routing before assuming the problem is in the foam.
Frequently asked questions
How do I know if my car seat foam is bad?
Bad foam usually feels sunken, lumpy, or uneven in one area, and the cover may no longer hold the original contour. If the seat bottom collapses under load but the frame and springs are sound, foam is a likely cause. If the support under the cushion is broken, look there first.
Can I repair car seat foam without replacing the whole seat?
Yes, if the failure is limited to the foam or a small section of the bolster. Many seats can keep their original cover if the foam is replaced and the hardware is still usable. If the springs, frame, or sensor system are damaged, a broader repair may be needed.
What tools do I need to replace seat foam?
Use hog ring pliers, trim tools, and replacement hog rings for the cover. Depending on the seat, you may also need panel tools, a foam-safe cutter, and adhesive that matches the repair material. Check the vehicle manual for safety steps before touching airbags, heaters, or sensors.
Can I reuse the old seat cover with new foam?
Often, yes, if the cover is not torn at the seams, brittle, or badly stretched. Reuse works best when the foam and cover are still close to OEM shape. If the cover has split seams, damaged clips, or broken attachment points, replace it too.
Should I replace foam, a seat pad, or the whole seat?
Choose the smallest repair that restores the original support without creating new safety or fit problems. Replace only the foam when the seat structure is sound and the damage is localized. Use a seat pad when the seat design allows a light contour correction without compressing heaters or sensor mats. Replace the whole seat when the frame is bent, rusted, cracked, or the integrated safety and comfort systems make partial repair impractical.
What should I watch for with airbag-equipped seats?
Use the OEM service manual and NHTSA airbag-handling guidance before disconnecting anything under the seat. Do not probe yellow airbag connectors, place tools across the module, or power the seat while the connector is partially seated. If the airbag light comes on after the repair, stop and inspect the harness and connectors before driving.
How do heater pads and adhesives interact?
Seat-heater areas need adhesive products that are explicitly rated for the temperatures and substrate used in the seat. A glue that works on generic upholstery may soften near a heater element or become brittle after repeated heat cycles. Confirm compatibility on the product datasheet before using any adhesive near a heater pad.

Hi, I’m Melvin, an automobile engineer with extensive experience in automobile equipment. I currently work for a local automobile firm, where I specialize in the car parts industry. I’ve had the opportunity to collaborate with seasoned inspectors, gaining invaluable hands-on experience that goes beyond just theory.
My passion for automotive care started at a young age, which led me to create CarSpareCare. Through CarSpareCare, I share the knowledge and skills I’ve acquired over the years to help others navigate the world of car maintenance and repairs.
My goal is to provide practical tutorials, essential safety advice, and the latest industry insights so that anyone—whether a beginner or an expert—can confidently tackle their automotive projects.