
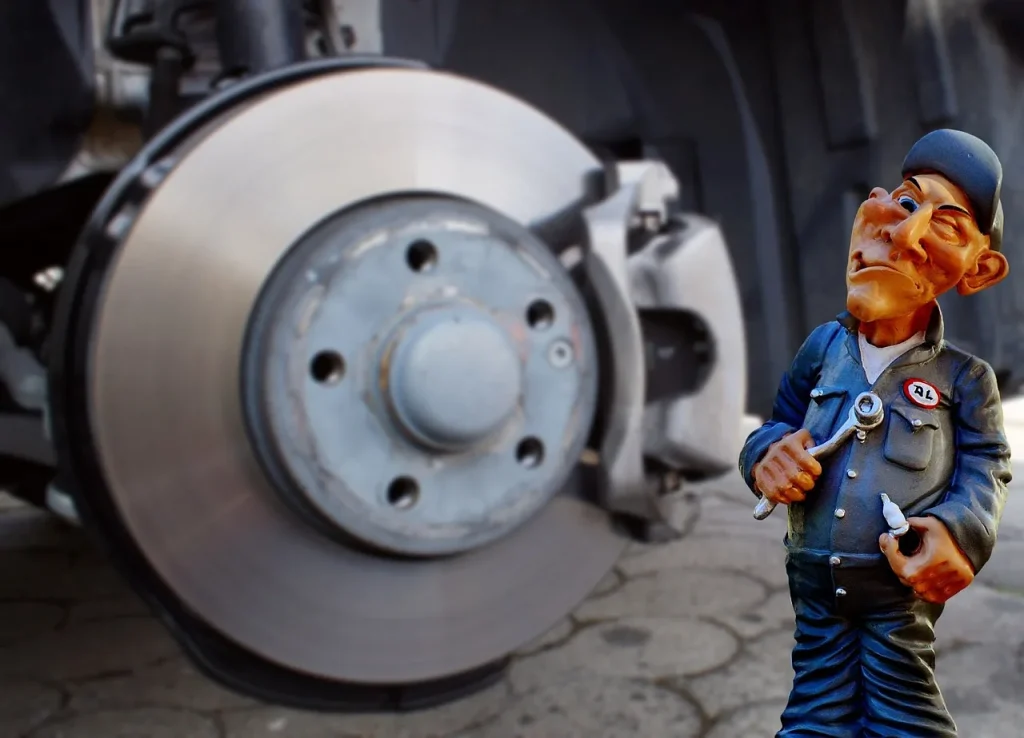
Check brake hardware by a simple rule: reuse clips, pins, and bracket contact points only when they stay straight, smooth, and free of corrosion. Replace any brake part that is bent, cracked, torn, seized, or visibly pitted. Miss a bad clip or sticky pin, and new pads can drag, squeal, wear unevenly, or fail to retract. This guide shows how to inspect abutment clips, slide pins, boots, shims, and bracket lands before you bolt the caliper back together.
How do you check brake hardware during a pad change?
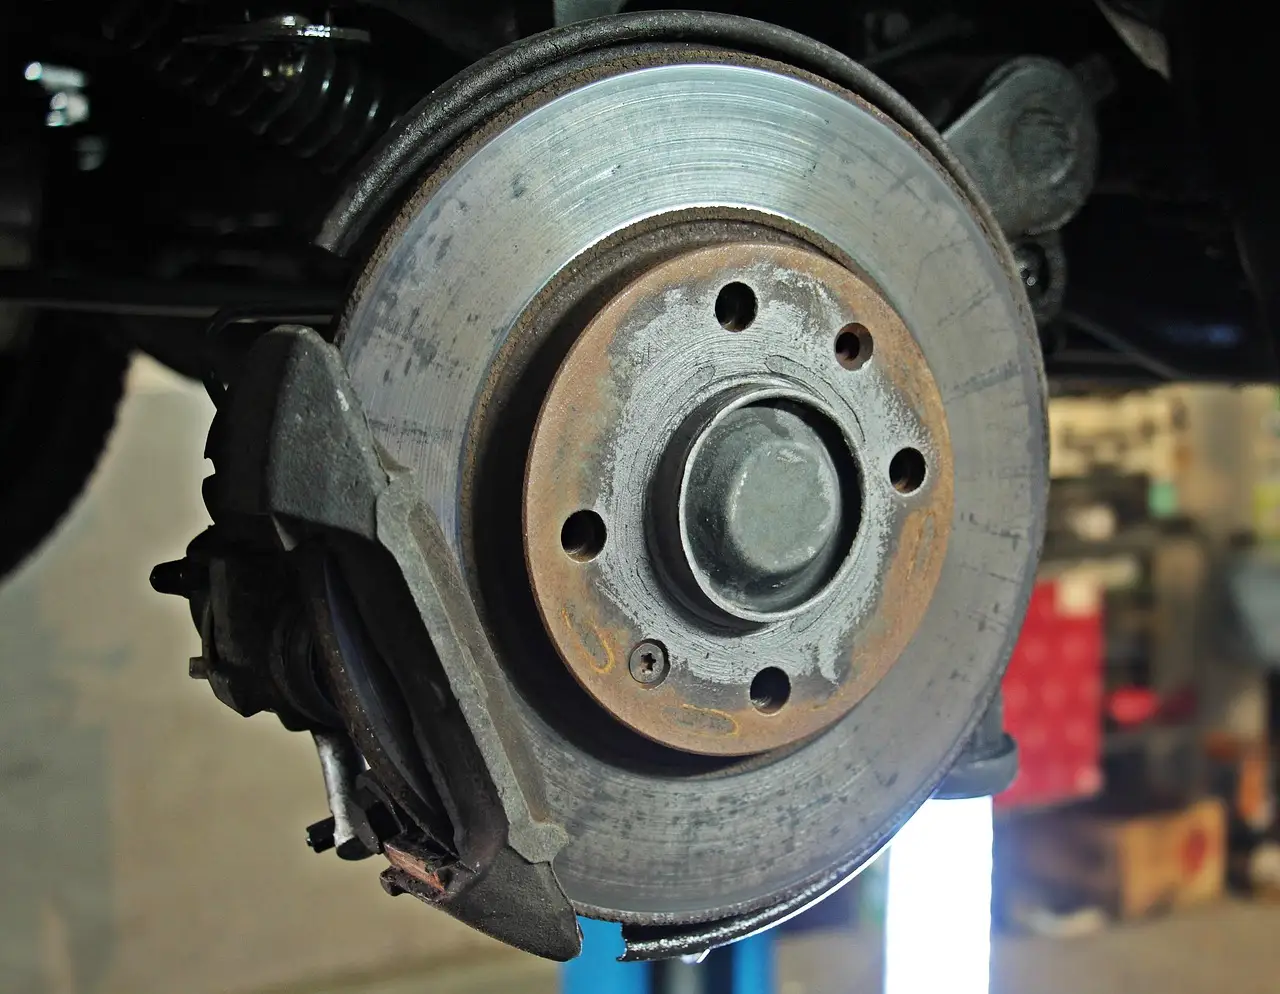
Start with the parts that control pad movement: abutment clips, slide pins, boots, shims, backing plates, and the caliper bracket channels. A part passes if it fits without force, moves freely by hand, and shows only light surface rust. If it is bent, flaking, pitted, swollen, torn, or binding, replace it.
What brake hardware does in a disc brake setup
Abutment clips guide the pad ears in the bracket. Slide pins let the caliper float so both pads clamp evenly. Shims control noise and vibration. The bracket and its contact points set pad travel and release. If any of those parts stick, the pads can stay applied, wear crooked, or make noise after the job.
How bad hardware shows up as noise, drag, pull, or uneven wear
A rusty clip often shows up as squeal on light stops or a pad that hangs in the bracket. A dry or seized pin can cause the car to pull to one side, overheat one rotor, or leave one inner pad thinner than the other. A swollen backing plate can leave shiny drag marks where the pad ear should slide.
What you’ll need
- Basic hand tools for the caliper, bracket, and wheel removal
- Brake-safe cleaner
- Small wire brush or nylon brush
- Brake grease made for disc brake hardware, usually silicone or synthetic
- Shop towels or lint-free rags
- Optional: new clips, shims, pin boots, and a vehicle-specific hardware kit
- Remove the caliper and pads, then inspect the bracket channels before new parts go in.
- Check each abutment clip for straightness, spring tension, and rust pitting.
- Pull each slide pin by hand and confirm smooth movement with no notch or bind.
- Inspect boots, shims, pad ears, and backing plates for damage or swelling.
- Clean only the contact points that will actually guide the pads or pins.
- Recheck pad movement in the bracket, then confirm the boots and clips sit fully in place before the wheel goes on.
How do you know if brake clips are worn or rusted?
Brake clips are worn or rusted out when they no longer hold the pad ears centered in the bracket without force, or when rust has visibly damaged the metal. Light surface discoloration can be cleaned off. Bending, loose fit, missing spring tension, or heavy corrosion means replacement.
Abutment clips in the caliper bracket channels
The clip should sit flat in the channel and let the pad ears slide with light hand pressure. If you need to hammer the clip into place, it is too distorted or the bracket channel is too rusty. Replace the clip and clean the channel until the new part seats fully.
Caliper bracket mounting points
The bracket contact surfaces should be free of heavy rust scale. Thin orange rust can usually be brushed off. Thick scale, flaking layers, or pitting that changes the channel shape can stop the clip from seating. If the clip rocks, lifts, or sits crooked, the pad will not release correctly.
Say your front pads fit on the bench but bind once clipped into the bracket. That usually points to rust scale at the bracket lands, not a bad pad. Clean the lands until the clip sits flush, then test the pad by hand before the caliper goes back on.
How do I inspect caliper slide pins during a brake job?
Slide pins pass if they move smoothly by hand, return without sticking, and have intact rubber boots at both ends. They fail if they are dry, grooved, seized, rusty, or torn at the boot. Clean off old grease, then apply only the brake grease type listed for the hardware.
Check the pin travel by hand
Remove the pins and move them through the full range with your fingers. A good pin should glide evenly, without a gritty spot or hard stop that is not caused by the boot. If the pin sticks halfway or springs back unevenly, clean it again or replace it with the boot and grease that match the vehicle.
Check the boots and lubrication points
The rubber boot should seal the pin and stay fully seated in its groove. Torn, swollen, or missing boots admit water and grit, which turns grease into paste. Apply grease only to the pin surfaces that ride in the caliper bracket or sleeve. Keep it off threads, pad faces, and rotor surfaces.
What to do when a pin looks questionable
If one pin is corroded and the other is clean, replace both on that caliper side if the hardware kit includes them. Uneven service life can leave one pin free and the other sticky. That difference can make the caliper twist under load and create uneven pad wear.
How do I tell if pad shims or abutment clips are bad?
Pad shims are bad if they are warped, delaminated, rust-stained through the bond layer, or contaminated with grease. Abutment clips are bad if they are bent, rust-flaked, pitted, or no longer clamp the pad ear with light spring tension. Both parts should let the pad move, not chatter or wedge.
Pad shims, pad ears, and backing plates
A shim should lie flat against the pad backing plate. If it bows, separates, or has corrosion under the bond line, replace it. Pad ears should not be gouged, swollen, or hooked by rust. A backing plate with heavy rust swelling can jam in the bracket even when the friction material still has life left.
What wear patterns tell you
One pad worn much thinner than the other often means a pin issue or a bracket that is holding one ear tight. Tapered pad wear suggests a sticky slide pin or a crooked clip. Shiny edges on the pad ears usually mean poor bracket fit or a clip that no longer centers the pad.
When should you replace the full hardware kit?
Replace the full hardware kit when several parts are rusty, when the clips no longer hold their shape, or when the vehicle uses hardware that should be matched on both sides of the axle. A kit often includes clips, shims, boots, and sometimes pins. When corrosion is widespread, a complete kit is usually the cleaner decision.
Why axle-specific kits matter
Front and rear hardware can differ by axle, trim, parking brake design, and rotor size. The wrong clip shape may fit loosely, bind the pad, or sit too high in the bracket. Match the kit by axle and trim code when possible, especially if the old parts were mixed or already replaced once.
When replacing individual pieces is not enough
If the clips are tired, the pins are dry, and the shims are rusty, replacing one piece only often leaves the other weak point in place. A full kit is also sensible when the bracket channels needed aggressive cleaning or the old boots are brittle. That reduces the chance of a comeback noise.
Pass/fail checklist for each brake hardware part
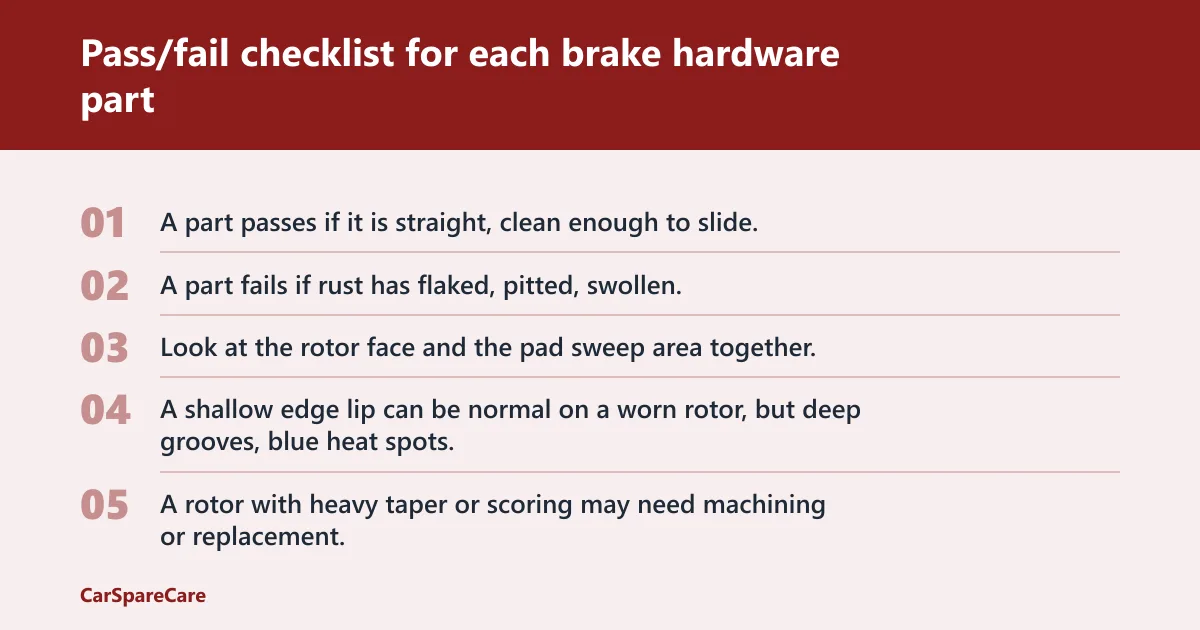
Use this table before the pads go in. A part passes if it is straight, clean enough to slide, and free of damage that changes fit or motion. A part fails if rust has flaked, pitted, swollen, or deformed the surface enough to affect release, fit, or noise control.
| Part | Normal condition | Reject condition | Likely symptom if ignored |
|---|---|---|---|
| Abutment clips | Flat in bracket channels; hold pad ears with light spring tension | Bent, rust-flaked, pitted, loose, or too tight in the channel | Squeal, binding, uneven pad wear, delayed release |
| Caliper slide pins | Move smoothly by hand; light, even grease film; no scoring | Seized, gritty, grooved, rusty, or notchy in travel | Pull, drag, hot rotor, tapered pads |
| Pin boots | Intact, fully seated, not swollen | Torn, missing, pinched, or water-soaked | Sticking pins, repeated corrosion, uneven braking |
| Pad shims | Flat, bonded, clean, corrosion-free | Warped, delaminated, greasy, rust-lifted | Squeal, vibration, poor pad damping |
| Pad ears and backing plates | Square, smooth, fits bracket without force | Gouged, swollen, rust-jacked, or bent | Binding, chatter, uneven wear, poor release |
| Bracket mounting points | Clean enough for clip seating; only light rust | Heavy scale, pitting, flaking, distorted lands | Clip mis-seat, pad drag, noise |
| Rotor and pad contact surfaces | Even wear, light edge lip, no deep grooves | Deep grooves, blue spots, heavy lip, tapered wear | Pulsation, drag, squeal, heat spots |
Rotor and pad contact surfaces
Look at the rotor face and the pad sweep area together. A shallow edge lip can be normal on a worn rotor, but deep grooves, blue heat spots, or one-sided polishing point to drag or a stuck pin. A rotor with heavy taper or scoring may need machining or replacement, depending on thickness.
Suppose the outer pad is nearly even, but the inner pad is tapered and the rotor shows a dark band near one edge. That pattern fits a caliper that does not float freely. In that case, new pads alone will not fix the issue; the pin, boot, and bracket fit need attention first.
What brake hardware should be replaced with pads?
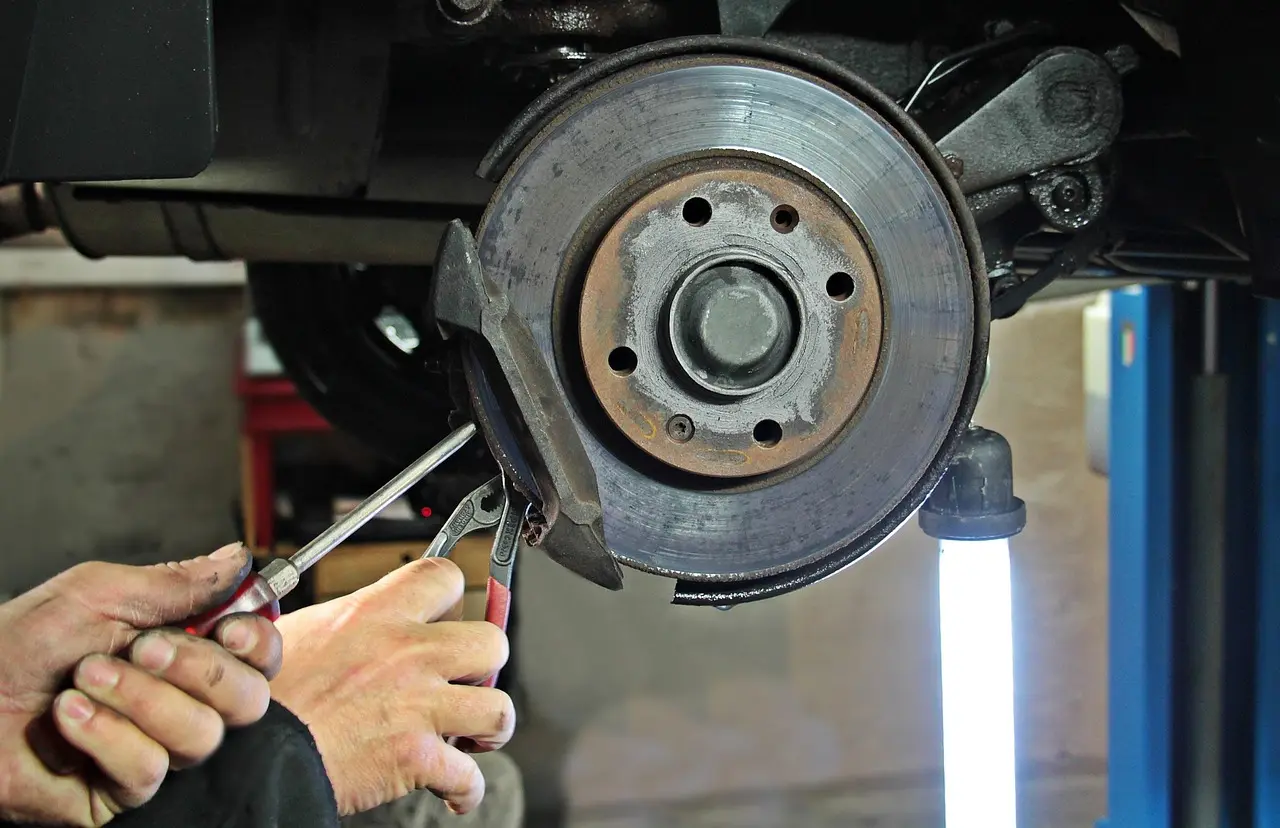
Replace clips, shims, boots, and pins whenever they are bent, torn, seized, or badly rusted. If the hardware kit is vehicle-specific and the old parts show more than light surface rust, a full kit is often the safer choice. Good hardware is cheap compared with repeat labor and uneven pad wear.
Where brake grease belongs and where it must not go
Use brake grease sparingly on the pin surfaces and pad contact points that the kit or service procedure calls for. Do not put grease on the rotor, pad friction material, or any surface that must clamp cleanly. If grease reaches a friction surface, clean it off before assembly.
Common mistakes after a pad change
- Leaving a slide pin dry or over-greased.
- Installing a clip that is not fully seated in the bracket channel.
- Pinching a boot during caliper installation.
- Smearing grease on pad friction material or rotor faces.
- Skipping the final hand check for pad movement before the wheel goes back on.
If that didn’t work, try this next
- Remove the caliper again and confirm both pads move side to side in the bracket with light finger pressure.
- Check each slide pin for full return travel and inspect the boot lip for a pinch or tear.
- Clean the bracket lands and install a new hardware kit if clip fit or corrosion is still questionable.
- Recheck rotor run surface and pad wear pattern if one side still drags after the hardware is corrected.
A common first-timer mistake is to reinstall the wheel after the pads “look right” from the outside. The safer check is simple: the pads should move by hand in the bracket, the clips should sit flat, and the pins should return smoothly before the wheel is mounted.
Frequently asked questions
Should I lubricate brake hardware when changing pads?
Use brake-safe grease sparingly on the contact points that are meant to move, usually the slide pins and select pad-to-bracket touch points. Do not grease the rotor or pad friction material. If the service part calls for dry fit only, leave it dry and clean instead.
What does bad brake hardware sound or feel like?
Bad hardware often sounds like squeal, chirp, or a scraping note that changes with light brake pressure. It can feel like a pull, a delayed release, or a rough spot when you move the pad or pin by hand. Uneven pad wear is a strong clue that hardware fit is wrong.
Can I reuse brake hardware when changing brake pads?
You can reuse hardware only if it passes a strict fit-and-motion check: straight clips, clean and smooth pins, intact boots, flat shims, and no heavy rust scale in the bracket. If the part has lost shape, spring tension, or surface integrity, replacement is the better call.

Hi, I’m Melvin, an automobile engineer with extensive experience in automobile equipment. I currently work for a local automobile firm, where I specialize in the car parts industry. I’ve had the opportunity to collaborate with seasoned inspectors, gaining invaluable hands-on experience that goes beyond just theory.
My passion for automotive care started at a young age, which led me to create CarSpareCare. Through CarSpareCare, I share the knowledge and skills I’ve acquired over the years to help others navigate the world of car maintenance and repairs.
My goal is to provide practical tutorials, essential safety advice, and the latest industry insights so that anyone—whether a beginner or an expert—can confidently tackle their automotive projects.

