Diagnose the failure first: if the foam is broken down, rebuild or replace the cushion foam; if the frame, springs, or seat support is bent or loose, repair that support; if the foam is split and the core is collapsed, replace the cushion assembly. A bad fix leaves you sliding, off-center, and can keep wearing the cover, adjuster, and seat rails. OEM trim manuals generally follow the same sequence: inspect the support structure before ordering upholstery parts, and treat seat airbag and occupancy-sensor wiring as safety equipment per NHTSA guidance and vehicle service information.
Why does your seat feel sunken?
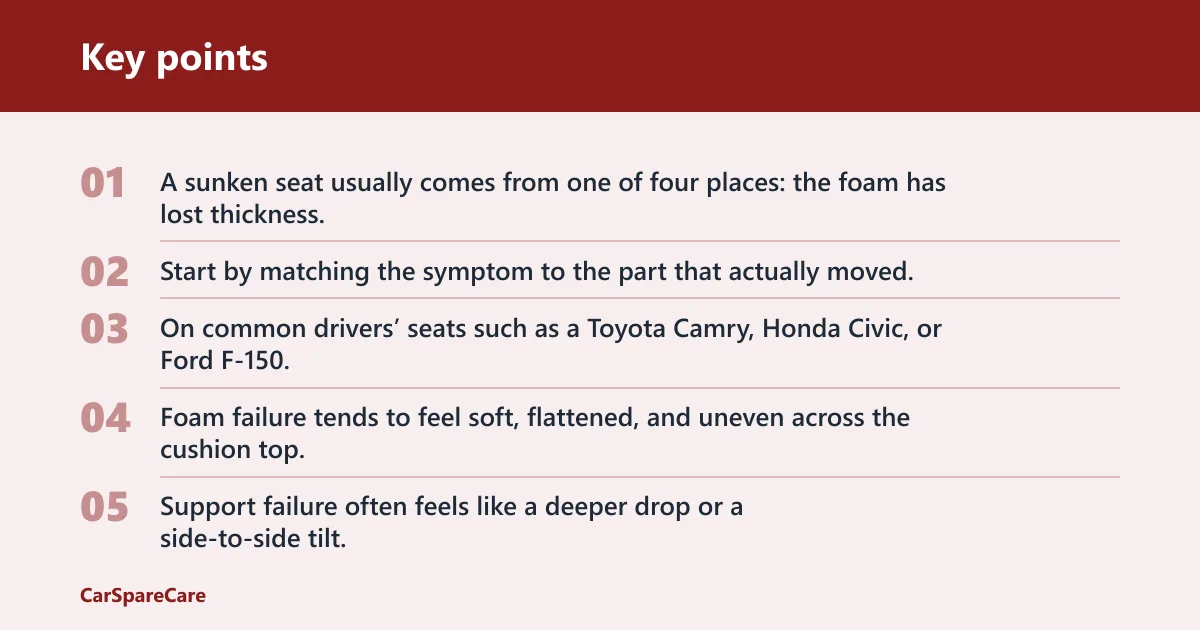
A sunken seat usually comes from one of four places: the foam has lost thickness, the springs or support base have failed, the frame has sagged, or the upholstery has loosened enough to hide the real problem. Start by matching the symptom to the part that actually moved, not just to the visible dip. On common drivers’ seats such as a Toyota Camry, Honda Civic, or Ford F-150, the failure often shows up first at the bolster edge or center cushion where loading is highest.
Is the foam collapsed or is the support base failing?
Foam failure tends to feel soft, flattened, and uneven across the cushion top. Support failure often feels like a deeper drop or a side-to-side tilt, especially if one corner dips more than the rest. If the seat feels low and you can hear squeaks or feel metal contact, inspect the support base from underneath. Upholstery and foam manufacturers typically recommend matching density and contour to the seat’s original load path rather than simply adding soft padding.
When is a frame or track issue the real cause?
If the cushion looks intact but the whole seat sits low or leans, the fault may be in the frame, mounting bolts, or seat tracks. Bent rails, loose fasteners, or corrosion can make the seat sink even when the foam still has shape. In that case, new foam alone will not fix the height or posture. OEM service procedures commonly call for torque-checking mounts and confirming the rails lock evenly before any cushion rebuild.
Could loose upholstery be the only problem?
A cover that looks wrinkled, loose, or bunched can make the cushion seem worse than it is. If the foam still has body and the support feels normal from underneath, the issue may be upholstery tension or a broken clip. That is a real repair, but it is not the same as rebuilding the cushion core. If the cover is loose because the foam edge has crumbled, the foam still has to be repaired first.
What is the fastest way to diagnose a sunken car seat?
Use this failure-first check before buying parts. It separates cosmetic looseness from collapse, spring loss, frame damage, and wiring-related seats that need extra care. For seats with occupancy sensors, side airbags, or seat heaters, the safest path is to diagnose around the safety system first and leave sensor or airbag repairs to a qualified technician or body shop trained to the vehicle’s OEM procedure.
| Symptom | Likely cause | Quick test | Recommended fix | Tools needed | Estimated difficulty / cost | When to stop DIY |
|---|---|---|---|---|---|---|
| Center of cushion feels flat or bottomed out | Foam collapse, thickness loss, or wrong contour | Press the foam by hand with the cover lifted; if it stays compressed or feels thin, the core may have failed. Check whether the foam rebounds evenly from edge to center. | Replace with high-density replacement foam, molded foam, or cut-to-fit foam matched to the seat pan. Rebuild any missing contour before closing the cover. | Trim tools, pliers, socket set, adhesive, new foam | Moderate; usually low-to-mid parts cost depending on molded foam availability | Stop if the seat has seat-mounted airbags or if the foam is bonded around sensors. |
| One side dips lower than the other | Broken or stretched springs, support straps, or frame sag | Inspect from underneath for loose wire, torn straps, or a visible gap in the support base. Compare left and right tension across the seat base. | Replace damaged springs or straps; repair the base only if the frame is straight and the mounting points are intact. | Socket set, pliers, hog ring pliers, flashlight | Moderate; low-to-mid cost if only support parts are needed | Stop if the frame rail is bent, cracked, or corroded at a mount. |
| Whole seat feels low or tilted | Bent frame, loose mounting bolts, or rail damage | Check seat movement on the tracks and look for play at the floor mounts. Verify that the seat locks evenly at both tracks. | Tighten or replace mounts only if the structure is sound; otherwise replace the seat frame or seat assembly. | Socket set, pry tools, torque tool if specified by the vehicle | Moderate to high; cost rises quickly if track or frame parts are unavailable separately | Stop if the rail is deformed, cracked, rusted through, or does not lock positively. |
| Cushion looks loose but still feels firm | Loose upholstery, failed clips, or worn seat cover retainers | Pull up gently on the cover edge; if the foam underneath resists, the cover is the issue. Check the listing wires or retainers for broken attachment points. | Reattach with new hog rings, clips, or retainers; do not use cover tension as a fix for collapsed foam. | Hog ring pliers, trim tools, replacement fasteners | Low to moderate; usually the least expensive repair if the foam is sound | Stop if reinstallation tension fights a torn cover or damaged foam edge. |
| Warning light, dead heater, or connector issue under the seat | Wiring, occupancy sensor, heating element, or seat-mounted airbag equipment | Check for labeled connectors and look for damaged wiring before any removal. Confirm whether the seat is equipped with an occupancy mat or side airbag before unplugging anything. | Disconnect battery first, label connectors, and repair only within the limits of the vehicle’s safety system design. Follow the OEM service manual and NHTSA safety guidance for airbag-equipped seats. | Socket set, trim tools, labels, flashlight | Varies; safety-system faults can become expensive quickly and often need scan-tool diagnosis | Stop immediately if an airbag connector, occupancy sensor, or heated-seat module is damaged. Do not DIY occupancy sensors or seat-mounted airbag work. |
How do you inspect the seat base?
Remove the seat for real access under the cushion. That is the only reliable way to inspect springs, straps, frame rails, and wiring without guessing. Check the underside before you replace foam, because a collapsed cushion can come from a broken support base, not just worn padding. OEM service manuals typically specify seat removal and wiring disconnect sequence before any cushion service on airbag- or sensor-equipped seats.
What are the safe seat removal steps?
- Disconnect the battery before touching any seat wiring, especially on seats with airbags, heaters, or occupancy sensors.
- Move the seat to expose the mounting bolts, then use the correct socket set to remove them.
- Tip the seat carefully and unplug connectors only after labeling each one.
- Lift the seat out without dragging the rails across the sill or trim.
What should you look for under the cushion?
Look for broken springs, stretched support straps, torn attachment points, and rust at the seat frame. A squeak often points to a dry or shifting support area, but squeak alone does not prove the foam is fine. Also check whether the frame has sagged enough to change the cushion angle. The OEM concern here is structure first: if the base is unstable, fresh foam will simply conform to the same bad shape.
What do broken springs, straps, or bent rails look like?
A missing spring, a strap that hangs loose, or a rail that no longer sits square can all create a sinking feel. If the seat base flexes more than the opposite side or the frame has a visible bend, the support structure is the fault. Replacing foam on top of a failing base wastes time and money. On older cloth seats, the damage often hides until the cover is lifted; on leather seats, the collapse may show first as a deep crease.
How do you repair the cushion foam?
Use foam repair when the seat base is sound and the padding has lost thickness, shape, or edge support. High-density replacement foam is commonly used for a rebuilt cushion. Match the new foam to the seat pan contour, not just to the visible opening, so the seat supports the body evenly after reassembly. Foam suppliers generally classify seat foam by density and support behavior; for automotive seating, choose material intended for upholstery rather than generic craft foam.
Which foam type should you use?
High-density replacement foam holds shape better than soft craft foam and is more suitable for a seat cushion that takes daily load. For a driver’s seat, density matters as much as firmness. If the foam is too soft, it will collapse early; if it is too hard, it can create pressure points under cloth, leather, or vinyl upholstery. Upholstery-foam manufacturers typically specify automotive or high-resilience foam for load-bearing seat repair, with density and compression characteristics matched to the application.
How do you match contour and thickness?
Match the foam to the original contour of the seat pan and side bolsters. Molded foam is the best match when the seat has sculpted support or integrated thigh and side shaping. Cut-to-fit foam works when the shape is simpler, but it should still follow the original thickness loss and edge profile. If the bolsters are intact but the center has fallen away, a localized rebuild is more accurate than shaving the entire cushion down.
Suppose the center of the cushion has lost about 15 mm of height, while the side bolsters still hold their shape. In that case, a shaped insert or layered foam patch can restore support without rebuilding the whole cushion. If the foam is crumbling across the full width, replacement of the cushion core is the safer route. This is especially common on higher-mileage driver seats where the center loading zone compresses faster than the bolsters.
How do you cut, fit, and bond replacement padding?
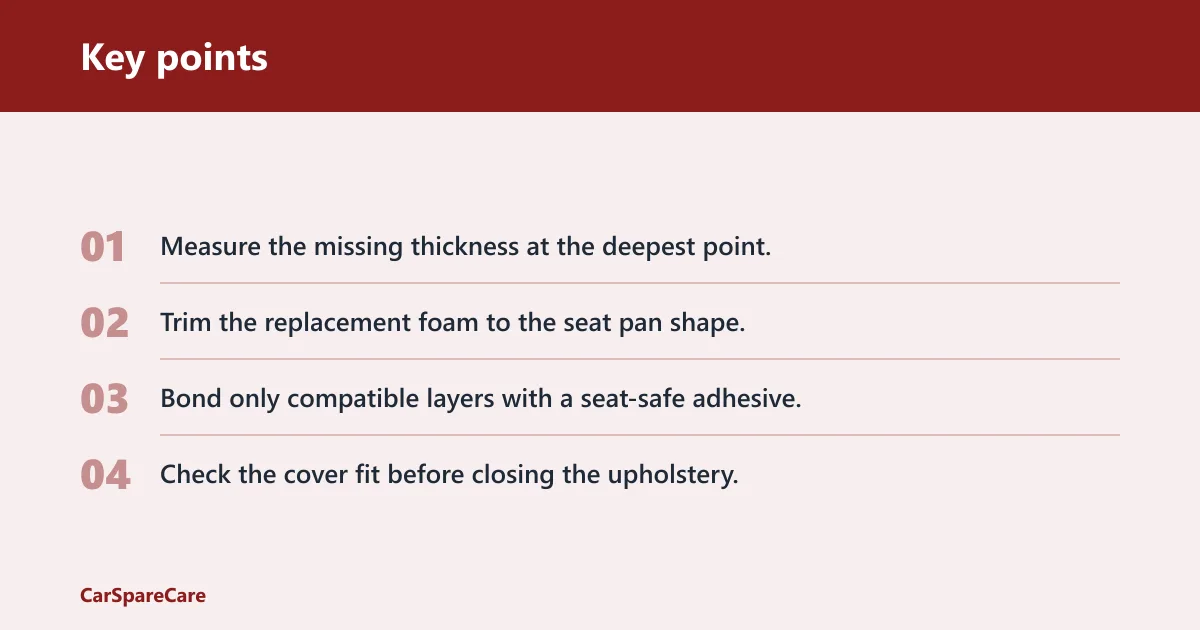
Use a sharp knife or foam saw for clean cuts, then dry-fit the piece before bonding. Adhesive must be compatible with both the foam and any adjacent padding layer. Some seats use fiber batting, contour blocks, or lumbar support pieces, and those layers should be restored in the same order they came apart. Follow the adhesive manufacturer’s open time and bond instructions; improper glue selection can soften foam or let the insert migrate during use.
- Measure the missing thickness at the deepest point.
- Trim the replacement foam to the seat pan shape.
- Bond only compatible layers with a seat-safe adhesive.
- Check the cover fit before closing the upholstery.
What if the springs or frame are damaged?
If the support base is damaged, fix that first. Broken or stretched springs, torn straps, and frame sag will keep destroying new foam if you ignore them. Replace the weak support parts or the whole seat structure when the metal is bent, cracked, or corroded beyond a simple repair. Service-manual logic is straightforward here: if the structure cannot hold geometry, the cushion cannot hold shape.
How do broken or stretched supports affect the seat?
Broken support wires usually show up as a sudden dip or a sharp edge under the cushion. Stretched straps make the seat feel low and loose rather than sharply broken. Replace the damaged supports in matched positions so the cushion load stays even across the seat base. Uneven support can also cause the cover to wrinkle and speed up wear at the same spot.
What does frame corrosion or bent rails mean?
Corrosion around mounting bolts or seat rails can mean the structure is no longer safe to trust. Bent rails can also alter seat height and make the cushion feel sunken even after a foam rebuild. If the frame no longer sits true, the correct repair may be a replacement seat frame or complete seat assembly. A seat that does not lock squarely on both tracks should not be treated as an upholstery-only problem.
When is replacement safer than repair?
Replace the whole cushion or seat when the damage is structural, widespread, or tied to safety equipment that cannot be restored cleanly. If the frame is cracked, the mounts are loose from rust, or the seat electronics are damaged, a partial repair is a poor trade. The car needs a seat that locks, supports, and protects correctly. If the seat uses an integrated occupancy sensor or side airbag module, OEM procedures may call for replacement of the affected assembly instead of field repair.
A common first-timer mistake is buying foam before looking under the seat. That can leave a driver with a new cushion on top of a broken spring, which feels better for a week and then sinks again. Another common error is forcing upholstery back over a misshapen core, which stretches seams and makes the seat look worse than before.
How do you remove and reattach the seat cover?
Seat cover removal is part of the repair, but the cover itself is rarely the cause of real collapse. Hog rings, clips, and seat cover retainers hold the cover to the foam and frame. Use the right removal method, then reattach with even tension so the upholstery does not wrinkle or pull unevenly. Many OEM trim manuals call for reusing or replacing specific clips and listing wires in the original positions so the cover sits correctly over the bolsters.
How do hog rings, clips, and retainers differ?
Some seats use single-use hog rings, while others use reusable clips or retainers that can be reset. Hog ring pliers make removal and installation much cleaner than prying with regular pliers. Keep each fastener type separate so the reassembly matches the original attachment points. If the seat uses a listing wire through the cover, reinstall it in the same channel so the seam stays centered and the cushion does not bunch.
How do cloth, leather, and vinyl behave during repair?
Cloth usually stretches more forgivingly during reassembly, while leather and vinyl need careful tension control to avoid visible pull marks or overstress at seams. Leather can hide a weak cushion for a short time, but it also shows poor fitting faster if the foam shape is wrong. Reinstall the cover only after the padding shape is correct. Material suppliers generally caution against over-stretching leather and vinyl when the foam profile is incorrect, because the cover becomes the stress point instead of the cushion.
How do you keep cover tension even on reassembly?
Start at the center attachment points, then work outward in small steps. That keeps the cushion shape even and avoids bunching at the bolsters. If the cover fights the fit, stop and recheck the foam profile instead of forcing the fasteners into place. A seat cover that is being pulled into shape by the fasteners usually means the underlying foam still needs trimming or rebuilding.
What wiring and safety checks are required?
Seats with wiring need extra care because foam work can cross into safety systems. Battery disconnect, connector labels, and careful handling matter when the seat has an airbag, occupancy sensor, or heater. Do not treat those connectors like ordinary trim parts. NHTSA and OEM service documentation treat seat-mounted airbags and occupant-detection systems as safety components that require the correct disconnection, waiting, and reassembly procedures.
Why should you disconnect the battery and label connectors?
Disconnect the battery before unplugging anything under the seat. Label each connector before removal so the wiring goes back in the right place. That simple step avoids mix-ups with heaters, sensors, and pretensioner-related wiring where applicable. It also reduces the chance of setting a warning light that requires scan-tool clearing after the repair.
What should you know about heated seats and occupancy sensors?
Heating elements and occupancy sensors can sit close to the foam or be bonded into the cushion area. If the foam repair needs cutting near those parts, stop and inspect the layout first. A damaged sensor can create a warning light or disable a seat function that should not be ignored. Occupancy-sensor mats are not normal upholstery parts; if they are damaged, the vehicle should be repaired to OEM safety standards rather than patched like trim.
What are the seat-mounted airbag precautions?
Where a seat-mounted side airbag is fitted, treat the seat as a safety component, not just an upholstery project. Do not probe the airbag connector, and do not reinstall anything that pinches the wiring. If the seat structure or cover design involves the airbag seam, replacement parts must match that design exactly. NHTSA guidance and OEM manuals generally warn against unapproved modifications because a misrouted seam or pinched harness can affect deployment performance.
What tools do you need to repair car seat foam?
For most cushion repairs, you need plastic trim tools, a socket set, pliers, flat pry tools used carefully, and hog ring pliers if the seat uses rings. Add a flashlight, labels for connectors, and a knife or foam saw for shaping replacement padding. Use plastic trim tools first to avoid damaging interior panels. For a typical foam-only repair on a non-heated cloth seat, the job is usually manageable with hand tools; a sensor-equipped seat raises the difficulty substantially.
The right tool set depends on the seat style. A simple cloth seat may only need trim tools and fastener pliers, while a heated or sensor-equipped seat may require more careful disassembly. If the fasteners or wiring look unfamiliar, stop and identify them before forcing anything apart. A scan tool, torque wrench, and OEM service information can be necessary when the seat fault reaches the safety system or track-preload area.
How do you fix a sinking sofa cushion?
The same logic applies to furniture. Check whether the foam has collapsed, whether the support deck has failed, and whether the cover is only making the sag look worse. For a couch, foam inserts, contour blocks, and fiber batting can help, but a broken support deck needs repair before the cushion is rebuilt. Furniture foam suppliers use similar density and resilience principles, though the construction details differ from automotive seats.
Frequently asked questions
How do you fix seat cushioning?
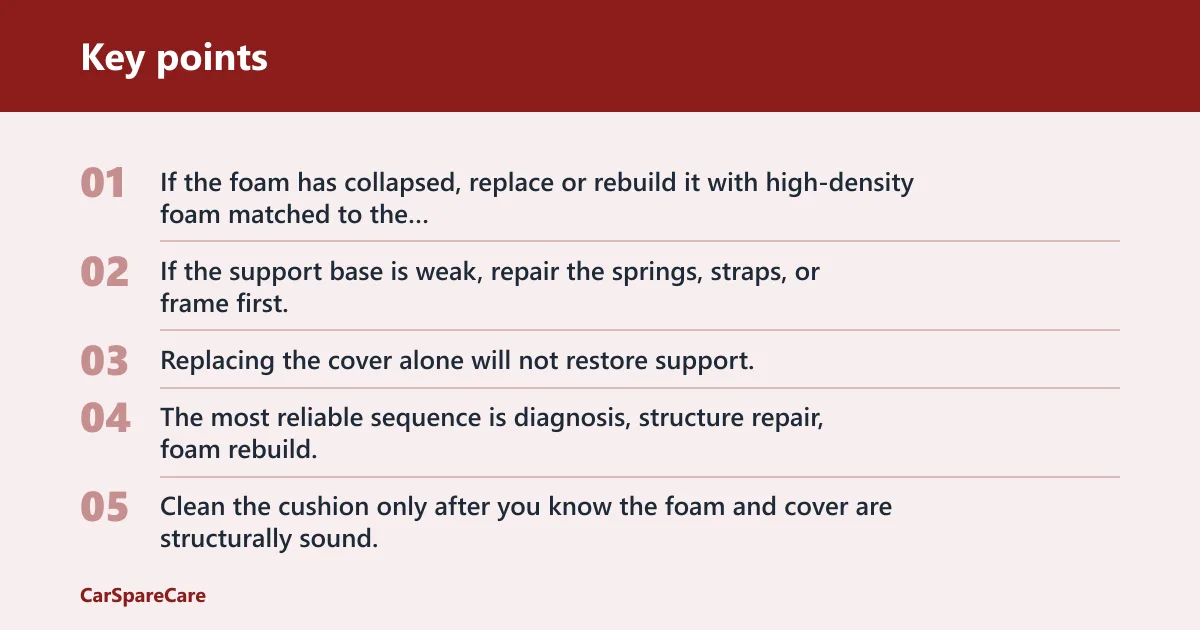
Start by finding the failure point. If the foam has collapsed, replace or rebuild it with high-density foam matched to the original contour. If the support base is weak, repair the springs, straps, or frame first. Replacing the cover alone will not restore support. The most reliable sequence is diagnosis, structure repair, foam rebuild, then upholstery reattachment.
How do you clean a seat cushion?
Clean the cushion only after you know the foam and cover are structurally sound. Use a method suited to the material: cloth can handle more moisture than leather or vinyl, while electrical parts need to stay dry. Let the cushion dry fully before reassembly so the foam and adhesive are not affected. If the seat contains an occupancy sensor or airbag wiring, keep liquids away from connectors and follow the OEM service information for any disassembly.
How do you recover a seat cushion?
Recovering a cushion means removing and reinstalling the seat cover with the right fasteners and tension. Use hog rings, clips, or retainers that match the original design, and keep the foam shape correct underneath. If the foam is collapsed, recover it only after the core has been repaired. A good recover job depends on the foam geometry being right first; otherwise the cover will wrinkle, pull, or wear early.
How do you repair a leather seat cushion?
Leather repair starts with the same cushion diagnosis as any other seat. If the foam underneath is sunken, fix the foam first or the leather will wrinkle again. Reinstall the cover with even tension and avoid over-stretching the seams, especially around bolsters and stitched panels. Leather is less forgiving than cloth, so any misshapen foam edge will show immediately once the seat is back together.
Can you replace foam in a car seat cushion?
Yes, and it is often the right repair when the foam has lost thickness but the frame and supports are still sound. Choose high-density replacement foam, then match the original shape and height. If the seat has sensors or an airbag seam, check the part layout before cutting. Do not DIY any foam that is integrated with an occupancy sensor or side airbag component.
Why does my car seat cushion feel sunken?
A sunken feel usually comes from foam collapse, broken or stretched supports, or a bent seat frame. A loose cover can make the problem look worse, but it rarely creates a true sink by itself. Check underneath the seat before deciding which part to replace. The quickest proof is whether the support structure holds shape when the cover is lifted and the cushion is pressed from above.

Hi, I’m Melvin, an automobile engineer with extensive experience in automobile equipment. I currently work for a local automobile firm, where I specialize in the car parts industry. I’ve had the opportunity to collaborate with seasoned inspectors, gaining invaluable hands-on experience that goes beyond just theory.
My passion for automotive care started at a young age, which led me to create CarSpareCare. Through CarSpareCare, I share the knowledge and skills I’ve acquired over the years to help others navigate the world of car maintenance and repairs.
My goal is to provide practical tutorials, essential safety advice, and the latest industry insights so that anyone—whether a beginner or an expert—can confidently tackle their automotive projects.