Repair a torn car seat seam by first checking whether the thread failed, the seam split, or the material tore; use hand-stitching or seam tape for fabric, and a leather-specific repair kit for leather. A weak patch can reopen, fray the cover, or leave the seat unsafe. This guide shows how to inspect the damage, pick the right method, and fix it so the seam holds.
What type of seam damage do you have?


Identify the failure type first, because a split seam, a ripped stitch line, a frayed cloth edge, and a leather split do not need the same repair. Factory seat covers are usually sewn as stressed seams over foam-backed padding, so damage often starts where the seat flexes most, such as the bolsters, seat base, side bolster, and driver entry edge.
Split seam vs. torn material
A split seam means the stitching has opened but the cover material is still mostly intact. A torn material failure means the vinyl, leather, or cloth itself has split beyond the stitch line. If the cover edges are still strong and aligned, resewing can work. If the material is shredded, brittle, or missing, stitching alone will not hold.
Leather split, fabric fray, or stitch line failure
Leather often fails as a clean split along the seam or a surface crack that runs into the stitch holes. Fabric usually frays, especially after the seam opens and the backing shows. A stitch line failure is the cleanest case: the thread failed first, so the original seam can often be rebuilt without cutting new material.
High-stress spots that fail first
The driver entry edge sees rubbing every time you slide in. Side bolsters get squeezed when you turn and shift. Seat bases flex under body weight, and bolstered seat sections take repeated tension at the seam folds. If the tear sits on one of these spots, expect more load on the repair and plan for stronger thread and tighter stitch spacing.
Seat seam decision table
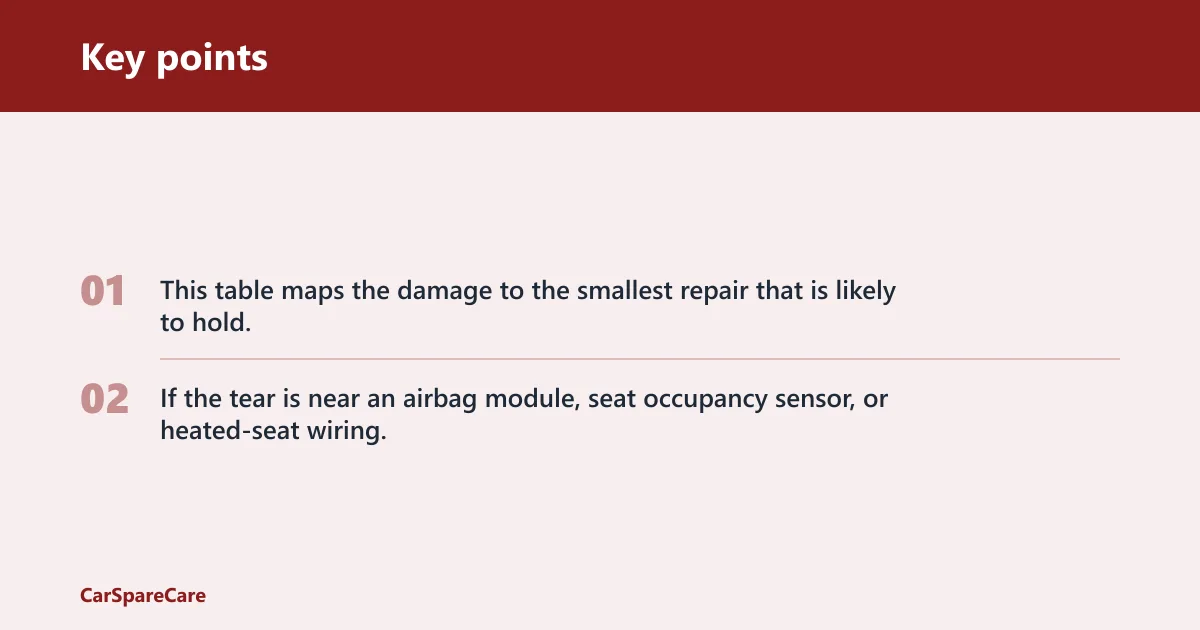
This table maps the damage to the smallest repair that is likely to hold. If the tear is near an airbag module, seat occupancy sensor, or heated-seat wiring, stop and inspect the seat layout before sewing anything.
| Tear type | Seat material | Damage size | Safest repair method | Tools needed | DIY difficulty | Stop and use upholstery shop if |
|---|---|---|---|---|---|---|
| Split seam | Leather | Up to about 3 inches | Hand-stitch with heavy-duty polyester thread | Upholstery needle, seam ripper, needle-nose pliers, thread | Moderate | Leather is cracked past the stitch line or the seam keeps reopening |
| Ripped stitch line | Fabric | Up to about 4 inches | Re-stitch the original seam; reinforce with a backer only if the cloth is frayed | Upholstery needle, polyester thread, scissors, pliers | Moderate | The backing is shredded, foam is exposed, or the tear is on a side bolster with heavy load |
| Frayed cloth tear | Fabric | Small edge damage with intact seam lines | Fabric repair patch or sew-in backing for the frayed area; stitch only if the seam itself opened | Fabric patch, adhesive or sew-in patch, needle, thread | Easy to moderate | The tear extends into the seam or keeps spreading after a test pull |
| Leather split | Leather | Surface crack or small split without major opening | Leather repair kit for color match and filler support; sew only if the seam is open | Leather repair kit, cleaning supplies | Easy for surface damage, harder for a split seam | The opening is structural, the seam is separated, or the seat flexes strongly at that point |
| Opened seam near electronics | Any | Any size | Inspect first, then stop if wiring, sensor tabs, or airbag modules are exposed | Trim tools, inspection light | Not a safe DIY starting point | You can see yellow airbag connectors, occupancy mat wiring, or heated-seat elements |
What tools and thread do you need?
Use an upholstery needle with a heavy-duty eye and heavy-duty polyester thread. That thread resists abrasion and UV better than cotton, which can weaken under seat movement and heat. For tight access, a curved needle helps reach around foam and contours; a straight needle is easier when the seam is open and visible.
Upholstery needle options
An upholstery needle should pass through dense, foam-backed material without bending easily. Curved needles help when the seam sits deep in the bolster or under a folded edge. Straight needles are better for clean access and for keeping the stitch path even. Needle-nose pliers help pull the needle through when the foam resists your fingers.
Heavy-duty polyester thread
Match the thread strength to the original seam as closely as practical. Use heavy-duty polyester thread that is UV-resistant and abrasion-resistant. Do not use weak cotton thread or light all-purpose thread; those can fail early under seat stress, especially on the driver entry edge and seat base.
Seam ripper, pliers, and adhesive
A seam ripper is for removing loose stitches cleanly, not for opening the tear wider. Needle-nose pliers help draw the needle through tight sections. Upholstery adhesive can hold the cover edges in place before stitching, but it is only a temporary aid on foam-backed seats, not a structural fix.
Can you safely repair the seat yourself?
Small seam splits can often be repaired at home, but only after you confirm that the tear is away from airbags, seat occupancy sensors, and exposed wiring. If the seat cover hides a side airbag module or sensor harness, avoid puncturing foam or pulling hard on the cover until you know what is beneath it.
Airbag and sensor check
Check the seat design before you start. Many seats place side airbags in the outer bolster area and use occupancy sensors in the cushion or lower seat base. Heated-seat wiring can also run close to the cover. If any connector, mat, or harness is visible, do not stitch blindly through that area.
When foam or wiring changes the plan
Seat foam padding can change stitch tension by pushing the edges apart or hiding the true seam line. If foam is split, crushed, or disturbed, the repair may need repositioning before sewing. If wiring or a sensor element is present, stop and plan around it rather than forcing the needle through.
When to stop and use an upholstery shop
Stop when the tear is large, the bolster is worn through, the seam keeps reopening, or the damage sits near safety hardware. A trim shop is also the better call when the cover needs removal to reach the back side of the seam. That is especially true for leather with stretched grain or fabric with shredded backing.
How do you repair a torn car seat seam?
Clean the area, expose only the damaged stitches, and support the opening without making it larger. Then sew the seam back together with tight, even stitches that follow the original hole line. Work slowly so the needle does not enlarge the tear or snag hidden foam.
- Vacuum and clean the seam area so dirt does not grind into the repair.
- Inspect both sides of the opening to confirm the material is still strong enough to stitch.
- Use a seam ripper only to remove loose thread ends and frayed stitches.
- If needed, apply a small amount of upholstery adhesive to hold alignment while you work.
- Thread the upholstery needle with heavy-duty polyester thread.
- Stitch through the original seam line, keeping spacing even and tension firm but not crushing the foam.
- Tie off securely, trim excess thread, and inspect the repair under light.
How to keep the opening from getting larger
Support the fabric or leather with one hand while the needle passes through with the other. Do not pry the seam open with a tool. If the cover is tight over foam, use needle-nose pliers to finish the pull rather than yanking harder on the material. That reduces the chance of a new split next to the old one.
How to set the stitch tension
Stitch tension should close the seam without puckering the cover. Too loose, and the seam gap opens under load. Too tight, and the material can cut around the holes. A common first-timer mistake is pulling every stitch hard on a seat base, which can deform the foam and make the seam sit unevenly.
What changes for leather versus fabric?
Leather and fabric fail differently, so the repair choice changes too. Leather seam damage often needs stitching, while surface cracks may accept a leather repair kit for cosmetic filling and color match. Fabric tears more often call for a backer patch or re-stitching, depending on whether the seam itself is open.
Leather seam repair and when a kit fits
A leather repair kit is useful for surface cracks, small splits that have not fully opened, and color correction around worn spots. It is not ideal for a fully opened seam that must take seat load. If the leather edges separate under light tension, stitch the seam first; use the kit only after the structure is secure.
Fabric seam repair and when a patch fits
Use a fabric repair patch for frayed cloth tears where the weave is damaged but the seam line itself is intact. A sew-in or adhesive-backed patch can support the area from behind. If the thread has failed and the seam opened, the right fix is re-stitching, not a patch alone.
Why full seam openings need stitching, not filler
Filler fills space. It does not carry repeated seat stress. A seam that opens along its original stitch line needs new stitching to restore load-bearing strength. That is why a leather filler kit may help surface damage, but it cannot replace the seam on its own.
How do you stop the tear from reopening?
Use thread and stitch spacing that match the seat’s load, then reduce movement on the repaired spot during the first few days. For most seat seams, a strong polyester thread and a tight, even stitch pattern work better than thick filler or loose hand sewing. Test gently before normal use.
Thread choice and stitch pattern
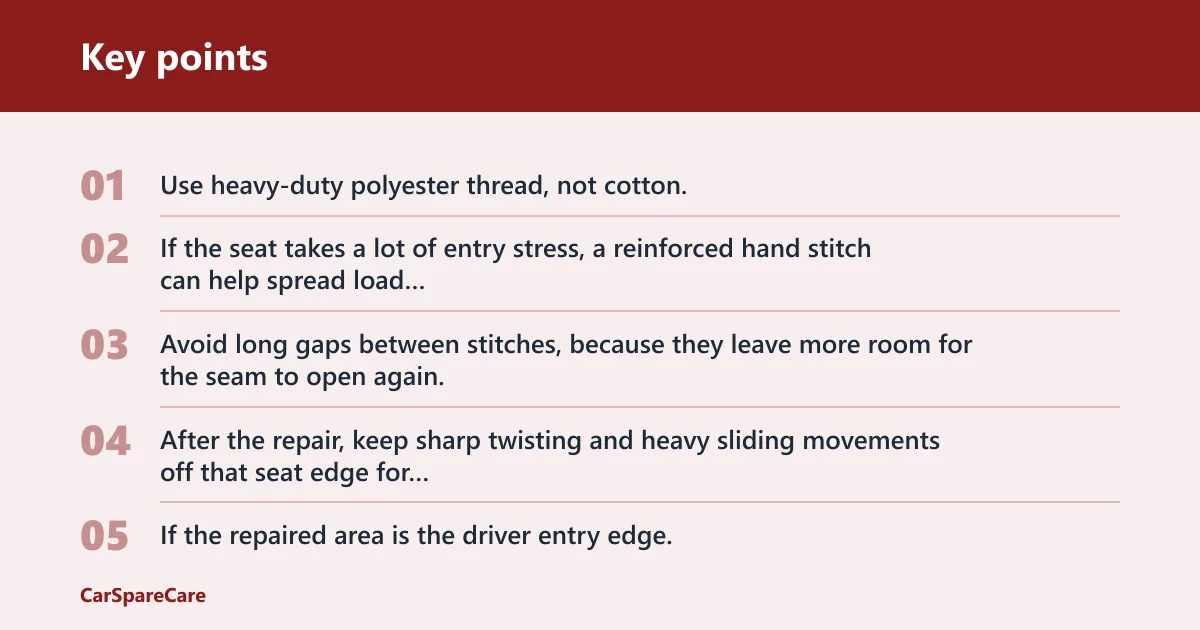
Use heavy-duty polyester thread, not cotton, and keep the stitch path in the original holes when possible. If the seat takes a lot of entry stress, a reinforced hand stitch can help spread load more evenly. Avoid long gaps between stitches, because they leave more room for the seam to open again.
Reduce stress on the repaired area
After the repair, keep sharp twisting and heavy sliding movements off that seat edge for a short period. If the repaired area is the driver entry edge, enter and exit more carefully until the seam settles. If the seat base was repaired, check that the cushion is not forcing the seam apart from below.
Test the seam before normal use
Press the repaired section lightly, then give it a gentle pull that mimics seat movement without forcing it. Check for thread slippage, puckering, or a new gap. Suppose a 2-inch split on a leather bolster closes cleanly but opens again after a mild pull. That is a sign the material is too weak for a simple home stitch and needs professional re-stitching.
Cost and effort usually break down like this: a DIY stitch repair is the cheapest path if the seam is small and the seat has no sensor complications; a repair kit is best for surface damage, not opened seams; professional restitching costs more, but it is the better choice for large tears, worn bolsters, or damage near airbags and wiring.
Frequently asked questions
How to repair a ripped seam in leather car seat
If the leather seam is open, resew it rather than filling it. Use a curved or straight upholstery needle, heavy-duty polyester thread, and careful stitch spacing that follows the original holes. If the leather is split beyond the seam or badly worn at the bolster, a trim shop is safer.
Can I sew a torn car seat seam by hand?
Yes, if the tear is small, the material is still strong, and the area is away from airbags, sensors, and wiring. Use an upholstery needle and heavy-duty polyester thread, not cotton. Hand sewing is fine for small openings, but it is not the right fix for large or worn-through damage.
What thread should I use for a car seat seam repair?
Use heavy-duty polyester thread that is abrasion-resistant and UV-resistant. It is a better match for seat movement and sun exposure than cotton thread. Choose a strength that is close to the original seam strength, and avoid light all-purpose thread, which can fail early under repeated flexing.
When should I use an upholstery repair kit instead of sewing?
Use a leather repair kit for surface cracks, color loss, or small splits that are not fully open. Use a fabric repair patch for frayed cloth with intact seam lines. If the seam itself has opened, the repair needs stitching, because filler or patch material alone will not carry seat stress.
How do I stop a car seat seam tear from spreading?
Stop the tear from spreading by avoiding aggressive pulling, using a seam ripper only on loose stitches, and supporting the material while you sew. Heavy-duty polyester thread and even stitch tension help spread load. If the area keeps opening after a test pull, the material is too weak for a simple DIY fix.
Is it safe to repair a car seat seam myself?
It can be safe if the damage is small, away from airbags and sensor wiring, and limited to a seam split or minor fray. It is not safe to guess around hidden hardware. If you can see connectors, sensor mats, or heated-seat wiring, stop and plan a different repair path.

Hi, I’m Melvin, an automobile engineer with extensive experience in automobile equipment. I currently work for a local automobile firm, where I specialize in the car parts industry. I’ve had the opportunity to collaborate with seasoned inspectors, gaining invaluable hands-on experience that goes beyond just theory.
My passion for automotive care started at a young age, which led me to create CarSpareCare. Through CarSpareCare, I share the knowledge and skills I’ve acquired over the years to help others navigate the world of car maintenance and repairs.
My goal is to provide practical tutorials, essential safety advice, and the latest industry insights so that anyone—whether a beginner or an expert—can confidently tackle their automotive projects.