For older distributor-ignition cars, inspect or replace spark plugs at the factory interval, and sooner if they are fouled, worn, or outside the specified gap. Clean plugs only if the electrodes and insulator are still sound. Ignoring plug condition can cause hard starts, misfire, poor fuel economy, and extra wear on the coil, cap, rotor, and plug wires. This guide shows how to read plug condition, set the gap, choose the right plug type, and check the rest of the ignition system during the tune.
Why plugs fail in distributor cars


Distributor-ignition systems are less forgiving of plug wear than many modern coil-on-plug setups. A wider gap, a weak cap or rotor, aging wires, or timing that is too retarded can all increase the voltage needed to fire the plug. That extra demand often shows up as misfire under load, rough idle, or fouling that keeps returning after a fresh plug swap.
Heat range, wear, and fouling
Use the plug heat range specified for the engine or an exact OEM-equivalent cross-reference. Too cold, and the plug may foul in stop-and-go use or on a rich carbureted engine. Too hot, and the insulator nose can overheat, which raises the risk of pre-ignition and electrode damage.
Electrode wear changes the gap as the plug ages. On older engines, that matters more because the ignition system already works harder than a modern one. As the gap grows, the coil must produce more voltage, and marginal wires, a tired cap, or worn rotor contacts can push the system past its limit.
How cap, rotor, wires, and timing shorten plug life
Carbon tracking in the cap, a burned rotor tip, cracked wire insulation, or high wire resistance can all mimic bad plugs. So can base timing that is too far retarded or a vacuum advance that does not work. Rich mixture, vacuum leaks, or worn mechanical advance parts can foul plugs even when the plugs themselves are correct.
Picture a 1978 carbureted inline six that starts hard and idles rough. If the plugs are black and sooty, replacing only the plugs may help for a week, but the real issue may be a weak vacuum advance and rich idle mixture that keep coating the new plugs.
How do you choose the right plug?
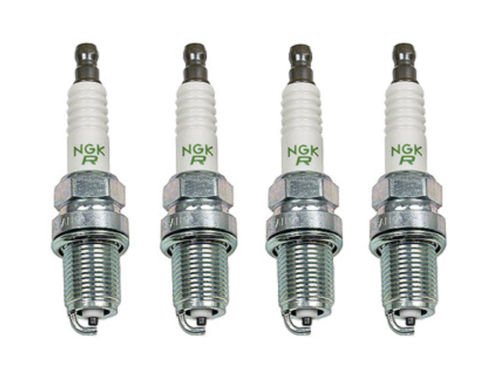
Start with the exact plug type, thread reach, seat style, and heat range called for by the engine maker. If the catalog lists an OEM-equivalent replacement, match that before you think about exotic materials or longer-life versions. An incorrect reach or seat can damage the head, and the wrong heat range can foul or overheat the plug.
Match the OEM-equivalent plug first
For older engines, “close enough” is not good enough. Thread diameter, reach, and seat design must match the head. Some older cast-iron engines tolerate standard copper-core plugs well, while many aluminum-head engines need careful torque control and the exact plug design listed for that engine.
Heat range, thread reach, and electrode style
Heat range controls how fast the plug sheds heat into the head. Thread reach must match the chamber depth. Electrode style affects service life and gap stability, but it does not fix a weak ignition system. If the catalog shows a projected-tip plug and a non-projected version, use the one the engine maker specifies.
What tools do you need?
You need the right plug socket, a ratchet and extension sized for the engine bay, a way to measure gap, and a torque wrench. A feeler gauge or wire gap tool is better than guessing by eye. A can of compressed air or a soft brush helps keep grit out of the cylinder threads before removal and installation.
Spark plug socket, extension, and removal basics
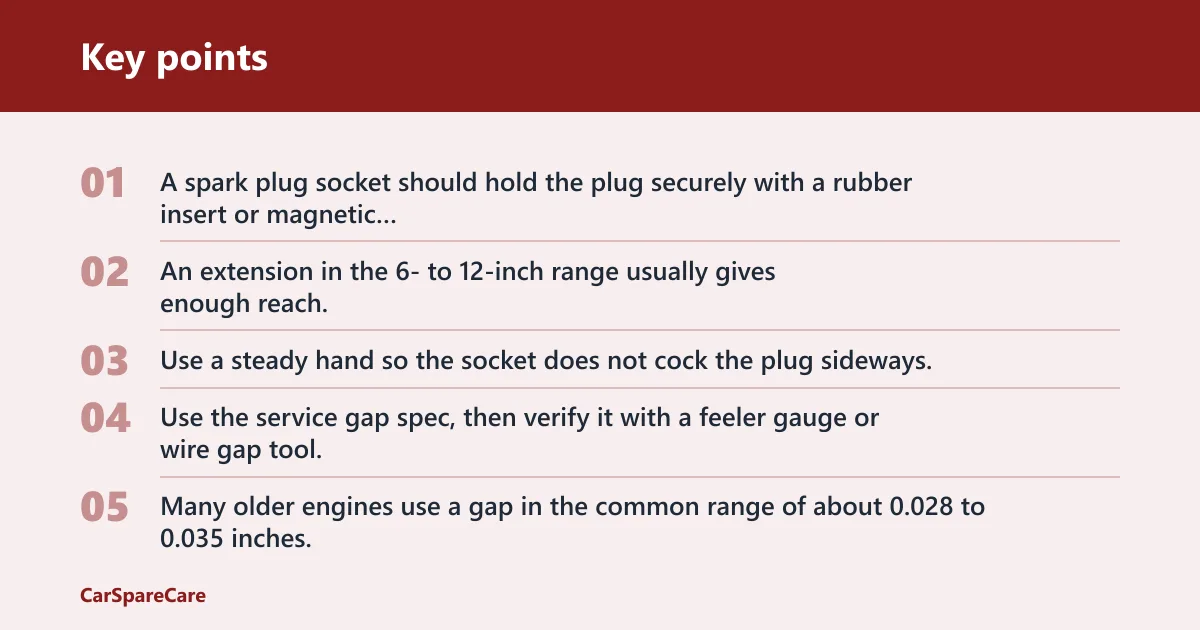
A spark plug socket should hold the plug securely with a rubber insert or magnetic retention. Common sizes are 5/8-inch and 13/16-inch. An extension in the 6- to 12-inch range usually gives enough reach, but the right length depends on the engine bay. Use a steady hand so the socket does not cock the plug sideways.
Feeler gauge or wire gap tool
Use the service gap spec, then verify it with a feeler gauge or wire gap tool. Many older engines use a gap in the common range of about 0.028 to 0.035 inches, but the factory spec comes first. Distributor ignition systems are sensitive to gap error because a small increase can demand much higher firing voltage.
Torque wrench, anti-seize, and dielectric grease
A torque wrench protects threads and helps seal the plug without crushing the gasket. Torque varies by plug design, thread size, and head material. Anti-seize is sometimes used on older plugs, but aluminum heads need caution because added lubricant can change clamp load; if anti-seize is used, torque often needs adjustment. Dielectric grease belongs on the boot seal only, not on the firing tip.
How do you inspect old spark plugs?
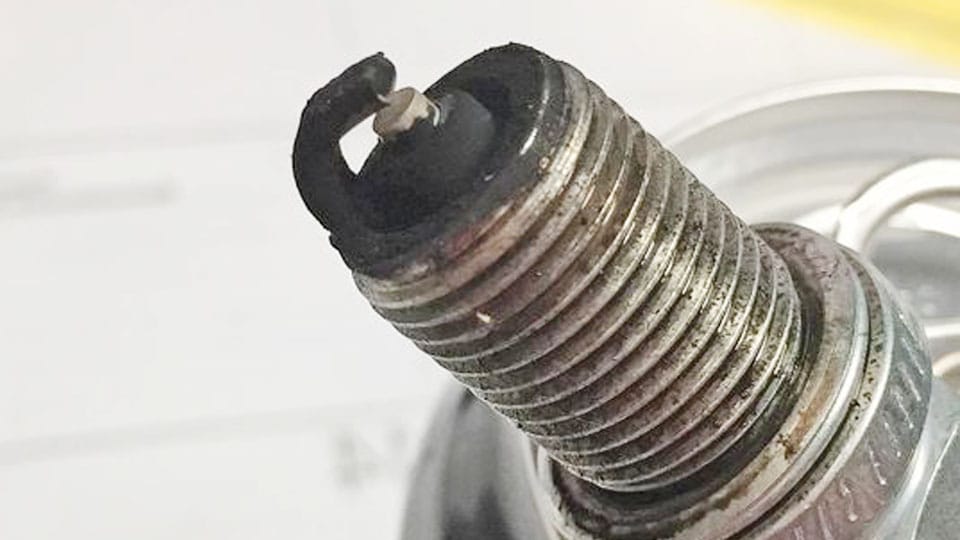
Remove the plugs one at a time so you can read each cylinder. Look at the electrode edges, insulator nose, shell threads, and ground strap. A plug that is only lightly worn and clean may be reusable if the gap is still within spec. Heavy fouling, rounded electrodes, cracks, or damaged threads point to replacement.
Read wear, deposits, and damage
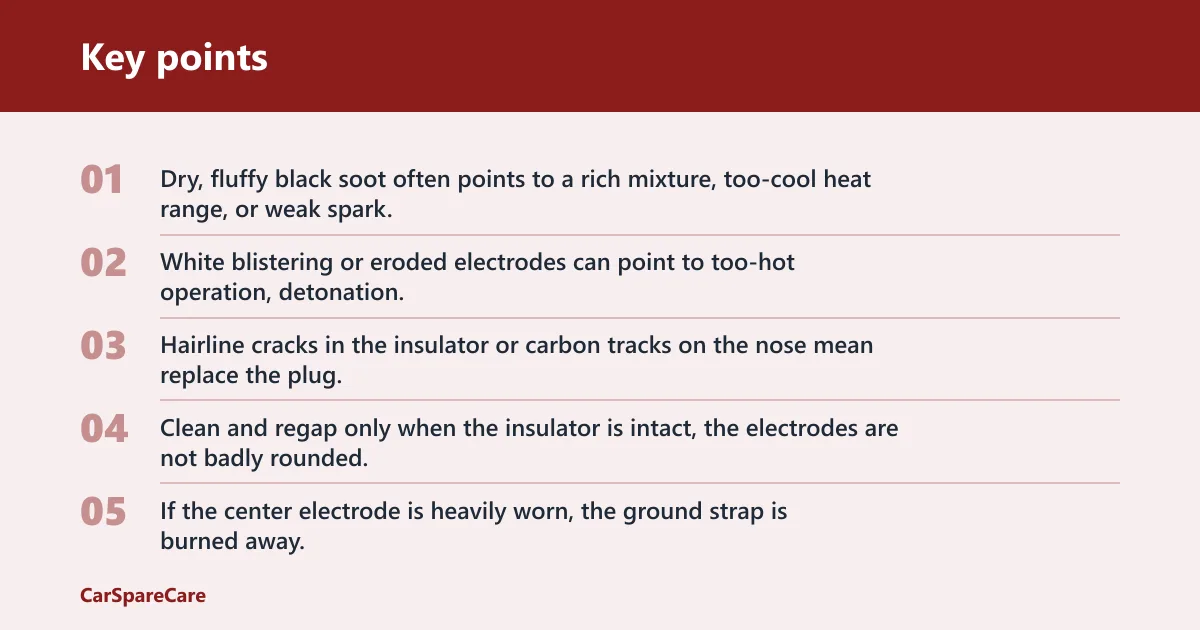
Light tan or gray deposits can be normal. Dry, fluffy black soot often points to a rich mixture, too-cool heat range, or weak spark. Wet black oil means oil control problems. White blistering or eroded electrodes can point to too-hot operation, detonation, or a lean condition. Hairline cracks in the insulator or carbon tracks on the nose mean replace the plug.
Decide whether to clean, regap, or replace
Clean and regap only when the insulator is intact, the electrodes are not badly rounded, and the shell threads are sound. If the center electrode is heavily worn, the ground strap is burned away, or the plug has deep deposits that do not brush off cleanly, replace it. A cheap reuse can turn into repeated misfire diagnostics later.
Suppose one plug in a V8 comes out dry and sooty, but the others are light tan. That single cylinder may have a weak wire, a cap tower problem, or a carburetor or intake runner issue feeding that one hole. Do not assume the plug itself is the only fault.
Link plug color to mixture, oil burning, or timing
Black soot usually means rich mixture, repeated cold running, or weak ignition energy. Oily deposits often mean valve guide or ring wear. Ashy, crusty deposits can come from oil additives or coolant entry. A plug that looks clean but shows eroded electrodes may have been running on a strong advance curve or with too much heat.
How do you set spark plug gap?
Set the gap to the engine specification, not by feel. Use a feeler gauge or wire tool to check the opening before installation, and recheck after a light adjustment if needed. Distributor-ignition engines are especially sensitive because worn cap, rotor, or wires can leave very little reserve voltage for an oversized gap.
Use the service spec, not eye judgment
Many older engines call for a specific gap in thousandths of an inch or millimeters, and that figure should take priority over any general rule. The factory spec also matters because some ignition systems were designed around weaker coils, point-style distributors, or long wire runs.
Why older ignition systems care about gap accuracy
A gap that is too wide can cause misfire under acceleration, especially if the wires are aging or the cap has carbon tracking. A gap that is too tight can reduce spark kernel quality and contribute to fouling. On a distributor ignition, a small gap error can become a drivability problem fast.
Distributor ignition tune checklist
This checklist ties spark plug symptoms to the most likely companion fault. Use it as a whole-system map, not as a plug-only guide. Check the plugs, cap, rotor, wires, and timing together so you do not replace one part and leave the real cause in place.
| Plug condition | Cap and rotor finding | Wire resistance check | Timing symptom | Next action |
|---|---|---|---|---|
| Dry black soot | No obvious damage, but carbon traces in cap | Higher than spec or visibly aged insulation | Retarded timing, rough idle, poor cold driveability | Check mixture, set timing, inspect advance, replace fouled plugs |
| Wet fuel on tip | Rotor burned or cap tower corroded | Some wires open or intermittent under bend test | Weak spark, long cranking, miss at idle | Test spark path, replace bad cap or rotor, check coil output |
| Oily deposits | Cap and rotor normal | Resistance within spec | Timing normal, plug fouls again quickly | Check rings, guides, or valve seals; replace plugs |
| White blistered insulator | Burned rotor tip or tracking on cap | Wire resistance near limit | Ping under load, advance may be too aggressive | Inspect advance curve, verify fuel mixture, replace damaged parts |
| Rounded electrodes, wide gap | Cap posts corroded, rotor tip worn | Several wires aged hard | Hard start, stumble on acceleration | Replace plugs, cap, rotor, and any weak wires together |
How do you install and torque plugs?
Start each plug by hand so the threads seat smoothly. If resistance appears early, stop and back out the plug. Cross-threading an aluminum head can turn a simple tune into a repair. Once seated, torque the plug to spec, using the correct value for the plug design and head material.
Avoid cross-threading and plug socket damage
Use the plug socket with the rubber insert or magnetic holder so the plug stays straight as it enters the well. If the plug is awkward to start, a short piece of rubber hose can help thread it by hand on some engines. Do not force the ratchet if the plug is not turning freely.
Torque by spec, with head material and anti-seize cautions
Torque figures vary because gasketed plugs, taper-seat plugs, steel heads, and aluminum heads do not clamp the same way. Anti-seize can reduce friction and change the final clamp load, so it should be used only when appropriate and with the torque adjusted if the plug maker or engine maker calls for that. Overtightening can strip threads or crack a plug shell.
A common mistake is installing new plugs in an older distributor-ignition sedan and over-tightening them with a ratchet instead of using a torque wrench and the correct gap. That combination can produce too much clamp load fast, even when the wrench does not feel extreme. The correct torque spec is still the safer guide.
Frequently asked questions
How often should spark plugs be replaced on an older car?
Follow the factory interval first, because older engines can vary a lot by plug type and ignition design. Many older copper plugs need shorter intervals than modern long-life plugs, but condition matters more than mileage alone. If a plug is fouled, eroded, or out of gap before the interval, replace it sooner.
What spark plug gap should I use with a distributor ignition?
Use the exact gap in the service data for your engine. A common older-engine range is about 0.028 to 0.035 inches, but that is only a general guide. Distributor ignition systems are sensitive to gap error, so verify the setting with a feeler gauge or wire gap tool before installation.
Should I clean and regap old spark plugs or replace them?
Clean and regap only if the plug is structurally sound, the electrodes are not badly worn, and the deposits are light enough to remove. Replace the plug if the insulator is cracked, the electrode edges are rounded, the shell is damaged, or fouling returns quickly. Reuse is a judgment call, not a default.
How do I check spark plug wires, cap, and rotor at the same time?
Inspect the cap for cracks, carbon tracks, corrosion at the towers, and burned contacts. Check the rotor for a worn or burned tip. Test each wire for cracking, age hardening, poor boot fit, and resistance that matches the spec for that wire set. Replace any part that looks marginal, because one weak piece can affect the whole ignition path.
What symptoms show the distributor ignition is causing misfires?
Look for hard starting, rough idle, stumble under load, pinging from bad timing, and misfire that gets worse when the engine is hot or wet. If new plugs foul quickly, or if one cylinder keeps acting up after plug replacement, check the cap, rotor, wires, coil output, and advance mechanism before chasing the plug again.
How do I avoid fouling spark plugs on an old engine?
Keep the mixture correct, fix vacuum leaks, verify base timing, and make sure the mechanical and vacuum advance work as intended. Use the right heat range and gap, and replace worn cap, rotor, and wires before they raise the spark demand. Short-trip driving and a too-cold plug can also invite fouling.

Hi, I’m Melvin, an automobile engineer with extensive experience in automobile equipment. I currently work for a local automobile firm, where I specialize in the car parts industry. I’ve had the opportunity to collaborate with seasoned inspectors, gaining invaluable hands-on experience that goes beyond just theory.
My passion for automotive care started at a young age, which led me to create CarSpareCare. Through CarSpareCare, I share the knowledge and skills I’ve acquired over the years to help others navigate the world of car maintenance and repairs.
My goal is to provide practical tutorials, essential safety advice, and the latest industry insights so that anyone—whether a beginner or an expert—can confidently tackle their automotive projects.