
Light oxidation on a clear coat can often be improved by hand with a mild polish or rubbing compound; if the paint feels rough but still has color, hand correction is often worth trying first, but if primer or metal shows, repainting is usually the fix. Leaving it alone lets the finish fade faster and can expose the surface to corrosion. This guide shows how to judge severity, choose the first product, and know when hand polishing is no longer enough.
Identifying oxidation and surface damage
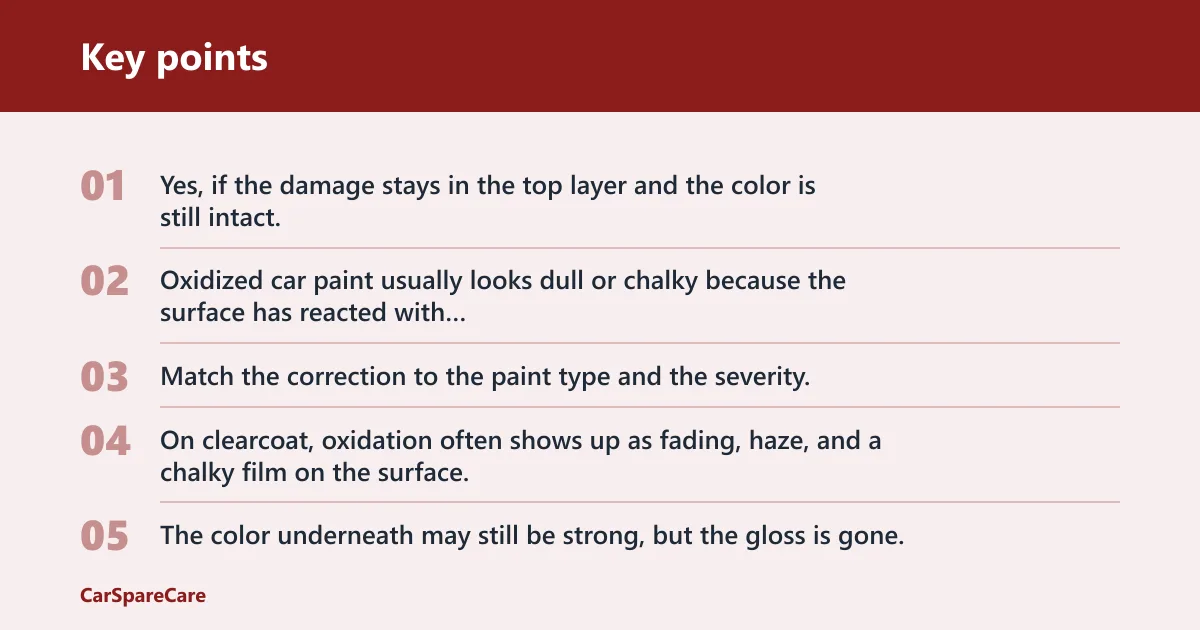


Yes, if the damage stays in the top layer and the color is still intact. Oxidized car paint usually looks dull or chalky because the surface has reacted with weather and radiation in the atmosphere, and washing alone will not remove that residue. Match the correction to the paint type and the severity.
What oxidation looks like on clearcoat and single-stage paint
On clearcoat, oxidation often shows up as fading, haze, and a chalky film on the surface. The color underneath may still be strong, but the gloss is gone. On single-stage paint, the color itself can sometimes come off on the pad because there is no clearcoat above it, so aggressive polishing needs extra caution. Griot’s Garage explains oxidation as a surface breakdown that dulls paint and must be corrected by removing the affected layer.
How to tell oxidation from failed clear coat, rust staining, and dirt buildup
Oxidation wipes and polishes away from the top layer. Failed clear coat does not. If you see peeling, flaking, or gray patches where the surface is lifting, hand polishing will not restore it. Rust staining often appears orange-brown around chips or seams, while embedded contamination feels gritty after washing and needs clay first. 3M notes that clay bars remove bonded surface contaminants, not oxidation, which is why clay is a prep step rather than a correction step.
Why washing and waxing alone do not remove oxidation
Soap removes dirt. Wax adds protection. Neither one removes the dead, chalky layer already on the paint. A clay bar can remove bonded contamination, but it does not correct oxidation by itself. If the finish is only lightly dulled, a fine-grit polish may bring back gloss; deeper damage needs a more aggressive step. Meguiar’s describes compounds as more aggressive than polishes, which is why they are reserved for heavier defects after milder correction fails.
What you’ll need
- Car wash soap
- Microfiber towels and clean drying towels
- Clay bar and lubricant if the surface feels gritty
- Fine-grit polish for light oxidation
- Polishing compound for heavier oxidation
- Rubbing compound only if milder products fail
- Applicator pads, finishing pads, and fresh microfiber towels
- Wax for final protection
- Shade or garage space with good lighting
Work in a shaded area or garage if possible, with the panel cool to the touch. That helps products spread and wipe off more evenly. If a product or step changes how the car should be handled, follow the vehicle or product manual; never work under a vehicle held only by a jack, and keep items out of airbag zones and the driver’s view.
Oxidation triage table
| Symptom | Likely paint type | Safest starting product | Stop/redo warning | DIY verdict |
|---|---|---|---|---|
| Light haze, color still visible, towel picks up little residue | Clearcoat or single-stage | Fine-grit polish | Stop if gloss returns after one pass; redo only in another 1-foot area | Yes — good DIY candidate |
| Moderate chalking, dull finish, some patchiness | Usually clearcoat | Fine-grit polish, then polishing compound if needed | Stop if the paint warms up, gets thin-looking, or the texture changes | Yes — DIY if the clearcoat still feels solid |
| Heavy oxidation, strong chalking, weak shine across large panels | Clearcoat or single-stage | Polishing compound on a small area | Stop if color transfer grows fast, the finish stays dull after two passes, or the panel starts looking uneven | Maybe — DIY only for small areas; otherwise stop |
| Peeling, flaking, clear edges lifting, primer or metal showing | Clearcoat failure | None; repainting is the real fix | Stop polishing at once; further rubbing can make the repair larger | No — repaint required |
| Color transfer on pad, softer finish, no clearcoat layer | Single-stage paint | Fine-grit polish first; work lightly | Stop if the pad turns heavily colored, the finish gets patchy, or the surface starts to thin | Yes, but only with light pressure and frequent checks |
How do you remove oxidation by hand?
Start with the least aggressive product and move up only if the finish still looks dull. Hand correction works best on light to moderate oxidation, especially when the paint still has full color and the damage is mostly on the surface. Keep each pass small. One 1-foot area is easier to control and easier to judge.
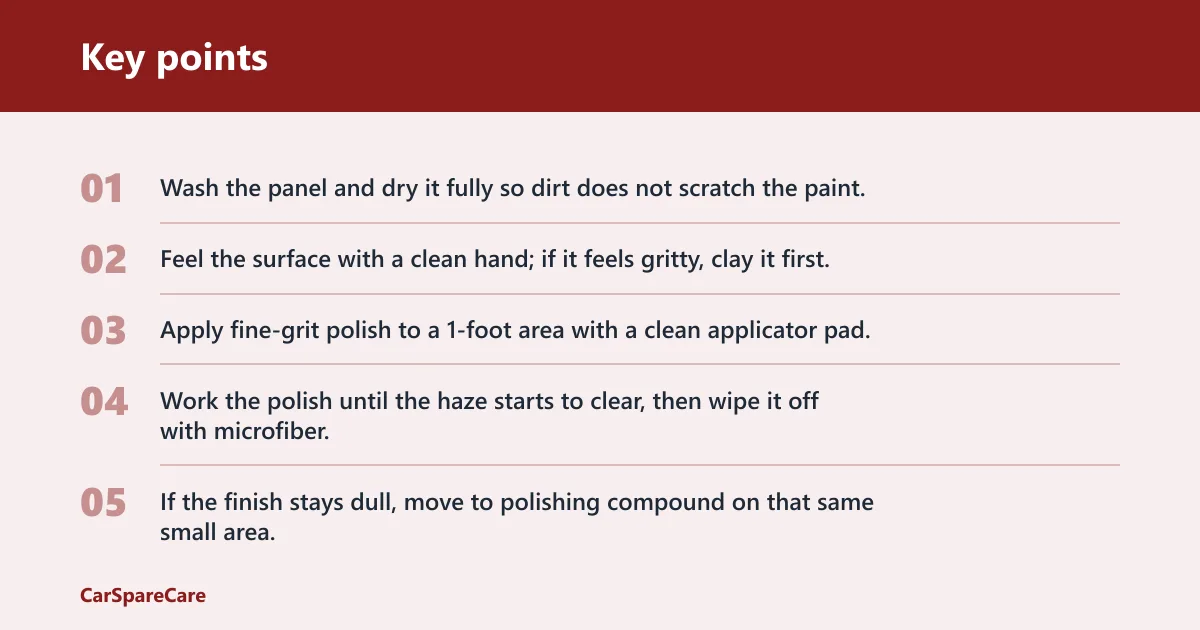
- Wash the panel and dry it fully so dirt does not scratch the paint.
- Feel the surface with a clean hand; if it feels gritty, clay it first.
- Apply fine-grit polish to a 1-foot area with a clean applicator pad.
- Work the polish until the haze starts to clear, then wipe it off with microfiber.
- If the finish stays dull, move to polishing compound on that same small area.
- Use rubbing compound only if the other steps fail and the paint still looks sound.
- Optional: apply transparent finish glaze after cleaning, buff it after hazing, then wax right away.
- Finish with wax for protection; carnauba gives a wet-looking shine, while synthetic wax gives a glossy shine.
Step 1: Wash and dry the panel before polishing
Loose dirt can turn a correction step into a scratch step. Wash with car wash soap, rinse well, and dry with clean towels. If the panel still feels rough after drying, the issue may include bonded contamination, so clay comes next. This is where a common first-timer mistake shows up: people polish over grit and wonder why the finish stays hazy.
Step 2: Clay the surface if contamination is present
Use clay bar and lubricant only if the paint feels gritty or the towel catches on embedded debris. Clay is part of restoration systems because it removes what washing leaves behind. It does not fix oxidation on its own, but it helps the polish touch the paint directly.
Step 3: Start with a fine-grit polish in a small section
Fine-grit polish is the first choice for light oxidation. Apply it by hand to a 1-foot area and work it until the residue starts to clear. If the gloss returns and the chalky look is gone, stop there. More product is not always better, and the higher the grit number is not a reliable rule here, so choose the least aggressive label that the product maker recommends for light correction.
Step 4: Move to polishing compound only if the first pass is not enough
For heavily oxidized finishes, polishing compound is the next step. Use it only on a small area and check the panel often. Suppose a hood has dull paint but no peeling and the color still looks even. If a fine polish leaves haze behind, a polishing compound can clear more of the dead layer without going straight to the harshest option. 3M’s detailing guidance also distinguishes clay treatment from abrasive correction, which helps prevent overworking the paint.
Step 5: Use rubbing compound only as a last resort before repainting
Rubbing compound is a medium-grade polish, not a normal first choice. It can remove paint if used too hard, and aggressive polishes can eat through clearcoat. If a panel still needs this much cut after a polishing compound, the finish may be close to its limit. Stop if the surface changes texture or the color transfer gets heavy.
Step 6: Finish with optional glaze, then wax right away
A transparent finish glaze can be used after cleaning if the paint needs a little extra visual fill before protection. Buff it after hazing, then follow immediately with wax. Do not treat glaze as lasting protection. Wax is the final layer, and both carnauba and synthetic variants are used to protect paint from contamination.
When should you stop and repaint?
Stop when the paint is peeling, flaking, or showing primer or metal. Those signs point to clearcoat failure, not simple oxidation. Heavy color loss across a large area can also be beyond sensible hand correction. If the finish only looks dull, polish can help. If the coating itself is coming apart, repainting is the right answer. PPG Refinish notes that peeling, flaking, and widespread coating breakdown are repaint issues, not polish issues.
Why deep color loss, peeling, or flaking is outside normal hand correction
Once the protective layer is gone in spots, polishing only removes more material from the remaining paint. That can make the repair area larger and more uneven. On single-stage paint, the risk is higher because there is no clearcoat layer, so the finish can shed color onto the pad and wear faster under aggressive work.
Why single-stage paint needs extra caution and lighter pressure
Single-stage paint does not have a clearcoat, so it behaves differently from modern clearcoat finishes. Color transfer on the pad is expected, but heavy transfer or a patchy look means you should stop and reassess. Use lighter pressure, shorter passes, and the least aggressive product that still improves the finish.
Common mistakes
- Starting with rubbing compound before trying a fine-grit polish
- Working a large panel instead of a 1-foot area
- Rubbing harder when the correct move is to change products
- Treating glaze as the final protective layer
- Confusing oxidation with rust staining or dirt buildup
- Continuing on a panel that is peeling or flaking
Say your black hood looks dusty in sunlight but the paint still feels smooth. That may be oxidation, not dirt. Suppose a white fender looks dull and the clay bar finds grit. Clay first, then polish. The color of the car changes how easy the defect is to see, but it does not change the correction rule.
Frequently asked questions
How to remove oxidation from car paint by hand at home
Do it in shade or a garage, using microfiber towels, an applicator pad, polish, and wax. Keep the panel cool and work one section at a time. If the paint starts to look thin, color transfer becomes heavy, or peeling appears, stop and plan for repainting instead.

Hi, I’m Melvin, an automobile engineer with extensive experience in automobile equipment. I currently work for a local automobile firm, where I specialize in the car parts industry. I’ve had the opportunity to collaborate with seasoned inspectors, gaining invaluable hands-on experience that goes beyond just theory.
My passion for automotive care started at a young age, which led me to create CarSpareCare. Through CarSpareCare, I share the knowledge and skills I’ve acquired over the years to help others navigate the world of car maintenance and repairs.
My goal is to provide practical tutorials, essential safety advice, and the latest industry insights so that anyone—whether a beginner or an expert—can confidently tackle their automotive projects.

