Deep clean a car interior for sale by starting with 5 buyer-visible areas: trash, mats, seats, dash and controls, glass, then remove odor and stains that hurt first impressions. Leave that work out, and buyers often assume hidden problems when the cabin looks dirty or smells bad. This guide sets out the quickest resale-focused order, what to clean in each zone, and what to skip because it rarely changes the price.
Why a clean interior helps resale


A clean cabin helps resale because buyers make a fast judgment on care, often before they inspect the engine or check service records. Dirty seats, a dusty dash, and stale smells create doubt, while a bright, neutral interior makes photos stronger and cuts objections during a viewing.
A professionally detailed car can sell for 5-15% more than a dirty one, and clean, well-photographed cars can sell 30-50% faster. That does not mean every scuff turns into extra money. It means the visible parts of the cabin often shape the first offer, the number of follow-up questions, and whether the buyer keeps looking.
Start with the areas that affect trust. Then stop before you spend time on low-return cosmetic work like perfecting hidden plastic edges or chasing every tiny scuff in a cargo liner.
What should you clean first?
Clean the most visible touch points first: trash, floor mats, seats, dash, controls, glass, and any odor source a buyer will notice within seconds. Vacuum before any wet cleaning, because grit turns into mud when you add cleaner and can scratch trim or grind into fabric seams.
Leave delicate or low-return jobs until the end. Seat belts, the headliner, stitched leather, and Alcantara can be damaged by soaking or harsh chemicals, so they need lighter cleaning and less pressure than the main touch points.
Seller-first priorities
- Remove rubbish, food wrappers, and loose items.
- Vacuum seats, carpets, mats, seams, rails, and under seats with a crevice nozzle.
- Wash or clean floor mats, then dry them fully.
- Clean seats, then the dash, console, doors, and glass.
- Remove odor before photos and viewings.
Say your hatchback has sand in the rear footwells and coffee rings on the front seats. Vacuuming first keeps the stain work focused on the problem spots, instead of grinding grit across the fabric while you scrub.
Clean car interior table
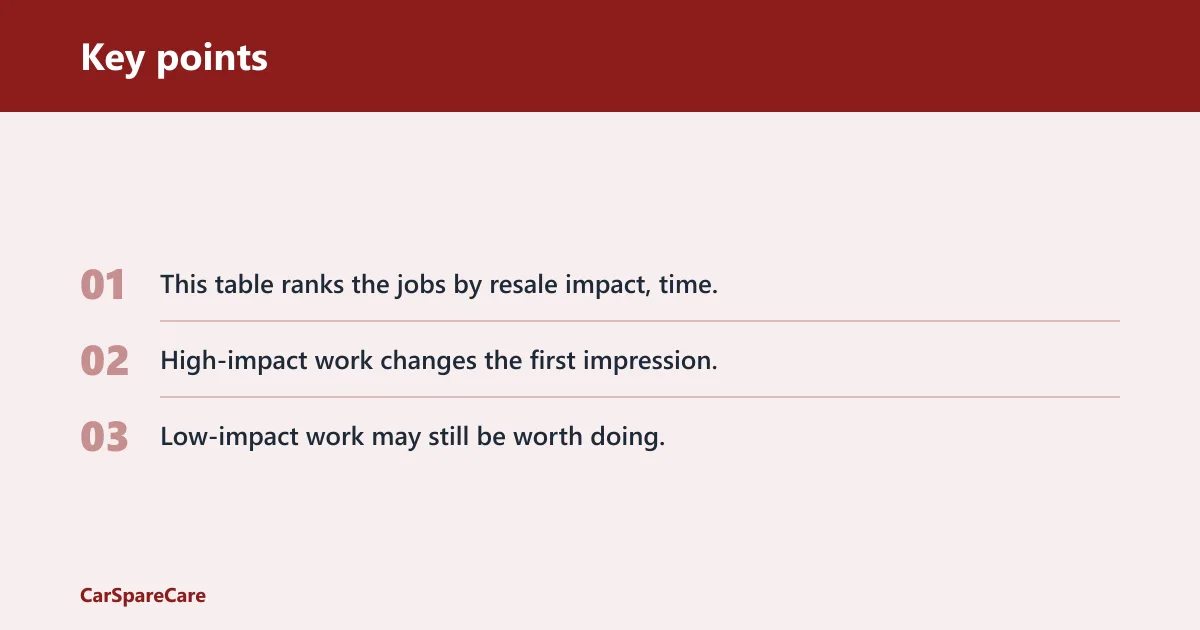
This table ranks the jobs by resale impact, time, and risk so you can decide where to stop. High-impact work changes the first impression. Low-impact work may still be worth doing, but only after the visible areas and odor are handled.
| Task | Resale impact | Time estimate | Products needed | Common mistake | When to stop and hire a pro |
|---|---|---|---|---|---|
| Remove trash and loose items | High | 10-20 minutes | Bin liner, microfibre cloth | Leaving cup holders, door bins, and under-seat items full | If there is mould, bodily fluid, or heavy contamination |
| Vacuum seats, carpets, mats, seams, rails, under seats, boot/spare-tyre area | High | 20-40 minutes | Vacuum with crevice nozzle, brush attachment | Skipping rails and seams where grit wears fabric | If the cabin has embedded pet hair or construction dust throughout |
| Interior glass and mirrors | High | 10-15 minutes | Interior glass cleaner, microfibre towels | Leaving haze or lint in sunlight | If tint film is damaged or the glass has deep nicotine film |
| Seats and carpets shampoo or extraction | High | 45-120 minutes plus drying | Fabric cleaner or extractor, towels, fan | Soaking foam under fabric and inviting mildew | If stains keep returning, smell persists, or drying cannot be controlled |
| Odor removal and sanitisation | High | 30-180 minutes | Odor neutraliser, sanitiser, possibly ozone treatment | Masking smell with fragrance instead of removing the source | If smoke, mildew, or pet odor remains after source cleaning |
| Dashboard, center console, doors, trim | Medium | 20-30 minutes | Plastic and vinyl cleaner, soft brush, microfibre towel | Leaving shiny residue that looks greasy | If surfaces are cracked, sticky, or stained by aged soft-touch coating |
| Leather seats and trim | Medium | 30-45 minutes | Gentle leather cleaner, conditioner, applicator pad | Using harsh cleaner or leaving a glossy finish | If stitching is split, dye is transfer-stained, or panels are cracked |
| Seat belts | Low | 10-20 minutes | Mild cleaner, damp cloth | Soaking webbing or pulling too hard | If the webbing is frayed, stiff, or retracts poorly |
| Headliner | Low | 10-20 minutes | Foam cleaner or light upholstery cleaner | Over-wetting and stretching the fabric | If there are large stains, sagging, or adhesive failure |
| Cosmetic plastics, hidden edges, minor scuffs | Low | Variable | Trim cleaner, detailing brush | Spending too long on details buyers rarely inspect | Usually not worth pro time before a sale |
How do you deep clean the seats and carpets?
Use carpet shampoo or extraction on fabric seats and carpets, then dry them fully. That is the best way to remove visible dirt and many everyday stains without leaving the foam underneath wet for too long. For leather, use a gentle leather cleaner and conditioner instead of fabric shampoo.
Fabric seats and carpets
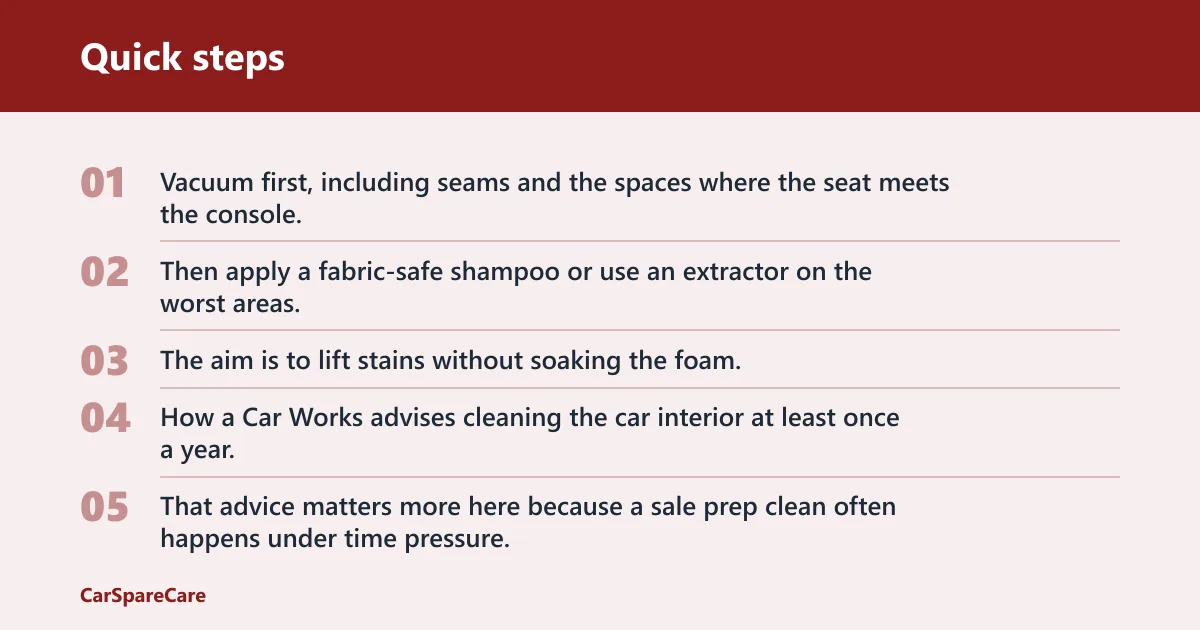
Vacuum first, including seams and the spaces where the seat meets the console. Then apply a fabric-safe shampoo or use an extractor on the worst areas. The aim is to lift stains without soaking the foam, because trapped moisture can lead to mildew and a musty smell.
How a Car Works advises cleaning the car interior at least once a year, and it warns not to soak cloth upholstery. That advice matters more here because a sale prep clean often happens under time pressure. If the carpet still feels damp after the surface looks clean, stop and add airflow before you keep driving the car. (Howacarworks)
Leather seats and trim
Clean leather seats and trim with a gentle leather cleaner, then apply conditioner sparingly. Avoid glossy residue. A sale-ready cabin should look cared for, not slick, because shine can read as greasy or over-dressed in photos and in person.
Work lightly on stitched panels. If the leather is cracked or the dye has worn through, cleaner will not restore it. At that point, the resale gain usually comes from making the rest of the cabin tidy and neutral.
How do you clean the dash, trim, and glass?
Use a low-shine cleaner that is safe for plastic, vinyl, and rubber on the dashboard, center console, door cards, and vent surrounds. Then clean interior glass and mirrors to remove haze and fingerprints. These are the areas buyers read as “well kept” from the driver’s seat.
Dashboard, console, doors, and vents
Spray the cleaner onto a cloth, not straight onto electronics or switchgear. Wipe the surfaces, then buff away residue so the finish stays matte or low shine. That matters because glossy dressing can make plastics look cheap and dusty in bright light.
Interior glass and mirrors
Clean the windscreen, side glass, and mirrors with a streak-free interior glass cleaner. Haze shows up fast in sunlight and under flash, and it can make an otherwise tidy cabin look neglected. Change towels if they start leaving lint.
Picture a sedan that looks clean from ten feet away but still has fingerprints on the infotainment bezel and a film on the windscreen. A buyer will notice both in the first minute, especially if the car is photographed in hard sun or after dusk when streaks flare up.
How do you remove car odors before selling?
Remove odor by treating the source, not by covering it up. Smoke, food, pet, and musty smells are buyer deal-breakers because they suggest neglect, leaks, or heavy use. If a smell remains after vacuuming and washing, the car may need sanitiser or ozone treatment.
Common odor sources
Food spills hide under seats and in cup holders. Pet hair and dander cling to carpet fibres and seat seams. Musty smells often come from wet carpet, a damp boot, or a clogged drain that has already soaked foam under the trim. Smoke is harder; it can cling to headliners, vents, and fabric trim long after surface cleaning.
When a pro is the safer choice
If smoke saturation is heavy, if mildew has developed after over-wetting, or if pet odor keeps returning from the carpet base, professional treatment is usually the better call. Ozone can help in some cases, but it should be used only after the source is cleaned and the cabin is dry. Fragrance alone rarely helps the sale.
What delicate areas need extra care?
Seat belts, headliners, stitched leather, and Alcantara need lighter cleaning than the main touch points. These parts can be damaged by soaking, strong solvents, or aggressive scrubbing, and damage here can hurt resale more than a faint stain would have.
Seat belts and stitching
Clean seat belts with a mild cleaner and a damp cloth, then let them dry while extended. Avoid soaking the webbing or using harsh chemicals that could weaken the fibres. While cleaning, check for fraying, cuts, and poor retraction.
Headliner limits
Clean the headliner lightly. Use as little moisture as possible and avoid pressing hard, because over-wetting can loosen adhesive or stretch the fabric. If the stain runs across the whole panel, treat it carefully as a broader cleaning job rather than spot-scrubbing the surface.
Boot area, mats, and worn trim
Do not neglect the boot or spare-tyre area. Buyers open it. Sapoo lists spare tyre area cleaning, interior windows cleaning, mats and carpets wash, upholstery seats wash, leather seats cleaning and conditioning, and dashboard, centre console and door panels shampooed as part of its interior deep clean service. That gives you a useful benchmark for what buyers are likely to notice in a paid service.
Floor mats should be washed, dried, and reinstalled correctly. Rubber mats can usually be rinsed and dried; carpet mats need more drying time. If a mat is badly worn, thin, or curled, replacement can look better than cleaning.
Professional vs DIY cleaning for resale
Choose DIY if the cabin is dusty, lightly stained, and odor-free enough that a thorough clean will likely shift buyer confidence. Choose a pro if the car has heavy soiling, lingering odor, wet-carpet risk, or materials that need careful extraction. For sale prep, the right choice is the one that improves trust without creating damage.
DIY products are estimated at AED 100-300. Professional detailing typically costs AED 300-1,500. If the car is priced for quick sale, that cost can still make sense because a professionally detailed car can sell for 5-15% more than a dirty one and move 30-50% faster when the photos and cabin are clean.
A simple rule: if the job is mostly vacuuming, wiping, and light stain removal, DIY is reasonable. If the job involves persistent odor, soaked foam, embedded pet hair, or delicate materials that already look fragile, a pro reduces the chance of making the cabin worse.
Frequently asked questions
What should I clean before selling my car interior?
Clean the seats, carpets, mats, dashboard, center console, door panels, glass, and mirrors first. Also clean the boot or spare-tyre area if it is visible or smells musty. Buyers notice those zones quickly, and they shape both trust and negotiation pressure.
How do I remove odors from a car before selling it?
Find and clean the source first, whether it is food, smoke, pet hair, or damp carpet. Then use a sanitiser or, if needed, ozone treatment after the cabin is dry. Masking the smell with perfume usually backfires during a viewing.
Should I shampoo car seats before selling?
Yes, if the seats are fabric or the stains are visible enough to change first impressions. Shampoo or extraction can lift dirt without replacing the seat. Do not soak the foam, and give the seats enough drying time to avoid mildew or a lingering musty smell.
How do I clean a really dirty car interior fast?
Work in order: trash, vacuum, mats, seats, dash, glass, then odor. Do not start with wet cleaning. That sequence gives the fastest resale gain because it removes the dirt buyers notice immediately and avoids turning loose grime into muddy streaks.
What interior details increase resale value
Clean glass, fresh-smelling upholstery, tidy mats, and a matte dashboard finish usually help most. Buyers also respond to clean seams, unfrayed seat belts, and a boot that looks cared for. Those details suggest the car was maintained, not just quickly wiped over.

Hi, I’m Melvin, an automobile engineer with extensive experience in automobile equipment. I currently work for a local automobile firm, where I specialize in the car parts industry. I’ve had the opportunity to collaborate with seasoned inspectors, gaining invaluable hands-on experience that goes beyond just theory.
My passion for automotive care started at a young age, which led me to create CarSpareCare. Through CarSpareCare, I share the knowledge and skills I’ve acquired over the years to help others navigate the world of car maintenance and repairs.
My goal is to provide practical tutorials, essential safety advice, and the latest industry insights so that anyone—whether a beginner or an expert—can confidently tackle their automotive projects.