

To test a starter motor at home, confirm battery voltage is at least about 12.4 volts, then check for about 12 volts at the solenoid control wire during cranking; if voltage is present and the engine still only clicks or turns slowly, the starter may be suspect. Wrong guesses waste time, drain parts-store batteries, and can hide a wiring fault that keeps the car dead. This guide follows the fault path from battery and cables to relay, solenoid, and starter tests before you remove anything.
Starter motor symptoms and likely causes
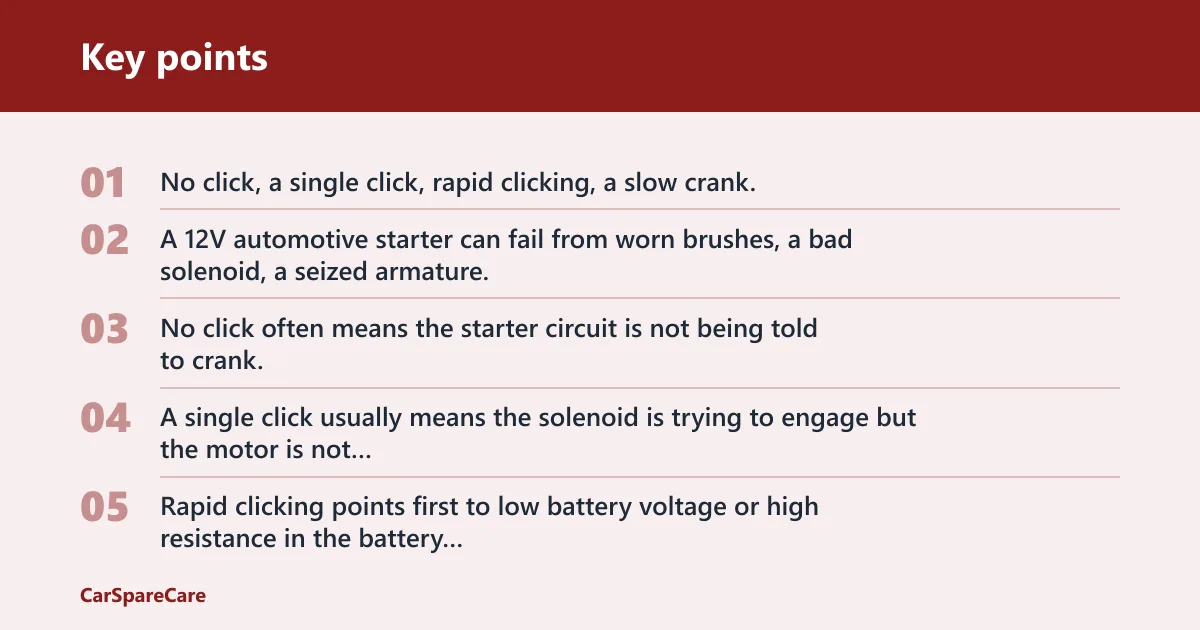


The symptom pattern matters. No click, a single click, rapid clicking, a slow crank, and an intermittent hot-start failure do not point to the same fault every time. A 12V automotive starter can fail from worn brushes, a bad solenoid, a seized armature, or heat-soak failure, but a weak battery or high-resistance cable can mimic all of those.
No-click, single-click, and rapid-click symptom patterns
No click often means the starter circuit is not being told to crank, or the control side has failed before power reaches the solenoid. A single click usually means the solenoid is trying to engage but the motor is not turning, or battery current is too weak to pull the solenoid in fully. Rapid clicking points first to low battery voltage or high resistance in the battery terminals, cables, or ground path.
Slow crank versus no-crank complaints
A slow crank means the starter turns, but not with normal speed. That can come from a weak battery, cable loss, a dragging starter, or an engine that is harder to turn than it should be. No-crank means the engine does not rotate at all, which shifts attention to the control circuit, solenoid, starter motor, or a seized engine.
When intermittent hot-start failure points to the starter
Heat-soak failure is common enough to matter. A starter that works cold but only clicks or labors after a short stop can have worn brushes, an internal solenoid issue, or winding problems that show up when the unit is hot. A weak battery can also become more obvious when hot, so test battery and cable condition before condemning the starter.
Start with the battery and cables
Check the battery, battery terminals, and engine ground strap first, before you blame the starter motor. A charged battery should read about 12.6 volts at rest, and many technicians treat about 12.4 volts as the practical minimum for starting diagnosis. Battery load strength matters, because a battery can show decent static voltage and still collapse under starter load.
Check battery voltage and charge state first
Set a multimeter to DC volts and measure across the battery posts, not the cable clamps. If battery voltage is below about 12.4 volts, charge and retest before moving on. A low reading does not prove the starter is bad. It only says the battery may not have enough reserve to diagnose the rest of the circuit cleanly.
Inspect battery terminals and cable ends for looseness or corrosion
Look for white or green corrosion, loose clamp tension, cracked cable ends, or swollen insulation near the terminals. High resistance at the battery terminals can create the same slow-crank or click symptom that a failed starter does. Clean, tighten, and retest before touching the starter itself.
Check the engine ground strap before blaming the starter
The engine ground strap is the return path for starter current. If it is loose, corroded, or broken, the starter may click, crank slowly, or act dead. Check both ends, including the body-to-engine connection, because a missing ground can mimic a failed motor or solenoid.
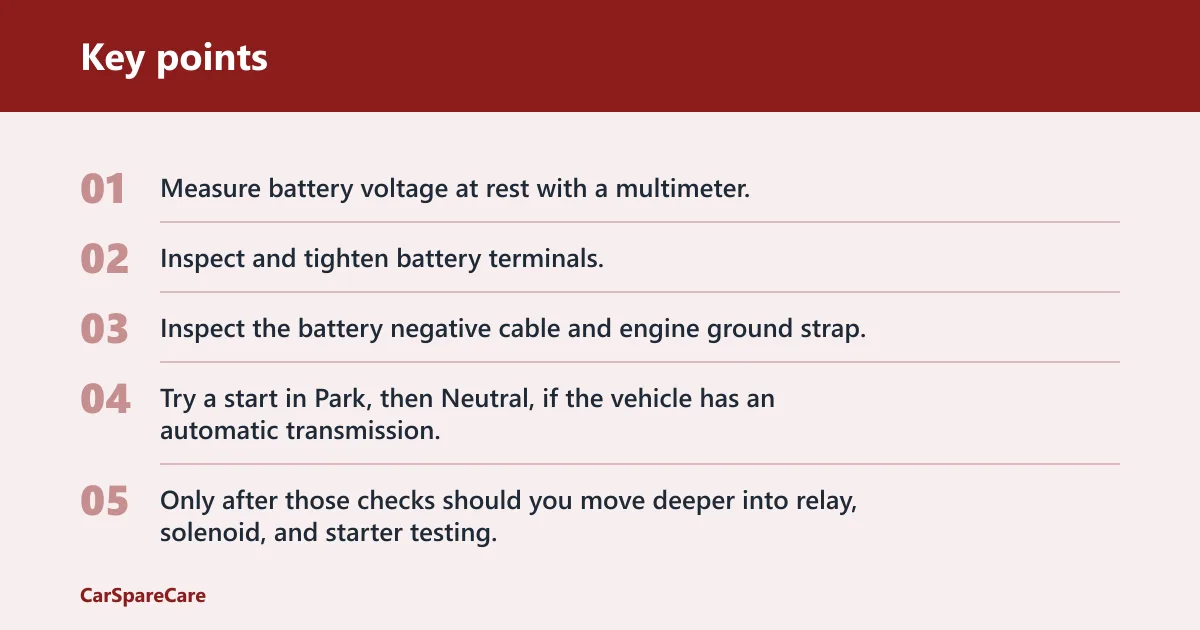
- Measure battery voltage at rest with a multimeter.
- Inspect and tighten battery terminals.
- Inspect the battery negative cable and engine ground strap.
- Try a start in Park, then Neutral, if the vehicle has an automatic transmission.
- Only after those checks should you move deeper into relay, solenoid, and starter testing.
Say your sedan reads 12.1 volts at the battery after sitting overnight. That reading is low enough to charge first, not condemn the starter. If the same car still clicks after a full charge, then the circuit needs voltage-drop testing instead of guesswork.
How do you know if it is the battery or starter?
Use the symptom pattern to narrow the fault before removing parts. Rapid clicking and a weak battery reading point first to battery state or cable resistance. A single click with good battery voltage points more toward the solenoid, starter motor, or the control circuit. No click at all often shifts attention to the relay, fuse, ignition switch path, or park/neutral switch.
Why a weak battery can mimic starter failure
The starter needs high current. If the battery cannot supply it, the solenoid may click without turning the motor, or the motor may turn too slowly to start the engine. That is why a battery must be charged and tested before condemning the starter. A weak battery can make a healthy starter look bad.
When the starter relay or control circuit is the better suspect
If there is no click, and the battery is charged with clean terminals and a good ground strap, the starter relay or control circuit becomes a better suspect than the motor itself. The relay is a control-side component. It can fail before the starter does, and a blown fuse, faulty ignition command, or neutral-safety issue can block crank request before the solenoid ever sees power.
Starter diagnosis table
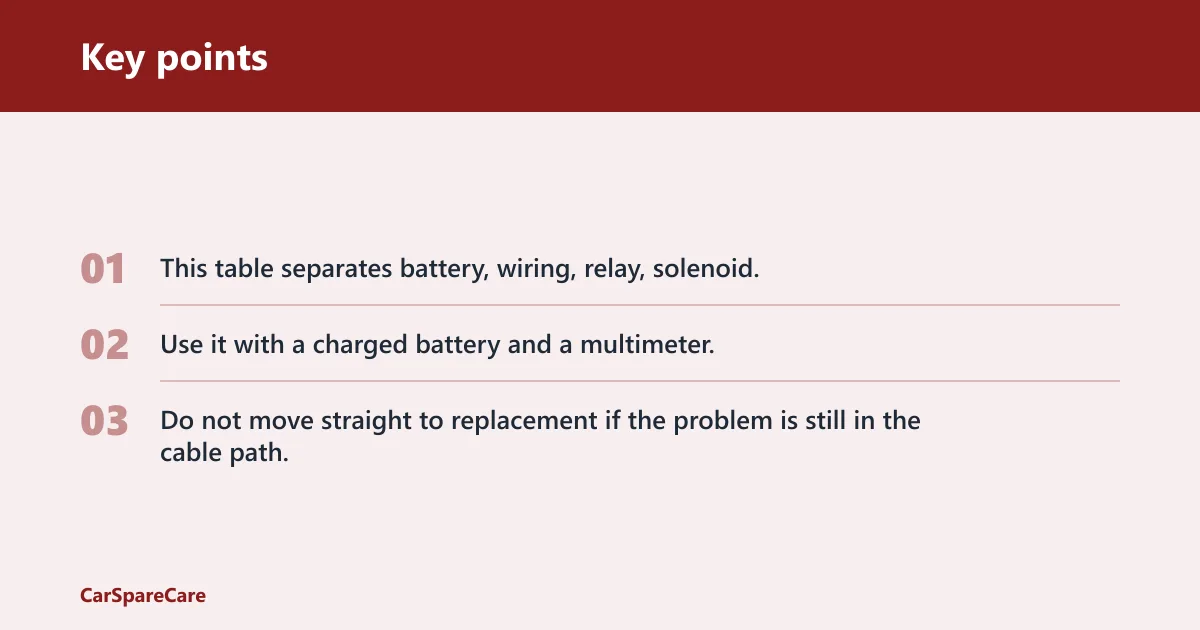
This table separates battery, wiring, relay, solenoid, and starter faults before you remove anything. Use it with a charged battery and a multimeter. If a test fails, fix that side first. Do not move straight to replacement if the problem is still in the cable path.
| Symptom | Likely cause | Quickest home test | Pass/fail interpretation | Next step |
|---|---|---|---|---|
| No click | Starter relay, fuse, ignition command, park/neutral switch, open control wire | Check battery voltage, then verify crank command at the solenoid control wire during start request | If command voltage is missing, the starter is not the first suspect; if present, the control side is probably passing | Trace relay, fuse, and control circuit before starter removal |
| Single click | Weak battery, poor cables, bad solenoid, worn brushes | Measure battery voltage while cranking and do voltage-drop tests on both cables | If battery voltage falls hard or drop is high, fix battery or cables; if voltage is good and click remains, suspect solenoid or starter | Test voltage drop and the solenoid feed next |
| Rapid clicking | Low battery state, poor battery terminals, bad ground strap | Check battery voltage at rest and during crank, then inspect terminals and ground strap | Rapid click with low battery voltage or high cable drop points to battery or connection loss, not an automatic starter failure | Charge battery and repair cable resistance first |
| Slow crank | Weak battery, cable resistance, dragging starter, high engine load | Do positive-side and ground-side voltage-drop tests while cranking | High drop on either side points to wiring or ground loss; low drop with slow crank points toward starter or engine drag | Check cables, then starter current path |
| Cranks when jumped | Weak battery or poor battery connections | Compare battery voltage at rest and under load, then inspect battery posts and grounds | If it starts with jump power but not on its own battery, suspect the battery or connection path first | Charge or replace the battery, then retest the system |
| Intermittent hot-start failure | Heat-soak failure, worn brushes, solenoid fault | Try hot restart, then test again after cool-down; compare command voltage and voltage drop | If the fault appears mainly hot and voltage is present, the starter itself is a stronger suspect | Plan starter removal only after the cable path checks out |
Use a multimeter for battery voltage and voltage-drop checks. That is the fastest way to separate low battery state from cable resistance and a true starter fault. Check DC volts for battery and cranking measurements, and continuity only on disconnected circuits where the manual allows it.
Measure battery voltage at rest and during crank
First measure the battery at rest. Then watch the meter while a helper turns the key to start, or while you use a remote starter switch if the vehicle and manual allow it. A healthy battery should stay well above the point where the starter relay chattering begins. If voltage collapses sharply during crank, the battery or a high-resistance connection is still in play.
Do positive-side voltage-drop testing?
Place the meter leads across the positive path: battery positive post to the starter feed stud, or to the solenoid input point specified by the vehicle manual. Crank the engine. A good positive-side drop is usually under 0.5 volts. A reading above that points to resistance in the positive cable, terminal, fuse link, or connection path.
Do ground-side voltage-drop testing?
Place one lead on the starter housing or engine block and the other on the battery negative post. Crank the engine. A good ground-side voltage drop is usually under about 0.2 to 0.3 volts. Higher numbers point to a bad engine ground strap, loose ground connection, or corrosion in the return path.
If both voltage-drop tests pass but the starter still only clicks or turns weakly, the starter itself moves higher on the list. That is where worn brushes, a bad solenoid, or a seized armature becomes more likely.
Can you test a starter motor in the car?
Yes, you can test part of a starter motor in the car, and that is often the safer first step because it keeps the wiring harness in place and lets you verify the actual crank command. Use a remote starter switch only if the vehicle manual allows it, and follow the manual for clamp order and connection points. Keep clear of moving parts, and check local laws where applicable.
Use a remote starter switch to verify crank command
A remote starter switch is an optional momentary activation tool. It can help you confirm whether the solenoid responds when power is applied directly to the control circuit. If the starter engages with the switch but not from the key, the fault may be in the relay, ignition switch path, or neutral-safety circuit rather than the starter motor itself.
Check the starter relay and fuse path
Before condemning the starter, inspect the relay and fuse path for the starter circuit. A relay can click and still fail internally, or the control side can fail to send power through to the solenoid. If there is no crank command at the solenoid wire, the starter may be fine and the relay path may be the real problem.
Distinguish solenoid click from motor spin failure
A solenoid click means the high-current switch may be engaging, but it does not prove the motor is spinning. If the click is present and the motor does not turn, suspect low battery current, bad internal contacts in the solenoid, worn brushes, or a seized armature. If the starter spins but the engine does not turn, the issue may be in the drive mechanism or engagement path.
Bench test the starter safely
Bench testing is useful, but it does not confirm every loaded in-vehicle fault. It can tell you whether the starter motor spins and whether the solenoid moves the drive under no-engine-load conditions. It cannot fully prove performance under heat, cable loss, or vehicle mounting conditions.
How to secure the unit before applying power
The starter must be secured so it cannot twist or jump when power is applied. Do not hand-hold it. Clamp it in a vice or use a solid fixture that keeps the housing and drive clear of your hands, tools, and wires. Follow the vehicle or product manual, never work under a vehicle held only by a jack, never exceed the vehicle’s rated roof/hitch/tow limit, keep items out of airbag zones and the driver’s view, and check local laws.
Using jumper cables with correct polarity
Use jumper cables for a brief high-current power check, with polarity observed and clamps attached securely. One lead goes to the battery positive side and the starter feed point, and the other goes to ground or the starter housing as directed by the manual. Make each connection deliberate. A loose clamp can arc and give a false fail or damage the unit.
What a pass and fail look like on a brief bench test
A good starter will usually spin strongly and, where applicable, move the solenoid drive positively when power is applied. A bad unit may click only, spin weakly, fail to engage, or stop after warming up. If it passes on the bench but fails in the car, that points back to battery load, cable resistance, ground loss, or heat-related installation issues.
Picture a truck that starts fine cold, then clicks once after a grocery stop. If the battery tests strong and the hot restart still fails after a full cool-down, the pattern leans toward heat-soak failure or an internal starter fault, not a random no-start from the battery.
What to replace after testing
Replace the starter motor when battery voltage is sound, voltage-drop tests pass, the control wire gets a crank command, and the unit still only clicks or spins weakly. Replace the battery, cables, or ground strap when those parts fail the test first. Stop and confirm the engine is not seized if the starter cannot turn the engine even when voltage and cable checks look normal.
When the starter motor is the likely failure
Worn brushes, a bad solenoid, seized armature, or heat-soak failure become more likely when the starter gets proper command voltage and the cable path checks out. A starter that works on the bench but fails in the car still may be bad under load, but it may also be fighting voltage loss or engine drag.
When the battery, cables, or ground strap are the real fix
If the battery is below charge, the terminals are corroded, or the ground strap shows high voltage drop, fix those first. Those faults can create single-click, rapid-click, or slow-crank symptoms that look like starter failure. Replacing the starter without correcting those issues usually leaves the no-start problem in place.
When to stop and confirm the engine is not seized
If the starter feed is good, the cables pass voltage-drop testing, and the starter still cannot rotate the engine, confirm the engine is free to turn. A seized engine or accessory drive fault can overload any starter and make a healthy unit appear dead. Do not force the diagnosis past that point without confirming engine rotation.
Frequently asked questions
How do I test my starter motor?
Test it in order: battery voltage, battery terminals, engine ground strap, relay and fuse path, solenoid command voltage, then voltage-drop on the positive and ground circuits. A brief bench test can confirm spin and engagement, but it cannot prove full in-car performance under load. That is why the wiring checks come first.
How can you test a starter at home?
You can test a starter at home with a multimeter, jumper cables, and optionally a remote starter switch. Use the meter for battery and voltage-drop checks, not just ohms readings. If the starter gets proper power and ground but still fails, the unit itself is more likely bad than the battery.
Can a starter motor fail intermittently?
Yes. Worn brushes, a sticky solenoid, or heat-soak failure can cause an intermittent no-start, especially when hot. The same car may start fine cold and fail after a short stop. That pattern is useful, but it still needs battery and cable checks first because those faults can also come and go.
What tools do I need to test a starter at home?
A multimeter is the main tool. It should measure DC volts and continuity, though voltage checks matter most here. A remote starter switch can help if the vehicle manual allows it. Jumper cables are useful for a brief bench-style check, but they must be clamped securely and used with polarity observed.
Is it safe to jump-test a starter motor on the car?
It can be safe if you follow the vehicle manual, secure the car, and keep clear of moving parts. Do not hold wires by hand, and do not assume every vehicle uses the same clamp order or test point. If the manual gives a different procedure, follow that procedure instead.

Hi, I’m Melvin, an automobile engineer with extensive experience in automobile equipment. I currently work for a local automobile firm, where I specialize in the car parts industry. I’ve had the opportunity to collaborate with seasoned inspectors, gaining invaluable hands-on experience that goes beyond just theory.
My passion for automotive care started at a young age, which led me to create CarSpareCare. Through CarSpareCare, I share the knowledge and skills I’ve acquired over the years to help others navigate the world of car maintenance and repairs.
My goal is to provide practical tutorials, essential safety advice, and the latest industry insights so that anyone—whether a beginner or an expert—can confidently tackle their automotive projects.

