
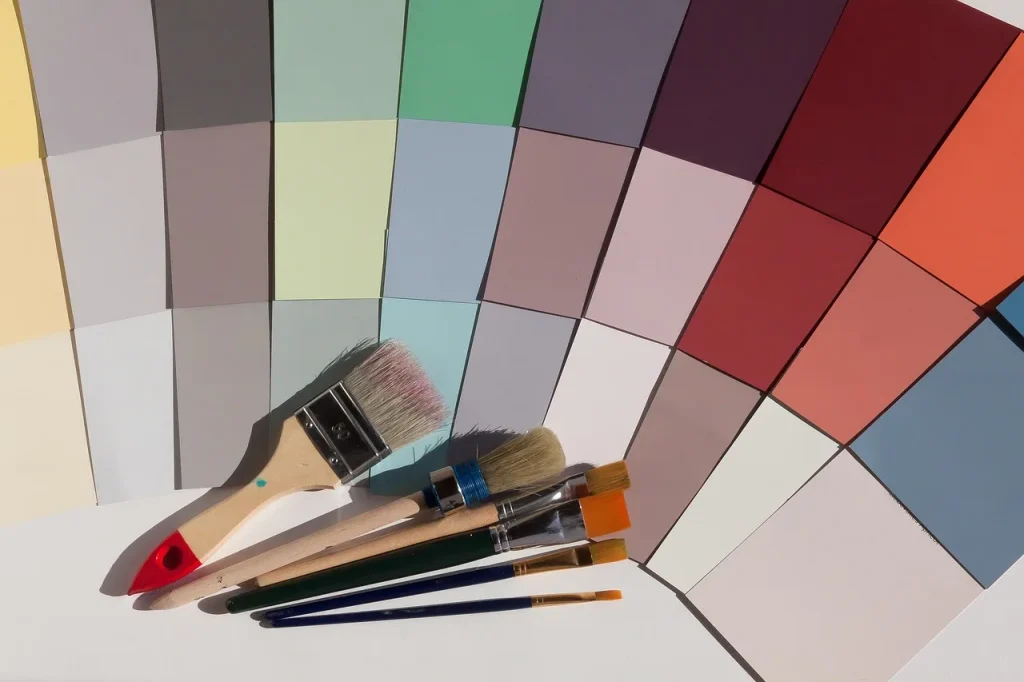
Match car paint by starting with the factory paint code, then verify the color against the car in daylight on the same panel or a nearby hidden area; if the paint has faded, choose the closest variant, not the label alone. A bad match makes chips and scratches stand out after repair, and a mismatch can cost you time, materials, and a second repaint. This guide shows how to find the code, judge finish and fade, and pick the closest touch-up color before you start.
This guide is part of our Automotive paint care guide series.
What you’ll need


- Vehicle paint code from the door jamb, VIN label area, or firewall
- Touch-up paint in the right format: pen, bottle, spray can, or pro size
- Wax and grease remover
- Clean microfiber cloths
- Car wash soap and water
- Sandpaper for prep and blending
- Primer for deeper chips or scratches
- Clear coat
- Masking tape and masking paper
- Small test area on the car, such as a hidden edge
How do you find the paint code?
Start with the factory paint code for your exact make, model, year, and color code, then separate it from trim or interior labels. The code is often on the door jamb, near the VIN label area, or on the firewall. PaintScratch says its color match help begins with a vehicle make, year, and model lookup, and TouchUpPaintX lists a kit for Summit White (GAZ/WA8624) Chevrolet repair. (Wikihow)
-
Check the label locations.
Look on the driver-side door jamb first, then the VIN label area and firewall if needed. wikiHow recommends those spots because manufacturers often place the paint code near other identification labels. -
Separate paint from trim codes.
Read every code on the label before you order anything. Trim, upholstery, and option codes can sit beside the paint code, and mixing them up is a common cause of the wrong color. -
Match the code to the vehicle record.
Use the make, model, year, and code together when you select the product. That lowers the chance of ordering a close-looking color from the wrong variant family.
Say your label shows a paint code that matches the brochure name but the car has had bodywork before. The code may still be right for the build sheet, yet the panel can look different because of age, repair history, or a previous repaint.
How do you check the color on the car?
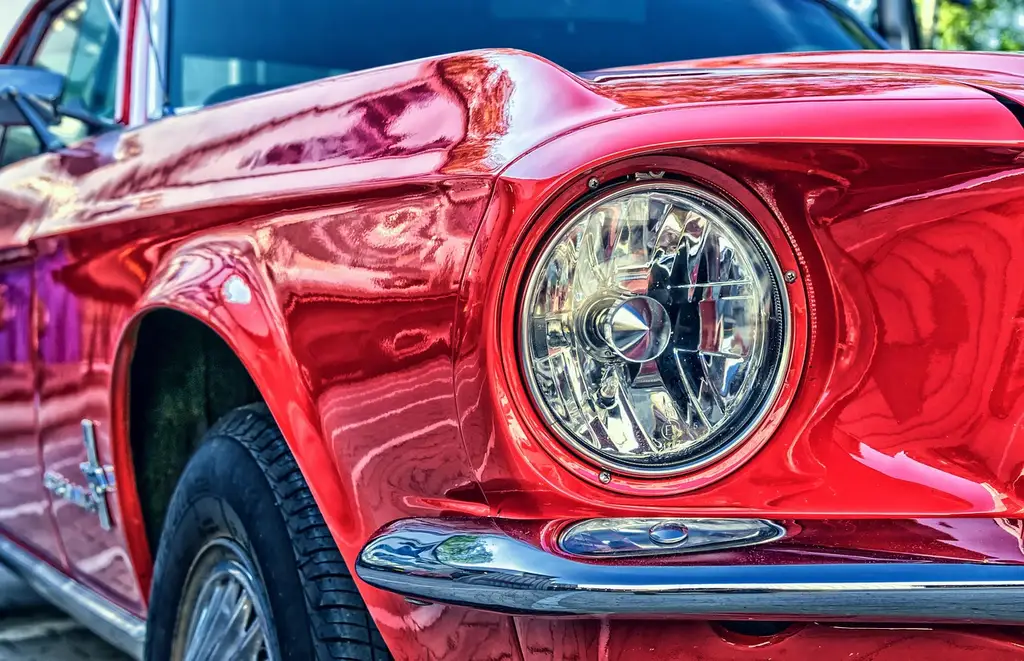
Check the color on the actual vehicle before you commit, because sun fade, metallic flop, pearl variation, and tricoat depth can change how the paint looks in daylight. A code gets you close; the car tells you whether the panel still matches the code or needs a closer variant and a blend.
Look for fade on sun-facing panels
Inspect roof edges, hoods, the upper door skins, and other panels that see the most sunlight. If the vehicle has aged unevenly, the same code can read lighter, duller, or warmer on one panel than another.
Check the finish type
Solid colors are the easiest to match. Metallic paint can shift with spray angle, pearl can change with viewing angle, and tricoat can add another layer of color movement. Do not treat those finishes the same way you would treat a flat solid color.
Use a hidden test dab
Before painting the visible repair, put a small test dab on a hidden edge or masked test spot, such as the inside lip of a door or the back side of a trim edge. Let it dry fully, because wet paint can look different from cured paint. PaintScratch includes a Paint Color Match Guarantee and asks users to test the paint before use.
Picture a silver sedan with a small chip on the rear door and a more faded front fender. A test dab on the hidden edge of the door can show whether the code-only color is close enough, or whether the faded panel needs a blend into the surrounding finish.
Paint match decision table
| Damage type | Finish type | Likely mismatch risk | Recommended matching method |
|---|---|---|---|
| Small chip or hairline scratch | Solid | Low if the panel is fresh | Match the factory code, test dab on a hidden spot, then use a pen or bottle |
| Small to medium scratch | Metallic | Medium because of flop and spray angle | Verify in daylight, compare after dry-down, and blend the edge if the panel is aged |
| Chip or scuff on a visible panel | Pearl | High because the color shifts by angle | Use code plus a test dab, then plan for a wider blend zone |
| Panel repair area | Tricoat | High because layer depth changes the look | Use manufacturer-specific paint, test on-car, and blend into the adjacent panel if needed |
| Same damage on an older car | Any finish | Medium to high because of sun fade | Choose the closest variant, not the label alone, then compare on-car before spraying |
| Damage on a panel with prior bodywork | Any finish | High because prior repaint may not match the factory code | Check for overspray or texture differences and blend cautiously |
How do you choose the right touch-up method?
Choose the product by damage size, not by habit. Paint pens fit tiny chips and hairline scratches, bottles suit small to medium scratches and scuffs, spray cans suit larger scuffed areas and panels, and pro size paint is for full-panel or professional refinishing work.
-
Measure the damage first.
If the defect is smaller than a pencil eraser, touch-up paint is usually suitable. wikiHow uses that threshold as a practical line for simple spot repair. -
Use a pen for tiny marks.
Pick a paint pen for tiny chips and hairline scratches. It gives better control where the color belongs only in a narrow line or pinhole. -
Use a bottle for wider scratches.
Choose a bottle for small to medium scratches and scuffs. PaintScratch lists bottles for that size range, where a pen may leave the repair too thin. -
Step up to spray paint.
Use spray paint for larger scrapes, bumpers, panels, and other larger areas. PaintScratch lists spray cans for those jobs, and the wider pattern helps avoid a patchy edge. -
Reserve pro size for panels.
Use pro size paint for full surface refinishing or professional repairs. PaintScratch says pro size is for full surface refinishing and uses an airless spray gun.
How do you blend the repair so it matches?
Blend when the new paint would otherwise stop in a hard line. The blend zone is the transition area between old paint and new paint, and it uses a fade-out method so the repair disappears into the surrounding finish. For color-coated areas, a common sanding progression is P400-P600; for clear-coat-only areas, P1000 is the more suitable target.
Build the basecoat in thin layers
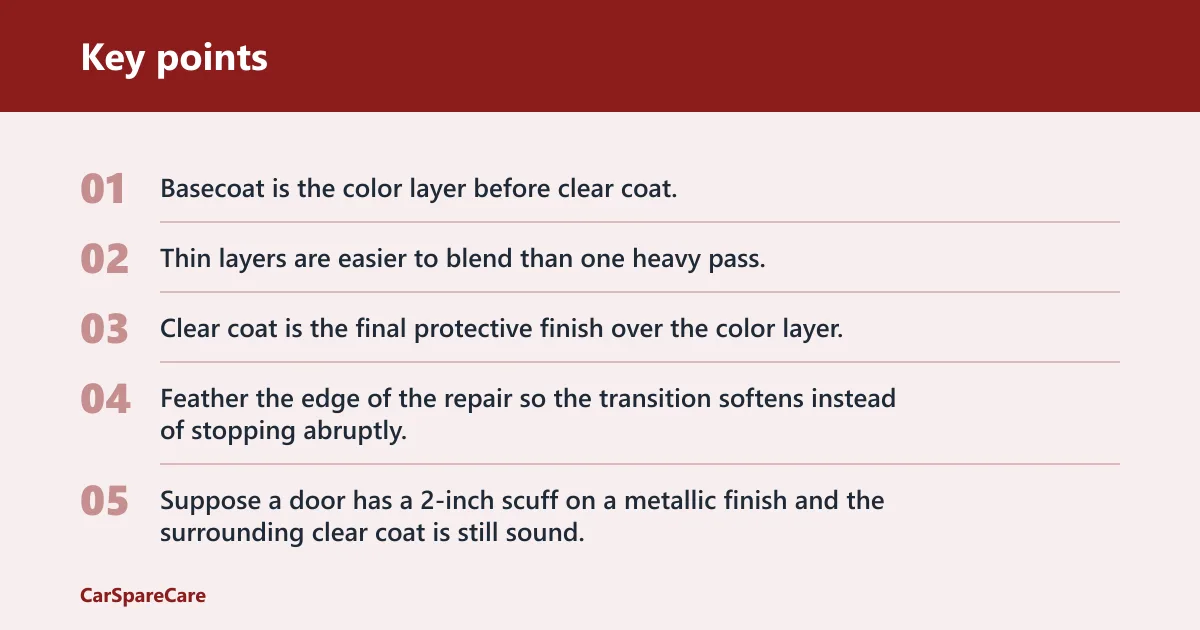
Basecoat is the color layer before clear coat. Apply it in about 2 to 3 thin coats so the repair covers without piling up too much material, and let each coat flash before the next one. Thin layers are easier to blend than one heavy pass.
Extend clear coat when needed
Clear coat is the final protective finish over the color layer. On a larger spot repair, it often needs to extend across the panel, or even into the next panel, to keep the sheen close to the surrounding finish. That matters more on metallic, pearl, and tricoat repairs than on solid colors.
Use the blend zone
Feather the edge of the repair so the transition softens instead of stopping abruptly.
Suppose a door has a 2-inch scuff on a metallic finish and the surrounding clear coat is still sound. You would not stop the color at the edge of the scuff. A wider fade-out in the blend zone is more likely to hide the repair than a sharp boundary.
How to touch up car paint
Start with clean, dry, decontaminated paintwork, then remove wax, grease, dirt, rust, and loose paint before any color goes on. Soap and water do not remove waxy residue well, so use wax and grease remover after washing. Good prep is what lets the repair stick and sit flat.
-
Wash and dry the area.
Remove dirt first so you do not grind grit into the finish. Dry the panel completely before the next step. -
Decontaminate the surface.
Remove road film and residue that washing leaves behind. This is the stage where wax and grease remover matters most, because soap and water do not clear oily residue well. -
Sand and strip damage.
Sand the repair area and remove rust or loose paint. wikiHow specifically mentions 220-grit sandpaper to help primer stick when prep is needed. -
Apply primer where needed.
Use primer for deeper scratches and chips that reach beyond the clear coat. Let it cure before color so the repair does not sink or flash through. -
Apply color in thin coats.
Build the repair gradually, then recheck the color after each pass. If the color is still low, add about 1 coat, then recheck before adding another. -
Finish with clear coat.
Add clear coat after the color layer has flashed or cured per the product label. Keep the repair within the planned blend zone so the sheen does not break at a hard edge.
Common mistakes
A common mistake is trusting the code alone on an older, faded, or repainted panel. The second is using the wrong format for the damage size, which leaves a pen mark too narrow or a spray repair too broad for the chip.
- Ordering by trim code instead of paint code
- Skipping the on-car test dab
- Using a pen on a larger scuff
- Ignoring sun fade on one panel
- Assuming solid-color rules work for metallic, pearl, or tricoat paint
- Painting over wax, grease, rust, or loose paint
- Stopping clear coat at a hard edge instead of blending it
- Using code-only paint on a panel with prior repaint
A common first-timer mistake is matching a code to a bright, freshly washed panel in shade and then painting on a sunlit door. The color can look close in the bottle and wrong on the car, especially with metallic or pearl finishes.
Frequently asked questions
How do I find my vehicle’s paint code?
Check the door jamb, the VIN label area, and the firewall. Use the make, model, year, and code together, then separate the paint code from trim or interior labels so you do not order the wrong finish.
Can I use touch up paint on car scratches?
Yes, if the damage is small enough for a spot repair. A practical cutoff is smaller than a pencil eraser for simple touch-up work; deeper scratches that catch a fingernail may need primer, and wider scrapes may need spray paint instead of a pen.
Why does touch up paint look different on the car?
Sun fade, metallic flop, pearl variation, tricoat depth, and prior repaint all change the look. The paint may also dry slightly different from how it looks wet, which is why a hidden test dab matters before you commit to the visible repair.
How do I blend touch up paint so it matches?
Use a fade-out method in a blend zone, then sand the transition with the right progression for the surface. Blend clear coat farther than the color if the panel needs a softer edge.

Hi, I’m Melvin, an automobile engineer with extensive experience in automobile equipment. I currently work for a local automobile firm, where I specialize in the car parts industry. I’ve had the opportunity to collaborate with seasoned inspectors, gaining invaluable hands-on experience that goes beyond just theory.
My passion for automotive care started at a young age, which led me to create CarSpareCare. Through CarSpareCare, I share the knowledge and skills I’ve acquired over the years to help others navigate the world of car maintenance and repairs.
My goal is to provide practical tutorials, essential safety advice, and the latest industry insights so that anyone—whether a beginner or an expert—can confidently tackle their automotive projects.

