Clean a car headliner with a dry brush and a barely damp microfiber, working in small sections, and stop if the fabric feels loose or starts to separate; if it is already sagging, cleaning will not fix it. Too much liquid can loosen the foam backing and turn a stain into a larger repair. This guide shows how to remove surface grime safely, tell dirt from adhesive failure, and decide when repair or replacement is the better next step.
What a headliner can safely handle


A car headliner is a roof interior trim surface that is usually fabric-backed and adhesive-sensitive. The adhesive matters because excess moisture can weaken it, especially in older cars, so the safe approach is to clean only the surface film and avoid wetting the backing board.
Dust, smoke film, sunscreen transfer, pet marks, and light food residue can often be handled with low-moisture spot cleaning. A sagging panel, loose edge, or fabric that feels detached is usually a different job.
Why headliners sag when they get too wet
Once liquid reaches the backing, it can soften the glue layer and let the fabric pull away. That is why spraying directly onto the headliner is risky. A light touch on the cloth is better than a wet patch on the roof.
Pressure, scrubbing, and repeated passes can also stretch the fabric or push grime deeper into the foam layer. Keep the goal small: lift surface dirt without changing the structure under it.
Signs the problem is dirt, not adhesive failure
If the stain stays flat, the fabric feels firmly attached, and the issue is limited to discoloration, cleaning is reasonable. If the area looks darker only where hands, smoke, or a spill touched it, that is usually a surface problem rather than a structural one.
When the trim starts to ripple, separate at an edge, or hang down in a soft sheet, stop treating it like a stain. Cleaning can make that worse.
When cleaning is the wrong first move
If the headliner already droops, cracks at the edge, or leaves residue on your fingers, do not chase the stain first. That points to adhesive failure. A trimmer can assess whether patch repair, partial re-bonding, or full replacement makes more sense.
Headliner cleaning triage
Use this table to sort the problem before you touch the trim again. Match the stain to the least-wet method that can handle it, then stop if the fabric begins to lift or the backing feels soft.
| Stain type | Safe cleaner | Moisture level | Red flags for sagging | When to stop and call a trimmer |
|---|---|---|---|---|
| Dust | Dry soft brush, then a barely damp soft cloth | Very low | Fabric feels loose after brushing | If dust hides a soft, detached patch |
| Smoke film | Specialized car interior cleaner or diluted vinegar solution | Low | Yellowing stays after light wiping | If the lining already sags near the rear seats |
| Sunscreen | Baking soda solution or specialized car interior cleaner | Low | Smearing means the cloth is too wet | If repeated wiping leaves a soft, damp patch |
| Food splatter | Specialized car interior cleaner, or mild baking soda solution | Low to moderate | Sticky residue spreads outward | If the stain soaked through or the foam feels spongy |
| Pet marks | Soft brush first, then a small amount of cleaner on cloth | Low | Hair removal pulls on the weave | If the fabric lifts when brushed |
| Water spots | Specialized car interior cleaner or diluted vinegar solution | Low | Ring edges darken after wiping | If the panel was already wet from a leak |
| Mold suspicion | Specialized car interior cleaner only, spot-tested first | Low | Musty smell after drying or soft spots under the fabric | If the source is an active leak or the board feels unstable |
| Loose fabric edges | Do not clean first; inspect only | None | Visible separation, droop, or wrinkling | Call a trimmer for repair or replacement |
What cleaner should you use?
Start with the least aggressive option that can still move the stain. For most headliners, that means a soft cloth, a soft cleaning brush for stubborn spots, and a cleaner that stays out of the backing layer. Specialized car interior cleaner is often the safest commercial option, but it still needs a small hidden-area test first.
Soft cloth and soft brush basics
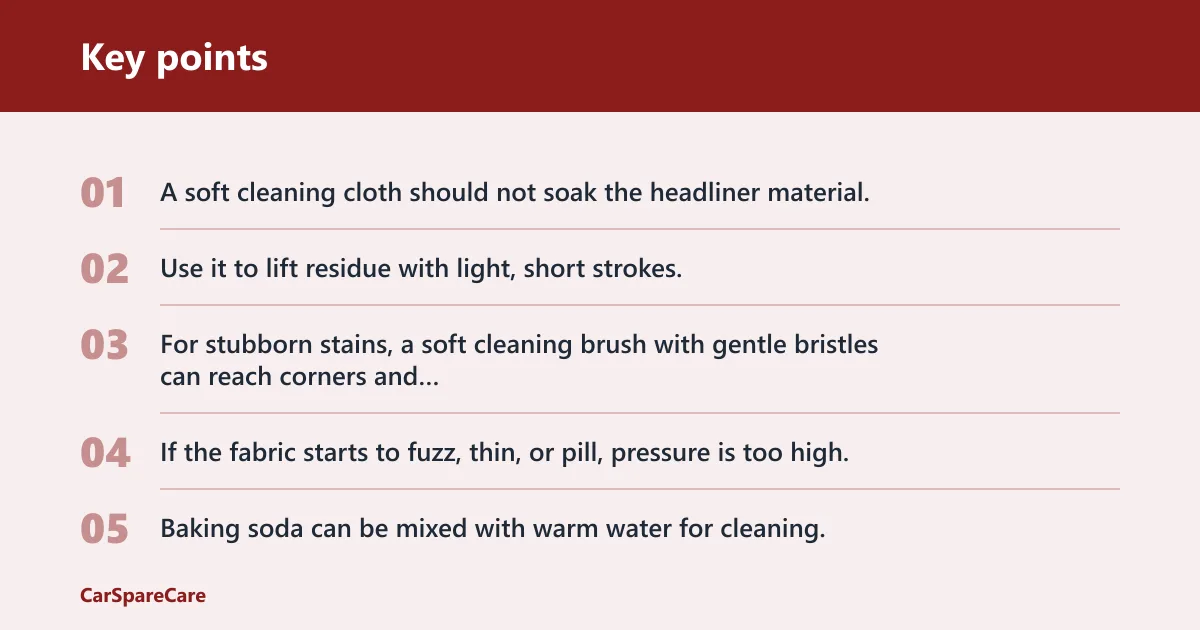
A soft cleaning cloth should not soak the headliner material. Use it to lift residue with light, short strokes. For stubborn stains, a soft cleaning brush with gentle bristles can reach corners and loosen surface grime without digging into the foam.
Use the brush to lift dirt, not grind it in. If the fabric starts to fuzz, thin, or pill, pressure is too high.
Baking soda solution
Baking soda can be mixed with warm water for cleaning, and lemon can be added to make the car interior smell more pleasant. Dish detergent may be added for a stain that will not come out, but keep the mix light and use it only on the cloth, not poured on the surface.
This option is best for mild organic residue, such as food mist or body oil. It is not a cure for sagging fabric.
Diluted vinegar solution
The vinegar mix ratio is three parts water to one part vinegar. It can help with odor and some stain transfer, but it should be tested on a small area first. Use only a light application, because vinegar is not safer if it is too wet.
Specialized car interior cleaner
Specialized car cleaners are the safest commercial choice for this job. That makes sense when the stain is stubborn, mixed, or hard to identify. Even then, spot-test the product on a hidden area before broader use.
Say your truck headliner near the dome light has a narrow sunscreen mark and the fabric still feels tight. A tested interior cleaner on a cloth is a better first move than a wet spray over the whole roof.
How should you clean the headliner?
Use the least-wet method that will move the stain, and do not rush to cover the whole roof. Spot-test first, then work in small sections with light pressure only. Keep the cleaner on the cloth or brush, not directly on the headliner, so the backing stays dry.
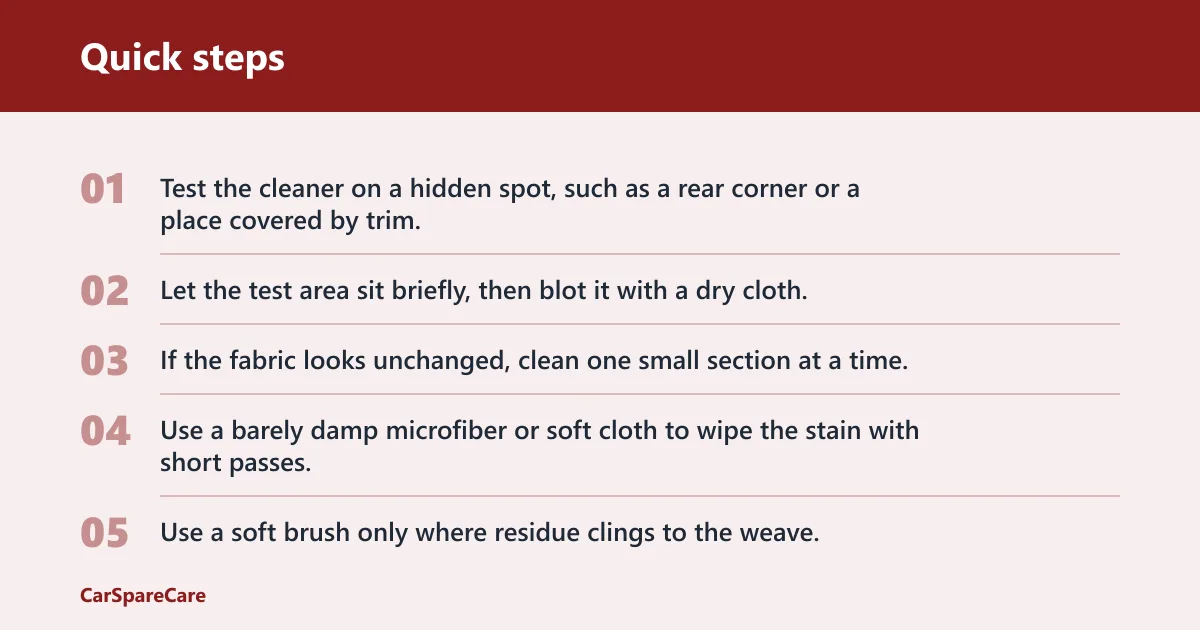
- Test the cleaner on a hidden spot, such as a rear corner or a place covered by trim.
- Let the test area sit briefly, then blot it with a dry cloth.
- If the fabric looks unchanged, clean one small section at a time.
- Use a barely damp microfiber or soft cloth to wipe the stain with short passes.
- Use a soft brush only where residue clings to the weave.
- Stop as soon as the cloth starts to drag or the surface begins to feel damp.
How to keep moisture low
Do not spray cleaner directly onto the ceiling. Spray onto the cloth if the product requires it, then blot and wipe. The aim is a low-saturation application, not a wet panel.
Picture a light coffee mist on the front edge above the windshield. A few careful passes with a barely damp cloth can lift the film. If the spot keeps spreading, stop rather than chasing it with more liquid.
What to do with common stains
Smoke film and nicotine residue usually need more than a dry wipe, but they still call for restraint. Sunscreen often smears if you use too much liquid, so start with a mild cleaner and short strokes. Food splatter can leave a sticky halo, which is why a soft brush may help after the first wipe.
Pet marks often include hair and skin oils. Brush loose debris away first, then blot lightly. Water spots can be deceptive; if the stain came from a leak, cleaning the surface alone will not solve the source.
How do you dry it without causing odor or sagging?
Drying matters as much as cleaning. The surface may need two or three days to dry completely, and windows should be open as much as possible during drying. If the car is kept closed, moisture can cause a bad smell and can keep weakening the adhesive.
Open windows and airflow
Leave the windows open when weather and security allow. Air movement helps carry off moisture before it settles into the foam backing. If the cabin feels humid, use a fan to move air through the car interior.
Why vacuum comes last
After drying, careful vacuuming is advised. Vacuuming too early can pull on damp fibers and may smear residue that is not fully set. Use the vacuum gently, with a soft attachment if available, and keep the nozzle off the fabric.
How long to leave it alone
Do not judge the job by surface feel alone. A headliner can feel dry on top while moisture remains deeper in the backing. If the roof smelled musty after cleaning, give it more time before you close the car up for the night.
When is it no longer a cleaning job?
Once the issue is structural, more cleaning will not help. Adhesive failure warning signs include rippling, soft areas, visible separation, and edges that pull away when touched. If the lining hangs down or the foam crumbles, stop cleaning and move to repair or replacement.
Loose edges and drooping sections
Loose fabric edges often mean the adhesive has already failed in that area. A quick touch may show whether the cloth is still anchored. If it moves easily, cleaning will not reattach it. That is the point to call a trimmer.
What a trimmer can repair
A trimmer can often re-bond a small area, replace the backing, or fit a new headliner panel. If the damage is local and the board is still sound, repair may be possible. If the substrate is warped or saturated, replacement is more likely.
Cleaning versus re-trim cost and time
Spot cleaning is usually the quickest and cheapest path, because it needs only a cleaner, a cloth, and drying time. Adhesive repair takes more labor and may require partial removal or re-bonding. A full re-trim or replacement is the most expensive and time-consuming option, but it is the right answer when the fabric cannot stay attached.
A common first-timer mistake is trying to fix a sagging roof with more cleaner. That usually turns a small loose spot into a larger soft section. If the headliner is already separating, clean only what is safe to clean and stop before the damage grows.
Frequently asked questions
How to clean headliner in truck
Truck headliners clean the same way as car headliners, but tall cabins often trap more dust and smoke film. Use a soft brush for corners, a soft cloth with minimal moisture, and a tested cleaner only where needed. If the fabric around the overhead console lifts, stop and let a trimmer inspect it.

Hi, I’m Melvin, an automobile engineer with extensive experience in automobile equipment. I currently work for a local automobile firm, where I specialize in the car parts industry. I’ve had the opportunity to collaborate with seasoned inspectors, gaining invaluable hands-on experience that goes beyond just theory.
My passion for automotive care started at a young age, which led me to create CarSpareCare. Through CarSpareCare, I share the knowledge and skills I’ve acquired over the years to help others navigate the world of car maintenance and repairs.
My goal is to provide practical tutorials, essential safety advice, and the latest industry insights so that anyone—whether a beginner or an expert—can confidently tackle their automotive projects.