
If a scratch stays in the clear coat, start with a wash, then use a rubbing compound or polish. If your fingernail catches, or primer or metal shows, stop and use touch-up paint or go to a body shop. Ignoring the depth can turn a small mark into a larger repair, or leave exposed metal vulnerable to corrosion. This guide shows how to test scratch depth, choose the right fix, and avoid making clear-coat damage worse.
This guide is part of our Automotive paint care guide series.
How do you know how deep the scratch is?
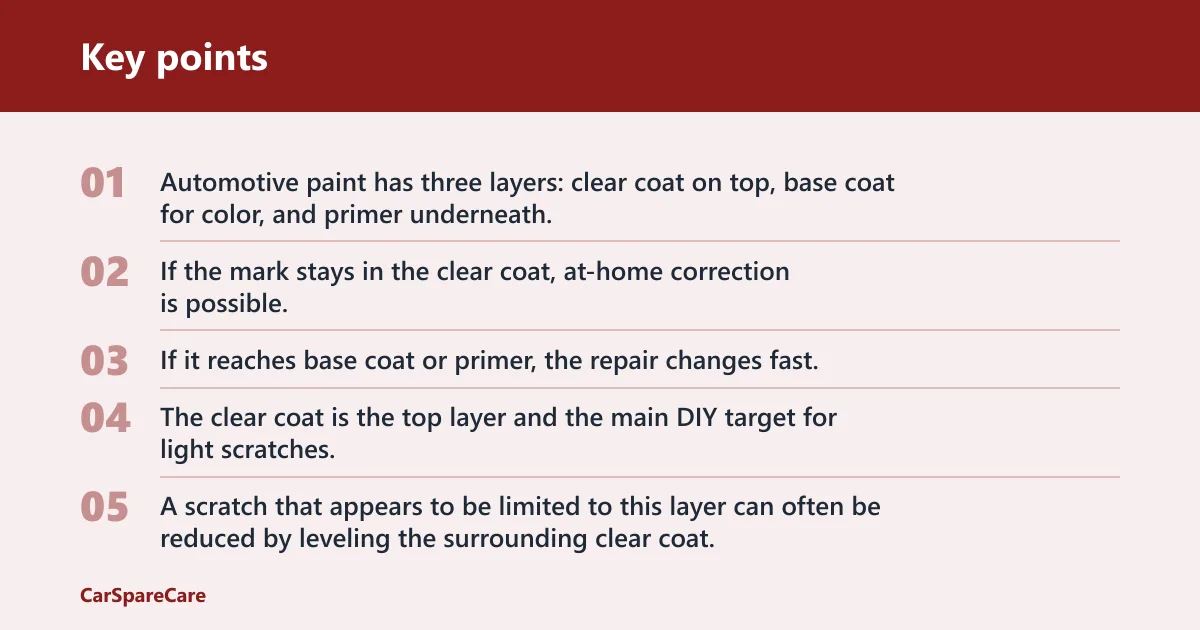


Start with the layer check. Automotive paint has three layers: clear coat on top, base coat for color, and primer underneath. If the mark stays in the clear coat, at-home correction is possible. If it reaches base coat or primer, the repair changes fast.
Clear coat, base coat, and primer
The clear coat is the top layer and the main DIY target for light scratches. A scratch that appears to be limited to this layer can often be reduced by leveling the surrounding clear coat. If the base coat is visible, the scratch is deeper. If primer shows, simple polishing is no longer the right fix.
The fingernail test and visual clues
Wash and dry the panel first, then inspect it in bright, direct light. Run a clean fingernail lightly across the mark. If your nail does not feel the scratch, it may be removable at home. If the nail catches lightly, the mark may still improve with polish or compound, so inspect the finish closely before deciding it is too deep. If you can see a gray, white, or colored line that breaks through the finish, stop and reassess.
Picture a scuff about 2 cm across on a black door-handle recess. If the mark vanishes in the light but your nail skims over it, a light compound may be enough. Suppose the same line feels sharp at the edge and stays visible after washing; that is a stronger sign that the damage is deeper than clear coat.
What you’ll need
- Car wash soap and clean water
- Microfiber cloths for drying and final wipe-down
- Applicator pad or foam pad
- Scratch remover compound or polish for clear-coat marks
- Scratch filler if you only need a temporary cosmetic fix
- Polish or wax for protection after correction
- Optional dual-action polisher for more even machine application
- Good light for inspection
Car paint scratch decision matrix
This table separates true removal from temporary hiding. Use the layer exposed and the fingernail test first, then pick the least aggressive option that matches the damage. If the scratch reaches primer, do not treat it like a simple clear-coat mark.
| Scratch type | Fingernail test | Visible layer exposure | Recommended DIY method | Risk level | When to stop |
|---|---|---|---|---|---|
| Fine swirl or light clear-coat line | No catch | Clear coat only | Scratch remover compound, then polish | Low | Stop if haze appears after one light pass |
| Light scratch with faint visible line | Very slight catch | Likely clear coat, possibly near base coat | Hand compound first; DA polisher only if hand correction is uneven | Moderate | Stop if the mark does not improve after two careful passes |
| Scratch with visible color loss | Catch | Base coat exposed | Touch-up paint, then level only if needed | High | Stop before heavy sanding or repeated compounding |
| Scratch with gray or bare underlayer | Strong catch | Primer exposed | Touch-up paint and professional evaluation | Very high | Stop; polishing alone will not fix it |
| Shallow cosmetic mark you only want to hide | No catch or tiny catch | Clear coat or none | Scratch filler | Low for appearance, high for permanence limits | Stop if you need a lasting repair; filler can wash out after a few washes |
Can you remove car scratches at home without repainting?
Yes, but only when the damage stays in the clear coat. If the scratch is light enough that it does not catch a fingernail and the paint layers below are intact, a compound or polish may remove or reduce it without repainting. Once base coat or primer is exposed, at-home removal stops being the right goal.
Hand application
Hand work is enough for many fine scratches. Apply a small amount of compound, about the size of a 10p coin, to an applicator pad and work a small section at a time. Scratch removers are super-fine abrasive liquids or pastes that level the surrounding clear coat, so they remove defects rather than cover them.
- Wash and dry first. Clean the panel with car wash soap, then dry with a microfiber cloth. Dirt left on the paint can turn a light scratch into a larger one during buffing.
- Test a hidden spot. Start on a low-visibility area of the same panel. Use one 10p coin-sized dab and make one short pass so you can check for haze, residue, or uneven gloss before you treat the full mark.
- Work the scratch lightly. Use straight, even motions with light pressure for about 15 to 30 seconds, then stop and wipe. If the mark is still there, repeat once before adding more product. More pressure does not mean better correction.
- Buff and inspect. Wipe the area with a clean microfiber cloth and inspect in direct light. If the line is gone or clearly reduced, finish with polish or wax for protection.
When a dual-action polisher makes sense
A dual-action polisher is often the safer machine option when the scratch is spread across a larger area or hand pressure leaves uneven results. It can improve consistency versus hand application, especially on flat panels. Keep the speed low to moderate, use a light pad, and avoid edges and body lines where clear coat is thinner.
Say the scratch runs 20 cm across a rear door and the first hand pass leaves patchy gloss. A DA polisher may help even out correction across the panel. On a sharp crease, though, the safer move is often to stop and leave that area to touch-up paint or a pro.
How to fix light scratches on car paint
For light damage, the sequence is simple: clean, test, apply lightly, buff, inspect, and protect. The goal is controlled correction, not maximum removal. If the scratch is only in clear coat, a compound can level the surrounding surface; if it reaches deeper layers, the process changes to filling or touch-up.
Step-by-step DIY repair
- Clean the panel. Wash with warm soapy water, then dry it fully. Popular Mechanics advises warm soapy water first because leftover grit can add more marks during repair.
- Inspect in strong light. Check the scratch from several angles and repeat the fingernail test. If you can clearly feel the mark, plan on stopping sooner rather than pushing harder.
- Apply a thin layer. Put a 10p coin-sized amount of compound on the pad and spread it over the scratch. Keep the product on the damaged area, not across trim or creases.
- Buff the residue away. Wipe with a clean microfiber cloth until the residue is gone. A fresh cloth matters; a dirty one can drag grit back across the paint.
- Repeat only if needed. Add one more light pass, then recheck. If the scratch still shows after two careful passes, stop and move to the next level of repair rather than continuing with more abrasive product.
- Protect the finish. Finish with polish or wax. Compound removes little protection, so the area should be sealed after correction.
Common mistakes
Most bad results come from trying to do too much too fast. Over-polishing can thin the clear coat, and repeated passes can leave haze on dark paint. A mark that only looks white can also be residue, transfer, or surface scuffing, so clean and inspect before assuming paint has been lost.
- Using filler as if it were removal. Some scratch repair products rely on filling or masking rather than true correction, so they hide the scratch rather than removing it. That can be useful for short-term appearance, but it may wash out after a few washes.
- Working too hard on edges. Body lines and panel edges have less clear coat to spare. Heavy rubbing there raises burn-through risk fast.
- Leaving residue in creases. Thick product can collect in trim gaps and body lines. Use a microfiber cloth to clear those areas before the product dries hard.
- Chasing deeper damage with compound. If base coat or primer shows, more polishing will not fix the layer loss. Stop and switch to touch-up paint or a body shop.
- Skipping protection. After compound, the corrected area should be waxed or sealed. Otherwise the paint is left more exposed than before.
Automotive scratch removers are not all the same. Meguiar’s Ultimate Compound is described as a clear-coat-safe compound. GearLab also includes the 3M Scratch & Scuff Removal Kit in its product roundup, while Walmart listings include Meguiar’s Scratch-X for fine scratches and blemishes.
When should you stop and call a pro?
Stop when the scratch reaches primer, when the mark covers a wide area, or when careful polishing still leaves the line visible. If the nail catches hard or the paint layers look broken through, a body shop can match the repair path to the actual damage instead of thinning the finish further.
Escalation ladder
- Switch to touch-up paint. If base coat or primer is exposed, use touch-up paint rather than more compound. Popular Mechanics says touch-up paint should rise barely above the surface, so it can be leveled carefully later if needed.
- Use wet sanding only selectively. Wet sanding is generally for selected deeper defects or after touch-up paint, not for a routine light-scratch fix. Very fine wet sanding is best kept for careful prep work when needed, because that level of material removal needs caution.
- Hand off large repairs. If the scratch spans a door, fender, or bumper corner, a pro can blend color and clear coat more safely than repeated DIY passes.
A common first-timer mistake is trying to polish a scratch that is actually through the clear coat. The first pass may make the paint look brighter, but if the line remains after that and the nail still catches, more abrasive work is the wrong move.
Frequently asked questions
How to remove light scratches from car paint at home
Wash the panel, dry it, and check the scratch in strong light. If the nail does not catch, use a clear-coat-safe compound or fine scratch remover on a clean applicator pad, then wipe with microfiber and finish with wax. Stop if haze or color loss appears.
How to remove fine scratches from car paint at home
Fine marks usually respond to a light polish or super-fine abrasive compound. Use a 10p coin-sized amount, work a small section, and buff clean before repeating. If the scratch remains after two light passes, it is likely deeper than a routine home correction, or the mark may be residue that needs a better clean before more product is used.
How to fix light scratches on car paint: choose the least aggressive fix
Choose the least aggressive fix that matches the damage. Clear-coat-only marks can often be reduced with compound; scratches that show color loss need touch-up paint; scratches that show primer need a body shop. A microfiber cloth and fresh protection coat should follow any correction.
How to get rid of light paint scratches on car
Use hand polishing for isolated marks and a dual-action polisher only when the panel is larger or the hand result is uneven. Avoid chasing a scratch near a crease or edge, where the clear coat is thinner. Finish with wax so the repaired area is protected again.
Can you remove car scratches at home without repainting: yes, if the scratch?
Yes, if the scratch is shallow and does not break through the clear coat. That means no primer, no bare metal, and ideally no fingernail catch. Once the damage reaches base coat or primer, repainting or touch-up work becomes the more realistic path.
How do I know if a scratch is too deep to fix at home?
If the fingernail catches firmly, or if you can see base coat or primer, it is too deep for simple polishing. That is the point to stop using compound and move to touch-up paint or professional repair. Repeated polishing will not restore missing layers.

Hi, I’m Melvin, an automobile engineer with extensive experience in automobile equipment. I currently work for a local automobile firm, where I specialize in the car parts industry. I’ve had the opportunity to collaborate with seasoned inspectors, gaining invaluable hands-on experience that goes beyond just theory.
My passion for automotive care started at a young age, which led me to create CarSpareCare. Through CarSpareCare, I share the knowledge and skills I’ve acquired over the years to help others navigate the world of car maintenance and repairs.
My goal is to provide practical tutorials, essential safety advice, and the latest industry insights so that anyone—whether a beginner or an expert—can confidently tackle their automotive projects.

