Blot fresh grease at once, then match the cleaner to the seat material: absorbent powder for cloth or fabric, pH-neutral cleaner for leather and vinyl, and a dry, low-moisture method for Alcantara. Waiting lets the stain sink deeper, spread wider, and become harder to remove without leaving marks. This guide shows how to identify the grease source, judge stain age, and choose the safest removal method for each seat type.
What kind of grease stain is it?


Start with three checks: what caused the mark, how long it has sat, and whether the stain is on the surface or has moved into seams or padding. Food grease, mechanic grease, motor oil, and a transfer mark all behave differently, so the safest first step changes with each one.
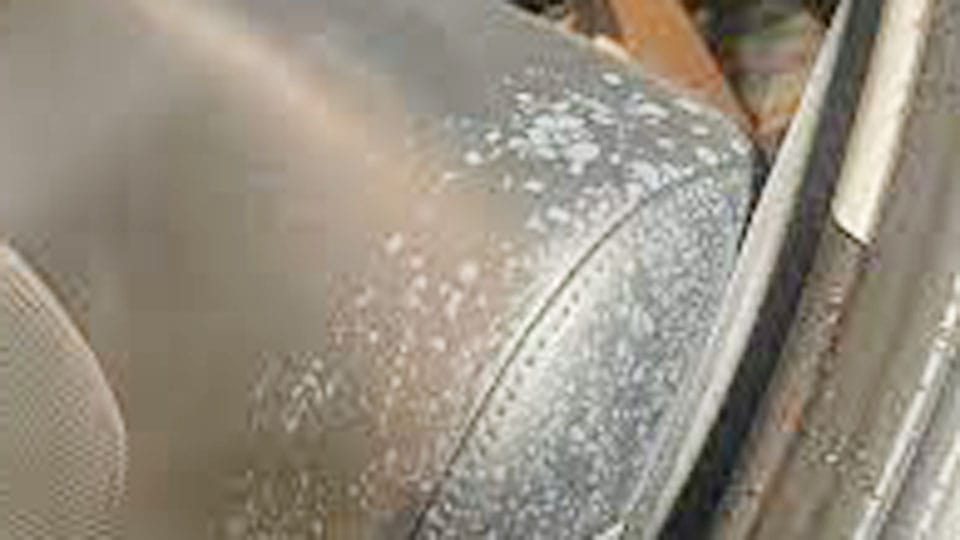
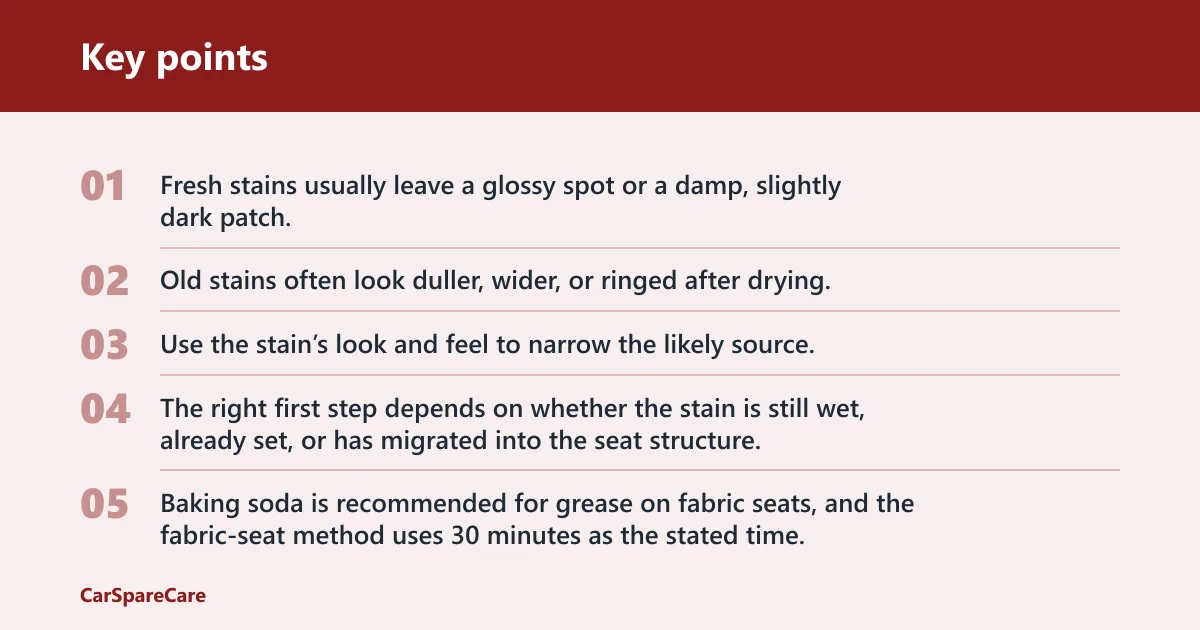
Fresh stains usually leave a glossy spot or a damp, slightly dark patch. Old stains often look duller, wider, or ringed after drying. If the seat felt dry but the stain kept spreading under the fabric, that usually means liquid moved below the visible surface.
Identify the stain before you clean it
Use the stain’s look and feel to narrow the likely source. Greasy food usually sits on top at first, motor oil tends to look darker and travel farther, and hand transfer marks often clean up more easily than embedded oil. The right first step depends on whether the stain is still wet, already set, or has migrated into the seat structure.
Fresh food grease versus old set-in grease
Food grease is often lighter and more water-repellent than surrounding upholstery, so it may sit near the surface at first. Baking soda is recommended for grease on fabric seats, and the fabric-seat method uses 30 minutes as the stated time.
Old grease behaves differently. It can bind to fibers, collect dust, and leave a shadow after the visible oil is gone. In that case, you usually need one dry absorption pass before any wet cleaner.
Mechanic grease, motor oil, and transfer marks
Mechanic grease and motor oil are heavier and more persistent than a fry-oil drip. They often need absorbent powder first, then a limited cleaning pass with a mild degreasing solution or an upholstery cleaner made for automotive fabric.
Transfer marks are different again. A dark smudge from clothing, tools, or a greasy handprint may respond to a small amount of cleaner on a cloth, but it still needs a patch test because dyes and finishes can move too.
When a dark halo means the stain has spread
A dark halo after drying usually means residue is still in the fibers, or liquid pulled more soil out of the seat as it dried. On cloth, that can point to migration into the weave or foam beneath it. On leather, a halo can mean cleaner residue or a finish that reacted to too much moisture.
When the edge of the mark is darker than the center, stop adding liquid. Let the area dry fully, then repeat with a drier method or a second pass that uses less product.
What you’ll need
- Microfiber cloths or plain paper towels
- Vacuum with upholstery attachment
- Baking soda or cornstarch
- Mild dish soap
- Spray bottle with clean water
- Soft-bristled brush for fabric only
- Automotive or fabric-safe upholstery cleaner
- pH-balanced leather cleaner
- Leather conditioner
- Dry foam cleaner for Alcantara
- Hidden test spot on the seat
Which seat material are you cleaning?
Seat material changes everything. Cloth and fabric absorb liquid below the visible surface, leather needs pH-balanced care, vinyl tolerates less liquid than cloth, and Alcantara needs a very light touch with no water-heavy cleaning. StainList limits its DIY guide to standard automotive cloth, vinyl, and coated leather, and it warns against identifying upholstery by appearance alone.
Cloth and fabric seats
Cloth and fabric are the most absorbent. That makes them easier to strip of surface grease, but also easier to soak through, so DetailXPerts advises that water should be used in small amounts only and that you vacuum the car seats first.
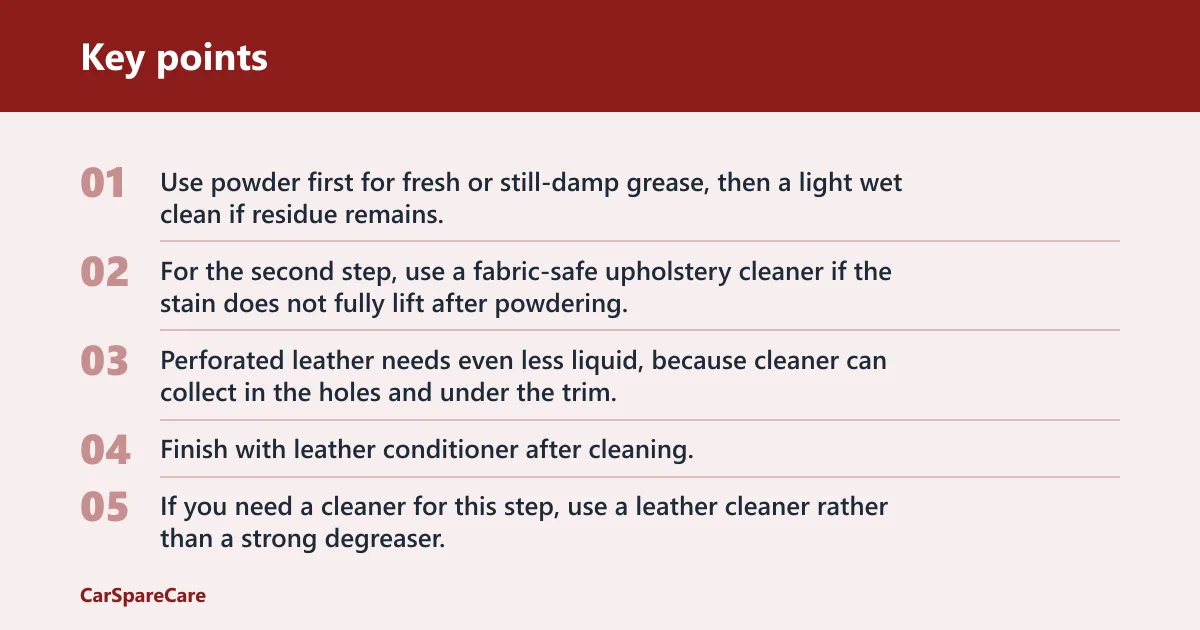
Use powder first for fresh or still-damp grease, then a light wet clean if residue remains. For the second step, use a fabric-safe upholstery cleaner if the stain does not fully lift after powdering. Keep the seat damp, not soaked.
Leather seats, including coated and perforated leather
Leather needs a different approach. Robo Race says leather should be treated with a pH-balanced cleaner, and that matters most on coated leather, where harsh soap can dull the finish. Perforated leather needs even less liquid, because cleaner can collect in the holes and under the trim.
Finish with leather conditioner after cleaning. That helps replace some of the moisture lost during cleaning and lowers the chance of drying or cracking. If you need a cleaner for this step, use a leather cleaner rather than a strong degreaser.
Vinyl and Alcantara seats
Vinyl usually tolerates a light wipe with a pH-neutral cleaner or mild soap solution, but it does not need soaking. Alcantara is more delicate. The same source says Alcantara should be cleaned with dry foam cleaner and no water.
If the seat is Alcantara, skip dish soap and skip wet scrubbing. A dry method is the safer first choice.
Material identification block
Check the stitching, finish, and response to a small hidden test spot before you clean. Cloth and fabric usually feel textured and absorbent, leather has a smoother finish and can be coated, vinyl often feels less porous, and Alcantara has a suede-like feel that should stay dry. If the seat reacts oddly to a tiny test spot, stop and switch to the safest material-specific method.
Grease stain decision table
Use the table to match the stain, seat material, and age to the least risky first move. The safest path often starts with dry absorption, then moves to a tiny amount of cleaner only if the residue is still visible.
| Scenario | Safest first step | Second step | Stop conditions |
|---|---|---|---|
| Fresh butter or burger grease on cloth | Blot with microfiber, then cover with baking soda | Vacuum after several hours or overnight | Stop when the powder stays dry and the towel stops picking up oil |
| Old French fry oil on fabric | Powder first for overnight dwell | Spot-clean with fabric-safe upholstery cleaner | Stop if the area starts darkening around the edges |
| Mechanic grease on cloth seat | Blot, then apply absorbent powder | Use a small amount of dish soap solution | Stop if the stain has reached the seam or cushion |
| Motor oil on fabric | Powder first, then vacuum | Repeat once with minimal moisture | Stop if a halo keeps returning after drying |
| Leather transfer mark from greasy hands | Wipe with a dry microfiber cloth | Use pH-balanced leather cleaner | Stop if the finish looks cloudy or tacky |
| Coated leather food grease spot | Lightly blot, then use leather cleaner | Condition after drying | Stop if cleaner collects in seams or perforations |
| Perforated leather with grease in holes | Use a nearly dry cloth and pH-balanced cleaner | Wipe away immediately | Stop if liquid enters the perforations |
| Vinyl seat with greasy handprint | Wipe with diluted dish soap on a cloth | Rinse with a separate damp cloth | Stop if the surface dulls or feels grabby |
| Cloth seam contamination | Blot outside edge to center | Use very little cleaner on the seam line | Stop if moisture starts wicking down the seam |
| Halo after drying on fabric | Let dry fully, then inspect under bright light | Repeat powder or use upholstery cleaner sparingly | Stop if the halo widens after the second pass |
| Set-in grease that reached foam | Blot and powder | Consider professional extraction | Stop if the stain returns after drying |
| Alcantara grease mark | Use dry foam cleaner only | Brush lightly if the label allows | Stop if any water or liquid soak appears |
How do you remove grease from car seats?
Begin with the least risky method that fits the seat. Vacuum loose debris first, blot without rubbing, use absorbent powder on cloth or fabric, and move to a tiny amount of cleaner only if the stain remains. For leather and vinyl, use a material-specific cleaner and keep moisture low.
- Vacuum the area first. Remove crumbs, grit, and dust so you do not grind them into the fibers. DetailXPerts recommends vacuuming the car seats first.
- Blot the grease spot. Press a clean microfiber cloth or paper towel into the stain from the outer edge toward the center. Do not rub; keep switching to a clean section until transfer to the towel stops.
- Apply absorbent powder. For cloth or fabric, cover the spot with baking soda or cornstarch and leave it for several hours or overnight. Vacuum it away after absorption.
- Use mild soap sparingly. If a film remains, mix about a drop or two of dish soap with water and apply it to the cloth, not the seat. Wipe, then rinse with a separate damp cloth so residue does not stay behind.
- Use the right seat cleaner. For fabric, choose a fabric-safe or automotive upholstery cleaner and patch-test first. Agitate lightly with a soft brush only if the label allows it. For leather, use a pH-balanced leather cleaner, then apply leather conditioner after drying.
- Let it dry fully. Allow complete drying before judging the result. A stain that looks gone while damp can reappear as a halo once the moisture leaves.
Say your cloth seat has a 2-inch French fry oil spot on the bolster and it has been there all day. Powder first, wait overnight, vacuum, then do one very light soap pass only if the shadow is still visible. If the mark returns after drying, the oil likely reached deeper fibers or the foam.
Picture a perforated leather seat with a greasy handprint near the seam. Use a barely damp microfiber cloth with a pH-balanced leather cleaner, keep liquid out of the holes, and wipe dry at once. If the seam darkens or stays tacky, stop before the cleaner moves farther in.
What mistakes make grease stains worse?
Many failures come from too much liquid, too much rubbing, or the wrong cleaner for the material. A grease stain often looks simple on top and complicated underneath, so a heavy-handed first pass can push it deeper and make the halo larger.
When not to use rubbing alcohol
Do not use rubbing alcohol on leather, vinyl coatings, or Alcantara unless the product label specifically allows it. Alcohol can dry out leather, cloud a coating, and damage delicate finishes. It is also too aggressive for many upholstered fabrics when grease is the main problem, because it can spread residue instead of lifting it cleanly.
- Do not rub hard. Rubbing spreads the grease and can roughen cloth fibers or leather finishes. Press and lift instead.
- Do not soak the seat. Water and cleaner should stay on the surface. StainList says cloth can absorb liquid below the visible surface, so flooding the area makes the problem worse.
- Do not use dish soap everywhere. A little can help, but too much leaves residue and can dull or dry delicate finishes. Rinse after use.
- Do not treat every stain the same. Food grease, mechanic grease, motor oil, and transfer marks need different first steps.
- Do not skip a patch test. Hidden areas matter, especially on leather, vinyl, and Alcantara. Test any cleaner before you use it on the visible stain.
- Do not keep chasing a deep halo. If the stain keeps coming back after drying, the contamination may be in foam or a seam. That is the point to stop and call a professional upholstery cleaner.
Prevention: Treat spills at once. Keep a microfiber cloth and a little baking soda in the car, and avoid eating greasy food on light-colored upholstery when possible.
Frequently asked questions
How to remove grease and oil stains from car seats
Separate the stain type before you choose a cleaner. Food grease and motor oil do not behave the same, and transfer marks may need less aggressive treatment than engine grease. For cloth, start dry with powder; for leather, use pH-balanced cleaner; for Alcantara, use dry foam only.

Hi, I’m Melvin, an automobile engineer with extensive experience in automobile equipment. I currently work for a local automobile firm, where I specialize in the car parts industry. I’ve had the opportunity to collaborate with seasoned inspectors, gaining invaluable hands-on experience that goes beyond just theory.
My passion for automotive care started at a young age, which led me to create CarSpareCare. Through CarSpareCare, I share the knowledge and skills I’ve acquired over the years to help others navigate the world of car maintenance and repairs.
My goal is to provide practical tutorials, essential safety advice, and the latest industry insights so that anyone—whether a beginner or an expert—can confidently tackle their automotive projects.