
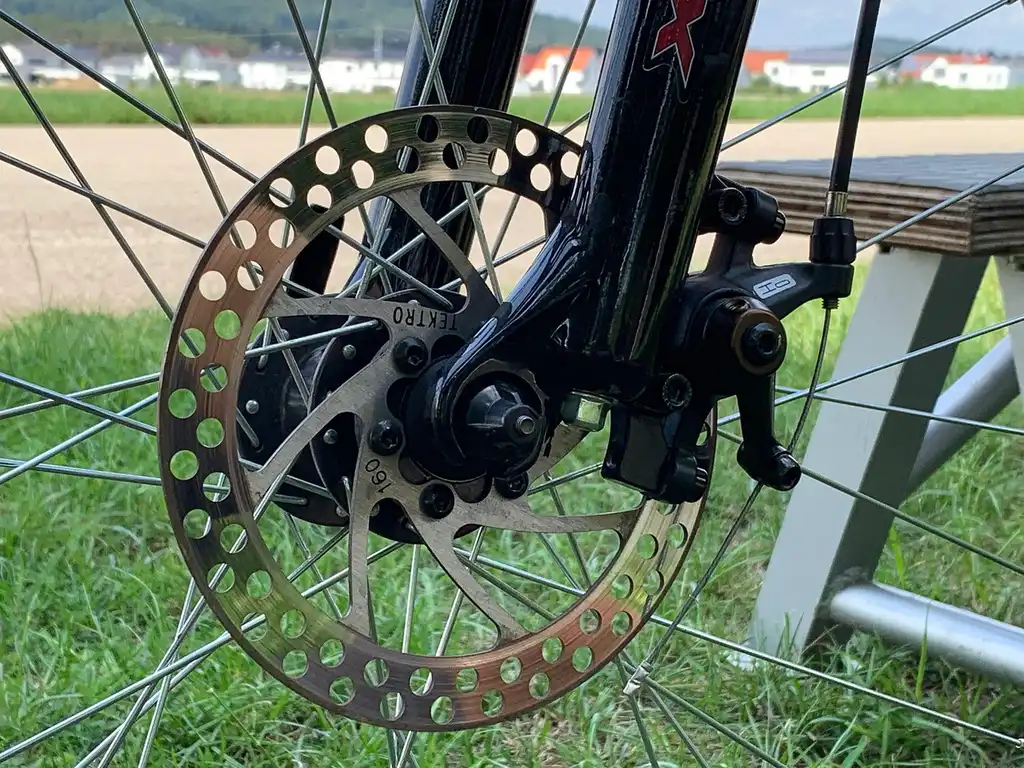
If one brake pad is much thinner than the other, the pads or a sticking caliper likely failed first; if the pads are even but the rotor is scored, blue, or out of spec, the rotor is the next suspect. Guessing wrong can waste money and leave the real fault, especially a dragging caliper, in place. This guide shows the symptom checks and simple at-home inspections that help you tell whether pads, rotors, or a caliper fault needs replacement first.
Brake wear checklist


| Symptom | Likely first-failing part | Next check | Outcome |
|---|---|---|---|
| Squeal only, stopping power still normal | Brake pads | Check pad friction material depth and the wear indicator tab | Replace pads only |
| Grinding or metal-on-metal sound | Brake pads | Look for backing plate contact and rotor scoring | Replace pads too; inspect rotors for damage |
| Vibration or pulsation under braking | Rotor | Measure rotor thickness and check lateral runout | Replace rotors too if below spec or badly uneven |
| One wheel hotter, one pad much thinner | Caliper | Check slide pins and piston retraction | Inspect caliper first |
| Inner pad worn much faster than outer pad | Caliper | Check for sticking slide pins or a dragging piston | Inspect caliper first |
| Even pad wear, deep grooves, blue spots, or heat checking on rotor | Rotor | Measure thickness at multiple points with a micrometer | Replace rotors too if below minimum thickness or damaged beyond service limits |
Which brake part usually fails first?
Brake pads usually wear first because they are the friction part made to wear away over time. Rotors often last through more than one pad set if they stay above minimum thickness and remain smooth enough to service. Caliper faults can change the order by causing one pad or one wheel to wear faster than the rest.
Why pads usually wear before rotors
Pad friction material is intentionally softer than the rotor. A common replacement threshold is around 3 mm of usable pad material, but the exact minimum depends on the vehicle and pad maker. Once the friction layer gets thin, the backing plate can contact the rotor and turn a pad job into a rotor job fast.
Check both pads on the same axle. Also compare left to right, and compare inner pad to outer pad on each wheel. A front axle often wears faster than the rear because it handles more braking load, but a large inner-versus-outer difference points away from normal wear and toward a caliper issue.
When rotors fail first
Rotors can fail first if they are below minimum thickness, deeply scored, heat checked, or run out of shape enough to cause pulsation. Some rotors become too thin for safe reuse even when the pads still have life left. That is why rotor thickness matters, not just how the surface looks.
How caliper faults change the order
A sticking caliper can make one pad wear much faster than the other and can overheat one wheel. That heat can blue the rotor, glaze the pad, and make the rotor look like the original problem when the caliper was first. If one wheel is hotter after a short drive, inspect the caliper before blaming the rotor.
How do you tell if the pads are worn?
Brake pads need replacement when the friction material is thin, cracked, glazed, or worn to the backing plate. If one pad on an axle is much thinner than the other, that often means the caliper is not sliding or retracting properly. The wear pattern matters as much as the thickness.
Check friction material thickness
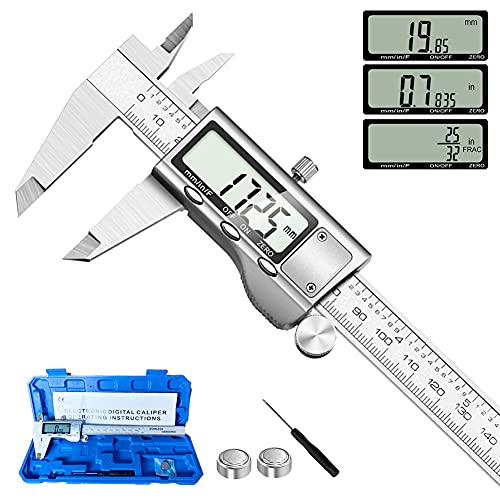
Look through the wheel or caliper opening and measure the visible friction layer. Around 3 mm is commonly cited as a minimum usable pad thickness, but the vehicle specification still takes precedence. Some pads also include a squeal indicator tab that starts to touch the rotor when the pad gets low, which creates a high-pitched warning noise.
Look for backing plate contact, cracks, or glazing
If the friction material is gone and shiny metal appears at the pad edge, the backing plate may be contacting the rotor. That can score the disc quickly. Cracked or glazed pad surfaces also reduce friction and can make stopping feel less consistent even before the pad is fully worn out.
Compare inner and outer pad wear on both sides of the axle
Inspect the inner and outer pads on both wheels of the same axle. Even wear on both sides usually points to normal pad life. A much thinner inner pad, or a left-right mismatch, often means a caliper slide pin is sticking or the piston is not retracting fully. That is not a rotor problem first.
Say your front-left inner pad has 2 mm left, the outer pad has 7 mm, and the right side is evenly worn. The caliper on the left side is more likely at fault than the rotor. Replace the pads on that axle, but inspect the caliper before installing new parts if the wear gap is that large.
How do you know if your rotors are bad?
Rotors are suspect when they are below minimum thickness, deeply scored, grooved, heat checked, or causing braking pulsation. A rotor can also be too uneven to service even if the pad wear looks normal. Visible damage matters, but the thickness measurement decides whether the rotor can stay in service.
Check for scoring, grooves, and heat checking
Light wear marks are common. Deep grooves, heavy scoring, or small surface cracks from overheating are not. Blue discoloration can point to hot spots. Heat checking looks like fine crack lines on the disc surface and usually means the rotor has seen enough heat to deserve close inspection.
Measure rotor thickness with a micrometer
Use a micrometer, not a quick eyeball check. Measure the rotor at multiple points around the disc, typically near the outer and inner swept areas where the pads ride. Compare each reading to the stamped minimum thickness, often shown on the rotor hat or in the service data. If any point is below spec, replace the rotor.
Decide between resurfacing and replacement
Some rotors can be resurfaced if they remain above minimum thickness after machining and if the surface damage is light enough. Others cannot be safely machined because they are already too thin or too badly damaged. If the rotor is close to its minimum thickness, replacement is usually the safer choice than cutting it thinner.
Could the caliper be the real problem?
Yes. A caliper fault can make pads wear unevenly and can make rotors look guilty when they are only reacting to a dragging brake. Sticking slide pins, piston retraction problems, and one-wheel overheating are the main clues. When those show up, replacing pads or rotors without fixing the caliper usually wastes the repair.
Sticking slide pins
Slide pins let the caliper move so both pads clamp evenly. If they stick, one pad can stay close to the rotor all the time. That creates one-sided wear and heat. It can also cause brake dust to build up faster on one wheel than on the others.
Piston retraction problems
A piston that does not retract cleanly can hold pressure on the pad after you lift off the brake pedal. The wheel may feel hotter than the others after a short drive. If the pad is wearing fast on one side and the rotor is discolored, do not assume the disc failed first.
One-wheel overheating and false rotor damage
A wheel that is much hotter than the opposite side after the same trip can indicate a caliper problem, especially if the inner pad on the hot side is much thinner than the outer pad. That points to the caliper, not a random rotor defect. The rotor may still need replacement, but the caliper fault came first.
What do brake noise and vibration mean?
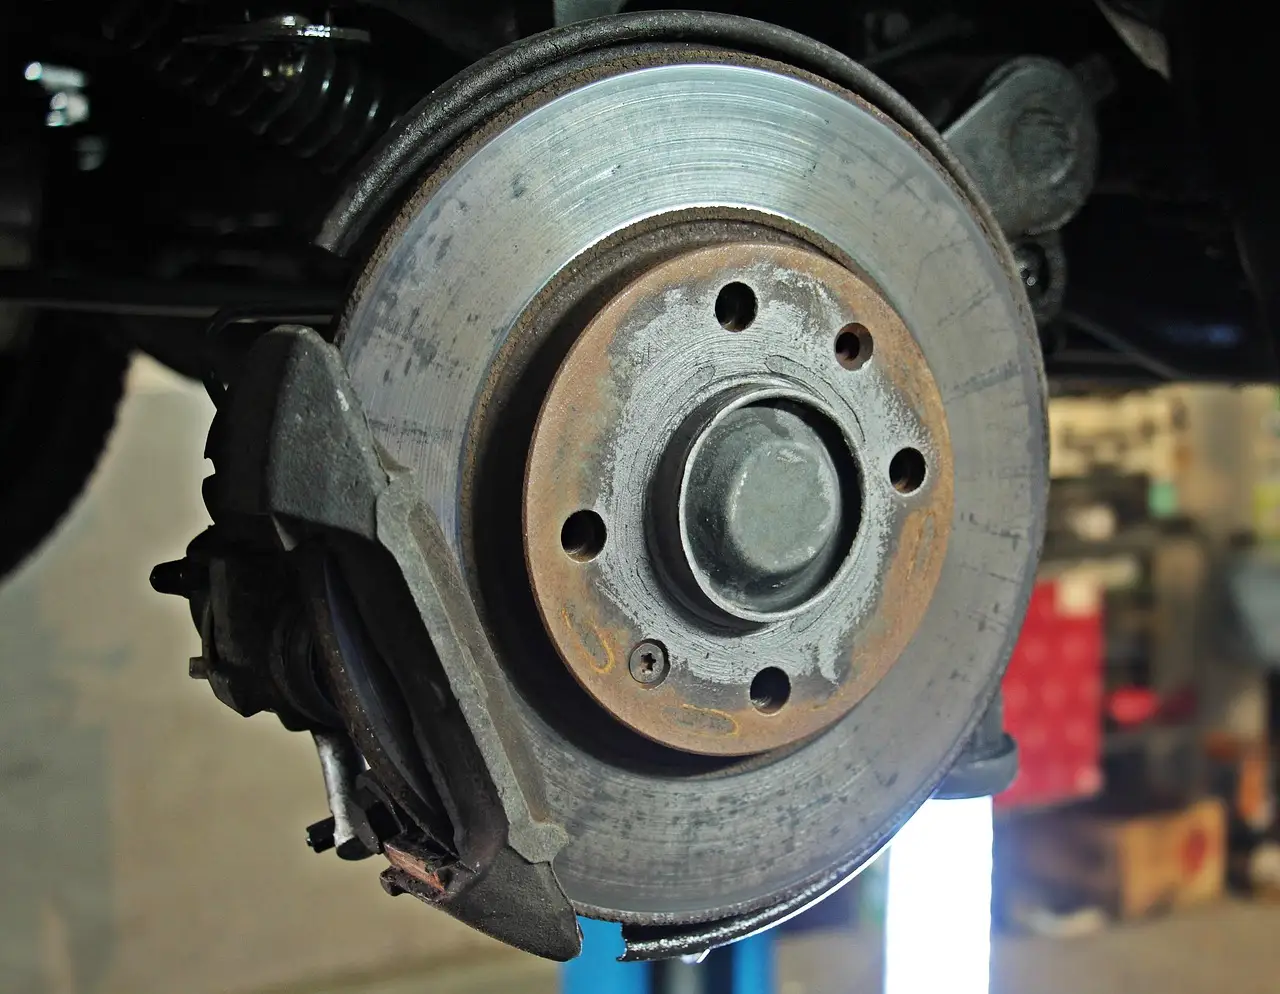
Squeal often means the pads are low or the wear tab is touching the rotor. Grinding usually means the friction material is gone and metal is contacting metal. Vibration or pulsation under braking more often points to rotor thickness variation, runout, or uneven surface condition than to pads alone.
Squeal versus grinding
Squeal is a warning. Grinding is damage in progress. If the brakes still stop the car but squeal, check the pad thickness and the wear indicator tab first. If the noise turns into a harsh scrape or grind, inspect for backing plate contact and rotor scoring right away.
Pulsation or vibration under braking
A brake pedal pulse or steering wheel shake under braking can come from rotor runout, thickness variation, or a disc that has been heated unevenly. That symptom is not the same as thin pads. Measure the rotor before assuming the pads are the only worn part.
Brake dust and dashboard wear warnings
Heavy brake dust can be a normal trait of some pad compounds, especially semi-metallic pads. Low-dust or ceramic pads usually leave less visible dust, though dust level alone does not prove pad life. If the dashboard wear warning light is on, inspect the pads immediately and confirm the exact warning system on the vehicle.
Brake pads and rotors decision checklist
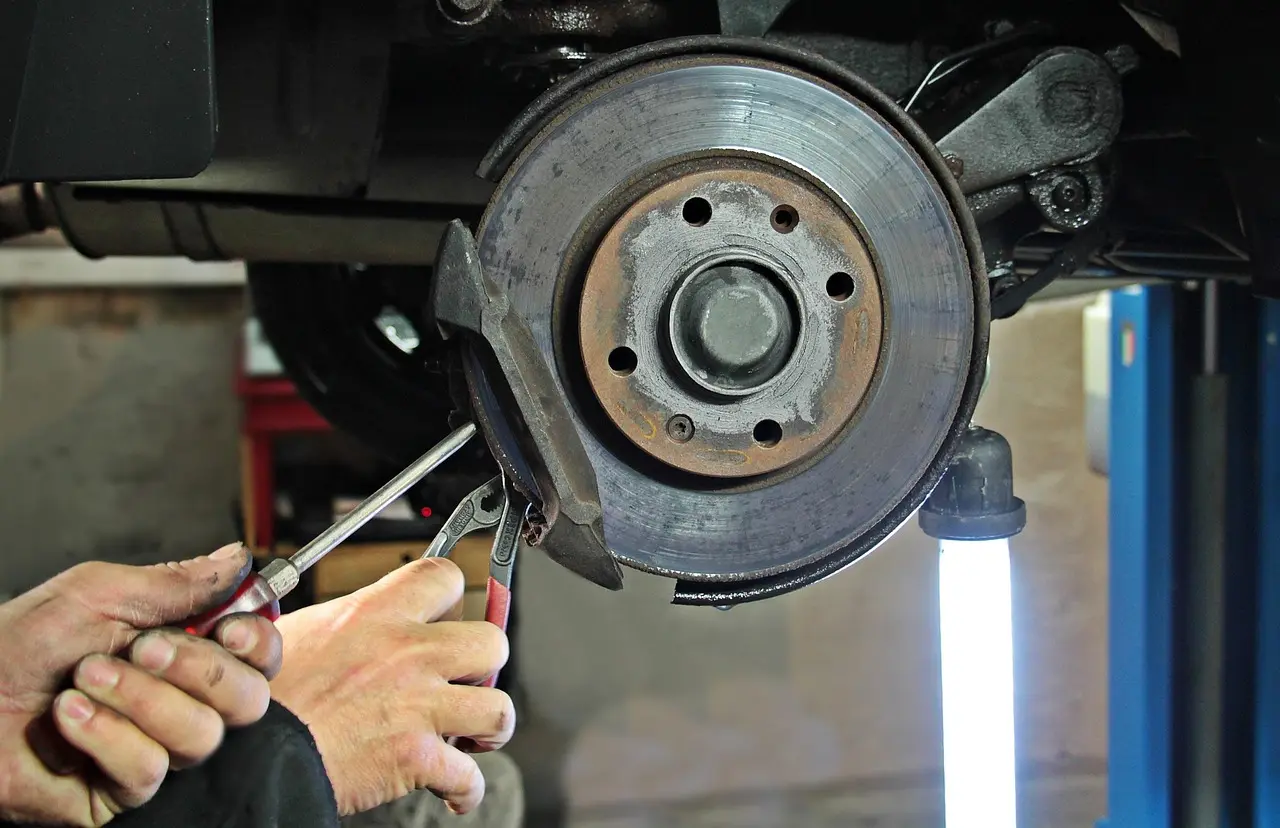
- Check the pad thickness first. If friction material is near 3 mm or less, or the wear tab is contacting, treat the pads as the first failure.
- Compare the inner and outer pads on both sides of the axle. Large differences point to a caliper fault, not normal pad wear.
- Inspect the rotor surface. Look for grooves, scoring, blue spots, and heat checking.
- Measure rotor thickness at multiple points. Use a micrometer and compare each reading to the stamped minimum thickness.
- Check for caliper problems if wear is one-sided. Look for sticking slide pins, poor piston retraction, or one-wheel overheating.
- Replace parts in pairs on the same axle. Match left and right, and expect the front and rear axles to wear at different rates.
Pad-first or rotor-first?
| Symptom | Likely first-failing part | Next check | Outcome |
|---|---|---|---|
| Squeal with normal braking feel | Pad wear indicator or thin pads | Measure visible pad thickness and inspect the tab | Replace pads only if rotors measure in spec |
| Grinding or scraping | Pads worn through | Check for backing plate contact and rotor scoring | Replace pads too; replace rotors if scored deeply or below minimum thickness |
| Pulsation, vibration, or pedal kickback | Rotor | Measure rotor thickness at several points | Replace rotors too if below spec or badly uneven |
| Inner pad much thinner than outer pad | Caliper | Check slide pins and piston retraction | Inspect caliper first |
| One wheel hotter after a short drive | Caliper | Compare pad wear and rotor color on that corner | Inspect caliper first |
Do not replace rotors automatically just because pads are worn. Do replace both if the rotor is below minimum thickness, deeply scored, or too uneven to machine safely. A common first-timer mistake is to install new pads on a dragging caliper and then blame the new pads when they wear unevenly again.
Before any brake service, check the master cylinder reservoir. As pads wear, the fluid level can drop. After new pads are installed and the caliper piston is pushed back, the level rises again, so avoid overfilling the reservoir. Too much fluid can overflow once the pistons are reset.
Frequently asked questions
How do I tell if my brake pads need replacing before my rotors?
Measure the pad friction material first. If it is around 3 mm or less, or the wear tab is touching and making noise, the pads are the first thing to replace. If the rotor still meets thickness spec and the surface is not badly damaged, the rotor may stay in service.
How do I know if my rotors are bad instead of just my pads?
If the pads still have usable thickness but the rotor is grooved, heat checked, blue, or below stamped minimum thickness, the rotor is the likely failure. Rotor-related pulsation under braking is another clue. Confirm with a micrometer before deciding that the disc must be replaced.
Can brake pads wear out faster than rotors?
Yes. Pads are made to wear faster than rotors, and front pads often wear faster than rear pads because the front axle carries more braking load. Normal pad wear does not mean the rotors are bad. The rotor still needs a thickness and surface check before replacement decisions are made.
What happens if I replace pads but not rotors?
If the rotors are still above minimum thickness and their surface is serviceable, new pads can run fine on them. If the rotors are scored, too thin, or uneven, the new pads may wear poorly, make noise, or cause pulsation. Match the rotor condition to the pad job instead of guessing.
Do I need new rotors every time I replace brake pads?
No. Rotors do not need automatic replacement with every pad job. Replace them only when they are below minimum thickness, badly scored, heat checked, or too uneven to machine safely. Many brakes only need pads, but both parts should still be inspected together on the same axle.
What are the signs of warped rotors vs worn pads?
Worn pads usually show thin friction material, backing plate contact, or a squeal tab warning. Rotor problems usually show pulsation, steering wheel shake, scoring, blue heat spots, or thickness variation. If the wear is one-sided or only one wheel is hot, check the caliper too.

Hi, I’m Melvin, an automobile engineer with extensive experience in automobile equipment. I currently work for a local automobile firm, where I specialize in the car parts industry. I’ve had the opportunity to collaborate with seasoned inspectors, gaining invaluable hands-on experience that goes beyond just theory.
My passion for automotive care started at a young age, which led me to create CarSpareCare. Through CarSpareCare, I share the knowledge and skills I’ve acquired over the years to help others navigate the world of car maintenance and repairs.
My goal is to provide practical tutorials, essential safety advice, and the latest industry insights so that anyone—whether a beginner or an expert—can confidently tackle their automotive projects.

