Replace spark plugs only when the engine is completely cool; after a drive, wait until the plug area no longer feels warm. Rushing the job can strip threads, tear boots, or break a plug in the head. This guide shows how to change plugs on a cold engine, how to feel for seized threads, and when to stop before damage starts.
What you’ll need before you start

- Spark plug socket with a rubber insert, preferably a deep socket style for recessed plugs.
- Torque wrench for final tightening to the vehicle specification.
- Spark plug gap tool to verify the plug gap before installation.
- Ratchet and extensions sized for deep wells on your engine.
- Boot puller or a firm grip on the rubber boot, if access is tight.
- Compressed air or a clean brush to clear dirt from the plug well.
- Dielectric grease only if the plug wire or coil boot manufacturer specifies it.
- Clean rags and a bright work light.
| Tool | Why it matters | What to look for |
|---|---|---|
| Spark plug socket | Grips the plug and helps prevent porcelain damage | Rubber insert, deep-well style for recessed plugs |
| Torque wrench | Helps avoid overtightening and thread damage | Range that covers your plug torque spec |
| Spark plug gap tool | Checks the plug tip gap before installation | Simple wire or blade-style hand tool |
| Extensions | Reach plugs buried under intake parts or deep wells | Length that clears the plug tube without tilting |
📊 Some vehicles call for replacement at 100,000 miles. Source: How to Replace Spark Plugs (Beginner Garage Guide).
How long should I let the engine cool before changing spark plugs?
Wait until the engine is fully cool, not merely “a little warm.” A practical minimum is about two hours after shutdown, and longer after hard driving, towing, or summer heat soak. Hot metal can burn skin, and hot removal can damage spark plug threads, especially in aluminum heads.
What “fully cool” means in practice
Touch the valve cover, plug well area, and nearby metal carefully with the back of your hand. If any part still feels warm, give it more time. Aluminum heads cool quickly but also hold enough heat to make removal risky while the engine is still warm.
When to wait longer than two hours
Wait longer if the car was driven hard, the engine bay is tightly packed, or the plugs sit deep under coil packs and heat shields. A hot exhaust side can keep the area warmer than expected even after the hood has been open for a while.

Can I replace spark plugs on a hot engine?
No. Removing plugs from a hot engine raises the risk of burns, stripped spark plug threads, and cracked porcelain if a plug binds and twists. The safest choice is to let the engine cool completely before loosening anything in the plug wells.
Why the thread risk matters more on aluminum heads
Aluminum cylinder heads are less forgiving than cast iron. If a plug is removed or installed while hot, the metal expansion difference can make the threads feel loose one moment and seize the next. That is where cross-threading and pulled threads start.
How do I know when spark plugs are due for replacement?
Some vehicles call for replacement at 100,000 miles, but symptoms can appear before the interval. Rough idle, hesitation on acceleration, slow starting, reduced fuel economy, loss of power, and a raw fuel smell all point to worn plugs or related ignition problems.
Why mileage and symptoms should be checked together
A plug can be due by the service schedule and still look serviceable, or it can fail early because of oil fouling, heat, or age. A blinking check engine light and a rough-running engine that can shake uncontrollably at idle should move the job up the list fast.
Say your car is at 92,000 miles and now takes a longer crank on cold starts. That is enough reason to inspect the plugs even if the owner’s manual lists replacement at 100,000 miles.
How do I remove spark plug wires without damaging them?
Grip the rubber boot, twist it slightly, then pull straight off. Do not yank the wire itself. Older vehicles often use ignition wires; many newer vehicles use coil packs instead, and those also need careful handling to avoid tearing the connector or boot.
Coil packs versus ignition wires
Ignition wires connect the coil to each plug on older layouts. Coil packs may sit directly on the plug in coil-on-plug systems. Either way, the boot should come off straight, not at an angle, because brittle rubber can tear and leave part of the boot stuck in the well.
What tools do I need to change spark plugs safely?
You need a spark plug socket, a ratchet with the right extension length, a torque wrench, and a spark plug gap tool. A regular deep socket may lack the rubber grip needed, while the special socket helps remove a plug from a deep hole without cracking the porcelain.
Basic access setup by engine layout
- Deep plug wells: use a deep spark plug socket and at least one extension.
- Coil-on-plug engines: plan for connector release tabs and boot removal.
- Tight engine bays: add a wobble extension only if the socket still stays straight.
Should I use a torque wrench on spark plugs?
Yes. A torque wrench helps prevent overtightening, which can ruin an aluminum engine block and make the next plug service harder. It also gives peace of mind on installation because the plug seats fully without being crushed against the head.
How to tighten without guessing
Start the plug by hand first, then use the torque wrench for the final tighten to the vehicle specification. Do not use the ratchet to “feel” for final tightness alone. If the plug must seal against a crush washer, the torque spec is what keeps the washer and threads in the right range.
How to replace spark plugs on a cold engine safely
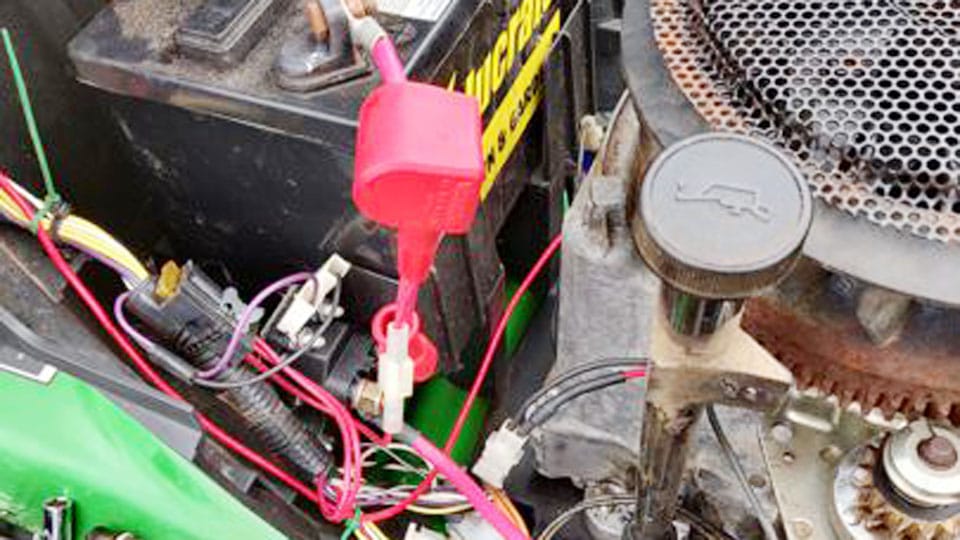
- Disconnect the battery if your vehicle layout places connectors close to exposed terminals.
- Remove the coil pack or ignition wire by the boot, not the wire.
- Blow or brush dirt away from the plug well before loosening the plug.
- Break the plug loose slowly and stop if resistance feels gritty, jerky, or uneven.
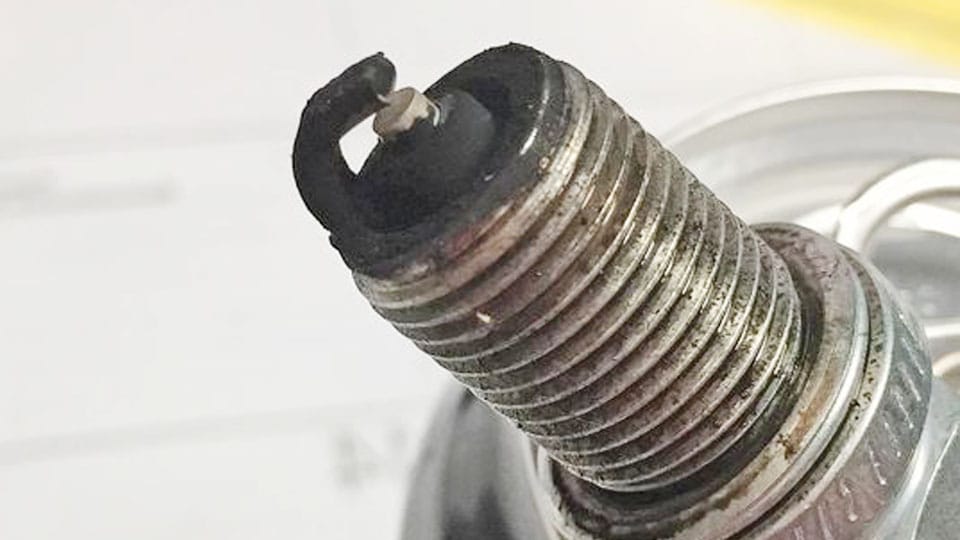
- Remove the old plug and inspect the threads, porcelain, and ground strap.
- Check the gap on the new plug with a spark plug gap tool.
- Thread the new plug in by hand first. It should spin several turns easily.
- Use the torque wrench for final tightening to the vehicle spec.
- Refit the coil pack or wire until it clicks or seats fully.
How to read the feel during removal
Clean removal feels steady and even. Bad signs include sudden tightening, a scraping feel, or a plug that starts to bind and then stops. Those are warning signs for seized threads, carbon buildup, or cross-thread risk.
Suppose a plug begins to turn, then tightens hard after a quarter turn. Stop there. Forcing it can twist the plug in the head and turn a routine job into a broken-porcelain or thread-repair problem.
Failure cases: when to stop and not force the plug

Stop if the plug will not turn cleanly, the porcelain cracks, the boot tears apart, or the coil connector will not release without prying. A stuck plug should not be forced. That is how threads strip and plug shells break off in the head.
Stop-work decision box
- Stop now if the plug feels seized after gentle pressure.
- Stop now if the hex rounds, porcelain cracks, or the plug turns crooked.
- Stop now if a boot or coil boot is brittle and tears on removal.
- Seek a mechanic if the plug feels cross-threaded during hand installation.
What happens next if you keep going
Overtightening can damage the head threads, especially in softer metal heads. Cross-threading can leave the plug loose, misfiring, or impossible to remove cleanly later. Broken porcelain can also drop fragments into the well and complicate extraction.
Cold-engine spark plug checklist
| Symptom or condition | Engine material | Resistance or condition | Safest next action |
|---|---|---|---|
| Rough idle, hesitation, slow start, reduced mpg, raw fuel smell | Any | No unusual resistance yet | Inspect plugs, gap new plugs, replace as scheduled or earlier if worn |
| Plug area still warm after shutdown | Aluminum head | Heat still present | Wait longer; do not start removal |
| Plug turns with gritty or jerky resistance | Aluminum head | Seized thread warning | Stop and seek help before stripping threads |
| Plug starts crooked by hand | Cast iron or aluminum | Cross-thread risk | Back it out, realign, and restart by hand; stop if it will not start straight |
| Boot cracks or coil connector breaks | Any | Brittle parts | Replace the damaged part before continuing |
Tool checklist: spark plug socket with rubber insert, torque wrench, spark plug gap tool, extension(s), boot puller or grip method, clean brush or air, and a light. Stop-work box: if the plug resists, cross-threads, or breaks, stop before forcing the next turn.
Prevention
Keep the plug wells clean, use the correct socket, and start every plug by hand before using a wrench. That one habit prevents most stripped-thread repairs.
Frequently asked questions
How do I avoid stripping spark plug threads?
Start the plug by hand, keep it straight, and stop immediately if it does not spin in easily for several turns. Clean the well first, use the correct socket, and do not force a plug that feels gritty, angled, or suddenly tight.
What happens if I over tighten a spark plug?
Overtightening can crush the sealing washer, damage the plug, and ruin head threads, especially in an aluminum engine block. The plug may also be much harder to remove later, which turns a basic maintenance job into a repair job.

Hi, I’m Melvin, an automobile engineer with extensive experience in automobile equipment. I currently work for a local automobile firm, where I specialize in the car parts industry. I’ve had the opportunity to collaborate with seasoned inspectors, gaining invaluable hands-on experience that goes beyond just theory.
My passion for automotive care started at a young age, which led me to create CarSpareCare. Through CarSpareCare, I share the knowledge and skills I’ve acquired over the years to help others navigate the world of car maintenance and repairs.
My goal is to provide practical tutorials, essential safety advice, and the latest industry insights so that anyone—whether a beginner or an expert—can confidently tackle their automotive projects.