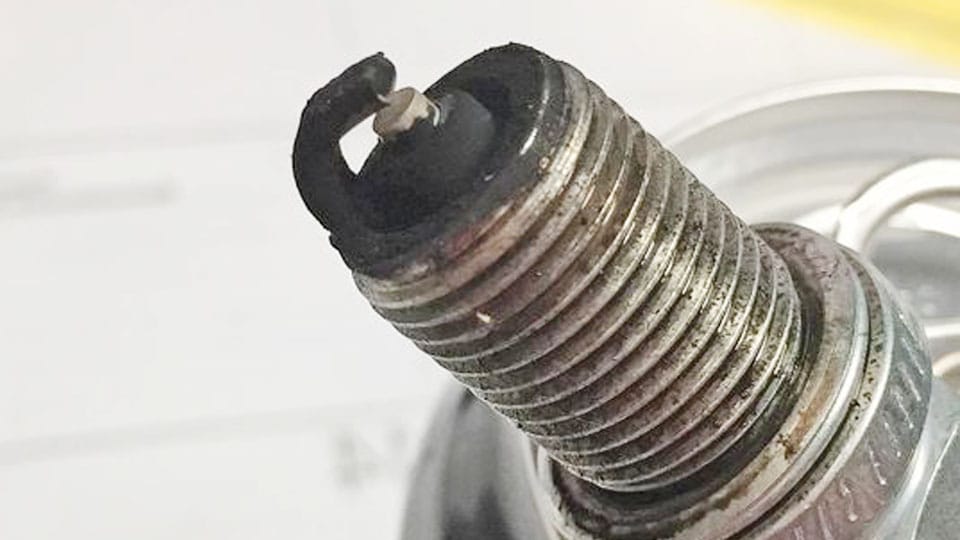
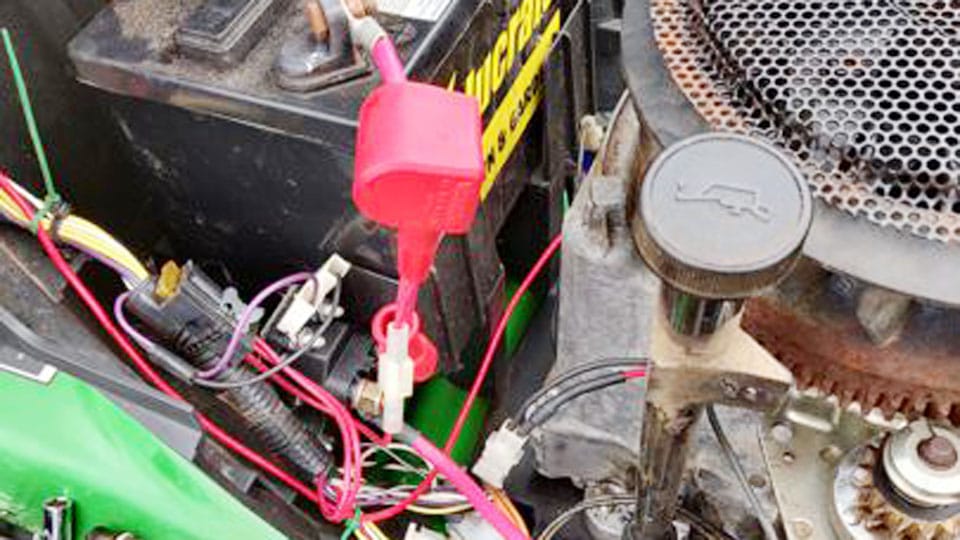
Let the engine cool until the valve cover is warm, not hot; if you can keep a bare hand on nearby metal for a few seconds, it is usually safer to remove spark plugs. Go in too early and you can strip aluminum threads, crack ceramic, or tear boots, which turns a simple tune-up into a costly repair. This guide explains how to judge temperature and remove plugs on a warm engine with the least risk.
What you’ll need before you start
- Spark plug socket in the correct plug size, with a deep-well design and either a rubber insert or magnetic core; match the drive size to the ratchet, commonly 3/8 inch or 1/2 inch.
- Ratchet wrench, commonly 3/8-inch drive, for controlled loosening and tightening.
- Extension, usually 3-inch, 6-inch, or 10-inch, for deep or obstructed plug wells.
- Torque wrench to tighten plugs to manufacturer specifications.
- Gap gauge to verify the plug gap before installation.
- Safety glasses and gloves.
- Dielectric grease, optional, for boot sealing where the design calls for it.
- Replacement spark plugs of the correct type: copper, platinum, iridium, or double platinum.
- The vehicle’s manufacturer specifications for plug size, tightening torque, and service interval.
Can you change spark plugs on a hot engine?
Yes, but only when the engine is warm enough to work around and cool enough that the parts will not fight you. The safer choice depends on head material, plug-well depth, and access around coil-on-plug boots. Aluminum heads and deep wells need more caution because heat stays concentrated around the threads.
A warm engine is different from an overheated one. Warm usually means the metal is still hot to touch, but not throwing hard heat from the plug wells. Overheated means parts are still punishing to handle, the boots feel stiff, or the surrounding metal is uncomfortably hot. At that point, stop and wait.
Which engines need extra caution
Engines with aluminum cylinder heads deserve slower work because hot aluminum is easier to damage if a plug binds. Deep plug wells add another risk: the socket, extension, and boot have to pass through a narrow tunnel, which makes angled removal more likely. Coil-on-plug layouts also need careful boot release so the rubber does not tear.
When to stop and wait instead of forcing the job
If the plug breaks loose with rough, gritty resistance, stop. If the boot sticks hard enough that you have to yank, stop. If the engine bay heat makes the plug well too hot to hold for several seconds, stop. Waiting is cheaper than repairing aluminum threads or cracked ceramic.
How hot is too hot to remove spark plugs?
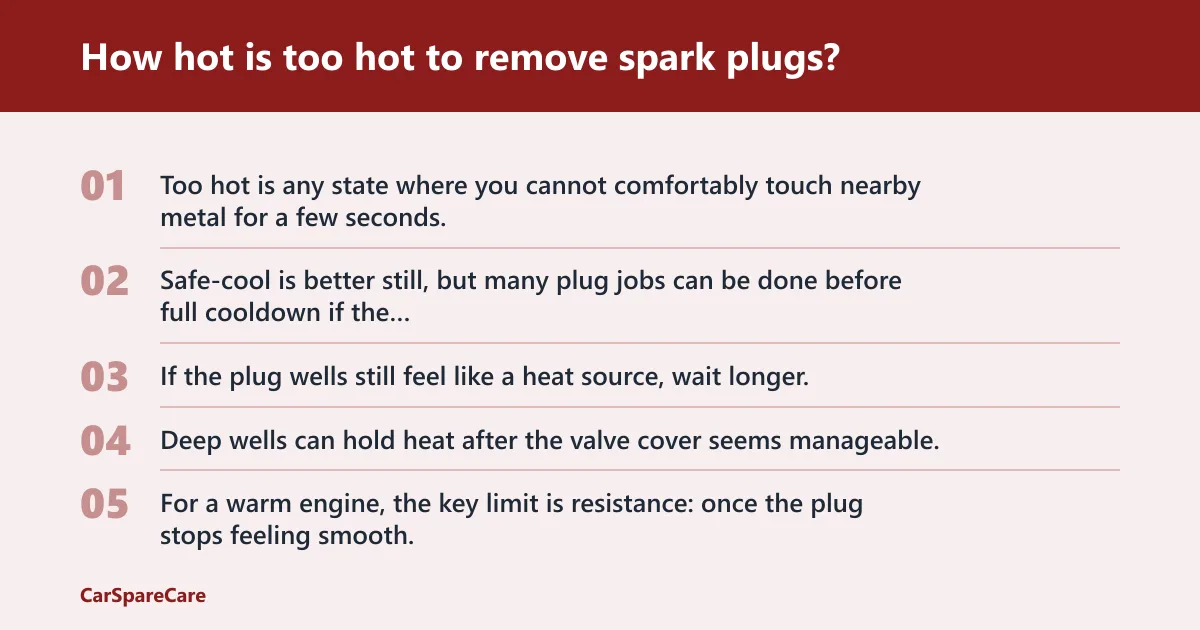
Too hot is any state where you cannot comfortably touch nearby metal for a few seconds, or where the plug wells still radiate strong heat upward. Warm is the working window. Safe-cool is better still, but many plug jobs can be done before full cooldown if the engine is only warm and the parts release cleanly.
| Temperature state | How it feels | Action | Exact stop point |
|---|---|---|---|
| Too hot | Strong heat from the valve cover or plug wells; bare hand cannot stay on nearby metal for 5 seconds | Wait | Do not remove coils or plugs |
| Warm | Hot, but touchable; nearby metal can be held briefly | Work carefully | Stop if boot release is stiff or plug turns rough |
| Safe-cool | Warm to the touch, not radiant | Best time to proceed | Proceed normally, still use torque spec |
If the plug wells still feel like a heat source, wait longer. Deep wells can hold heat after the valve cover seems manageable. For a warm engine, the key limit is resistance: once the plug stops feeling smooth, the job has crossed from careful maintenance into damage risk.
Step-by-step: remove spark plugs from a warm engine
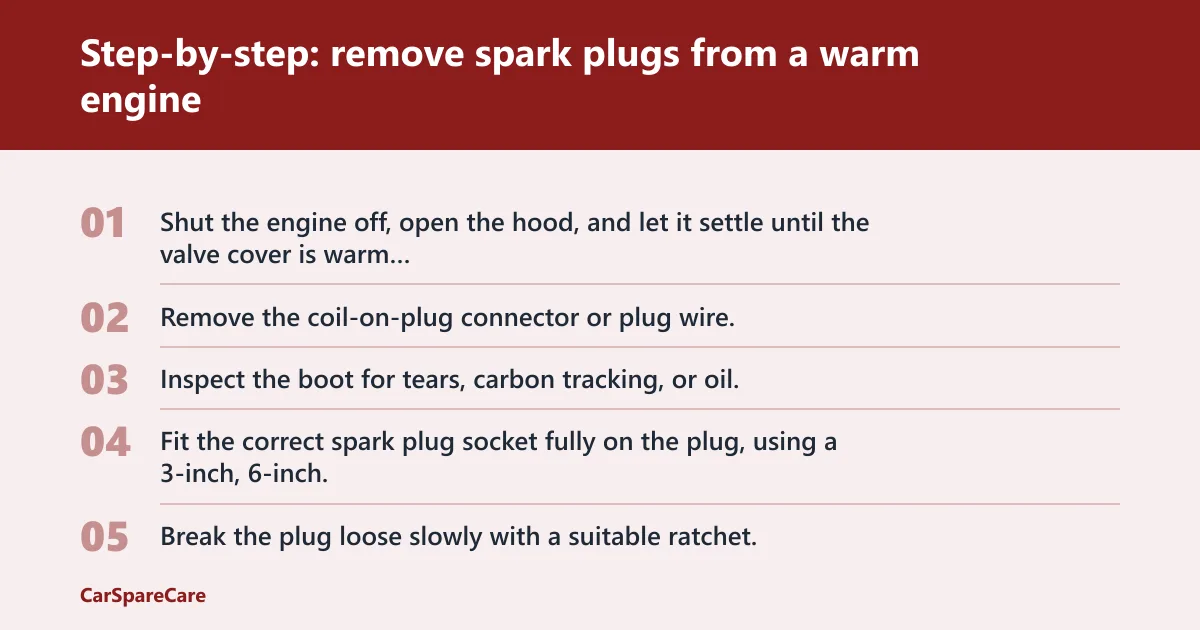
- Shut the engine off, open the hood, and let it settle until the valve cover is warm rather than hot.
- Remove the coil-on-plug connector or plug wire, then release the boot straight up if possible; twisting slightly can help, but do not pry hard.
- Inspect the boot for tears, carbon tracking, or oil; replace damaged boots before reassembly.
- Fit the correct spark plug socket fully on the plug, using a 3-inch, 6-inch, or 10-inch extension as needed for access.
- Break the plug loose slowly with a suitable ratchet. Stop immediately if it feels gritty, sudden, or uneven.
- Spin the plug out by hand once it is loose enough, keeping the socket aligned to protect the threads.
Suppose a plug in a deep well on an aluminum head resists after the first quarter turn. Do not add force. Back it out a little, then snug it forward again by hand if it will move, or let the engine cool and try later. That small pause can prevent thread galling.
Step-by-step: install new plugs without damage
- Check the part number, plug type, and gap against the vehicle specification before installation.
- Use a gap gauge to verify the spark plug gap; adjust only if the plug maker allows it.
- Thread each plug in by hand for several turns before using any ratchet.
- Tighten with a torque wrench to the listed specification, or follow the stated seat type if the service data calls for a different method.
- Apply dielectric grease only to the boot area if the coil or wire design calls for it; keep it off the firing tip and electrode.
- Reinstall the coil or boot straight down so the seal seats evenly.
Most manufacturers list plug size, tightening torque, and service interval by engine code or VIN lookup. Spark plug types include copper, platinum, iridium, and double platinum, but type choice does not replace fit and torque compliance. Gap and seat style still matter.
Hot-engine safety checklist and stop points
Use this as a field-use decision table before every plug change on a recently run engine. The goal is to prevent thread damage, boot tears, and ceramic cracks before they start.
| Check | Too hot | Warm | Safe-cool | Stop point |
|---|---|---|---|---|
| Valve cover touch test | Cannot hold 5 seconds | Can hold 5–10 seconds | Comfortable to touch | If it burns or forces a pull-away, wait |
| Boot release | Stiff and sticky | Releases with a straight pull | Releases cleanly | Stop if the boot stretches hard or tears |
| Plug breakaway | Unknown risk | Should turn smoothly at first | Best chance of clean removal | Stop if the plug binds or feels rough |
| Re-torque | Do not start | Use torque wrench only | Use torque wrench only | Stop if final tightening feels uneven |
Exact stop points matter more than speed. Boot resistance means pause. Thread drag means pause. A sudden hard spot means pause. Let the engine cool before trying again, especially on aluminum heads or when the plug wells are narrow and hot.
Common mistakes that damage threads, boots, or ceramic
Forcing a plug that feels tight is the fastest way to strip threads. The next most common mistake is using the wrong socket size or drive size, which rounds the plug hex or leaves the socket loose in the well. Skipping the torque wrench invites overtightening, and overtightening damages threads and crush seals.
Cross-threading the first turns is another expensive error. Start every plug by hand and keep it square. Do not twist on the ratchet until the plug has threaded in cleanly for several turns. Also avoid pulling the coil boot at an angle, since hot rubber can tear more easily.
A common first-timer mistake is working on a V6 with deep plug wells and a short socket. The socket will not seat fully, the extension will wobble, and the plug can tilt as it comes out. A deep-well socket with the correct 3/8 inch or 1/2 inch drive avoids that problem.
What happens if you remove spark plugs from an overheated engine?
Removing plugs from an overheated engine can increase the chance of thread galling, torn boots, and cracked ceramic from thermal shock. Aluminum heads are the main concern because hot threads can bind and then release unevenly. The plug may feel stuck, then suddenly move, which can chip the porcelain or damage the seat.
If that happens, stop and let the engine cool. Do not force the ratchet or try to “save time” with a longer handle. The next step is a full cool-down and a careful restart with the correct socket, extension, and torque wrench.
How long should I wait before changing spark plugs?
Wait until the valve cover is warm rather than hot. A practical rule is the bare-hand test on nearby metal: if you can keep a hand on it for 5–10 seconds, the engine is usually in the warm window. For a fully safe-cool job, let the engine sit longer until heat no longer radiates from the plug wells.
Parked time depends on engine size, ambient temperature, and access around the wells. A small engine may settle faster than a packed V-engine with deep coils. If the plug wells still trap heat, extra waiting is the better call.
What tools do I need to replace spark plugs safely?
You need a spark plug socket that matches the plug size, a ratchet wrench with a 3/8-inch drive, and a suitable extension. A 3-inch, 6-inch, or 10-inch extension helps in deep or obstructed wells. Add a torque wrench, gap gauge, safety glasses, gloves, and optional dielectric grease for boot sealing where specified.
The socket should be a deep-well design with a rubber insert or magnetic core so the plug stays centered on removal and installation. That detail matters more in coil-on-plug engines, where access is narrow and the plug can drop or cock sideways if the socket does not hold it securely.
Should I use a torque wrench when installing spark plugs?
Yes. A torque wrench is the correct tool for tightening plugs to manufacturer specifications, and it helps prevent damage from overtightening. That matters especially on aluminum heads, where too much torque can distort the threads or make later removal harder than it should be.
If the service data gives a torque value, use it. If it calls for a different seat method or torque-plus-angle procedure, follow that instead. Do not judge tightness by feel on a warm engine, because heat changes resistance and can hide over-tightening.
Do I need a spark plug gap gauge before installation?
Yes. A gap gauge helps verify and adjust the spark plug gap before installation, and that check belongs on every plug job. Even pre-gapped plugs can ship out of spec, and the wrong gap can affect ignition quality and plug life.
Use the engine’s specified gap, then recheck after handling the plug. Some plug designs are not meant to be bent aggressively, so adjust only as allowed by the plug maker and service data. Gap the plug before it goes into the head, not after.

Hi, I’m Melvin, an automobile engineer with extensive experience in automobile equipment. I currently work for a local automobile firm, where I specialize in the car parts industry. I’ve had the opportunity to collaborate with seasoned inspectors, gaining invaluable hands-on experience that goes beyond just theory.
My passion for automotive care started at a young age, which led me to create CarSpareCare. Through CarSpareCare, I share the knowledge and skills I’ve acquired over the years to help others navigate the world of car maintenance and repairs.
My goal is to provide practical tutorials, essential safety advice, and the latest industry insights so that anyone—whether a beginner or an expert—can confidently tackle their automotive projects.