
For high-wear areas, choose a clear PPF that fits the zone: about 8- to 10-mil film for front impact points, thinner film for light scuff zones, and a self-healing top coat where wash marks and rubs are common. Pick the wrong film and you can get edge lifting, visible seams, premature wear, or paint damage from repeated impact and abrasion. This guide shows how to size PPF by part, compare thickness and self-healing traits, and avoid common fit mistakes on rocker panels, door cups, bumpers, and lower doors.
Quick comparison
| Product | Badge | Best for | Price | ||
|---|---|---|---|---|---|
 | XPEL Clear Paint Protection Film RollXPEL | Our pick | 6" x 60" · self-healing · clear roll | $19.18 Price as of 2 Nov 2026 | View |
 | DIYAH Ultra-Gloss Elite PPF 84" X 60" / 7 FT X 5 FTDIYAH | Upgrade pick | 84" x 60" · 7.5 mil · clear gloss | $44.99 Price as of 2 Nov 2026 | View |
 | 3M Scotchgard Clear Paint Protection Bulk Film Roll3M | Also great | 6" x 48" · 8 mil · clear film | $19.09 Price as of 2 Nov 2026 | View |
 | VViViD Paint Protection Film 12 Inches x 54 Inches ClearVViViD | Budget pick | 12" x 54" · 5 mil · clear gloss | $11.99 Price as of 2 Nov 2026 | View |
Use the comparison table to match width and thickness to the part, not the brand label. That matters most on narrow zones like door edges and handle cups, where a roll that is too wide creates waste and a roll that is too thin wears out early.
How we chose
The picks below are grouped by fit, not by marketing claims. The main filters were width match to the target zone, thickness for chip resistance, adhesive type or install behavior, and whether the film is better for small contact spots or wider panels.
Clear PPF is a transparent thermoplastic urethane or polyurethane film. When installed well, it is hard to spot, and it is made to take the abuse that would otherwise hit paint: chips, scratches, road debris, bug damage, and weathering.
For high-wear areas, the best film is the one that fits the part with the fewest seams. Width is what keeps a narrow door edge from becoming a wasteful trim job. Thickness is what helps on exposed front edges, rocker fronts, and bumper corners.
XPEL Clear Paint Protection Film: best for mixed wear zones
XPEL is the strongest all-around choice here for mixed high-wear spots, especially when you want one clear film for front impact areas and smaller contact zones. The listed 6 x 60 inch and 6 x 84 inch roll sizes make it easier to cut strips for narrow contact areas, mirror caps, and leading edges without buying far more material than needed. The film is positioned for high-impact exterior areas and is described as protecting against chips, scratches, road debris, and everyday damage.
The main advantage is fit flexibility. A 6-inch roll is useful for some narrow parts without forcing a seam, and the self-healing claim is useful where wash marks and light scuffs are likely. The drawback is simple: narrow rolls still need careful trimming on curved parts, and self-healing does not stop edge lift if the film is stretched too far.
3M Scotchgard Clear Paint Protection Film: best for wider panels
3M Scotchgard works well when you need a clear, protective sheet for broader sections rather than tiny strips. One listed size is 12-by-72-inches, and 3M clear film listings also show 8 mil and 6 mil thickness options depending on the version. That makes it a practical match for bumper corners, hood edges, and other zones that need more coverage than a narrow roll can provide.
The adhesive-backed format helps with placement, but it also means surface prep matters. Dust at the edge can create lift later, and a wider piece can trap more bubbles if you rush the squeegee work. For larger sections, that tradeoff is usually worth it because you get fewer seams and less patchwork on the body.
VViViD 3M Clear Paint Protection Vinyl Film: best for narrow sections
VViViD is the practical pick for smaller zones where width control matters. The category includes 4-inch, 6-inch, and 12-inch widths, and one listing uses 8-mil thickness. That spread makes it easier to choose a strip that fits a handle cup, tight mirror cap, or other narrow contact point without wasting film on extra trimming.
This film is better for DIY owners who want a simpler size match than a broad sheet. The air-release or repositionable adhesive style can help while you align a narrow strip, but it also means you still need clean edges and steady pressure. The main limitation is coverage depth: narrower film is not the right answer for big front-end sections, and the product name reads more like a vinyl-film listing than a clearly identified PPF line.
What thickness of PPF should you choose?
For door edges and handles, about 6 mil film is often enough for light contact, but 8 mil makes more sense if the area gets repeated rubbing, fingernail marks, or frequent use. Thicker film usually gives more chip resistance, yet it can be harder to wrap around tight curves and may show a seam sooner if the edge is pushed too far. The mil figures in these listings are the stated film thicknesses, so compare them as listed specs rather than assuming every brand uses the same layer stack.
6 mil versus 8 mil
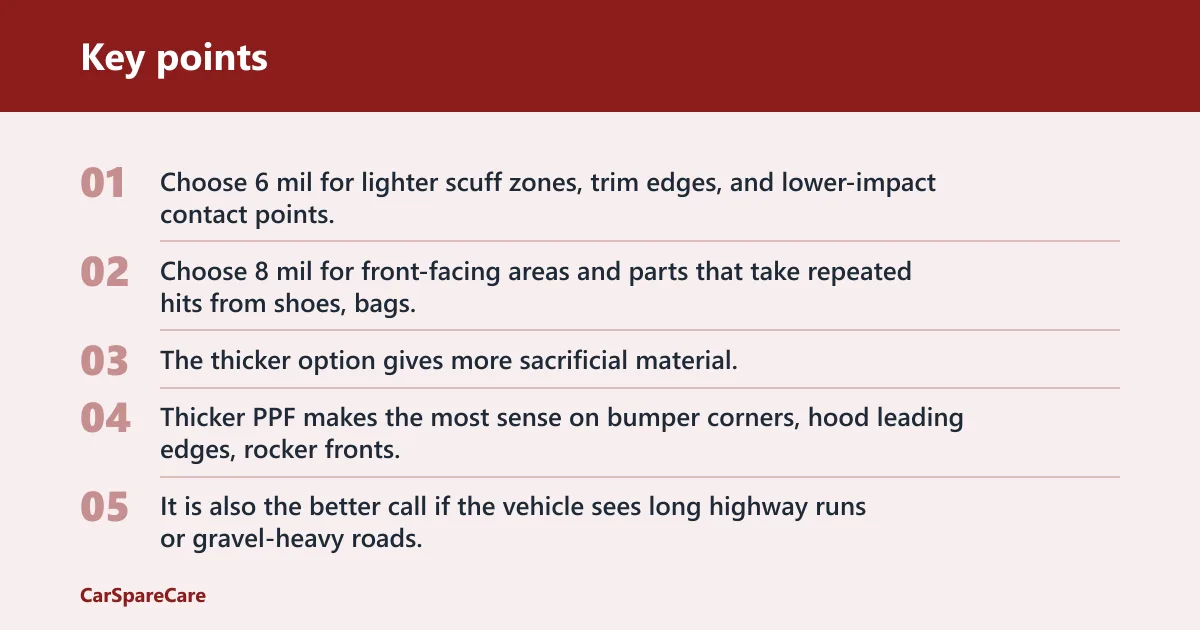
Choose 6 mil for lighter scuff zones, trim edges, and lower-impact contact points. Choose 8 mil for front-facing areas and parts that take repeated hits from shoes, bags, wash mitts, or road grit. The thicker option gives more sacrificial material, but it also takes more care at corners and tight bends.
When thicker film makes sense
Thicker PPF makes the most sense on bumper corners, hood leading edges, rocker fronts, and any spot where stones and sand strike first. It is also the better call if the vehicle sees long highway runs or gravel-heavy roads. That said, thick film can telegraph stretch marks if you pull it hard across a curve.
Tradeoffs on narrow parts
On narrow parts, thickness affects edge lift risk as much as protection. A stiffer film can fight the shape of a door edge or handle cup, which leaves a corner more likely to peel later. If the part is tiny and flat, width matching often matters more than chasing the thickest film available.
Say your door edges get light scuffs from a tight garage opening. A narrow strip with moderate thickness is usually enough, because the goal is sacrificial protection at the exact contact point, not full-panel coverage.
High-wear area PPF match chart
This chart maps the common high-wear zones to film width, minimum thickness, and install risk. Use it to avoid buying a wide roll for a tiny edge or an underbuilt film for a front-facing impact zone.
| High-wear zone | Recommended film width | Minimum thickness | Install difficulty | Failure risk notes |
|---|---|---|---|---|
| Door edges | 4 to 6 inches | 6 mil | Low to medium | Edge lift if the film is over-stretched; visible seam if the strip is too narrow. |
| Handle cups | 4 to 6 inches | 6 mil | Medium | Contamination at the rim and trapped bubbles are common. |
| Rocker fronts | 6 to 12 inches | 8 mil | Medium to high | Road grit can attack edges; poor alignment leaves exposed paint near the front lip. |
| Mirror caps | 4 to 6 inches | 6 mil | Medium | Curves can create stretch marks; dust at the edge makes lift more likely. |
| Bumper corners | 6 to 12 inches | 8 mil | High | Seams may show on tight wrap points; corners are prone to peel if trimmed short. |
| Hood leading edge | 6 to 12 inches | 8 mil | Medium to high | Stone impact is frequent; poor prep shows as early edge contamination. |
Can you install PPF yourself on rocker panels?
Yes, if you are patient and the rocker front is not deeply curved. Rocker panels are a common DIY target because they are visible, easy to measure, and often damaged by sand and road debris. The hard part is keeping the film straight while avoiding tension at the front edge, where lift starts first.
Prep before the film goes
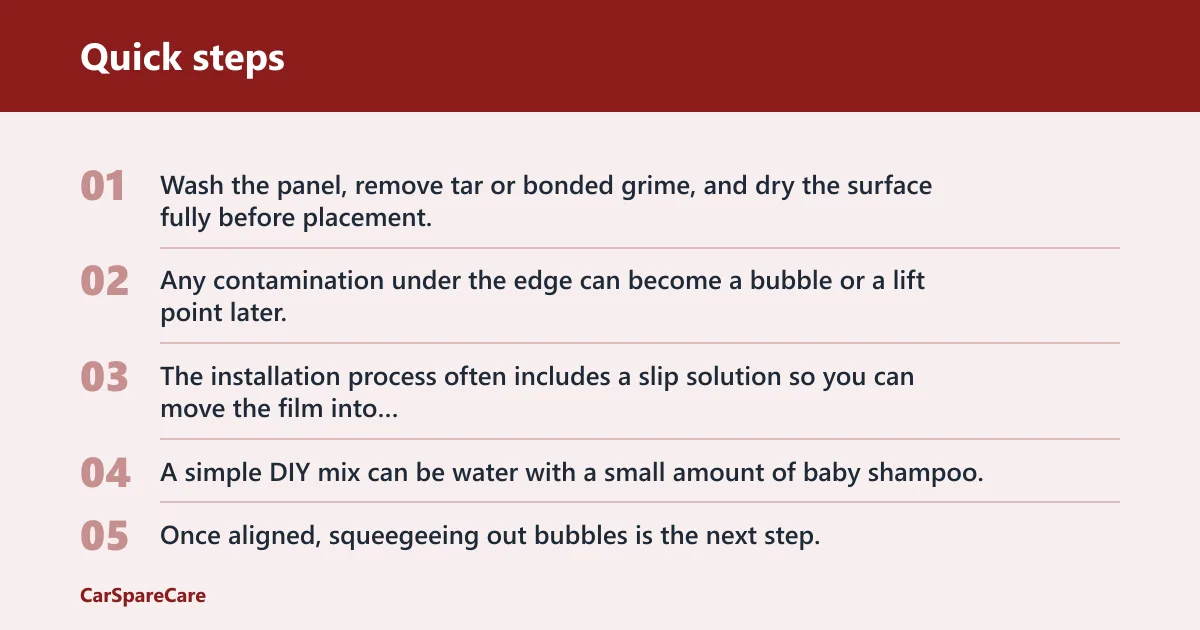
Clean paint is the starting point. Wash the panel, remove tar or bonded grime, and dry the surface fully before placement. Any contamination under the edge can become a bubble or a lift point later, especially on lower panels that collect grit.
Slip solution and squeegee basics
The installation process often includes a slip solution so you can move the film into place before it grabs. A simple DIY mix can be water with a small amount of baby shampoo, but you should still follow the film maker’s instructions if the kit specifies a different dilution. Once aligned, squeegeeing out bubbles is the next step. Some kits also use detailer or felt tools to reduce scuffing while you push moisture and air toward the edge.
Common mistakes on curved or narrow parts
Do not over-stretch the film around a corner. That can leave stretch marks that stay visible in sunlight. Do not trap dirt at the edge either, because contamination makes the perimeter fail first. Narrow parts fail more from bad edge work than from the middle of the panel.
A common first-timer mistake is choosing a 12-inch sheet for a small edge. The extra width sounds safer, but it usually creates more trimming, more waste, and more chances for a crooked seam.
Which one should you buy?
Buy XPEL if your target list mixes small contact zones and front-impact spots, and you want a self-healing option that is already sized for narrow high-wear strips. Buy 3M Scotchgard if you need wider coverage on bumper corners or hood edges and want a bulk roll format. Buy VViViD if the job is mostly narrow parts and you want width choices that fit those areas without excess waste.
Best choice for small contact zones
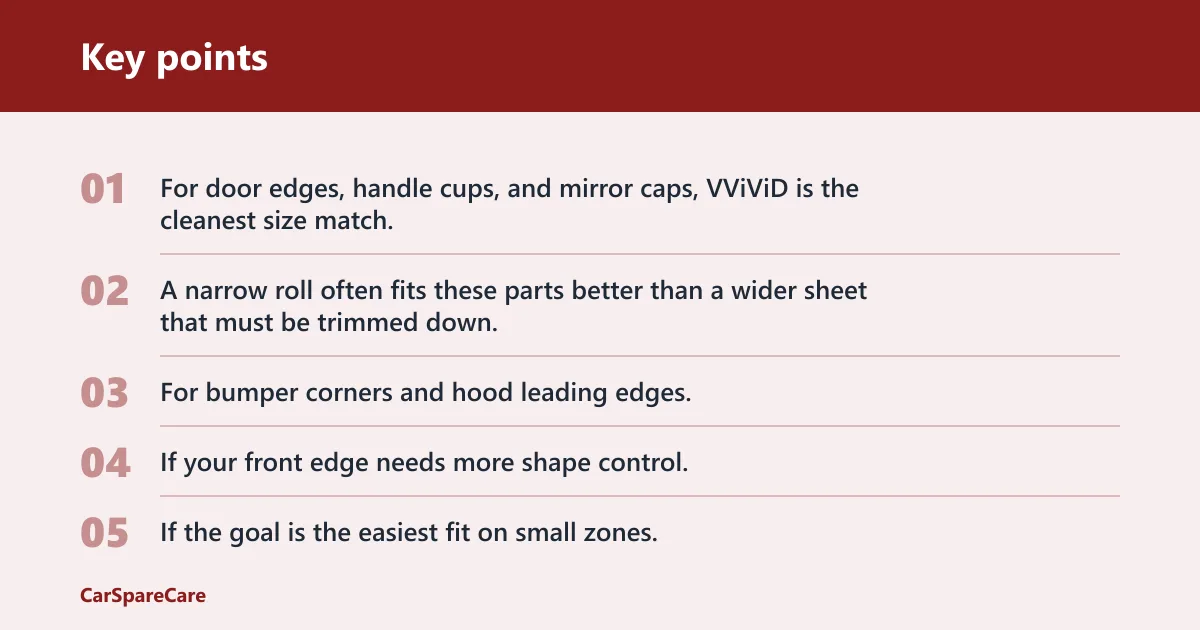
For door edges, handle cups, and mirror caps, VViViD is the cleanest size match, while XPEL is the stronger pick if you want the self-healing feature on the same small-area layout. A narrow roll often fits these parts better than a wider sheet that must be trimmed down.
Best choice for wider front-end protection
For bumper corners and hood leading edges, 3M Scotchgard is the most practical of the three when you need a broader piece and a more conventional bulk roll. If your front edge needs more shape control, XPEL’s 6 x 84 inch option is also a good fit because it can cover long, narrow runs without too much waste.
Best choice for the easiest DIY fit
If the goal is the easiest fit on small zones, choose the roll width that matches the part first, then choose thickness. That usually means a narrow strip for edges and cups, 6 inches for most narrow contact areas, and 12 inches only when the panel is wide enough to use it cleanly.
Quick picks
- XPEL: best for mixed small zones and high-impact strips where self-healing is useful.
- 3M Scotchgard: best for wider body sections and bulk coverage on front edges.
- VViViD: best for narrow sections where width choice matters more than sheet size.
How to choose by wear zone
Start with the part that gets hit, not the brand. Door edges and handle cups need narrow, easy-to-align film. Bumper corners and hood edges need broader coverage and more thickness. Rocker fronts sit between those two categories and reward careful sizing more than any brand name does.
This guide focuses on permanent clear PPF for ongoing paint protection rather than temporary transport or road-trip protective films. The wrong choice is a thin, short-term film on a part that takes daily abuse.
Frequently asked questions
What is the best paint protection film for high-wear areas?
The best film is the one that fits the zone with the fewest seams and the right thickness. For mixed high-wear areas, XPEL is the strongest all-around pick here because its narrow roll sizes suit compact parts and its self-healing claim helps with light marks on contact zones.
What thickness of PPF should I choose for door edges and handles?
For door edges and handles, 6 mil is usually enough for light contact, while 8 mil is better if the area sees repeated abrasion. Thicker film gives more sacrificial material, but it can be harder to wrap around tight curves and may show lift sooner if stretched too much.
Is 3M, XPEL, or VViViD better for small high-impact areas?
XPEL is the best fit for small high-impact areas if self-healing matters. VViViD is better when you want width options for narrow parts, and 3M is more useful when the area is small but still needs a broader sheet. Width match should decide first.
Can I install paint protection film myself on rocker panels?
Yes, if the rocker front is fairly straightforward and the panel is fully cleaned first. Use slip solution, align the strip before it grabs, then squeegee out bubbles from the center toward the edge. Curved front lips are the hardest part and need slow, careful trimming.
How wide should a PPF roll be for door edges or mirror caps?
For door edges or mirror caps, use the narrowest strip that covers the contact area cleanly. Wider rolls can work, but they create more waste and can make the seam more visible after trimming. A narrower roll is easier to place and less likely to need awkward cutbacks.
Does self-healing PPF matter for high-wear spots?
Yes, but only for the right kind of wear. Self-healing helps with light wash marks and minor rubs on exposed spots like mirror caps or bumper corners. It does not fix edge lift, deep gouges, or contamination trapped under the film, so fit still matters more than the coating feature.
Is clear PPF nearly invisible after installation?
Clear PPF can be hard to see when the paint is clean, the film is properly sized, and the edges are trimmed well. Seams, dust at the border, stretch marks, and heavy edge wrap can make it easier to see. Wider panels usually hide better than tiny patch pieces.
What is the difference between temporary and permanent PPF?
Temporary protective film is used when you want short-term sacrificial coverage for a move, a road trip, or a seasonal driving change. Permanent PPF is chosen for long-term protection on the same paint. The choice changes how much thickness, clarity, and install effort are worth paying for.
How do I avoid bubbles and edge lift when installing PPF?
Work on fully clean paint, use slip solution for positioning, and squeegee from the center outward so air does not get trapped at the edge. Do not stretch the film hard around corners. Bubbles usually come from rushed placement; edge lift usually comes from poor prep or over-tension.
Which areas of a car need PPF the most?
The highest-priority areas are bumper corners, hood leading edge, rocker fronts, mirror caps, door edges, and handle cups. Those are the parts most likely to be hit, scrubbed, or sandblasted by road debris and routine use. Start there before moving to larger decorative panels.

Hi, I’m Melvin, an automobile engineer with extensive experience in automobile equipment. I currently work for a local automobile firm, where I specialize in the car parts industry. I’ve had the opportunity to collaborate with seasoned inspectors, gaining invaluable hands-on experience that goes beyond just theory.
My passion for automotive care started at a young age, which led me to create CarSpareCare. Through CarSpareCare, I share the knowledge and skills I’ve acquired over the years to help others navigate the world of car maintenance and repairs.
My goal is to provide practical tutorials, essential safety advice, and the latest industry insights so that anyone—whether a beginner or an expert—can confidently tackle their automotive projects.

