Use a charger matched to the battery type on the label, such as flooded lead-acid, AGM, EFB, or gel, and charge a 12V battery in a dry, well-ventilated area at the current the battery label or charger recommends, often about 2 to 10 amps. Wrong charging can overheat the battery, shorten its life, or create sparks and acid damage. This guide shows how to check compatibility, connect the charger safely, set the charge rate, and know when the battery is ready.
What you’ll need


- Smart 12V battery charger with automatic multi-stage charging and a mode that matches the battery type
- Multimeter that can read DC volts
- Safety glasses and gloves for acid splash protection
- Wire brush or battery terminal brush for light corrosion
- Dry cloth or paper towels
- Access to a ventilated area, such as a garage with the door open or an outdoor spot under cover
Start by matching the charger to the battery label, then charge in a well-ventilated area with the clamps attached in the correct order. A 12V starter battery can vent gas while charging, so keep sparks away, use the recommended amperage, and stop when the charger says full or a voltage check confirms it.
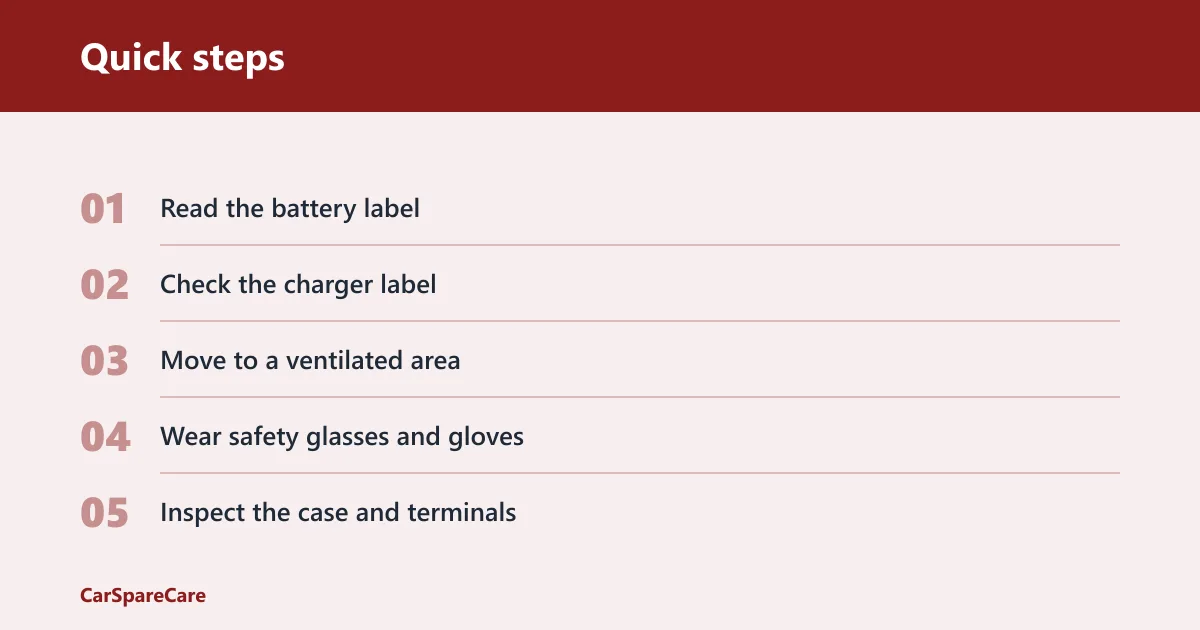
- Read the battery label. Confirm whether it is flooded lead-acid, AGM, EFB, or gel, and note the amp-hour rating if listed.
- Check the charger label. Use a 12V smart charger with a mode that matches the battery chemistry.
- Move to a ventilated area. A garage with the door open is better than a closed room; outside is better still if weather allows.
- Wear safety glasses and gloves. Acid splash protection matters more if the case is cracked or the caps are removable.
- Inspect the case and terminals. Stop if the battery is swollen, leaking, or badly damaged.
- Measure the state of charge. Let the battery rest if possible, then test DC voltage with a multimeter.
- Choose the charge rate. Use 2A for slow charging, 4A as the middle setting, and 10A only when the battery size and charger allow it.
- Connect the clamps. Attach positive to positive first, then negative to the battery negative terminal or a clean chassis ground point.
- Start the charger and monitor heat. If the battery becomes hot, swells, or smells strongly, stop charging.
- Recheck voltage after charging. Let the battery rest about 30 minutes before rechecking the voltage with a multimeter.
How do I properly charge a car battery at home?
Use a charger that matches the battery chemistry, set the lowest practical amperage for the battery size, and charge in a ventilated area with the clamps attached correctly. For a typical 12V car battery, that means checking the label first, avoiding sparks, and confirming the finish with a voltage reading after the battery rests.
Start with the battery type
Flooded lead-acid batteries tolerate standard home charging, but AGM and EFB batteries usually need a charger mode designed for them. AGM batteries are more sensitive to overvoltage, and EFB batteries often sit between flooded and AGM in charging requirements. If the label is unclear, do not guess.
Check charger compatibility
Look for 12V compatibility and a smart, automatic charging profile. A basic trickle charger without battery-specific control is a weaker choice for modern AGM or EFB batteries. The charger should list the battery types it supports and the available amp settings.
Use a ventilated charging area
Charging can release hydrogen gas, especially with flooded lead-acid batteries. Keep the area dry, open to airflow, and away from heaters, lit cigarettes, relays clicking on and off, or other spark sources. A closed basement or sealed closet is the wrong place.
Which charger should you use?
Choose a smart 12V charger that matches the battery chemistry and offers a sensible amp range. For most home use, 2A is the safest slow-charge choice, 4A is a practical middle setting, and 10A is faster but more likely to create heat, especially on smaller or older batteries.
Flooded lead-acid charger settings
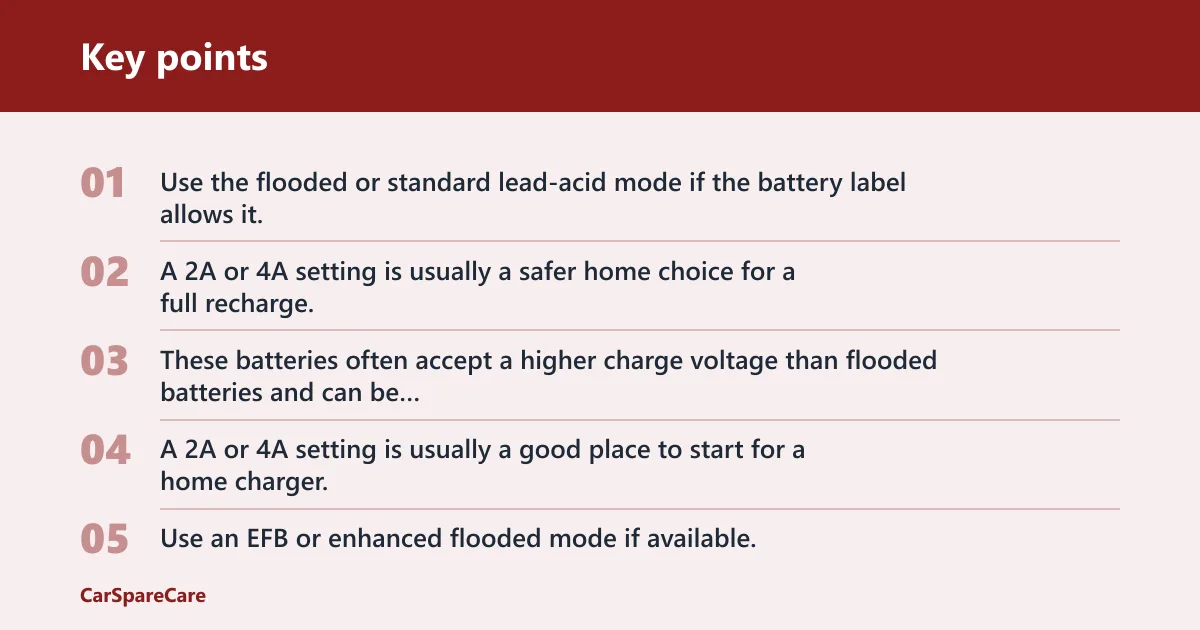
Use the flooded or standard lead-acid mode if the battery label allows it. A 2A or 4A setting is usually a safer home choice for a full recharge, while 10A fits larger batteries if the charger and battery size support it.
AGM charger settings
Use AGM mode when the label says AGM. These batteries often accept a higher charge voltage than flooded batteries and can be damaged by the wrong mode. A 2A or 4A setting is usually a good place to start for a home charger.
EFB charger settings
Use an EFB or enhanced flooded mode if available. EFB batteries are common in vehicles with start-stop systems and should not be treated as generic flooded batteries unless the battery maker says that is acceptable.
When to choose
Use 2A for smaller batteries, long storage charging, or older batteries that heat up easily. Use 4A for most everyday home charging. Use 10A only if the battery is healthy, the charger supports it, and you want a faster top-up on a larger battery.
How do you prepare the battery?
Check the battery case, terminal condition, and resting voltage before you connect anything. A battery that is cracked, swollen, or deeply discharged may need replacement rather than charging. If the battery is still installed, confirm that the charger can be used with the vehicle’s electronics connected.
Inspect the case and terminals
Look for bulging sides, leaks, corrosion, and loose terminal clamps. Clean light corrosion with a brush only after the charger is off and disconnected. Heavy buildup can point to a poor connection or a battery that has been stressed for a while.
Check the state of charge with a multimeter
Let the battery rest before testing if possible. A resting 12V lead-acid battery near 12.6V is commonly considered close to full, around 12.2V is partly discharged, and near 12.0V is very low. Readings much below that can mean the battery needs a slower, more careful charge.
Decide whether the battery should stay in the car
A battery can often be charged while installed if the charger is designed for it and the vehicle instructions allow it. Removal is the better choice if the battery is leaking, badly corroded, hard to access, or if the car’s charging setup makes in-vehicle charging unsafe.
How do you connect the charger?
Connect the charger with the power off, then attach the clamps in a way that reduces spark risk. Positive goes first. Negative goes last, and a chassis ground point can be better than the battery’s negative post when the battery stays in the car.
Positive clamp first
Attach the red clamp to the positive (+) terminal first. Make sure the metal jaws grip clean, bare metal and do not touch another terminal or body part. A loose clamp can cause heat and poor charging.
Negative clamp to ground or negative terminal
Attach the black clamp to the negative terminal on a removed battery. If the battery stays installed, a clean, unpainted chassis ground point away from the battery is often the safer final connection because it moves the spark point away from the venting battery.
Why spark control matters
A car battery can give off flammable gas while charging. Connecting the final clamp away from the battery reduces the chance that a tiny spark reaches that gas. Keep the charger off until the clamps are secure.
Battery charging decision table
| Battery type | Typical home charger setting | Estimated charge time | Ventilation need | Stop when |
|---|---|---|---|---|
| Flooded lead-acid, 50–70Ah | 2A to 4A | 15 to 30 hours from low charge | Strong airflow; keep sparks away | Charger shows full and resting voltage is about 12.6V or higher |
| AGM, 60–80Ah | 2A to 4A in AGM mode | 12 to 24 hours from low charge | Ventilated garage or outdoor area | Charger reaches full and battery stays cool to the touch |
| EFB, 60–75Ah | 2A to 4A in EFB or enhanced flooded mode | 12 to 24 hours from low charge | Ventilated area with no open flame | Charger indicates full and voltage holds after rest |
| Deeply discharged battery below 12.0V | 2A first, then reassess | Often 24 hours or more; may not recover | Very good airflow and close monitoring | Voltage climbs normally, or charging stalls and the battery will not hold voltage |
How long should charging take?
Charging time depends on battery size, starting voltage, and charger amperage. A 2A charger is slow but gentler. A 4A charger is a practical home choice. A 10A charger is faster, but it is not the best option for every battery, especially if the battery is small or aged.
Charging time by amp setting
A simple rule of thumb is battery capacity divided by charger output, then add extra time for losses. A 60Ah battery on 4A may need roughly 15 hours or more from a low state of charge. From a near-full state, the last part takes less current and more time.
What changes the estimate
Cold temperatures slow charging. Older batteries accept charge less efficiently. A battery that has been deeply discharged may spend a long time in the early stage of charging before the voltage rises enough for the charger to finish normally.
When slow charging is safer
Use the slower setting if the battery is warm, if it is small, or if the charger is working on an older flooded battery. Slow charging is also the better choice when the battery has been sitting flat for a while and you are unsure how it will respond.
Common mistakes
Most charging problems come from rushing the setup or treating every battery the same. The safest fix is usually to slow down, verify the battery type, and check the voltage before and after charging.
- Charging in a poorly ventilated space: move to an open garage or outside if gas buildup is possible.
- Using the wrong charger mode: match AGM, EFB, or flooded settings to the battery label.
- Stopping too early: let the charger finish and then confirm with a multimeter after the battery rests.
- Leaving a damaged battery unattended: stop charging if the case swells, leaks, or heats unusually.
- Ignoring a battery that keeps going flat: a charger may restore voltage briefly, but a weak battery can fail again soon after.
Can you charge a battery while it’s installed?
Yes, if the charger supports in-vehicle charging and the battery is in sound condition. Charging in place is common, but the vehicle’s electronics, venting path, and access to a proper ground point matter. If the battery is damaged or hard to reach safely, remove it first.
When installed charging is acceptable
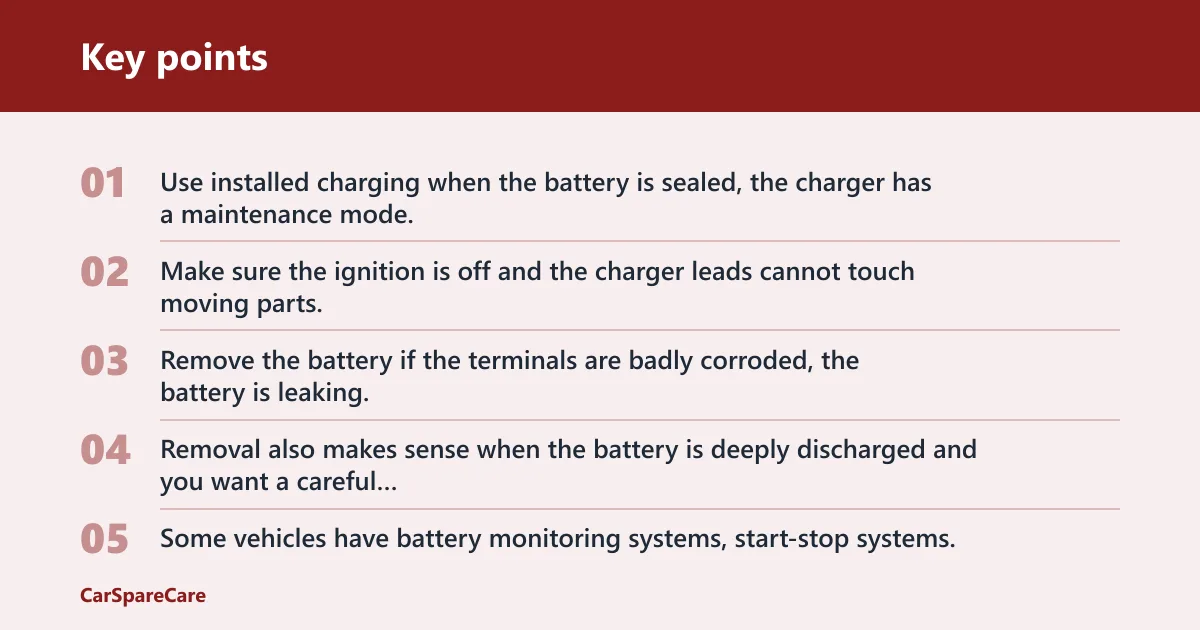
Use installed charging when the battery is sealed, the charger has a maintenance mode, and the vehicle manual does not warn against it. Make sure the ignition is off and the charger leads cannot touch moving parts.
When removal is the better choice
Remove the battery if the terminals are badly corroded, the battery is leaking, or you need better control of ventilation. Removal also makes sense when the battery is deeply discharged and you want a careful bench charge.
Extra checks for modern vehicles
Some vehicles have battery monitoring systems, start-stop systems, or special terminal posts. If the owner’s manual gives a charging procedure, follow that procedure. A jump point under the hood is not always the same as the battery terminal itself.
Say your 60Ah AGM battery reads 12.1V after resting overnight. A 4A AGM setting is a better first choice than a 10A setting because it lowers heat and gives the charger more time to complete its stages.
Suppose a flooded battery in a garage climbs to 12.6V quickly but then drops back after 30 minutes of rest. That points to poor charge retention, so the charger may have finished, but the battery still may not be healthy enough to trust.
Frequently asked questions
How do I know when the battery is fully charged?
Let the battery rest for about 30 minutes after charging, then measure DC voltage with a multimeter. A healthy 12V lead-acid battery is commonly near 12.6V to 12.8V at rest. Charger “full” lights are helpful, but the voltage check confirms the result.
How can I keep my car battery charged between drives?
Use a smart maintainer or storage mode charger, not a constant high-current charge. Connect it in a ventilated area and leave it on only if the charger is made for long-term maintenance. For a vehicle that sits often, a maintainer is usually the right tool.
Is it safe to charge a car battery indoors or in a garage?
It is safer in a garage with the door open than in a closed room, but airflow still matters. Keep the charger away from sparks, flames, and space heaters. Flooded batteries need the most caution because they can vent gas while charging.
What should I check before charging a dead car battery?
Check the battery label, case condition, terminal corrosion, and resting voltage. If the battery is swollen, cracked, or below about 10.5V and will not rise after a short charge, the battery may be too damaged to recover safely.
Can I overcharge a car battery with a home charger?
Yes, if the charger is not automatic or the wrong mode is used. A smart charger should stop or taper off when the battery is full, but you should still verify with a multimeter. Heat, swelling, and gassing are warning signs to stop immediately.
What charger should I use for an auto battery at home?
Use a 12V smart charger with the correct chemistry mode: flooded, AGM, or EFB. For most home charging, 2A or 4A is a sensible setting. Choose 10A only when the battery size and charger instructions clearly allow it.

Hi, I’m Melvin, an automobile engineer with extensive experience in automobile equipment. I currently work for a local automobile firm, where I specialize in the car parts industry. I’ve had the opportunity to collaborate with seasoned inspectors, gaining invaluable hands-on experience that goes beyond just theory.
My passion for automotive care started at a young age, which led me to create CarSpareCare. Through CarSpareCare, I share the knowledge and skills I’ve acquired over the years to help others navigate the world of car maintenance and repairs.
My goal is to provide practical tutorials, essential safety advice, and the latest industry insights so that anyone—whether a beginner or an expert—can confidently tackle their automotive projects.