If a car battery will not charge on a charger after 15–30 minutes, check charger output, clamp contact, battery voltage, and battery condition. A battery reading below about 10.5 volts may indicate sulfation or internal damage. A bad charger is only one possible cause. This checklist helps sort a charger fault, bad connections, a recoverable deep discharge, and a battery that needs replacement.
This guide is part of our Car battery maintenance guide series.
What you’ll need



- A battery charger or maintainer that matches the battery type and 12V system
- A multimeter for open-circuit voltage checks
- A brush or terminal cleaner for corrosion
- Gloves and eye protection
- The vehicle owner’s manual and the charger instructions
Why is my battery not charging?
Common reasons a battery may not charge include no charger power, the wrong mode being selected, poor clamp contact, or a battery that is too deeply discharged for the charger to start normally. If the battery is installed in the vehicle, keep the final negative connection on a chassis ground point away from the battery when the manual allows it.
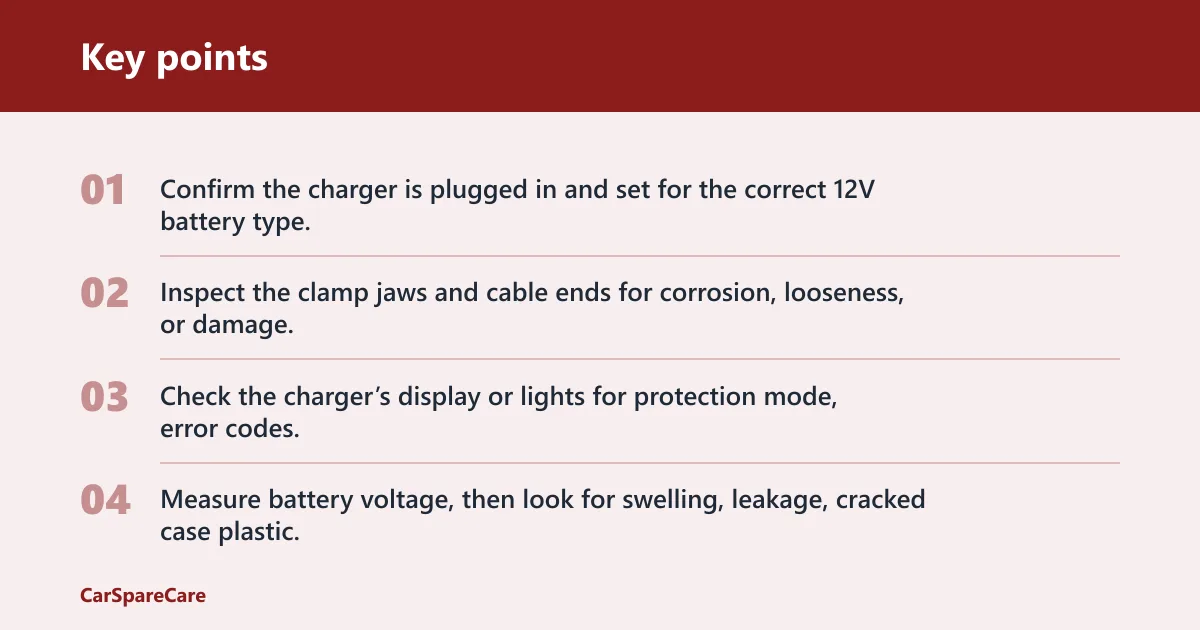
- Confirm the charger is plugged in and set for the correct 12V battery type.
- Inspect the clamp jaws and cable ends for corrosion, looseness, or damage.
- Check the charger’s display or lights for protection mode, error codes, or no-output behavior.
- Measure battery voltage, then look for swelling, leakage, cracked case plastic, or melted terminals.
Say your charger shows nothing at all. A common first-timer mistake is assuming the battery is dead when the outlet, fuse, lead, or clamp is the real problem. Start with the charger itself before replacing parts.
Charger setup checks
Manual chargers usually keep applying current until you disconnect them. Fully automatic chargers watch battery voltage and switch themselves on and off as needed. Smart chargers may also include AGM mode, flooded-battery recovery, or desulfation. For storage, a maintainer is usually better than a trickle charger because it turns on and off automatically; a trickle charger needs manual disconnecting when the battery is topped off.
- Set the charger to 12V unless the owner’s manual says otherwise.
- Choose AGM, EFB, or flooded lead-acid mode if the charger offers those labels.
- Use an amperage setting that stays within both the charger’s limits and the battery maker’s limits.
- Connect the clamps to clean, solid metal and verify the charger starts its normal charge cycle.
Higher amperage generally charges faster, but battery size matters. Meineke says a 5-amp charge rate can take about 12 hours for a battery below 11.85 volts. Bigger batteries, especially those with higher cold-cranking amps, can take longer to come back to full charge.
What battery type and voltage should you check?
Battery type decides the charger mode. AGM batteries need charger mode compatibility, because improper voltage can cause charging problems. EFB batteries, common in start-stop vehicles, also need a charger suited to that technology. Flooded lead-acid batteries may respond to a smart charger’s desulfation mode, but that mode is not a fix for every failing battery.
AGM battery
AGM batteries are common in start-stop vehicles and can be sensitive to the wrong charging profile. Smart chargers often include an AGM setting, and some fully automatic chargers with charging voltage limitation of 14.8 V are well suited. If the charger has only a generic lead-acid label, check the manual for an AGM-compatible setting before you assume it cannot charge the battery.
EFB battery
EFB batteries also show up in start-stop applications, and they are not always happy on a generic low-detail charger setting. Use a charger that specifically supports that battery technology or a mode the manual says is acceptable. If the charger cannot identify EFB support, stop and confirm compatibility before leaving it connected.
Flooded lead-acid battery
Flooded batteries are still common, and some smart chargers include desulfation or recovery modes for them. That can help if the battery has some surface sulfation, but it will not fix a shorted cell, cracked case, or battery that has lost too much capacity. If the charger reports recovery failure, treat that as a battery warning, not a setting problem.
Open-circuit voltage
Open-circuit voltage means the battery’s resting voltage after it has sat off charge long enough to settle. Banner recommends waiting about 5 hours after charging before measuring it, and it recommends recharging when open-circuit voltage reaches 12.5 V. Use that reading as a checkpoint, not a final verdict on a battery that may still be recovering.
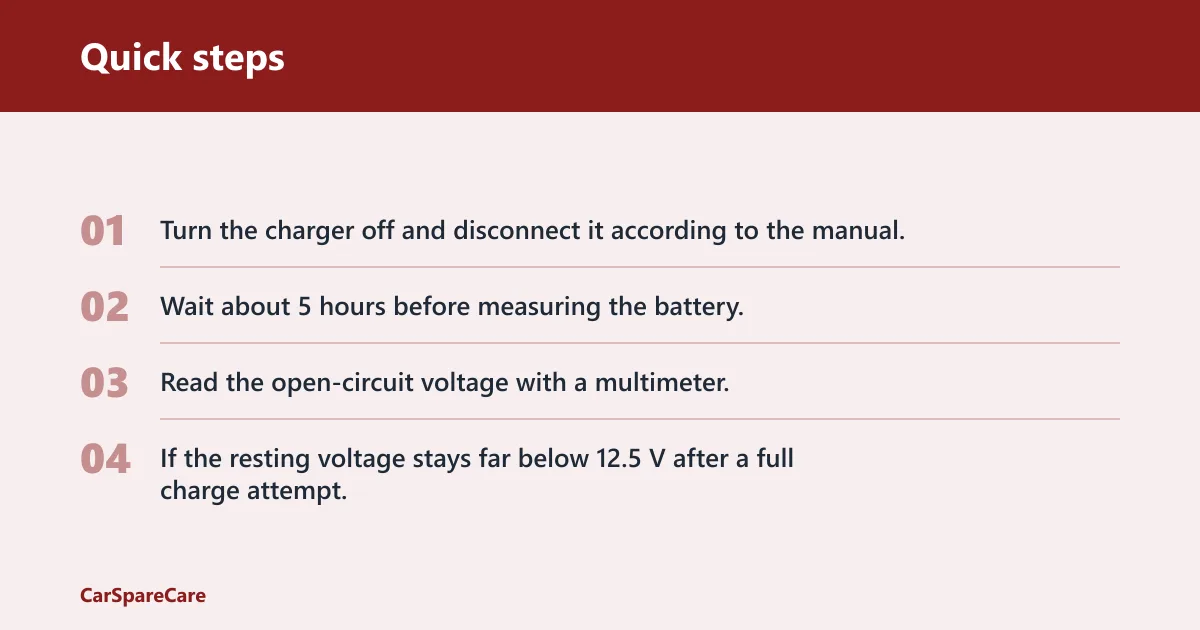
- Turn the charger off and disconnect it according to the manual.
- Wait about 5 hours before measuring the battery.
- Read the open-circuit voltage with a multimeter.
- If the resting voltage stays far below 12.5 V after a full charge attempt, move to the fault table below.
Battery charging diagnostic table
| Symptom on charger | Most likely cause and next safe test |
|---|---|
| No lights | Check the wall outlet, charger fuse, power cord, and any in-line fuse or adapter. Then try the charger on another known-good 12V battery if the manual allows it. |
| Immediate error | The charger may not like the selected mode, battery voltage may be too low, or the clamps may be reversed or poorly connected. Recheck mode, polarity, and clean clamp contact. |
| Charging starts, then stops | The battery may be hitting protection mode, the lead may be failing under load, or the battery may be internally damaged. Wiggle-test the lead gently, then retest with another compatible charger. |
| Voltage rises but the battery never seems to recover | The battery may be sulfated, have low capacity, or have an internal fault. Let it rest, recheck open-circuit voltage after about 5 hours, and compare that reading with the charger behavior. |
| Clamps get warm | That usually points to resistance at the clamp jaws, corroded terminals, or a loose connection. Stop, clean the terminals, and make sure the clamps bite bare metal firmly. |
| Charger says full too quickly | The battery may have poor capacity, a weak cell, or surface charge that fooled the charger. Rest the battery, measure open-circuit voltage, and if possible confirm with a second charger. |
What should you check before assuming the charger is bad?
Start with the connection path. Visible corrosion, loose clamps, or dirty contacts can block current flow even when the charger works normally. If the battery is installed, make sure the final connection follows the vehicle or charger manual; many manuals call for a ground point away from the battery to reduce spark risk. Keep the work area ventilated and wear eye protection.
- Remove loose corrosion from the terminals and clamps.
- Clean to bright metal where the clamp actually touches.
- Inspect both charger leads for cuts, hard spots, or heat damage.
- Retry charging with the clamps seated firmly and the charger set to the proper mode.
Suppose a battery shows 12.3 volts at rest but the charger keeps aborting. That reading means the battery is not empty, but it may still have high resistance or a bad connection. The next check is contact quality, then battery mode, then a second charger if the first one still will not enter charge.
When is the battery beyond recovery?
A battery is more likely beyond recovery when it stays very low after charging, will not accept current from a compatible charger, or keeps dropping back down after a rest period. A battery reading below about 10.5 volts may indicate sulfation or internal damage. If the charger reports a fault after clean connections and the right mode, replacement becomes more likely than another long charge cycle.
- Retest the battery after a full charge attempt and a rest period.
- Compare the resting voltage with 12.5 V as a useful recharge threshold.
- Try another compatible charger if the first one may be misreading the battery.
- Replace the battery if it still will not hold charge or keep a stable voltage.
If repeated no-charge symptoms keep returning after replacement-level charge attempts, look for parasitic drain or another electrical fault. A drained battery that comes back to life and then fails again soon often points to the vehicle, not the charger. That is the point to stop buying charging gear and start checking the car’s electrical system.
How long should a car battery take to charge on a charger?
Charge time depends on battery size, starting state, and charger amperage. The same source says a 5-amp charge rate can take about 12 hours for a battery below 11.85 volts. Larger batteries and higher cold-cranking amps can take longer. A charger that starts and then stops may still be working normally if the battery has reached its programmed threshold.
- Let the charger run through its normal cycle instead of interrupting it early.
- Check the battery after charging and again after about 5 hours off charge.
- Use the charger’s own completion indicator, then verify with a multimeter.
Common mistakes
Many failures come from simple setup errors. The charger may be fine, but the battery terminals are dirty. The battery may be fine, but AGM or EFB mode was never selected. A trickle charger may have been left connected after the battery was topped off, which is why a maintainer is better for storage.
- Assuming the charger failed before cleaning corrosion
- Using the wrong mode for AGM or EFB batteries
- Leaving a trickle charger connected after topping off
- Skipping the rest-period voltage check
- Ignoring repeated no-charge symptoms that point to a deeper electrical issue
A maintainer is usually the better storage tool because it auto on-off charges as needed. Consumer Reports distinguishes maintainers from trickle chargers and notes that trickle chargers need manual disconnecting after topping off, while maintainers turn on and off automatically. Consumer Reports also says modern chargers can be used as a battery maintainer for stored vehicles. (Consumerreports)
Frequently asked questions
Why is my car battery not charging on a charger?
The most likely reasons are wrong charger mode, poor clamp contact, corroded terminals, a bad lead, or a battery that is too deeply discharged for the charger to start normally. Check power first, then clean the terminals, then confirm the battery type setting before deciding the charger is bad.
How do I know if my battery is too dead to charge?
If the battery sits below about 10.5 volts, or if a compatible charger will not start a charge after clean connections, the battery may be sulfated or internally damaged. Measure again after a full charge attempt and a rest period, not immediately after disconnecting the charger.
Can corrosion stop a battery from charging?
Yes. Visible terminal corrosion can block current flow and make a charger think the battery is not connected correctly. Clean the terminals and clamp jaws until they contact bright metal, then try again. Loose clamps cause the same problem and can make the charger cycle on and off.
What charger setting should I use for an AGM or EFB battery?
Use the charger’s AGM or EFB mode if it has one, and confirm the charger is compatible with 12V batteries. AGM batteries are sensitive to improper charging voltage, and EFB batteries used in start-stop vehicles need a charger suited to that technology. If the label is vague, check the manual for the exact mode.
Is a maintainer better than a trickle charger for storage?
Usually yes. Consumer Reports says maintainers turn on and off automatically as needed, while trickle chargers need manual disconnecting after topping off. That makes a maintainer the safer storage choice for a vehicle that sits for long periods, especially if you want to avoid overcharging.

Hi, I’m Melvin, an automobile engineer with extensive experience in automobile equipment. I currently work for a local automobile firm, where I specialize in the car parts industry. I’ve had the opportunity to collaborate with seasoned inspectors, gaining invaluable hands-on experience that goes beyond just theory.
My passion for automotive care started at a young age, which led me to create CarSpareCare. Through CarSpareCare, I share the knowledge and skills I’ve acquired over the years to help others navigate the world of car maintenance and repairs.
My goal is to provide practical tutorials, essential safety advice, and the latest industry insights so that anyone—whether a beginner or an expert—can confidently tackle their automotive projects.