Clean seat belts with a mild soap-and-water mix, blot only, then rinse lightly and air-dry fully before letting the retractor pull the belt back. Scrubbing hard, soaking the webbing, or using harsh solvents can weaken the fibers, leave residue, or make the belt retract badly. This guide shows the safest cleaner choices, stain-by-stain steps, and drying methods that avoid moisture-related retractor problems.
Seat belt cleaning basics


Start with the owner’s manual. Some vehicles allow only mild soap and water on restraint webbing, and some limit extra cleaners even more. Modern seat belt webbing is commonly polyester, so the goal is usually to remove contamination without strong chemicals, heat, or soaking.
Seat belt webbing, the retractor, and the buckle do different jobs. The webbing needs light cleaning. The retractor should not receive a damp belt when it pulls back into the housing, because trapped moisture can encourage mildew. If the belt is frayed, stiff, smells musty after drying, or retracts poorly, cleaning stops and inspection or replacement starts.
Why the owner’s manual comes first
Cleaning limits vary by manufacturer, and restraint systems can include pretensioners or other hardware that should not be flooded or heated. If the manual says mild soap only, follow that limit. If it gives a narrower instruction, use that instead of any general cleaning advice.
What makes webbing and retractors vulnerable
Webbing can be damaged by hard scrubbing, residue from strong solvents, or repeated soaking. The retractor is the bigger moisture risk. If a damp belt retracts into the housing, drying slows and odor or mildew can follow. Keep the belt fully extended while you clean, then let it dry completely before release.
When cleaning is not enough
Stop if the belt shows fraying, broken stitching, glazing, stiffness that remains after drying, or a sour or moldy odor. Also stop if the belt hesitates on retraction or if the webbing was heavily contaminated by mildew. A belt with those signs should be inspected by a qualified technician or replaced.
What you’ll need
- Mild soap and clean water
- A spray bottle or a bowl for a light soap solution
- Soft-bristle brush for targeted stain lifting
- Microfiber towel for blotting and residue removal
- Clamp or clothespin to hold the belt fully extended near the top or reel area
- Dry cloth for the buckle and latch area
How do you clean seat belts safely?
Pull the belt to its full length, secure it with a clamp or clothespin near the retractor area, and clean with the least moisture possible. Use a mild soap solution or a manual-approved cleaner, agitate lightly, blot with microfiber, and let the webbing dry completely before the belt is allowed to retract.
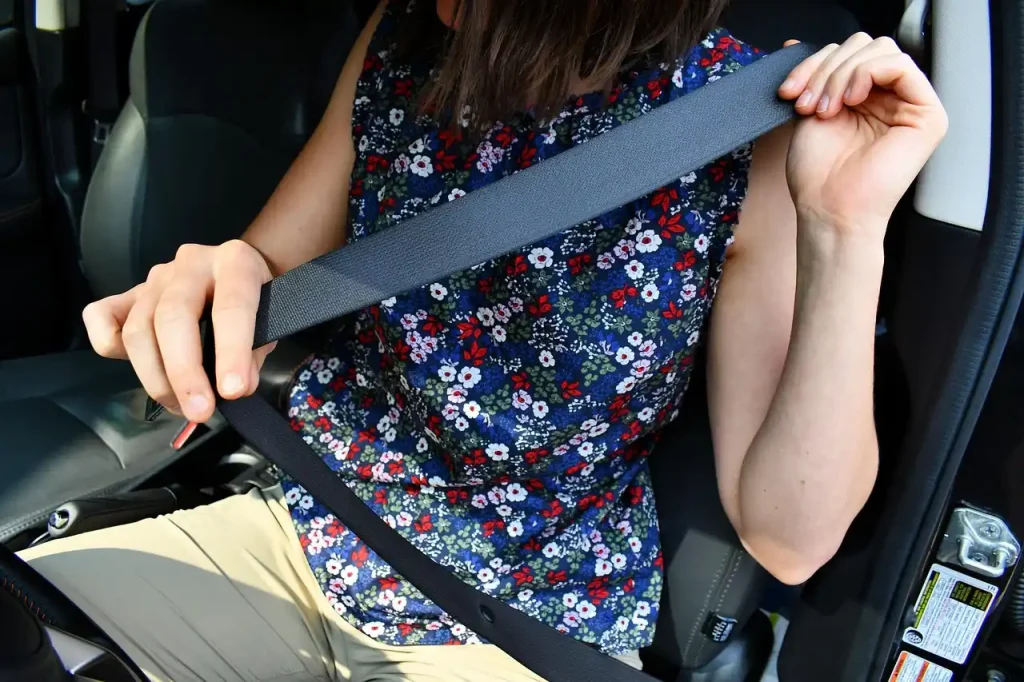
- Pull the belt to its full length and secure it near the reel so it cannot retract.
- Check the belt for fraying, stiffness, odor, or worn stitching before you clean.
- Dampen a microfiber towel or soft brush with mild soap solution, not a soaked cloth.
- Work on one stained area at a time with light downward strokes.
- Blot with a clean microfiber towel to lift residue and excess moisture.
- Repeat with plain water on the towel only if the manual allows rinsing, then blot again.
- Leave the belt fully extended until it is dry to the touch along its full length.
- Release the belt only after it retracts smoothly and the smell is neutral.
Say your belt has a coffee splash near the shoulder section. A light soap wipe and blotting usually removes the sticky film without flooding the fibers. By contrast, a belt that still feels tacky at the same spot after drying needs a second pass and a closer inspection for residue or fiber damage.
Which cleaner is safest for seat belts?
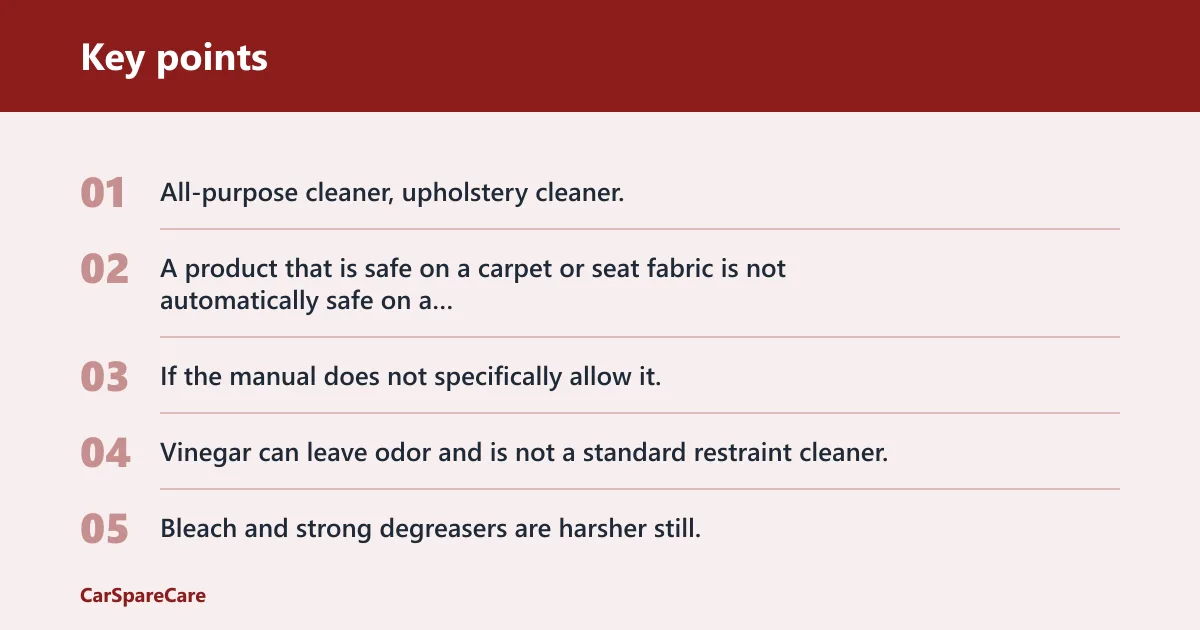
Mild soap and water is the safest baseline when the owner’s manual does not name a different product. It is easy to apply with a spray bottle or damp cloth, and it can be wiped away until residue-free. Stronger products such as vinegar, bleach, or heavy degreasers are not default choices for restraint webbing.
Mild soap versus stronger cleaners
All-purpose cleaner, upholstery cleaner, and enzyme cleaner vary by formula and residue risk. A product that is safe on a carpet or seat fabric is not automatically safe on a restraint belt. If the manual does not specifically allow it, use mild soap first and stop if the webbing looks altered or feels different after drying.
When to avoid vinegar, bleach, and heavy degreasers
Vinegar can leave odor and is not a standard restraint cleaner. Bleach and strong degreasers are harsher still, and residue matters because the belt must stay strong and clean after drying. If a stain is oily or sticky, repeated gentle passes are safer than a stronger cleaner that may leave a film.
What to do if the manual limits you to soap and water
Use a very light soap mix, apply it to the towel or brush instead of flooding the belt, and wipe until no suds remain. If the stain does not move, do not escalate to a stronger chemical without a manual-backed allowance. The next step is inspection, not a harsher cleaner.
Seat belt cleaning decision table
Use this table to match the stain to the least aggressive method. The replacement column matters. Once a belt shows damage, odor after drying, or retraction trouble, cleaning is no longer the answer.
| Stain type | Safest cleaner | Agitation level | Moisture limit | Drying trigger | Stop and seek replacement when… | Red flags |
|---|---|---|---|---|---|---|
| Body oil or sweat | Mild soap and water | Light brush strokes | Damp cloth only; no soaking | Dry to the touch from top to bottom | Stain remains after two light passes | Fraying, stiffness, odor, slow return |
| Sugar drink spill | Mild soap and water | Light brushing, then blotting | Minimal spray; wipe residue fast | No tacky feel near the buckle edge | Sticky film stays after drying | Odor, retraction hesitation, visible residue |
| Grease | Manual-approved mild cleaner only | Targeted, gentle lifting | Very low; repeat blotting | Webbing feels dry and smooth | Grease spreads or leaves a sheen | Stiff webbing, fiber glossing, damage |
| Ink | Mild soap first; stop if it sets | Very light dabbing | Spot-only moisture | No color transfer to towel | Ink remains after careful blotting | Color bleeding, rough feel, frayed edges |
| Mildew | Manual-directed treatment only | Gentle wipe, no heavy scrubbing | Controlled, never wet into the reel | Fully dry before any release | Odor remains after full drying | Musty smell, staining, stiffness, poor retract |
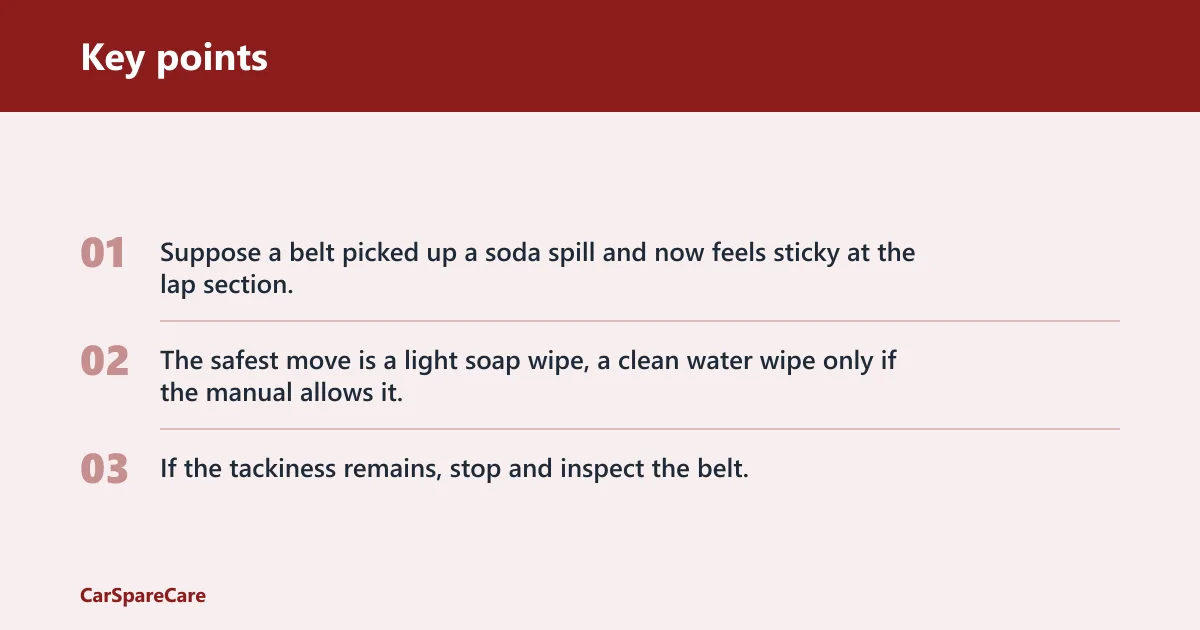
Suppose a belt picked up a soda spill and now feels sticky at the lap section. The safest move is a light soap wipe, a clean water wipe only if the manual allows it, and a dry towel pass until the webbing no longer feels tacky. If the tackiness remains, stop and inspect the belt.
How long should seat belts dry?
Dry time depends on airflow, fabric load, and how much moisture touched the webbing, so the practical checkpoint matters more than a clock. Seat belts should generally be dry to the touch along their full length, smell neutral, and retract smoothly before normal use. That is the point where drying is complete enough for release.
Dry-to-touch checks along the full webbing
Run a dry hand along both sides of the belt. Pay attention to the edge near the buckle and the section closest to the retractor, because those spots often hold moisture longer. If any section feels cool, damp, or slightly tacky, leave it extended longer.
Retraction check before normal use
Release the belt only after it is entirely dry. If it retracts slowly, snags, or sounds rough, stop and inspect the webbing path and retractor area. A belt that retracts poorly after cleaning may still have moisture, residue, or damage that needs attention.
Why smell and stiffness matter after drying
Odor is a warning sign, not a nuisance. A neutral smell suggests the residue is gone and drying reached the hidden areas. Stiffness after drying can point to remaining soap film, contamination, or belt damage. If either one remains, the cleaning step is not finished.
Common mistakes
These are the failures that most often turn a simple cleaning into a restraint problem. Avoid them, and the belt is much less likely to end up sticky, stiff, or damaged.
- Letting the retractor pull in damp webbing before it is fully dry.
- Scrubbing hard enough to fuzz or fray the fibers.
- Flooding the webbing instead of using a damp cloth or light spray.
- Cleaning the buckle and latch the same way as the webbing.
- Using heat too soon or in a way the manual does not allow.
- Ignoring fraying, odor, stiffness, or slow retraction after drying.
Separate the buckle and latch area
Clean the buckle, latch plate, and surrounding plastic separately with a dry or lightly damp cloth. Do not flood the release button or the buckle housing. The goal there is to remove grime without driving liquid into the mechanism.
Picture a belt that dried on the outside but still smells musty near the reel. That smell means moisture likely stayed in the system longer than it should have. Leave the belt extended, improve airflow, and do not use the restraint until the smell is gone and the webbing retracts normally.
Can you use vinegar to clean car seat belts?
Vinegar is not the first choice for seat belt webbing. It can leave odor, and many manuals favor mild soap and water instead. If the owner’s manual does not specifically allow vinegar, skip it and use a mild soap solution with light blotting and full drying.
Can you steam clean a seat belt safely?
Steam cleaning is not a routine seat belt method. A steam cleaner, but that does not make it a default choice for every vehicle. If a manufacturer allows it, the process still needs strict moisture control and full drying before the belt is released.
For most drivers, a damp cloth with mild soap is safer than steam because it puts less heat and moisture into the restraint system. If steam is being considered, follow the vehicle manual, keep the belt fully extended, and stop if the webbing feels stiff or the retractor slows.
How do you clean a seat belt buckle and latch?
Use a dry cloth first, then a lightly damp cloth if the manual allows it. Wipe the buckle shell, latch plate, and nearby trim separately from the webbing. Keep liquid away from the release button and internal housing, then dry the parts before the belt is used again.
Frequently asked questions
How do you clean seat belts without weakening the webbing?
Use mild soap and water, keep the belt fully extended, and apply only enough moisture to lift the stain. Blot instead of scrubbing hard, then dry the webbing fully before release. The safest result comes from avoiding harsh chemicals, heat, and any soaking that reaches the retractor.
How do you get stains out of seat belt webbing?
Match the method to the stain. Body oil and sugar spills usually respond to a light soap wipe and targeted brushing, while mildew needs more caution and a manual-approved approach. If the stain does not fade after two gentle passes, stop and inspect the belt for damage or residue.
Should seat belts be fully extended before cleaning?
Yes. Pull the belt to its full length and secure it near the reel so the retractor cannot pull damp webbing back into the housing. That keeps the cleaning area visible and makes it easier to dry the belt completely before it is allowed to retract.
How long should seat belts dry before retracting?
Drying is complete when the full length feels dry to the touch, smells neutral, and retracts smoothly. Do not rely on the outside surface alone, because moisture often lingers near the buckle edge or close to the reel. If any dampness remains, leave it extended longer.
What cleaner is safe for car seat belts?
Mild soap and water is the safest baseline unless the owner’s manual allows something else. Use a spray bottle or damp microfiber towel, then wipe until the webbing is residue-free. Avoid treating upholstery-safe chemicals as automatically safe for restraint webbing.

Hi, I’m Melvin, an automobile engineer with extensive experience in automobile equipment. I currently work for a local automobile firm, where I specialize in the car parts industry. I’ve had the opportunity to collaborate with seasoned inspectors, gaining invaluable hands-on experience that goes beyond just theory.
My passion for automotive care started at a young age, which led me to create CarSpareCare. Through CarSpareCare, I share the knowledge and skills I’ve acquired over the years to help others navigate the world of car maintenance and repairs.
My goal is to provide practical tutorials, essential safety advice, and the latest industry insights so that anyone—whether a beginner or an expert—can confidently tackle their automotive projects.