
Remove bird droppings and tree sap as soon as possible: rinse first, then use a pH-neutral wash and a plastic scraper or detailing towel if fresh; if it has baked on, soften it with a dedicated remover before touching paint. Left in the sun, both contaminants can etch clear coat, stain paint, and force polishing or repainting. This guide shows how to identify fresh versus baked-on contamination, choose the safest removal method, and protect paint from repeats.
This guide is part of our Automotive paint care guide series.
Bird droppings vs tree sap
Bird droppings and tree sap fail in different ways, so the safest response is not the same. Bird droppings are acidic contamination and can start damaging clear coat quickly after they sit on the panel. Tree sap is sticky, soft at first, then hardens and bonds more stubbornly in heat.
Sun changes both jobs. UV exposure fades paint and speeds oxidation, and heat helps contaminants bond faster. A car parked under open sky or under a dripping tree usually needs faster response than a garage-kept car. On dark paint, stains often stand out sooner.
What each contaminant does to clear coat
Bird droppings can leave stains, marks, and etched spots if they are not removed promptly. Dried droppings can etch into paint and may leave a dull outline even after the residue is gone. Tree sap can discolor the finish and stain the panel, and stubborn sap can force more aggressive cleaning if it hardens.
A simple rule helps: if the spot sits on top of the paint and can be lifted with gentle cleaning, treat it as surface contamination. If the paint looks cloudy, dull, or uneven after the spot is gone, you may already be dealing with etching rather than residue.
How sun and heat change the risk
Heat makes both problems worse. In direct sun, droppings dry faster and sap hardens faster, which raises the chance of marring when you wipe. Shade parking helps because it slows drying and keeps the panel cooler, so contamination bonds less tightly to the finish.
UV exposure also works against the finish itself. Even when contamination is removed, repeated sun exposure can fade paint and weaken surface protection over time. That is why outdoor parking plans should include both cleaning habits and a protection layer.
Quick signs it is still surface contamination
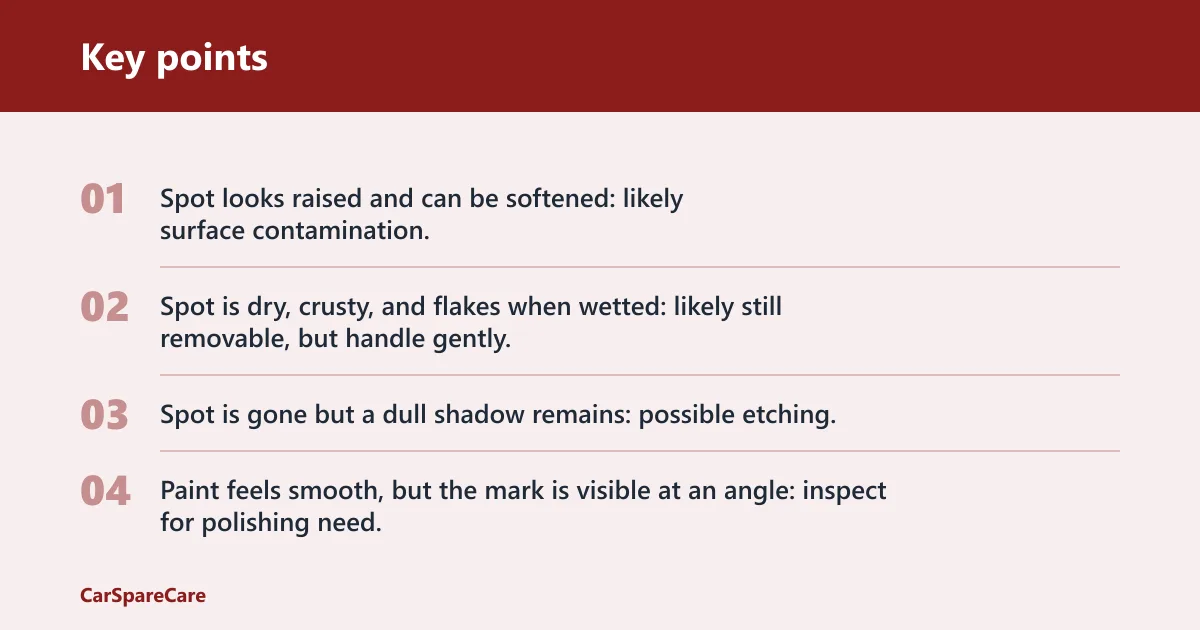
Use a close visual check before you rub. Surface contamination usually looks raised, sticky, crusty, or smeared. Etching usually looks like a dull print, a faint ring, a cloudy patch, or a mark that remains after the material is removed.
- Spot looks raised and can be softened: likely surface contamination.
- Spot is dry, crusty, and flakes when wetted: likely still removable, but handle gently.
- Spot is gone but a dull shadow remains: possible etching.
- Paint feels smooth, but the mark is visible at an angle: inspect for polishing need.
Fresh vs baked-on contaminant triage
Fresh contamination gets the least aggressive method that can safely remove it. Baked-on contamination needs softening first, then a stronger cleaner only if the gentle method fails. Stop as soon as the residue lifts; the goal is to remove the spot without turning a surface problem into a scratch or swirl-mark problem.
| Contaminant | Age on paint | Safe first step | Escalation step | When to stop and seek polishing |
|---|---|---|---|---|
| Bird droppings | Fresh, still soft | Rinse or blot away grit, then lift with water and a clean microfiber towel or soft sponge | Repeat with gentle wash solution if residue remains | Stop if the stain remains after the residue is gone or if wiping starts to drag |
| Bird droppings | Dried, baked on | Soak the spot with water to soften it before touching paint | Use a gentle cleaner only after softening; avoid dry scraping | Stop if a dull print or discolored patch remains after cleaning |
| Tree sap | Fresh, tacky | Wash the area and try gentle lifting with a microfiber towel | Use a dedicated sap remover or rubbing alcohol carefully | Stop if the finish still feels rough or a shadow remains after removal |
| Tree sap | Hardened | Soften first with a sap remover or a product the label says is safe for sap | Follow with a careful wipe and a wash | Stop if the cleaner does not move the spot cleanly or the paint dulls |
Fresh contamination: safe first step
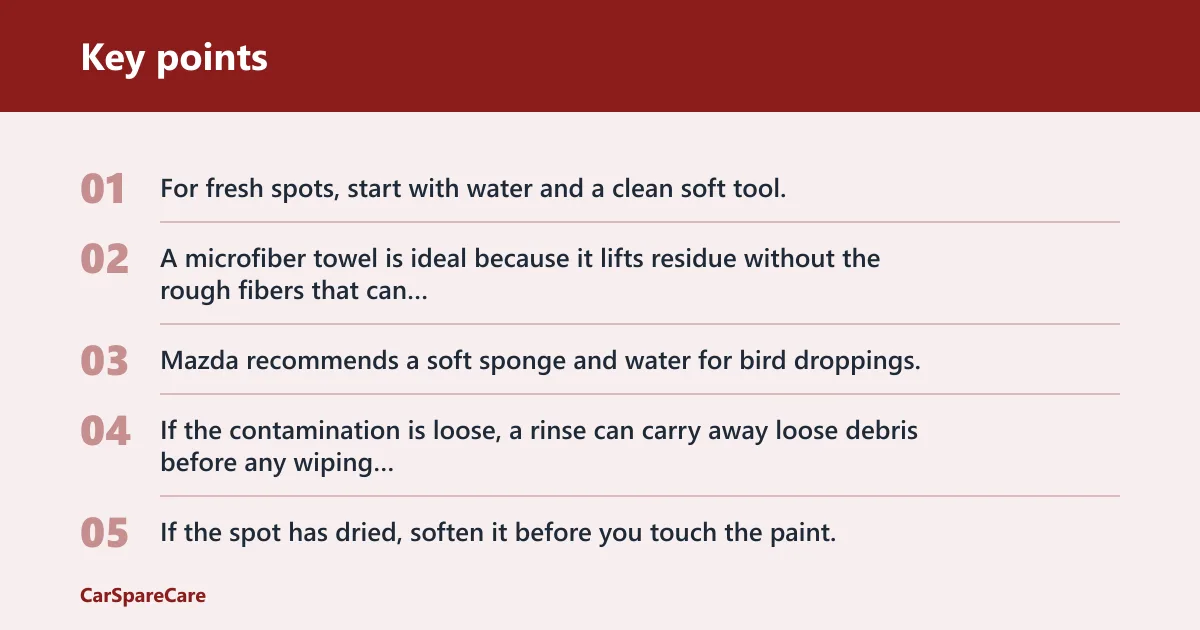
For fresh spots, start with water and a clean soft tool. A microfiber towel is ideal because it lifts residue without the rough fibers that can mar paint. Mazda recommends a soft sponge and water for bird droppings, then waxing the cleaned spot afterward.
Blot first if the spot contains grit. Do not drag dry particles across the panel. If the contamination is loose, a rinse can carry away loose debris before any wiping starts.
Baked-on contamination: escalation step
If the spot has dried, soften it before you touch the paint. For sap, Consumer Reports suggests rubbing alcohol first, while other guides also point to dedicated sap remover for stubborn residue. For bird droppings, soak the spot and let water do the first part of the work.
For hard sap, Mazda suggests dampened newspaper on sap or insects for 1 to 2 hours. That kind of soak is meant to soften the material, not to scrub it away. After softening, wash the area and reapply protection.
When to stop and seek polishing
Stop when the residue is gone but the mark stays. That usually means the contaminant has already altered the clear coat surface. Polishing can remove light etching and restore clarity, but deeper marks may need paint correction from a detailer.
A common first-timer mistake is chasing the spot longer than needed. Suppose a white hood gets a fresh dropping after lunch and the owner rinses it before it hardens. The residue lifts cleanly. No polishing is needed. Now change only one thing: let the same spot bake in direct sun until evening. The residue may still come off, but a faint outline can remain and polishing may be the next step.
How do you remove bird droppings safely?
Use water, a soft microfiber towel or sponge, and a light touch. The safest approach is to loosen the deposit first, rinse or blot away grit, then lift the residue without scrubbing. If the spot has dried, soften it before wiping so you are not grinding grit into the clear coat.
Rinse or blot away grit first
Start by removing loose material. A light rinse is safer than wiping a dusty spot, because loose grit can act like sandpaper. If you cannot rinse, blot the area with a wet microfiber towel rather than rubbing it back and forth.
Do not use a rough cloth or a dirty rag. Those tools can leave micro-marring even when the contamination comes off. Clean microfiber matters because the goal is to preserve the finish while you remove the deposit.
Soak, lift, and wipe with a microfiber towel
After softening, place the damp microfiber towel on the spot and let the water work briefly. Then lift the residue with light pressure. If the deposit resists, rewet it and try again rather than pressing harder.
Once the area is clean, wash the spot if needed and dry it with a fresh microfiber towel. Mazda advises waxing cleaned spots afterward, which is a good habit after any spot treatment that may have removed some surface protection.
What to avoid when the deposit has dried
Do not scrape dry droppings with a fingernail, card, or rough edge. Do not rub hard because that can grind the residue into the clear coat. If the droppings have sat in the sun, assume the paint is more vulnerable and use more water, not more force.
If the paint is already marked after removal, stop with cleaning and inspect the spot in angled light. If the damage looks like a shallow dull patch rather than a residue problem, polishing may be needed.
How do you remove tree sap without scratching?
Tree sap can be removed without scratching clear coat if you soften it first and use a cleaner that lifts the residue instead of grinding it. A regular wash can help before sap hardens. For stubborn spots, a sap remover or rubbing alcohol may be used carefully, followed by a wash and fresh protection.
Soften the sap before you touch it
Do not attack hardened sap with dry pressure. First soften it with a product meant for sap or with the method listed by the cleaner manufacturer. Mazda also points to dampened newspaper for sap and insect residue, which is a softening step rather than a scrubbing step.
Softening matters because heat makes sap bond more firmly to the finish. Once it loosens, the remaining wipe can be lighter and safer for the clear coat.
Use sap remover or rubbing alcohol carefully
For stubborn sap, a dedicated sap remover is the most direct option. Consumer Reports also suggests rubbing alcohol first for tree sap. Use the product according to its label and stop if it starts to dull nearby protection or changes the finish.
Be careful around trim, wraps, and repainted panels. Some cleaners can behave differently on those surfaces, and some may strip wax or sealant. If a label says the cleaner can affect protective layers, assume it may reduce the car’s current protection in that area.
Wash and re-protect after removal
After the sap lifts, wash the area to remove cleaner residue and reapply protection. Failing to re-protect leaves the cleaned spot more exposed to the next event. Wax or paint sealant is commonly recommended after sap removal, and both can restore a sacrificial layer.
That follow-up step matters on cars that park outdoors often. Sap spots usually return to the same high-risk panels: roof edges, hood corners, windshield edges, and the tops of fenders under trees.
What protection works best outdoors?
For outdoor parking, the best protection depends on how often the car sits under trees, how long it stays outside, and how much maintenance fits your routine. Wax is the shortest-term option, sealant lasts longer in some guides, ceramic coating gives longer-term chemical resistance, and PPF adds physical barrier protection.
Wax versus paint sealant
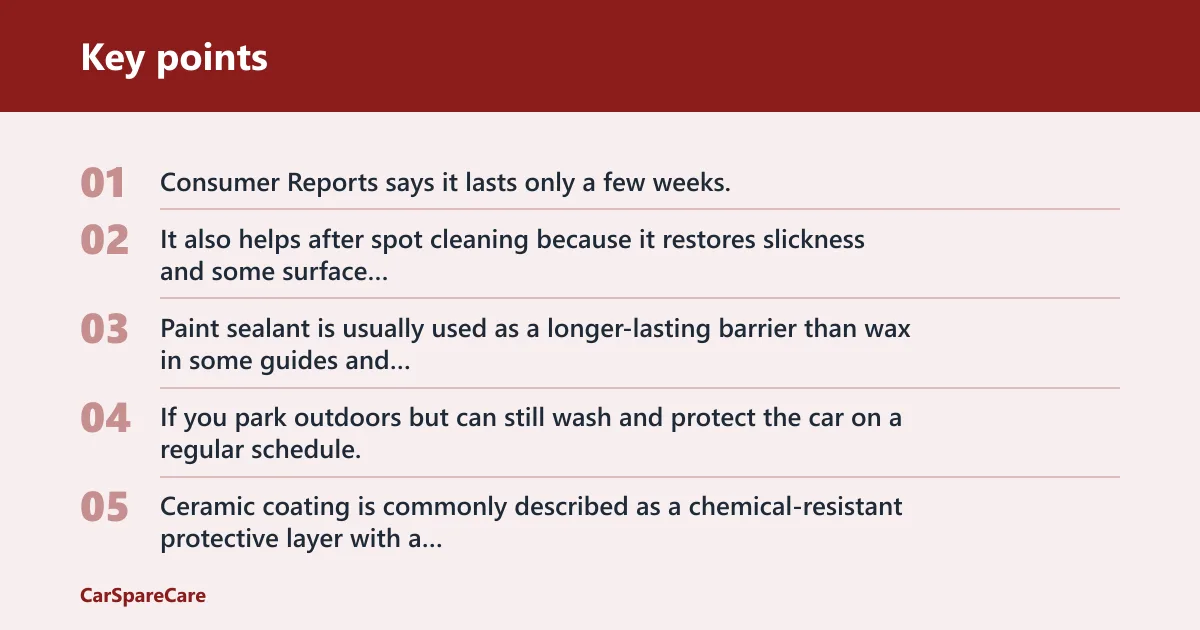
Wax is sacrificial protection. Consumer Reports says it lasts only a few weeks, so it fits owners who are willing to reapply often or who want a seasonal maintenance layer. It also helps after spot cleaning because it restores slickness and some surface protection.
Paint sealant is usually used as a longer-lasting barrier than wax in some guides and offers chemical resistance that helps against sap and droppings. If you park outdoors but can still wash and protect the car on a regular schedule, sealant is often a practical middle ground.
Ceramic coating versus paint protection film
Ceramic coating is commonly described as a chemical-resistant protective layer with a hydrophobic surface. It can be applied professionally or as a DIY product depending on the system. It helps make cleanup easier, but it does not make the paint immune to long dwell time or improper wiping.
PPF provides a physical barrier and is often regarded as one of the strongest long-term defenses against impact and contamination-related damage. It is best for high-exposure areas such as the front edge of the hood, bumper, mirrors, and leading fenders. If a car lives under trees, PPF on those panels can reduce the chance that a spot becomes permanent.
Which product fits shade parking, tree parking, and dark paint?
If the car mainly parks in shade and sees occasional contamination, wax or sealant may be enough. If it often parks under trees, a ceramic coating or PPF gives better long-term defense. Dark paint shows stains and light etching faster, so it benefits from stronger protection and faster cleanup.
| Protection | Protection duration | Best-use scenario |
|---|---|---|
| Wax | Few weeks | Seasonal maintenance, spot recovery after cleaning, low-commitment upkeep |
| Paint sealant | Longer than wax in some guides | Daily outdoor parking with regular wash intervals and moderate contamination pressure |
| Ceramic coating | Longer-term, depends on product and care | Owners who want chemical resistance and easier washing on a long schedule |
| PPF | Long-term, varies by film and care | High-exposure panels, tree parking, and cars that need physical barrier protection |
Parking habits that reduce paint damage
Parking habits matter because they control how much sun, heat, and fallout reach the paint. Shade parking helps, and avoiding trees when possible lowers the chance of sap and droppings landing on the car. If shade is not available, protection and cleaning frequency matter even more.
Shade, tree cover, and UV exposure
Park in shade when you can, but avoid parking directly under branches that drip sap or attract birds. A car under open sun heats up faster, and that heat helps contamination dry and bond. A covered space is better than a tree line if the trees shed sap or bird activity is heavy.
UV rays also work on the finish itself. Wax or sealant with UV inhibitors can reduce exposure, but they are not a substitute for cleaning. Think of them as a delay tactic, not a shield that lets contamination sit indefinitely.
How often to wash and reapply protection
Wash the car regularly to reduce buildup. A weekly routine is a practical baseline for outdoor parking, especially during seasons with heavy pollen, sap, or bird activity. Reapply wax on the schedule that matches the product, since wax wears off faster than sealant or coating.
If the car sits under trees, check the roof, hood, mirrors, and windshield edge after each drive. The highest panels collect the most fallout, and small spots are easiest to remove before they harden.
Why high-exposure panels need extra attention
Roof panels, hoods, mirrors, and trunk lids often tend to collect contamination first and most heavily. If one side of the car faces a tree or a bird perch, that side usually needs more frequent spot checks. PPF on those areas gives the best physical defense, while sealant or coating helps with cleanup.
Say your sedan parks under a maple for eight hours each workday. The roof gets small sap spots and the hood catches a few droppings. If you wipe them the same day, the cleanup is usually simple. If you wait until the weekend, the same spots may need softening, a dedicated cleaner, and possibly polishing after removal.
Car paint from bird protection table
The two tables above give the core decision rules. Use the guide below to match the contamination stage to the right product and to compare outdoor protection options by use case.
| Contaminant | Age on paint | Safe first step | Escalation step | When to stop and seek polishing |
|---|---|---|---|---|
| Bird droppings | Fresh | Rinse, blot away grit, then use water and a microfiber towel or soft sponge | Gentle wash if residue remains | Stop if a mark remains after cleaning |
| Bird droppings | Baked on | Soften with water before wiping | Careful cleaning, then re-wax the spot | Stop if etching or a dull outline remains |
| Tree sap | Fresh | Wash, then lift with a microfiber towel | Sap remover or rubbing alcohol if needed | Stop if a shadow or roughness remains |
| Tree sap | Hardened | Soften first | Dedicated sap remover, then wash and re-protect | Stop if the cleaner leaves dullness or no progress |
Protection product comparison by duration and use case
Wax fits frequent reapplication and quick seasonal upkeep. Sealant fits a more durable barrier for regular outdoor parking. Ceramic coating fits owners who want longer-term chemical resistance and easier washing. PPF is best where the panels face the most abuse.
- Wax: use for seasonal maintenance and post-spot cleanup; reapply often.
- Paint sealant: use for longer-lasting everyday protection and improved chemical resistance.
- Ceramic coating: use for longer-term hydrophobic protection and easier cleanup.
- PPF: use on high-exposure areas for the strongest physical barrier.
Frequently asked questions
How do I protect car paint from bird droppings?
Wash the car regularly, park in shade when possible, and keep a microfiber towel or soft sponge available for quick cleanup. Bird droppings can begin etching within hours depending on heat, sun, and dwell time, so prompt removal matters. Wax, sealant, coating, or PPF all help reduce the risk.
How do I protect car paint from tree sap?
Park away from sap-heavy trees when you can, inspect the roof and hood often, and remove sap before it hardens. A regular wash can help remove sap early. For stubborn residue, use a dedicated sap remover or rubbing alcohol, then wash and reapply wax or sealant.
How quickly do bird droppings damage car paint?
There is no single timer that fits every car, because sun, heat, finish condition, and dwell time all change the risk. What matters is that bird droppings can begin etching within hours and can cause significant damage if not removed promptly. Faster removal is the safer rule.
What is the safest way to remove dried bird droppings from paint?
Soften the spot first with water, then lift it with a clean microfiber towel or soft sponge. Do not scrub dry residue or use a rough cloth. If the deposit resists, rewet it and try again. If a dull mark remains after the residue is gone, polishing may be needed.
Can tree sap be removed without scratching clear coat?
Yes, if you soften it first and use gentle tools. A dedicated sap remover is the cleanest route for stubborn spots, and Consumer Reports also suggests rubbing alcohol first for tree sap. After removal, wash the area and reapply protection because some cleaners can strip wax or sealant.
Does wax or ceramic coating help against bird droppings and sap?
Yes. Wax gives sacrificial protection and helps after spot cleaning, but it needs frequent reapplication. Ceramic coating gives longer-term chemical resistance and a hydrophobic surface that makes cleanup easier. Neither lets contamination sit safely for long, but both reduce the odds of direct contact with clear coat.
Should I park under trees if I have paint protection?
Protection helps, but it does not cancel the risk. If the tree drops sap or attracts birds, parking under it still raises the chance of contamination and staining. A coating or PPF gives more margin for error, but shade parking away from sap sources is still the better choice.
What should I do if bird droppings already left a mark?
Clean the area gently, then inspect the finish in angled light. If a dull shadow or etched outline remains, the damage may already be in the clear coat. That is the point where polishing or paint correction becomes the next step. If the mark is severe, a professional inspection is safer.

Hi, I’m Melvin, an automobile engineer with extensive experience in automobile equipment. I currently work for a local automobile firm, where I specialize in the car parts industry. I’ve had the opportunity to collaborate with seasoned inspectors, gaining invaluable hands-on experience that goes beyond just theory.
My passion for automotive care started at a young age, which led me to create CarSpareCare. Through CarSpareCare, I share the knowledge and skills I’ve acquired over the years to help others navigate the world of car maintenance and repairs.
My goal is to provide practical tutorials, essential safety advice, and the latest industry insights so that anyone—whether a beginner or an expert—can confidently tackle their automotive projects.

