Clean a flood-soaked car interior by sorting materials quickly: save only hard surfaces that can be fully cleaned, remove carpet padding and soaked insulation, and replace any electronics, seat foam, or trim that stayed wet for more than about 24 hours. Poor cleanup traps mold, corrodes wiring, and leaves musty odors that come back. This guide covers what to remove first, what to clean, what to replace, and how to check for hidden water damage.
Flood damage cleanup: what to do first

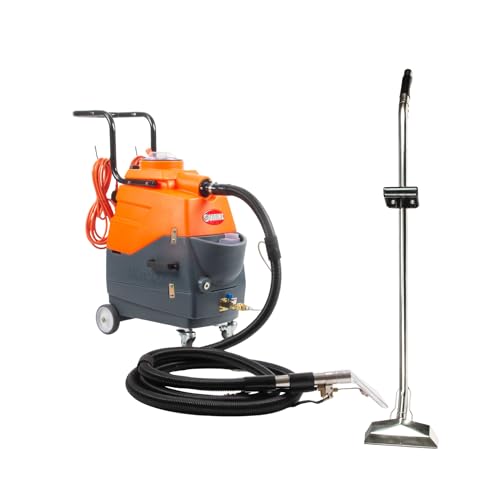

The first hour matters. Disconnect the battery if water reached electronics, then remove standing water from the footwells and trunk with a wet/dry vacuum or extractor. Sort the water type before you clean anything else, because clean water, gray water, and black water call for different decisions and different replacement thresholds.
What you’ll need
- Wet/dry vacuum or extractor
- Air mover with high airflow
- Dehumidifier
- Moisture meter
- Trim tools and basic hand tools
- Gloves, disinfectant, and absorbent towels
- Plastic bags or bins for removed parts
Triage table
| Component | Contamination level | Salvageability | Drying method | Replacement trigger | Recheck point |
|---|---|---|---|---|---|
| Footwells | Clean water to black water | Often salvageable if exposed fast | Extract pooled water, then crossflow drying | Floodwater sat long enough to soak under trim or into foam | After carpet and padding are lifted |
| Carpet backing / underfelt | Any contamination; highest odor risk | Limited on clean-water exposure; poor on gray or black water | Lift from floorpan and dry both sides | Musty odor, rust staining, or swelling after lift | Before reinstalling seats or sill plates |
| Seat foam | Any contamination | Sometimes on clean water if uncovered quickly | Remove seat cover if possible; dry with airflow and dehumidification | Water remained below the surface, odor returns, or foam stays damp | After 24 hours of drying and again before reassembly |
| Seat belts | Any contamination | Usually only if dry and undamaged | Wipe and air-dry fully, away from heat | Fraying, tearing, or coming unstitched at the mountings | At the retractor, webbing, and anchor points |
| Headliner | Low splash to soaked roof leak | Only light dampness, not saturation | Gentle airflow; avoid soaking adhesive backings | Sagging, staining, or delamination | After the cabin humidity drops and odor stays gone |
| Wiring connectors | Any water that reached modules or connectors | Only after inspection and corrosion check | Dry exposed connectors, then inspect for green or white residue | Corrosion, intermittent faults, or water inside housings | Before reconnecting battery power |
| HVAC intake / cabin filter | Moisture or contaminated air path | Inspection required; filter often replaced | Dry intake area and replace the cabin filter if damp | Persistent odor, wet filter media, or visible contamination | After initial drying and again if odor returns |
- Disconnect the battery before you power any modules or try to start the car.
- Remove standing water from the footwells, trunk, and spare-tire well.
- Sort the water type: clean water can sometimes be cleaned, gray water needs caution, and black water usually pushes you toward replacement.
- Lift sill plates and trim, then remove seats and carpet where floodwater reached padding or floorpan metal.
- Clean hard surfaces only after debris is out; steam sanitation of carpet face, seat fabrics, and hard plastics is part of flood restoration.
Suppose a sedan took on rainwater through a sunroof drain and the footwells filled to ankle depth. If the battery is disconnected and the carpet is lifted right away, the foam underlay may still be recoverable. If the same carpet stays sealed to the floor overnight, the backing and underfelt are far more likely to hold odor and rust moisture.
How do you clean a flooded car interior?
Start by removing water, then remove wet layers, then clean exposed surfaces. Do not treat this like normal detailing. Flood cleanup works only if you split the cabin into salvageable hard parts and soaked materials that need to come out, because dirt in foam, backing, and connectors keeps causing odor and corrosion.
Step 1: Remove standing water
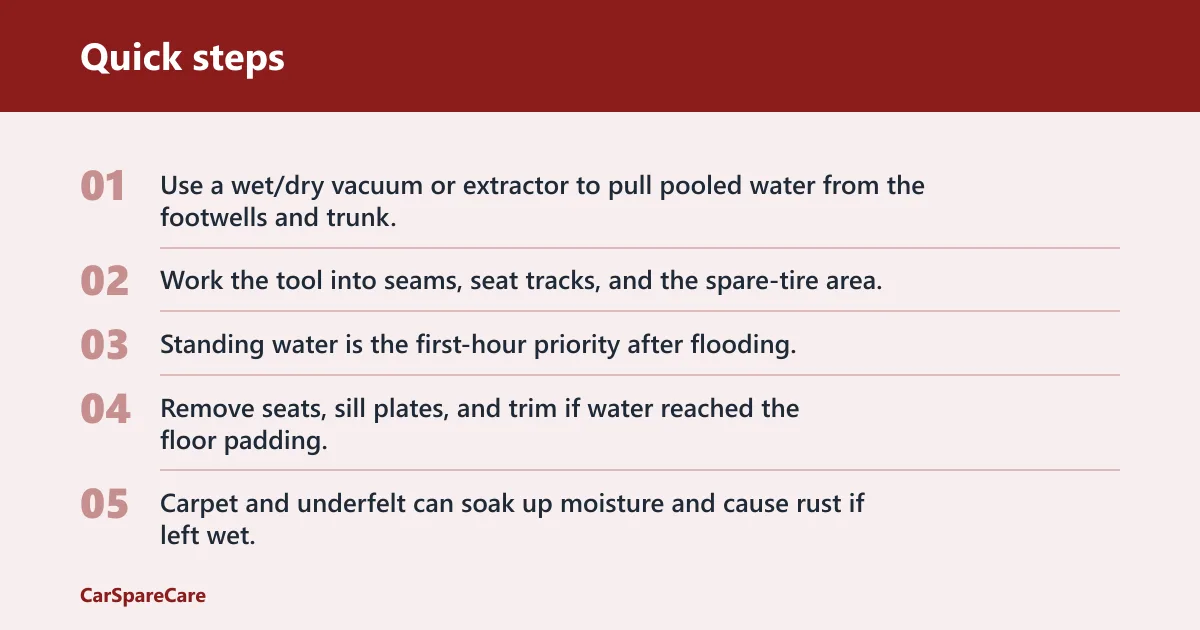
Use a wet/dry vacuum or extractor to pull pooled water from the footwells and trunk. Work the tool into seams, seat tracks, and the spare-tire area. Standing water is the first-hour priority after flooding, and leaving it behind slows every later step.
Step 2: Strip out wet floor materials
Remove seats, sill plates, and trim if water reached the floor padding. Carpet and underfelt can soak up moisture and cause rust if left wet. Keep each removed part separate so you can decide what dries cleanly and what needs replacement.
Step 3: Clean hard surfaces and hidden spaces
Wipe hard plastics, pedals, exposed metal, and seat frames with a suitable cleaner, then sanitize after debris is gone. Check under-seat rails, anchor points, and the floorpan for silt or residue. Clean hidden spaces too, including seams, brackets, and corners under the carpet edge, because trapped mud holds water against metal.
Step 4: Sanitize only after debris is removed
Flood restoration includes steam sanitation of carpet face, seat fabrics, and hard plastics, but sanitizing dirty material too early only seals in mess. A damp or mouldy odour is a sign of flood-related interior damage, so clean, dry, and then recheck smell before reassembly.
How do you dry car interior after flood damage?
Drying means more than feeling the surface dry. You need the cabin humidity down, the padding and foam dry through the full thickness, and the connectors free of hidden moisture. Use air movers for crossflow and a dehumidifier to pull water out of the closed cabin.
Step 1: Set up crossflow drying
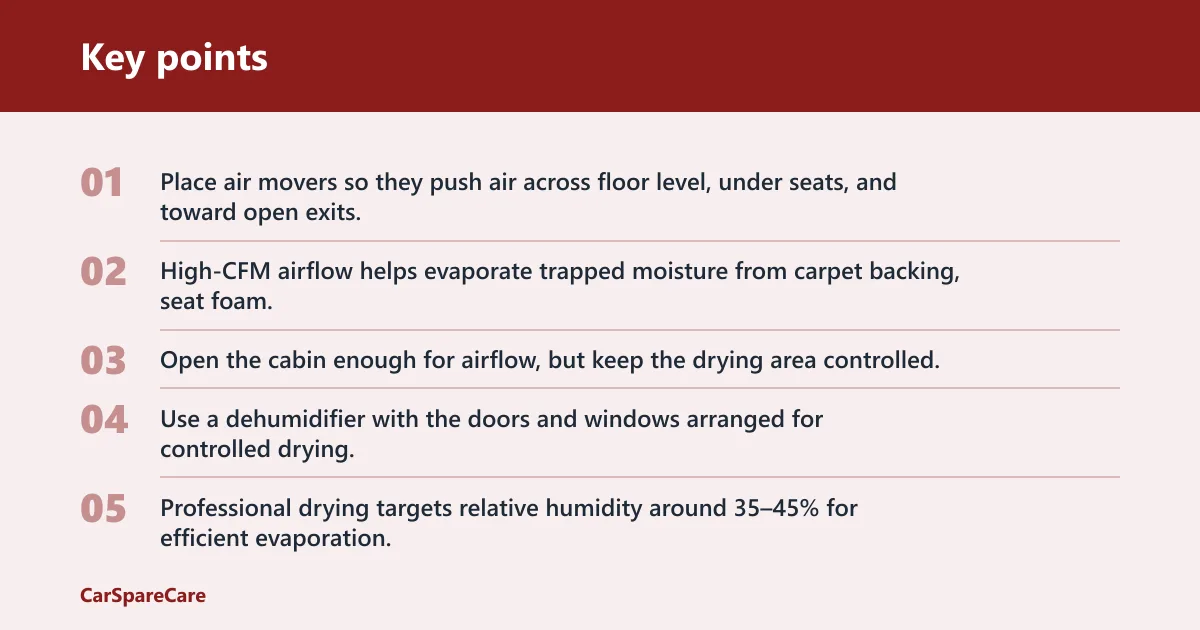
Place air movers so they push air across floor level, under seats, and toward open exits. High-CFM airflow helps evaporate trapped moisture from carpet backing, seat foam, and underfelt. Open the cabin enough for airflow, but keep the drying area controlled.
Step 2: Run a dehumidifier in a closed cabin
Use a dehumidifier with the doors and windows arranged for controlled drying. Professional drying targets relative humidity around 35–45% for efficient evaporation. If the cabin stays humid, surfaces may feel dry while the padding still holds water.
Step 3: Check material depth, not just the surface
Use a moisture meter on padding, seat foam, and exposed underlays before reassembly. Moisture meters are used to verify drying before reassembly, and they matter because wet cloth upholstery foam can take days to dry if soaked. Surface-dry is not the same as dry through the core. (Howacarworks)
Step 4: Recheck after the cabin looks dry
Keep drying until baseline readings return. If you reinstall trim too early, trapped water can return as odor, rust, or delayed electrical faults. Say a hatchback looks dry on day two but still smells musty when the carpet is pressed at the rear footwell. That smell points to moisture below the visible layer.
Can you save seats, carpet, and trim?
Sometimes. Clean-water exposure with fast removal is different from sewage, salt water, or long-soaked upholstery. The decision should be made by material and contamination type, not by appearance alone. If the water was dirty or stayed in place, replacement is often the safer call.
When carpet backing and padding can be saved
Light clean-water exposure, fast extraction, and no odor after lift give carpet backing a chance. Once the underfelt has stayed wet long enough to smell, stain, or swell, replacement is safer. Carpet and underfelt can soak up moisture and cause rust, so check the floorpan too.
When seat foam and belts should be replaced
Seat foam holds water below the surface, dries slowly, and can harbor mold and odor. If the foam stayed saturated, or if the odor comes back after drying, replacement is usually the better outcome. Seat belts should be checked for fraying, tearing, or coming unstitched at the mountings.
When headliners, connectors, or modules are done
Headliners that sag or stain after drying are poor candidates for reuse. Wiring connectors that show corrosion, water inside housings, or intermittent faults need closer inspection and often replacement. Corrosion can show up on the fuse box, especially around connections, so inspect the electrical area before reconnecting power.
What gets ruined first after flooding?
The first failures are usually hidden, not obvious. Foam, underfelt, and connectors often fail before the carpet looks bad. Mold can begin developing within 24–48 hours in a wet interior, so a car that seems only damp on day one can be much worse by day three.
Why foam and underfelt hold water so long
Seat foam and carpet padding store water below the surface, where airflow cannot reach easily. That is why they dry slowly and often keep odor even after the top layer feels dry. If they stayed soaked, the material may be beyond practical cleanup.
What delayed electrical faults can mean
Water that reached electronics may not cause an immediate problem. Delayed faults can appear after corrosion starts in connectors or the fuse box. Check power windows, mirrors, door locks, and lights after drying, because those systems often show the first signs of hidden water entry.
What the HVAC system can retain
Inspect the HVAC system and cabin filter as part of every flood-damage check. The intake can hold moisture and odor, and a wet filter can keep the cabin smelling damp long after the floor is dry. Replace contaminated cabin-filter media instead of trying to dry it back into service.
Common mistakes
The biggest mistake is reassembling too soon. Another is treating gray water or black water like clean rainwater. If sewage, salt water, or long-soaked upholstery is involved, cleanup can become unsafe or pointless fast, especially when padding, seat foam, or wiring has stayed wet beyond the first day.
- Putting carpet back before the underfelt passes a moisture check
- Skipping battery disconnection after water reached electronics
- Using only a fan and calling the cabin dry
- Keeping seat foam that still smells musty after drying
- Ignoring the cabin filter and HVAC intake
- Missing corrosion at connectors or the fuse box
Frequently asked questions
How do I clean a flooded car interior safely?
Disconnect the battery first if water reached electronics, remove standing water, and lift wet floor materials before disinfecting. Clean hard surfaces after debris is out. If the water was sewage, salt water, or heavily contaminated, many guides recommend stopping DIY cleanup and replacing affected porous parts.
What should I do first after water gets into my car?
Turn off the car, disconnect the battery if electronics were reached, and remove pooled water from the footwells and trunk right away. That first hour matters because standing water soaks underfelt, reaches connectors, and raises the chance of later mold and corrosion.
How long does it take for mold to grow in a wet car interior?
Mold can begin developing within 24–48 hours in a wet interior. That is why a cabin that still feels damp on day two needs immediate drying and rechecking. Odor return after that point usually means moisture stayed trapped in foam or padding.
Can I clean flood-damaged car seats and carpets myself?
Yes, if the water was clean, exposure was short, and you can remove the seats, carpet, and padding for full drying. If the water was gray or black, or if the foam stayed saturated, replacement is usually the safer choice.
How do I tell if flood water got into the wiring or electronics?
Look for water lines under the seats, damp connectors, corrosion on the fuse box, and later faults in power windows, mirrors, door locks, and lights. If any module area got wet, keep the battery disconnected until the connectors and housings are inspected and dry.
How do I get rid of the smell after a car floods?
Remove the source first: wet underfelt, seat foam, cabin filter, and any contaminated trim. Then dry the cabin to baseline and inspect the HVAC intake. If odor returns after drying, the smell is still coming from trapped moisture or a part that should be replaced.

Hi, I’m Melvin, an automobile engineer with extensive experience in automobile equipment. I currently work for a local automobile firm, where I specialize in the car parts industry. I’ve had the opportunity to collaborate with seasoned inspectors, gaining invaluable hands-on experience that goes beyond just theory.
My passion for automotive care started at a young age, which led me to create CarSpareCare. Through CarSpareCare, I share the knowledge and skills I’ve acquired over the years to help others navigate the world of car maintenance and repairs.
My goal is to provide practical tutorials, essential safety advice, and the latest industry insights so that anyone—whether a beginner or an expert—can confidently tackle their automotive projects.