Start by removing dry debris, then clean one material at a time with the mildest product that does the job. If you skip that order, grit gets dragged into fabric, screens haze, leather stains, and residue stays behind to collect more dirt. This guide covers a contamination-first workflow, safe product choices for plastic, fabric, leather, glass, and the tools and steps that leave the cabin clean.
What you need before you start

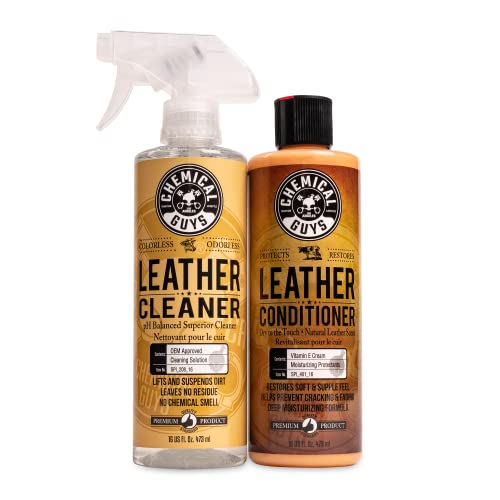
A home interior detail can stay on a modest budget, and The Drive labels the skill level beginner. The same source estimates a full detailing job can take 2-5 hours, depending on size and condition. Start with tools that remove loose contamination first, then add wet cleaning only where the material can handle it. (Thedrive)
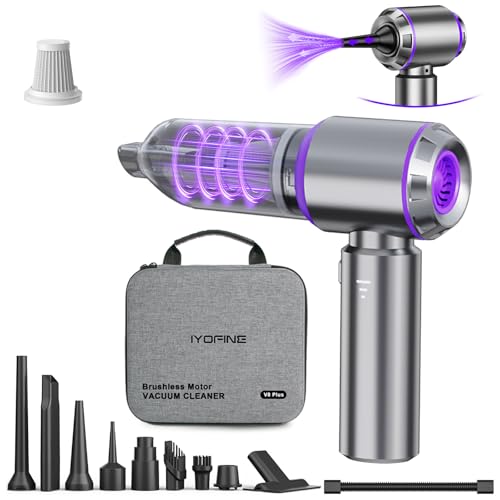
- Vacuum with attachments — a crevice tool for seams, sliders, and cupholders; use it before any wet cleaning to remove crumbs, dirt, and pet hair from seats and carpet.
- Microfiber cloths and towels — use soft cloths for dusting, wiping, and drying; keep separate cloths for cleaning and drying to reduce streaks and scratches.
- Interior cleaner, choose one made for automotive materials and labeled safe for plastic, vinyl, cloth, or leather when compatible.
- Soft-bristle brush, for seams, vents, textured trim, and fabric agitation; it helps lift embedded dirt without tearing delicate surfaces.
- Crevice cleaning tool, for the tight spaces between seats and consoles, plus cupholders and seat tracks.
- Leather cleaner, use on leather seats only when the label says so.
- Upholstery cleaner, use on cloth seats, carpets, and carpeted mats when the material allows it.
- Disinfecting wipes, for high-touch surfaces when the label allows interior use; avoid bleach-based products.
- Odor eliminator, use after deep cleaning if smells remain from smoke, food, or stale air.
- Two buckets and two dirt traps, useful if you are cleaning removable mats or working with a wash solution.
- Handheld vacuum, helpful for quick maintenance and tight access.
- Ammonia-free window cleaner, for interior glass only.
📊 The Drive estimates a full detailing job can take 2-5 hours. Source: How To Detail a Car.
Interior detailing planning table
Use this table to match the surface, cleaner, and method before you start. The safest approach is the one that removes contamination without soaking the material or rubbing a finish too hard.
| Surface/material | Safest cleaner type | Tool/method | Common mistake to avoid |
|---|---|---|---|
| Cloth seats | Upholstery cleaner | Vacuum first, then light brush agitation and towel blotting | Soaking the foam underneath |
| Leather seats | Leather cleaner | Soft microfiber wipe, then dry buff | Using upholstery cleaner or harsh all-purpose spray |
| Alcantara | Material-safe interior cleaner labeled for microfiber-like trim | Dry brush, then minimal damp wipe | Scrubbing with a stiff brush or over-wetting |
| Dashboard | Interior cleaner for plastic/vinyl | Microfiber towel and soft-bristle brush for texture | Heavy spray that runs into switches |
| Vents | Light interior cleaner on cloth, not directly sprayed | Brush fins first, then wipe with a wrapped cloth | Bending fins or forcing liquid into the ducts |
| Door panels | Interior cleaner safe for plastic and vinyl | Wipe from top to bottom with a microfiber cloth | Leaving cleaner in stitching and seams |
| Carpets | Upholstery cleaner | Vacuum, spot treat, brush, then extract or blot dry | Flooding the pile |
| Floor mats | Upholstery cleaner for carpeted mats; rinse-safe soap for rubber mats | Remove first or early; scrub and dry fully | Reinstalling while damp |
| Touchscreens | Screen-safe cleaner or lightly damp microfiber | Gentle wipe only | Ammonia, abrasive towels, or hard pressure |
| Piano black trim | Mild interior cleaner | Clean with very soft microfiber and minimal pressure | Dry rubbing dust across the surface |
| Seat belts | Fabric-safe upholstery cleaner, used sparingly | Pull out, clean lightly, and air dry fully | Saturating the webbing |
| Cupholders | Interior cleaner or spot-safe upholstery cleaner | Crevice tool, detail brush, then microfiber wipe | Leaving sticky residue in the base |
What order should you clean the cabin?
Clean from the least dirty contamination to the most stubborn, then move from high surfaces down to footwells. That order stops re-soiling cleaned panels and keeps grit from falling onto finished work. The sequence below also avoids wetting areas that still need vacuuming.
- Remove trash and loose items. Clear bottles, wrappers, coins, and child-seat accessories before anything else.
- Take out the floor mats. Carpeted mats may need cleaner and drying time; rubber mats can be rinsed and scrubbed.
- Vacuum seats, carpet, seams, and crevices. Use the crevice tool for seat rails, cupholders, and console gaps; this step removes crumbs, dirt, and pet hair before wet cleaning.
- Dust the cabin from high to low. Start with the dashboard and vents, then move to door tops, trim, and lower panels.
- Clean one material at a time. Match leather cleaner to leather, upholstery cleaner to cloth, and interior cleaner to labeled plastic or vinyl.
- Wipe glass and touchpoints last. Finish with screens, glass, buttons, and door handles using clean microfiber towels.
Say your SUV has dog hair in the rear seat seams and a sandy mat in the rear footwell. Vacuuming first keeps the loose grit out of the upholstery cleaner, and the mat comes out before the carpet so you do not grind sand into the pile while working.
How do you clean delicate surfaces safely?
Delicate interior surfaces need less liquid, softer tools, and slower passes. The goal is to lift contamination without polishing texture away, forcing moisture into seams, or leaving haze on glossy trim. Keep pressure light and change cloths as soon as they pick up dirt.
Cloth seats and carpets
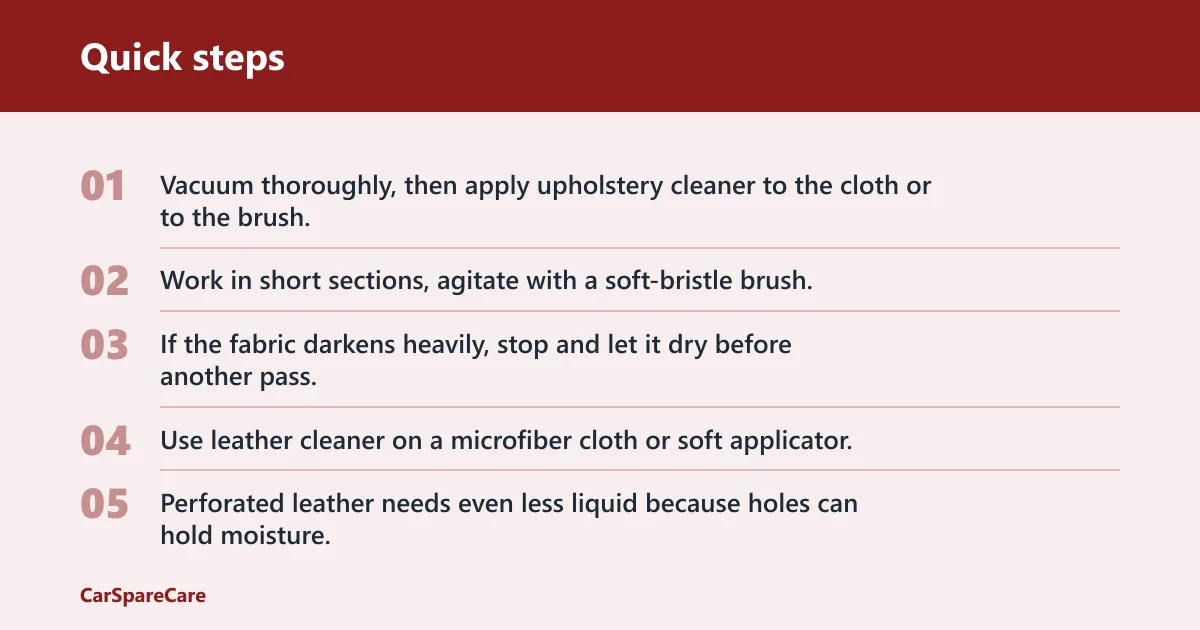
Vacuum thoroughly, then apply upholstery cleaner to the cloth or to the brush, not to the whole panel. Work in short sections, agitate with a soft-bristle brush, and blot with a dry microfiber towel. If the fabric darkens heavily, stop and let it dry before another pass.
Leather seats and perforated leather
Use leather cleaner on a microfiber cloth or soft applicator, then wipe away residue with a second dry cloth. Perforated leather needs even less liquid because holes can hold moisture. Avoid saturating bolsters, and never use strong degreasers or household all-purpose sprays on the surface.
Alcantara and microfiber-like trim
Use a material-safe cleaner and a very light touch. A soft brush can raise embedded dirt, but aggressive scrubbing can mat the surface or leave shiny spots. Keep the cloth barely damp, then let the material air dry with the cabin open if possible.
Dashboard, vents, piano black trim, and touchscreens
Dust first. Then wipe with a clean microfiber cloth and a compatible interior cleaner. For vents, use a brush to loosen dust before you wipe, and avoid spraying directly into the fins. Piano black trim scratches easily, so keep the towel clean and pressure low. For touchscreens, use a screen-safe cleaner or a lightly damp cloth only.
Suppose a sedan has sticky coffee residue in a cupholder and dust on glossy trim. Clean the cupholder first with a crevice tool and a wrapped microfiber, then move to the trim with a fresh cloth so syrup does not smear across the high-gloss panel.
How long does interior detailing take?
Time depends on how much contamination you are removing and how many surfaces need material-specific care. The Drive estimates 2-5 hours for a full detailing job. A compact cabin with light dust can be quick; heavy pet hair, spills, or smoke residue pushes the job toward the longer end.
- Light maintenance clean: about 45-90 minutes for vacuuming, dusting, glass, and a fast wipe-down.
- Moderate dirt and dust: about 2-3 hours when you are cleaning mats, seams, seats, and high-touch areas carefully.
- Heavy soil, pet hair, spills, or smoke residue: about 3-5 hours, sometimes longer if mats and upholstery need drying time.
Use product amounts sparingly. A light mist or a few sprays per section is usually enough; if the surface stays wet after wiping, you used too much. Recheck seams, seat rails, and cupholders after ten minutes, and clean only the spots that still show residue.
Common mistakes to avoid
The biggest failures come from using the wrong product on the wrong material, or cleaning in the wrong order. Once grit turns into slurry, it spreads into seams, switches, and stitching. Stop each step when the surface is clean, not when it is wet and glossy.
- Using one cleaner everywhere. Interior cleaner is useful on compatible plastic, vinyl, cloth, and leather, but leather cleaner and upholstery cleaner still belong on their own materials.
- Scrubbing too hard. Delicate trim, Alcantara, and piano black scratch or shine quickly under rough towels and stiff brushes.
- Leaving moisture in seams and cupholders. Dry those areas with a microfiber towel and a crevice tool so residue does not return as spots or odor.
- Treating odor products as the fix. Odor eliminator helps after deep cleaning, but it does not remove smoke residue, food buildup, or pet contamination.
- Using bleach-based wipes or ammonia-heavy glass cleaner. These can damage sensitive interior materials and leave streaking on coated screens.
A common mistake is wiping the console first and then scattering dust onto the seats and carpet when the door panels are cleaned later. That leaves dust falling onto a finished panel, then onto the same microfiber towel, which turns a quick wipe into a streaking problem.
Frequently asked questions
What products do I need to detail a car interior?
At minimum, use a vacuum with attachments, microfiber cloths, a soft-bristle brush, interior cleaner, and the right specialist product for leather or upholstery. Add disinfecting wipes for high-touch areas, ammonia-free glass cleaner for windows, and an odor eliminator only if smells remain after cleaning.
How do I avoid damaging leather, cloth, or plastics while detailing?
Match the cleaner to the surface, apply it sparingly, and wipe with clean microfiber instead of rough towels. Avoid bleach, ammonia-heavy sprays, and hard scrubbing. If the material darkens or feels wet, stop and dry it before adding more product.
How often should I detail my car interior?
Deep cleaning is usually needed when dirt, stains, or odor start to build up, while lighter maintenance can happen more often. A weekly vacuum and wipe-down helps, especially if you carry pets, kids, or food. Clean sooner after spills so they do not set into fabric or seams.
How long does interior car detailing take?
A full job commonly falls within the 2-5 hour range, depending on cabin size and soil level. Light upkeep can be under two hours. Heavy pet hair, smoke residue, or stained carpet can take longer because vacuuming, spot treatment, and drying add time.
How to professionally detail a car
Professional results come from sequencing, not extra force. Remove dry debris first, choose the mildest compatible cleaner, and inspect edges, rails, vents, and cupholders after every stage. The clean is finished when the surface is dry, streak-free, and free of loose contamination.

Hi, I’m Melvin, an automobile engineer with extensive experience in automobile equipment. I currently work for a local automobile firm, where I specialize in the car parts industry. I’ve had the opportunity to collaborate with seasoned inspectors, gaining invaluable hands-on experience that goes beyond just theory.
My passion for automotive care started at a young age, which led me to create CarSpareCare. Through CarSpareCare, I share the knowledge and skills I’ve acquired over the years to help others navigate the world of car maintenance and repairs.
My goal is to provide practical tutorials, essential safety advice, and the latest industry insights so that anyone—whether a beginner or an expert—can confidently tackle their automotive projects.