Clean cloth car seats by matching the cleaner to the stain first: blot liquids, use an enzyme cleaner for food or drink, a solvent-based cleaner for oil or grease, and stop before the fabric or foam gets soaked. Poor spot-cleaning can spread the stain, leave rings, and drive moisture into the cushion, where odors and mildew are harder to remove. This guide shows a stain-triage method, safe blotting and scrubbing steps, and how to dry the seat without over-wetting the foam underneath.
What you’ll need


- Vacuum with upholstery and crevice attachments
- Microfiber cloths, both dry and slightly damp
- Soft-bristled brush
- White vinegar, warm water, and dish soap
- Baking soda or washing soda
- Rubbing alcohol
- Enzyme upholstery cleaner
- Spray bottle for light misting
- Clean towel for blot drying
- Optional handheld steam cleaner for heavy soil
Cloth seat stain decision table
| Stain type | Best first-step treatment | Dwell time | Tools needed | Rinse method | Drying risk | When to escalate | Avoid this mistake |
|---|---|---|---|---|---|---|---|
| Coffee | Blot, then use a light mist of 2 cups warm water, 1 cup vinegar, and 1 tablespoon dish soap | 2 to 5 minutes | Microfiber cloth, soft brush, spray bottle | Wipe with a damp microfiber cloth, then blot dry | Water rings if oversaturated | If the stain is heat-set or leaves a brown halo after two passes | Do not keep scrubbing the same spot once the liquid is absorbed |
| Grease | Cover with baking soda or washing soda, then vacuum after it sits | At least 8 hours | Powder, vacuum, soft brush | Vacuum first, then spot-clean residue with a damp cloth | Powder residue if not fully removed | If the spot darkens again after drying or smells oily | Do not add liquid before the powder has had time to draw oil out |
| Ink | Transfer with rubbing alcohol on a cloth, then blot | 30 to 60 seconds per pass | Microfiber cloth, cotton pad, gloves | Dab with a clean damp cloth, then dry | Dye transfer and fabric fading | If the ink is set-in, smeared, or spread into the seam | Do not flood the area with water, which can spread the dye |
| Blood | Cold water first, then enzyme upholstery cleaner | 5 to 10 minutes | Microfiber cloth, enzyme cleaner, soft brush | Blot with a damp cloth using cold water | Heat can set the stain | If the stain is old or the seat still smells after treatment | Do not use hot water, which can make the stain harder to remove |
| Pet mess | Enzyme upholstery cleaner, then blot thoroughly | According to label directions | Enzyme cleaner, cloths, brush | Blot with a damp microfiber cloth, then dry | Odor if residue stays in the foam | If odor returns after drying or the cushion feels damp underneath | Do not stop at the visible spot if the foam underneath still holds residue |
| Mystery stain | Vacuum first, then use the mild vinegar mix on a hidden spot | 10 full minutes on the test spot | Vacuum, microfiber cloth, spray bottle, brush | Light damp wipe, then dry | Water rings, dye transfer, fabric fading | If the stain changes color, spreads, or keeps reappearing | Do not skip a hidden test spot before treating the visible stain |
Cloth car seat upholstery is often a synthetic blend such as nylon or polyester. It absorbs spills and odors, and it can fray, fade, or water-spot if you scrub too hard or soak it. A good fix stays local to the stain and keeps moisture on the surface.
Which cleaner should you use first?
Start with the stain type, not a generic cleaner. Coffee and other drink stains usually respond to a vinegar mix, grease needs an absorbent powder first, and blood or pet messes do better with an enzyme upholstery cleaner. If the stain is mixed, treat the dominant part first, then the residue.
General fabric stains
For most food, drink, and dirt stains, begin with a DIY mix of 2 cups warm water, 1 cup vinegar, and 1 tablespoon dish soap. Use only a light mist. Many stains respond to what you already keep under the sink, but you still need a test spot and a rinse pass.
Say your coffee spill is still fresh and about 3 inches wide. Blot the liquid first, then mist the cleaner once or twice instead of soaking the panel. If the stain is old and brown, expect one treatment to loosen it and a second to finish the edge.
Grease and oil spots
Use baking soda or washing soda on grease before any liquid cleaner. Let the powder sit for at least 8 hours, then vacuum it away with the upholstery attachment. That helps pull oil out of the fibers before you introduce moisture, which can smear grease deeper into the weave.
For older grease, make a paste with a little water only if dry powder does not grab the spot. Do not flood the patch. The goal is to lift oil, then remove the residue, not to drive it into the foam beneath the fabric.
Ink, blood, and pet mess
Use rubbing alcohol for ink transfer, cold water for blood, and an enzyme upholstery cleaner for pet messes and odors. Apply each cleaner to a cloth first, not directly to the seat. For biological stains, enzyme products are usually the better choice because they are designed to break down the source of the stain and smell.
Picture a pen leak on the outer bolsters and a pet accident in the center seat. Those need different cleaners. Ink can spread if you scrub it with water, while a pet stain can keep smelling if you only clean the visible mark and skip the foam underneath.
How do you clean cloth car seats?
Clean cloth car seats in three passes: vacuum the debris, treat the stain with the right cleaner, and rinse or blot out residue before drying. Keep the fabric damp, not soaking wet. That reduces water rings, protects the foam underneath, and helps the seat dry faster.
Vacuum and dry prep
- Vacuum seams first. Use the upholstery or crevice attachment on the seat surface, seams, and creases. Loose grit turns into muddy residue if you wet it.
- Check the trim closely. Look for fraying, dye transfer, adhesive-backed seat covers, and any warning labels for airbags or heated seats. Those details change how aggressive you can be.
Blot, treat, and rinse
- Blot the spill. Press a dry microfiber cloth into the stain until no more liquid lifts. Rubbing spreads the mark and pushes it deeper into the weave.
- Apply the cleaner lightly. Mist the stain or put cleaner on the cloth, then work in small circular motions with a soft-bristled brush. Use light pressure only.
- Wait, then lift. Let the cleaner dwell for the right time, then blot with a clean damp microfiber cloth to remove residue. Rinse by wiping, not by pouring.
Repeat without soaking
- Repeat in short passes. If the spot remains, add one more light application and recheck after each pass. Do not keep wetting the same area.
- Switch cleaners if needed. If a coffee stain turns into a greasy ring or a pet stain still smells after cleaning, move to the next targeted cleaner instead of repeating the same one.
How do you dry car seats after cleaning?
Dry the seat with blotting, airflow, and time. Open windows, run the fan, and keep air moving across the upholstery until the foam feels dry to the touch. If moisture stays trapped in the cushion for 24 to 48 hours, fabric seats can mold.
Blot out extra moisture
Press a dry microfiber cloth or towel onto the cleaned area until it stops pulling water. Do not rub at this stage. A final blot reduces the amount of dampness that can sink into the foam and leave a water ring on the surface.
Move air through the cabin
Open the windows and use cabin airflow to move moist air away from the seat. A fan aimed across the upholstery dries faster than warm air trapped inside the car. If the seat cover feels cool and damp after an hour, it still needs more air movement.
Check for hidden dampness
Press firmly on the fabric and along the seam edges. If the seat cushion feels spongy, smells musty, or leaves moisture on your fingers, keep drying. A common first-timer mistake is stopping when the top surface looks dry while the foam underneath is still wet.
Common mistakes
Most cleanup failures come from too much liquid, too much force, or the wrong cleaner for the stain. Heat-set stains, water rings, dye transfer, and foam saturation are the main problems to watch for. If a seat starts to smell worse after cleaning, stop and dry it fully before doing anything else.
- Using a stiff brush that frays the weave or roughens the surface
- Pouring cleaner straight onto the seat
- Skipping the test spot on a hidden area
- Scrubbing a stain that should be blotted
- Leaving residue in the fabric after cleaning
- Ignoring musty odor, which often points to wet foam
- Using steam near electrical components or heated seats
When should you stop DIY?
Stop DIY when the stain spreads, the seat shows a water ring, the fabric changes color, or the cushion still smells musty after full drying. Those are signs that the stain may already be in the foam or that the fabric is reacting badly to moisture or cleaner.
Water rings and dye transfer
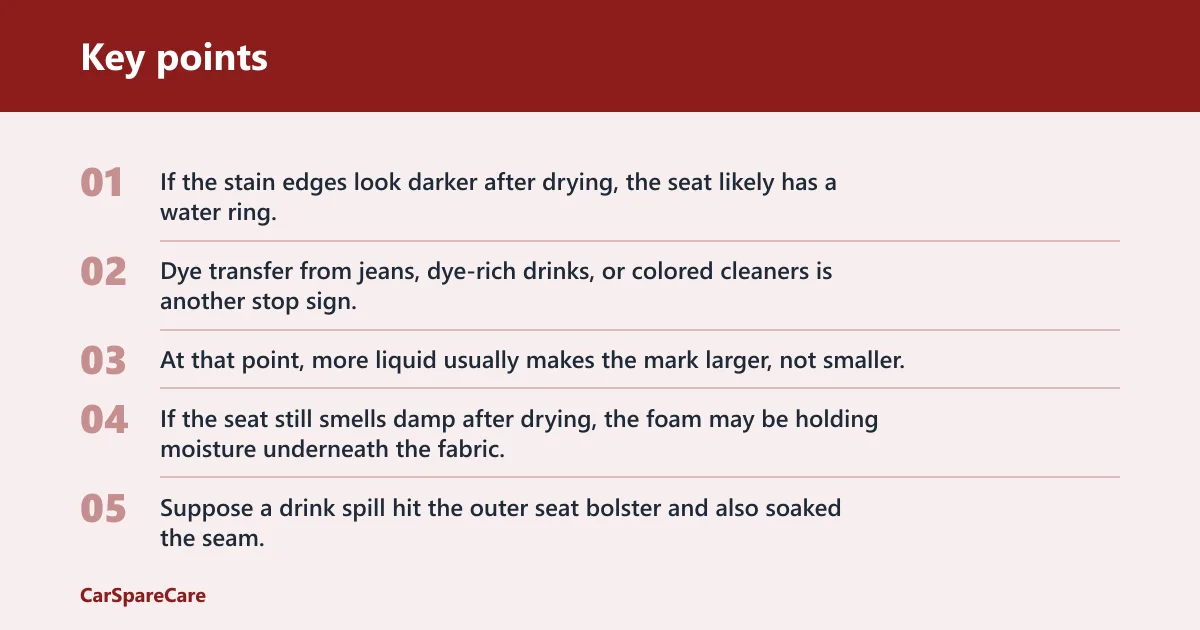
If the stain edges look darker after drying, the seat likely has a water ring. Dye transfer from jeans, dye-rich drinks, or colored cleaners is another stop sign. At that point, more liquid usually makes the mark larger, not smaller.
Musty odor or foam saturation
If the seat still smells damp after drying, the foam may be holding moisture underneath the fabric. That can mean mold risk and a longer recovery. If the smell remains after a full day of airflow, a professional detailer or upholstery extractor is the better next step.
When to call a pro
Call a pro detailer if the spot keeps returning after a couple of careful passes, or if it sits under a glued-on cover or near electrical or heated seat parts. A handheld steam cleaner can help with heavily soiled cloth seats, but it should be used only when the vehicle manual or fabric care guidance allows it, and it should stay moving so heat and moisture do not build up around wiring, sensors, or airbags.
Suppose a drink spill hit the outer seat bolster and also soaked the seam. If two light cleanings leave the seam dark and the chair smells stale the next day, that is the point to stop. More scrubbing can drive the stain deeper and weaken the fabric.
Frequently asked questions
What should you not use on cloth car seats?
Avoid bleach, strong solvents, stiff brushes, and heavy soaking. Those can fade color, fray fibers, or push liquid into the foam. Steam also needs caution: keep it moving, and use it only where the vehicle manual or fabric care guidance permits it.

Hi, I’m Melvin, an automobile engineer with extensive experience in automobile equipment. I currently work for a local automobile firm, where I specialize in the car parts industry. I’ve had the opportunity to collaborate with seasoned inspectors, gaining invaluable hands-on experience that goes beyond just theory.
My passion for automotive care started at a young age, which led me to create CarSpareCare. Through CarSpareCare, I share the knowledge and skills I’ve acquired over the years to help others navigate the world of car maintenance and repairs.
My goal is to provide practical tutorials, essential safety advice, and the latest industry insights so that anyone—whether a beginner or an expert—can confidently tackle their automotive projects.