
Brake pads are likely worn when two or more signs are present, such as persistent squeal or grinding, a longer or softer pedal, and pad friction material around 3 mm or less. Ignore that pattern, and you can damage rotors, lose braking margin, and turn a pad job into a bigger repair. This guide shows how to check sound, pedal feel, and pad thickness at home, and when noise means something else.
Brake pad wear signs
Sound, pedal feel, and visible thickness are the three checks that matter most. A squeal can be a wear indicator tab touching the rotor, but it can also come from rust, moisture, or glazed pads. Grinding and a softer pedal carry more weight, especially when they show up together.
Squeal, grind, or vibration
A high-pitched squeal often points to a wear indicator tab on modern pads, and many pads use that tab when about 20% of the material remains. Grinding is more serious. It often suggests metal is touching metal, which can mean the pad material is gone and the rotor may already be damaged.
Vibration or pulsation during braking is different. It often points to rotor scoring, grooving, or thickness variation, though severely worn pads can contribute by letting the rotor take more abuse. If the pedal pulses only while you brake, do not treat it as a pad-only issue.
Warning light and stopping distance
A brake warning light can mean pad wear on some newer vehicles with wear sensors, but it can also point to low brake fluid or another brake fault. Worn pads also cut stopping margin, and the change is easier to notice at highway speeds and in wet weather.
If stopping distance seems longer, treat that as a real warning, not a comfort issue. A pad set can thin gradually enough that the change feels small at first, then becomes obvious when the road is wet or traffic is moving fast.
What these signs usually mean
Use the pattern, not a single symptom. A squeal alone may be a wear tab or a false alarm. A grind alone is a stronger sign of damage. Vibration alone often points to the rotor or caliper hardware. Two or more signs together should move you from watchful waiting to inspection.
Brake pad wear decision matrix
This matrix turns the common symptoms into a simple action. Use it after you listen, feel the pedal, and check visible pad thickness. If the signs disagree, choose the more cautious action.
| Symptom | Likely meaning | Action |
|---|---|---|
| Squeal only | Wear indicator tab may be touching, but wet roads, rust, or glazed pads can also squeal | Monitor |
| Grind only | Pad material may be gone and the rotor may be contacting metal | Stop driving and inspect immediately |
| Vibration only | Rotor scoring, grooving, or thickness variation is more likely than pad wear alone | Book inspection this week |
| Warning light only | Could be pad wear on a sensor-equipped vehicle, or low brake fluid | Book inspection this week |
| Visible pad under 3 mm | Pad material is at the replacement threshold | Book inspection this week |
| One pad much thinner than the other | Uneven wear suggests a sticking slide or seized piston | Stop driving and inspect immediately |
| Braking feel changes | Longer stopping distance or a softer pedal needs prompt diagnosis | Stop driving and inspect immediately |
Use the sound, feel, and thickness check
Start with sound, then check pedal feel, then confirm pad thickness. That order keeps you from overreacting to harmless noise. If all three checks point the same way, the decision becomes simple.
- Listen for squeal, grind, or repeated rubbing during braking.
- Press the pedal and note whether it feels softer than normal or whether stopping takes longer.
- Inspect the pad through the wheel spokes with a flashlight.
- Measure visible friction material with a ruler, tread depth gauge, or digital caliper if the shape allows it.
- If any two checks point to wear, book inspection or stop driving depending on severity.
Say your car squeals only when reversing out of a damp driveway, then goes quiet after one or two stops. That pattern fits surface rust or wet noise better than pad wear. If the squeal returns every time you brake, the wheel should be checked, not ignored.
Suppose the pedal feels normal around town but longer on the motorway, and the pads visible through the spokes look thin on one front wheel. That combination points to real wear, and the safer action is to book an inspection this week before the rotor gets marked.
How to check brake pads through the wheel
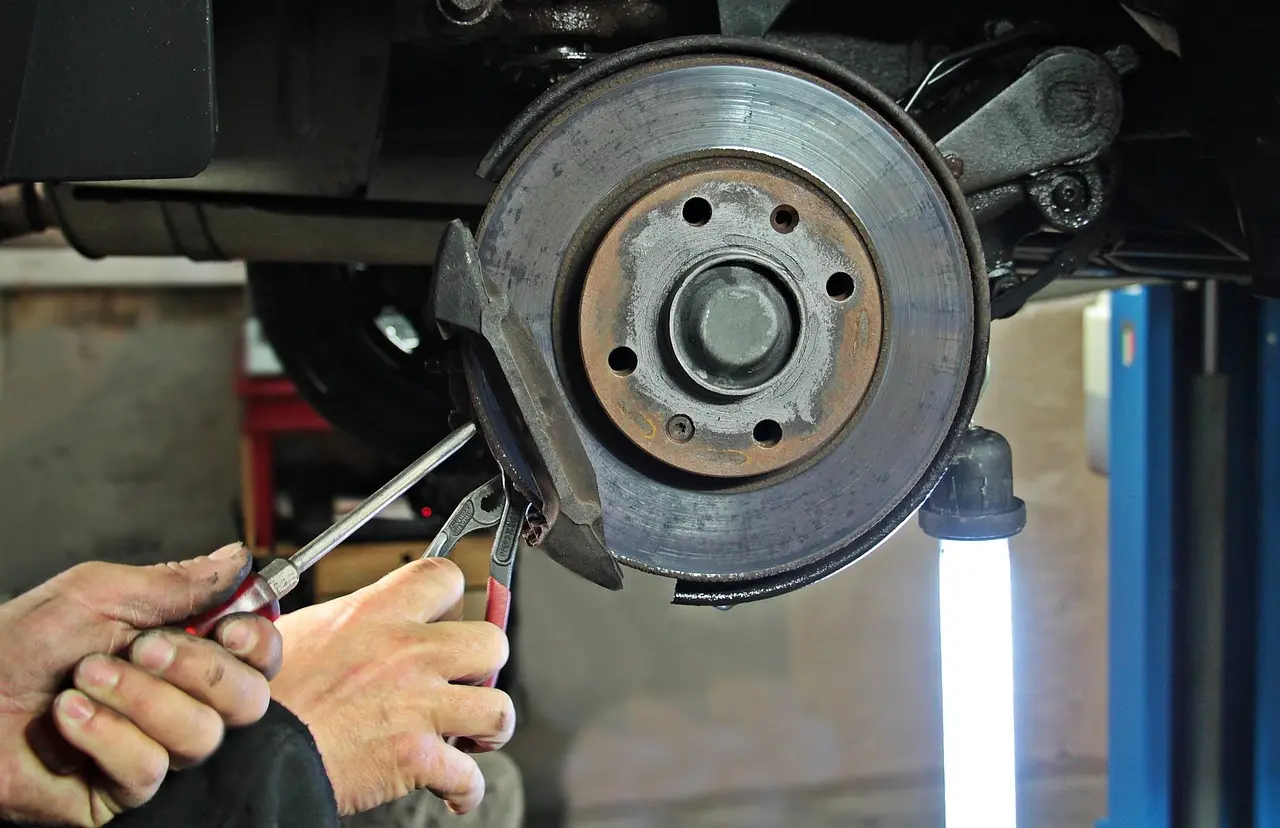
You can often inspect pad thickness without removing the wheel. Many vehicles let you see the inner or outer pad through the spokes, and a flashlight helps a lot. If you can clearly see the pad backing plate or the pad material is too obscured, wheel removal is still needed.
What you can see without removing the wheel
Look for the friction material between the rotor and the pad backing plate. New brake pads typically have 10 to 12 mm of friction material. A pad near 3 mm is at the replacement point, and 2 mm is urgent.
The caliper houses the pads and pistons, and the pistons extend farther as the pads thin. That means an outer pad may look different from an inner pad, especially if the inner pad wears faster. Check both sides if the design allows it.
What a thin pad looks like
A thin pad looks like a narrow band of friction material between the metal backing plate and the rotor. Under 3 mm is the practical threshold used here. If the inner pad is much thinner than the outer pad, do not call that normal wear. It often points to a caliper slide or piston problem.
When wheel removal is still needed
Wheel removal is still needed when the spokes block the view, when the pad angle hides the inner pad, or when you suspect uneven wear. A digital caliper gives more precise measurement after removal. That is the better choice if the thickness looks borderline or one axle looks visibly different from the other.
How do you know when brake pads need replacement?
Brake pads need replacement when the friction material reaches about 3 mm, or sooner if the pedal changes, the rotor is being damaged, or wear is uneven. Most mechanics recommend brake inspections every 10,000 to 15,000 miles or once a year, because wear can progress without much warning.
3 mm threshold and axle-set replacement
The visible threshold to use is under 3 mm of friction material remaining. Replacement is recommended at 3 mm and urgent at 2 mm. Pads should be replaced as an axle set, so both sides on the same axle get serviced together.
That axle-set rule matters because one side can be older, but the braking force on both sides should stay balanced. Replacing only one pad or one side can leave you with uneven braking and a confusing diagnosis later.
Inner versus outer pad wear
Inner and outer pads do not always wear at the same rate. The inner pad often wears faster because the piston side sees more movement and may reveal slide issues sooner. If one pad is clearly thinner, suspect a sticking slide or seized piston before you blame driving style.
Front pads usually wear faster than rear pads because the front axle does more braking work. Rear pads can still wear first on some vehicles, especially where rear brake bias, load, or corrosion changes how the caliper moves. Check both axles, but do not assume they age the same way.
Why worn pads can cause more damage
Thin pads do not stay a pad-only problem for long. As friction material disappears, the rotor, caliper, and braking performance can all suffer. Catching the wear early protects more than one part.
Rotor scoring and grooving
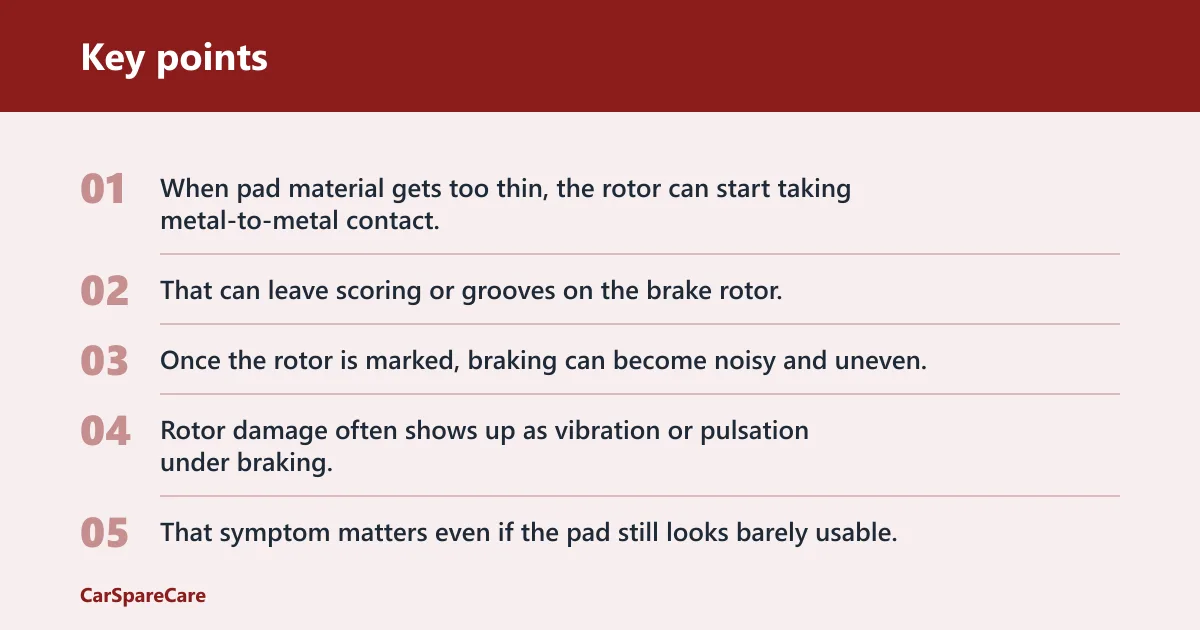
When pad material gets too thin, the rotor can start taking metal-to-metal contact. That can leave scoring or grooves on the brake rotor, the metal disc the pads clamp onto when you press the pedal. Once the rotor is marked, braking can become noisy and uneven.
Rotor damage often shows up as vibration or pulsation under braking. That symptom matters even if the pad still looks barely usable, because the pad may have already started the chain of damage.
Caliper piston and slide problems
Brake pads fitted in the caliper are pushed into both sides of the brake disc when you press the pedal. If a caliper slide sticks or a piston seizes, one pad can drag harder than the other and wear much faster. The piston then has to extend farther as the pads thin.
That uneven wear can also make the brake warning signs harder to read. One wheel may look normal while the other side has a pad that is nearly gone. That is why one-sided inspection is not enough on a suspicious brake.
How wear can spread to other parts
Thin pads can increase stopping distance, then damage the rotor, then stress the caliper. That chain is expensive because each step can add another part to the repair. A pad job that would have been straightforward can become a rotor-and-caliper job if the signs are ignored.
Brake warning light or low fluid?
A brake warning light can point to pad wear on some vehicles, but it is not a pad-only signal. Some systems are sensor-based, while others trigger for low brake fluid. Check the reservoir under the hood before assuming the pads are the only problem.
When the light points to pad wear
If the vehicle uses pad wear sensors, the warning light may come on when the pad material has worn to the sensor point. That can line up with the 3 mm range, but the exact trigger depends on the vehicle. Treat the light as a prompt to inspect, not as proof by itself.
When to check the fluid reservoir
Open the hood and check the brake fluid reservoir level if the warning light comes on. Low fluid can trigger the same light and may point to worn pads, a leak, or another issue. Do not top up blindly and walk away; the reason for the low level still needs checking.
False alarms to rule out
Not every brake noise means worn pads. Wet roads, surface rust, and glazed pads can all create sounds that feel urgent but do not match a worn-pad pattern. The clue is whether the noise stays after the first few stops and whether the pedal feel also changes.
Wet-weather squeal and surface rust
Wet-weather squeal is common after rain or a car wash, and surface rust can form after the vehicle has sat. Both often clear after a few brake applications. If the noise fades quickly and the pedal feels normal, monitor it instead of assuming the pads are worn.
Glazed pads
Glazed pads can squeal or feel less consistent without being near the wear limit. Glazing is a surface condition, not simply a thickness issue. If the pads are still thick but noisy, a mechanic should inspect the pads, rotor surface, and caliper movement together.
Noise after washing or sitting
After washing or long parking, light rust can coat the rotor face and make the first few stops sound rough. That is usually temporary. The warning sign is noise that keeps returning once the car is dry and back in regular use.
Frequently asked questions
How do I know if my brake pads are worn out?
Use the three-proof rule: listen for persistent squeal or grind, feel for a softer or longer stop, and check pad thickness through the wheel. If you confirm at least two signs, the pads are worn enough to need inspection or replacement, depending on severity.
How to check brake pad wear without removing wheel
Use a flashlight to look through the wheel spokes and find the pad edge beside the rotor. A ruler, tread depth gauge, or digital caliper can help if the material is visible. If you cannot see both pads clearly, removal is the only reliable next step.
Can you tell if brake pads are worn without removing wheel?
Often yes. Many vehicles let you inspect the pads through the spokes, and that is usually enough to spot a thin pad or a big difference side to side. If the view is blocked or the pad is borderline, remove the wheel for a proper check.
How do you know when you need to replace brake pads?
Replace them when thickness reaches about 3 mm, when the wear indicator squeals persistently, or when braking feel changes. Do not wait for grinding. If the rotor is already scored or the wear is uneven, the inspection should happen sooner rather than later.

Hi, I’m Melvin, an automobile engineer with extensive experience in automobile equipment. I currently work for a local automobile firm, where I specialize in the car parts industry. I’ve had the opportunity to collaborate with seasoned inspectors, gaining invaluable hands-on experience that goes beyond just theory.
My passion for automotive care started at a young age, which led me to create CarSpareCare. Through CarSpareCare, I share the knowledge and skills I’ve acquired over the years to help others navigate the world of car maintenance and repairs.
My goal is to provide practical tutorials, essential safety advice, and the latest industry insights so that anyone—whether a beginner or an expert—can confidently tackle their automotive projects.

