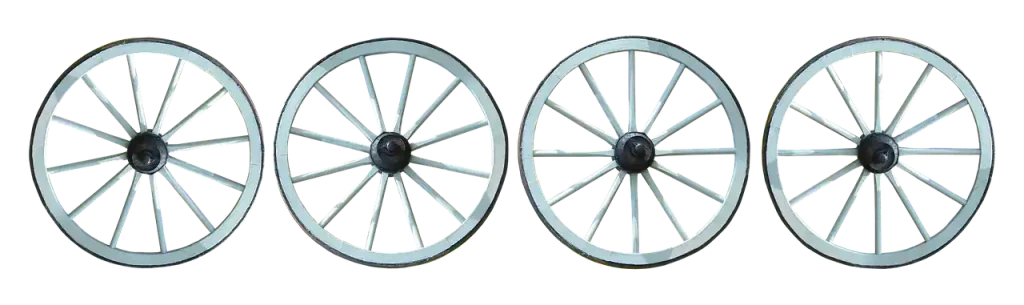
Wheel runout is the amount a wheel, tire, hub, or brake face wobbles as it rotates; measure radial and lateral runout with a dial indicator, then compare the reading to the vehicle maker’s limit, often around 0.010-0.030 in (0.25-0.75 mm). Skip it, and you can end up chasing steering shake, uneven tire wear, brake pulsation, and repeat repairs. This guide shows how to isolate the source and measure it correctly.
What wheel runout means


Wheel runout is rotational error. In plain car terms, it is side-to-side or up-and-down movement as a wheel turns. A wheel can be out in one direction, both directions, or be fine on its own while the tire, hub, or rotor creates the wobble you feel.
Radial runout is the up-and-down variation you see at the tire tread or rim edge. Lateral runout is side-to-side movement, often called axial runout in service talk. If the wheel is bent, the steering wheel may shimmy. If the rotor or hub face is distorted, you may feel pedal pulsation or a shake under braking.
Radial runout vs lateral runout
Radial runout checks how far the part moves toward and away from its center as it turns. Lateral runout checks how far the part moves left and right from the reference plane. Use the same dial indicator, but place the tip on a different surface depending on what you are diagnosing.
For a wheel, radial checks often use the rim edge or tire tread. Lateral checks usually use the rim flange or wheel face. Match the surface to the symptom, then compare that reading to the likely source surface.
How is runout measured?
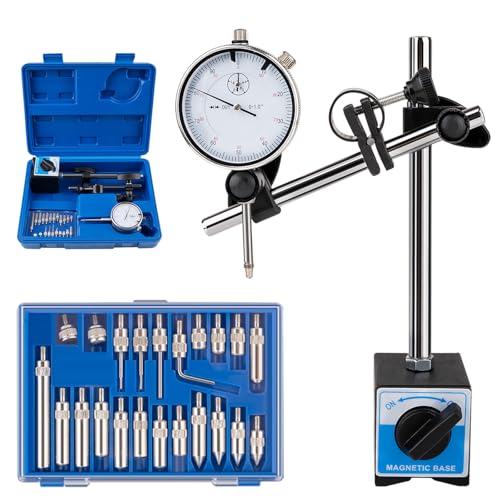
Runout is measured with a dial indicator mounted to a rigid stand, then zeroed against the chosen reference surface before the part is rotated through 360 degrees. The needle movement from the lowest point to the highest point is the result. That full movement is TIR, or FIM, not a plus-or-minus value.
Runout comes in two forms: circular runout and total runout. Circular runout checks one cross-section at a time. Total runout checks the whole surface while the indicator is moved along the part as it rotates. Total runout is stricter because it can reveal taper, bow, and straightness error.
Dial indicator setup
Clamp the indicator stand to a rigid part of the vehicle or a stable bench fixture. Set the tip square to the surface you are checking. Preload the gauge slightly, then zero it at the starting point. If the tip skates, flexes, or changes angle during rotation, the reading is not trustworthy.
The hub or rotor mounting face must be clean and free of rust, dirt, paint flakes, or burrs. A thin layer of debris can mimic a bent wheel. That is why the mounting face is the primary reference surface for many checks.
Reading TIR and FIM
TIR means total indicator reading. FIM means full indicator movement. Both refer to the same idea here: the difference between the highest and lowest needle position during one rotation or one controlled sweep. A tolerance of 0.05 mm means the needle may move at most 0.05 mm.
Use the highest minus lowest reading as the number to compare. Do not average the movement. Do not treat the gauge as a plus/minus device unless the tool or service manual says to do that in a special procedure.
Wheel runout or wheel balance?
Runout and balance are different faults. Balance corrects mass distribution with weights. Runout corrects geometry. A wheel can be perfectly balanced and still wobble if it is bent. A wheel can have little runout and still shake if it has a missing weight or a shifted tire belt.
If the shake appears at the same road speed in every gear, suspect balance, tire shape, or a bent part. If it changes when you brake, look at the rotor or hub face. If the steering wheel shakes in one speed band and the wheel face looks true, start with balance; if the wheel face visibly wanders, runout moves up the list.
Wheel runout measurement steps
Start on the car if the wheel is installed and the symptom is present. Then confirm off the car if the on-car reading is high or unclear. That sequence helps separate wheel error from hub, rotor, and mounting error without replacing parts too early.
Check the hub face first
Before measuring the wheel, clean the hub or rotor mounting face. Remove rust scale, dirt, and any burrs on the center bore or mounting pads. If the face is not flat and clean, the wheel can sit crooked and make a good wheel look bent.
Say your steering wheel shakes at 55 mph after a front brake job. If rust under the wheel sits on the rotor hat, the first reading may point to the wheel even when the hub face is the true problem. Clean the face and repeat the check. The result can change fast.
Measure the wheel on the car
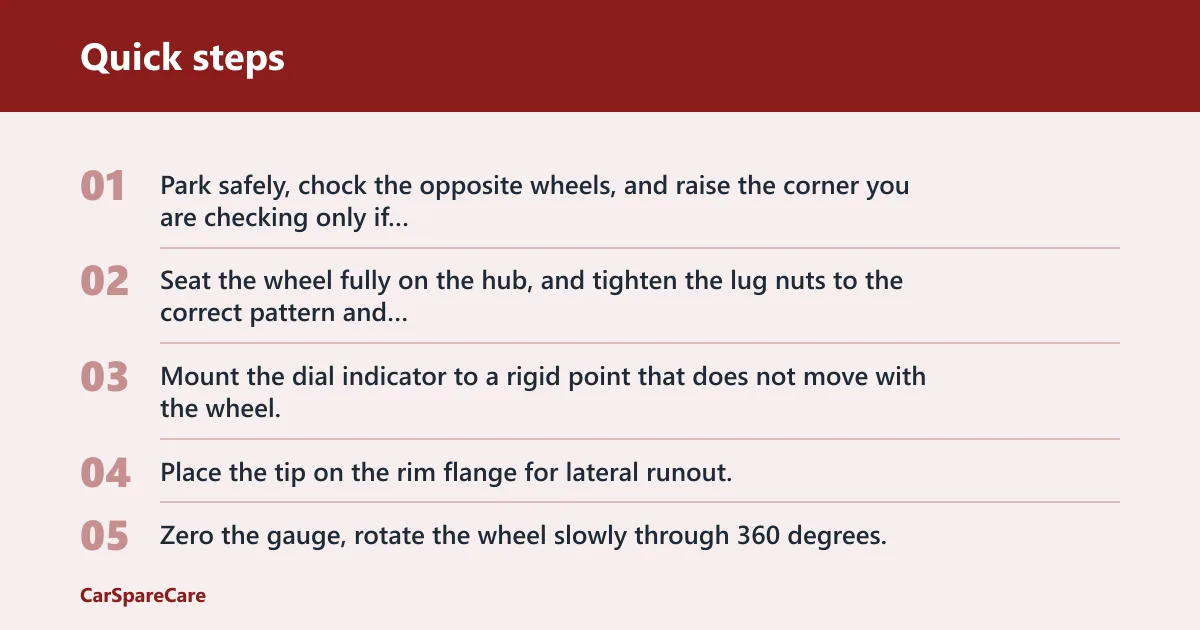
- Park safely, chock the opposite wheels, and raise the corner you are checking only if the vehicle must be lifted for access.
- Seat the wheel fully on the hub, and tighten the lug nuts to the correct pattern and torque.
- Mount the dial indicator to a rigid point that does not move with the wheel.
- Place the tip on the rim flange for lateral runout, or on the rim edge or tire tread for radial runout.
- Zero the gauge, rotate the wheel slowly through 360 degrees, and note the highest and lowest readings.
- Record the TIR/FIM, then compare it with the service limit for that vehicle or wheel design.
If the wheel reads high on the car, repeat the check with the indicator on a different surface. A rim flange can read differently from the tread because the tire can add its own shape error.
Repeat off the car if needed
Remove the wheel and inspect the mounting pad, bead seats, and bead area. Clean any dirt or corrosion before the second test. A wheel that measures high on the car but normal off the car points toward the hub, rotor, or mounting interface rather than the wheel barrel itself.
Common bench supports include V-blocks, a wheel balancer, and a hub-centric mount. V-blocks can add error if the journal is not round. A wheel balancer can help, but only if the wheel is centered correctly. A hub-centric mount usually gives the closest match to car alignment for a wheel check.
Tire, hub, and rotor checks
Many false readings come from the tire, hub, or rotor, not the wheel. Look for uneven bead seating, a tire with a local bulge, corrosion on the hub face, or rotor runout from a dirty or warped mounting face. The cheapest check is often cleaning and reseating before buying parts.
Wheel balance does not fix a bent hub. A new wheel does not fix a rust ridge under the rotor. That is why the test order matters: wheel, tire, hub, then rotor, with the cheapest and most visible checks first.
Suppose a tire shows a hop at one spot and the wheel rim checks straight. A road-force issue, a bad bead seat, or a shifted belt is more likely than a bent rim. If the same tire is moved to another wheel and the symptom stays with the tire, the tire becomes the suspect.
When the hub or rotor is the source
The hub face is the primary reference surface for many wheel checks. If it is rusty or distorted, the wheel can inherit that error. The rotor can also be the source of lateral movement, especially if brake pulsation appears only under braking and the wheel itself measures normal.
For a quick check, measure the hub or rotor face directly with the dial indicator after cleaning it. If the face is out more than the wheel, the wheel may be the messenger, not the cause.
Runout comparison table
| Source | Measurement location | Normal vs suspect behavior | Common false positives | Cheapest confirmatory check |
|---|---|---|---|---|
| Wheel | Rim flange, rim edge, wheel face | Low TIR/FIM across 360 degrees; suspect if the needle repeats a clear high spot or low spot | Dirt on the rim, bead seating error, clamp tilt, bent indicator tip setup | Clean and repeat on the car, then off the car with a hub-centric mount |
| Tire | Tread, sidewall near the tread, bead area | Uniform rotation; suspect if the tread shows hop, bulge, or a single high spot while the wheel reads straight | Flat spot from sitting, uneven pressure, poorly seated bead | Rotate the tire on the wheel or move it to another wheel |
| Hub | Hub mounting face, center register | Flat, clean face; suspect if the wheel reads high only when mounted to that hub | Rust flakes, burrs, trapped debris, rotor hat corrosion | Clean the face and repeat the wheel reading |
| Rotor | Rotor face and rotor hat | Even sweep; suspect if brake pulsation appears and rotor face variation tracks the symptom | Wheel clamp variation, pad transfer, hub error mistaken for rotor error | Measure rotor face directly after cleaning the mounting surface |
Common mistakes to avoid
Do not measure over rust, paint flakes, or wheel weights. Do not trust a loose stand or a flexing support. Do not read the wrong surface and call it a wheel fault when the tire is doing the moving. Small setup errors can create big diagnosis errors.
Another common mistake is mixing up circular runout and total runout. Circular runout checks one cross-section at a time. Total runout checks the whole surface while the indicator moves axially during rotation. The second is the better choice when you want to catch bow, taper, or a surface that changes along its width.
If a reading is clearly over the service limit, stop and inspect for a bent wheel, a damaged tire, a dirty or distorted hub face, or a rotor mounting problem. Replacing parts before checking these items often repeats the same symptom.
Frequently asked questions
What is wheel runout?
Wheel runout is the amount a rotating wheel moves away from true center or true plane as it turns. In car terms, that means wobble or hop at the rim, tire, hub, or rotor. It can cause steering shake, brake pulsation, and uneven tire wear if the source is not isolated.
How do you measure runout?
You measure runout with a dial indicator mounted to a rigid stand, then zero the gauge before rotating the part through 360 degrees. The number you use is TIR or FIM, which is the highest reading minus the lowest reading. The support method and reference surface both affect the result.
How do you measure circular runout?
Circular runout is measured one cross-section at a time while the part rotates. Place the indicator tip on the surface you want to check, hold the axial position fixed, zero the gauge, and turn the part through 360 degrees. Use the highest minus lowest reading as the result.
How to measure axial runout
In vehicle service, axial runout usually means lateral movement across the face of the wheel or rotor. Put the indicator tip on the face or flange, square the tip to the surface, zero the gauge, and rotate the part. A clean mounting face is important, or the reading may be false.
How to measure total runout
Total runout is measured over the whole surface while the indicator moves along the part as it rotates. That makes it stricter than circular runout because it captures changes in taper, bow, and straightness. Use it when you need a fuller picture of the surface condition.

Hi, I’m Melvin, an automobile engineer with extensive experience in automobile equipment. I currently work for a local automobile firm, where I specialize in the car parts industry. I’ve had the opportunity to collaborate with seasoned inspectors, gaining invaluable hands-on experience that goes beyond just theory.
My passion for automotive care started at a young age, which led me to create CarSpareCare. Through CarSpareCare, I share the knowledge and skills I’ve acquired over the years to help others navigate the world of car maintenance and repairs.
My goal is to provide practical tutorials, essential safety advice, and the latest industry insights so that anyone—whether a beginner or an expert—can confidently tackle their automotive projects.