
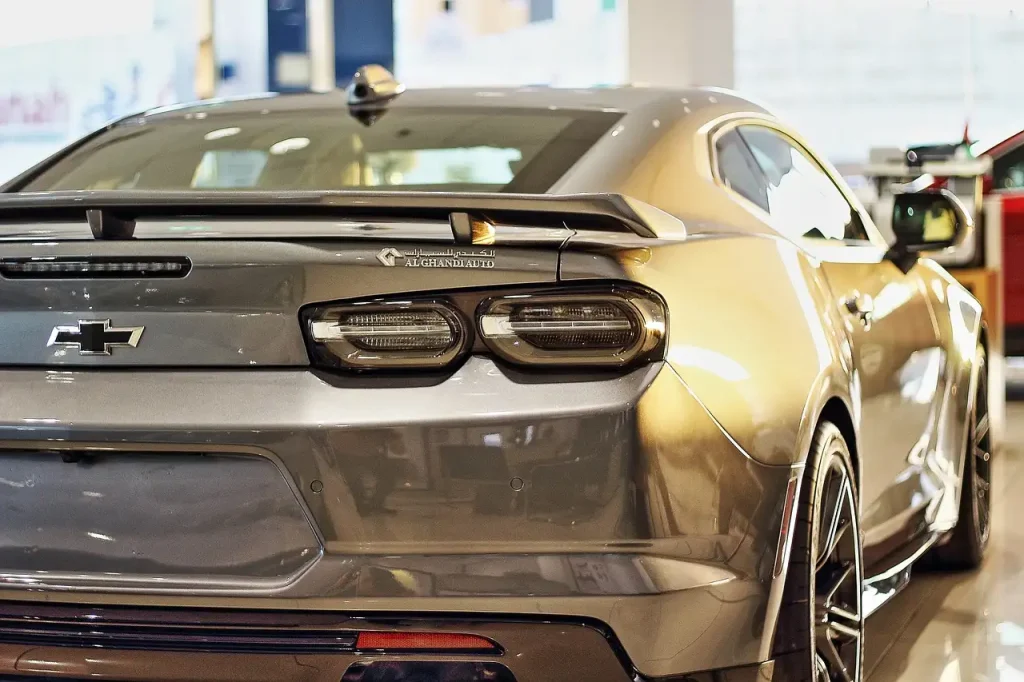
Wash automotive paint weekly with a pH-neutral shampoo, decontaminate only when the surface still feels gritty after washing, and keep some form of protection on the clear coat at all times. Skip those basics and you invite swirl marks, water-spot etching, fading, and costly paint correction. This guide covers safe washing, when decontamination makes sense, sealants, coatings, PPF-safe care, and seasonal routines for sun, bugs, hard water, and salt.
Good paint care is mostly about preserving the clear coat, using the mildest effective fix for each defect, and choosing protection that fits how the vehicle is driven and parked. That matters because wash damage, mineral deposits, bird droppings, sap, UV, and winter salt usually start wearing the finish long before paint simply “gets old.”
A recent paint-care tag archive, published on Jul 27, 2026, grouped driving news and automotive industry topics rather than a complete maintenance system. It included a post dated Jul 13, 2026 about car wash selection, a post dated Jun 21, 2026 about washing mistakes, a story about swirl marks being carved into paint during washing, a warning that some car washes may damage paint, and even a $19.99 car wash membership angle while noting the global car wash industry is projected to grow. Useful context, but DIY owners still need a clear decision path.
How clear coat damage starts


Automotive paint care protects the clear coat first, because that outer layer takes the abuse while shielding the color coat underneath. Once clear coat gets scratched, etched, oxidized, or faded, gloss drops quickly, and every aggressive correction step removes some of the material you are trying to save.
Where damage starts on modern paint
On most modern vehicles, the clear coat is the top paint layer. It creates gloss and protects the color coat below it. When paint looks dull, hazy, scratched, or spotted, the defect is often in that outer layer.
Common failure modes are easy to predict: wash-induced marring, water spots from mineral deposits, etching from bird droppings and bug remains, sticky contamination from sap, oxidation from neglected exposure, and corrosion pressure from winter salt left on seams and lower panels.
What common defects look like
Swirl marks usually appear as curved fine scratches under direct sun or strong LEDs. Water spots may be simple mineral residue that wipes away with the right chemistry, or etched spots that have already bitten into the surface. Oxidation looks more like flatness or chalky gloss loss than isolated spotting.
Deep scratches are different. If a mark catches a fingernail easily or looks white because it has gone through the clear, polishing may reduce how much it shows, but may not remove it safely.
Why maintenance mistakes matter more than age
Age alone does not usually ruin paint quickly. Dirty wash media, stiff brushes, poor drying, hard-water residue, and delayed contaminant removal do that faster. One bad wash can leave visible marring on dark paint, and a few neglected months can turn fresh spots into etched defects that need machine polishing.
How do you keep car paint looking new year-round?
The minimum effective routine is straightforward: wash on a set schedule, inspect while drying, remove fresh contamination fast, decontaminate only when needed, and keep a sacrificial or semi-permanent protective layer on the clear coat. The exact schedule shifts with outdoor parking, winter salt, dark paint, hard water, and whether the car has coating or PPF.
The minimum effective maintenance cycle
A weekly or every-other-week wash is commonly recommended for most daily drivers. Inspection happens during drying, because that is when roughness, bonded spots, and fresh etching usually reveal themselves. Protection should never be allowed to disappear completely, even on coated vehicles, because coatings still need care and can still water spot.
Use-based schedules
- Daily driver, outdoors: Wash weekly or every 2 weeks. Spot-clean droppings, bugs, and sap the same day if possible.
- Garage-kept weekend car: Wash every 2 to 4 weeks, inspect after each drive, and refresh protection based on behavior rather than calendar alone.
- Winter-driven vehicle: Wash whenever salt film builds, with extra attention to lower doors, rocker panels, wheel arches, and the rear hatch or trunk area.
- Dark paint: Use the same cadence, but stricter wash and drying discipline because marring shows sooner.
- PPF-covered areas: Treat film as washable protection, not immunity. A roughly 2-week wash cadence is commonly used to limit staining and bug residue buildup.
When to reapply protection
Wax is the shortest-term option and usually needs the most frequent reapplication. Many paste and liquid waxes are refreshed every 1 to 3 months in real use. Sealants often last around 4 to 6 months depending on storage, weather, and wash frequency. Ceramic coatings are longer-lasting protective layers that bond with paint and can last for years, but actual life varies with prep quality, chemistry, climate, and maintenance.
Consider a black daily driver parked outside near sprinklers. Even with a ceramic coating, the paint can still collect minerals and etch if hard water bakes on in sun. The coating helps with water behavior and cleaning, but it does not make the finish stain-proof.
How do you wash a car without scratching the paint?
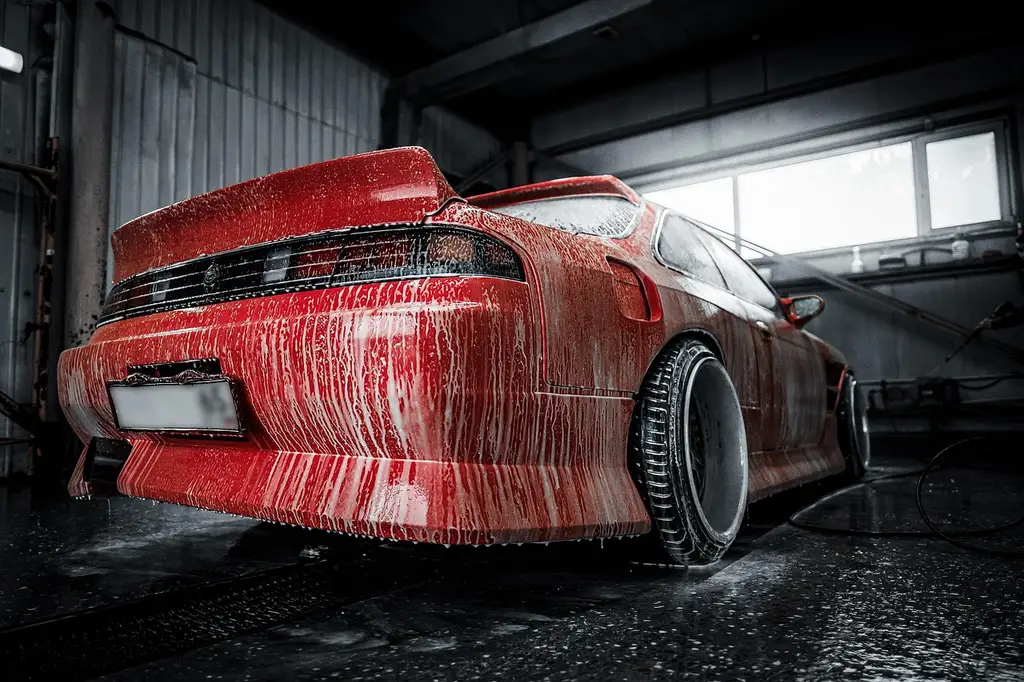
A low-marring wash typically starts by loosening dirt before contact, uses a pH-neutral car shampoo with the 2-bucket wash method and a microfiber wash mitt, then dries with a clean microfiber drying towel. Scratches happen when grit stays trapped between the paint and your wash or drying tool.
Low-marring wash routine
- Rinse first. Flush loose grit from the roof down. Spend extra time on lower doors, bumpers, and the rear panel, where abrasive road film usually collects.
- Pre-treat heavy buildup. If bugs, salt, or thick grime are stuck on, apply a paint-safe pre-wash or foam according to its label and let it dwell briefly without drying. This cuts the scrubbing pressure that causes marring.
- Set two buckets. Fill one wash bucket with pH-neutral car shampoo and water, and one rinse bucket with plain water. The 2-bucket wash method helps keep dirt out of the soap before it reaches the paint again.
- Wash top down. Use a clean microfiber wash mitt and straight, light passes. Rinse the mitt in the plain-water bucket after each small section, then reload with shampoo before moving on.
- Leave wheels for last. Keep wheel tools separate from paint tools. Brake dust and road grit are much more abrasive than normal body-panel dust.
- Rinse completely. Remove all shampoo before it dries on the surface. On coated vehicles, complete rinsing also helps preserve the slick feel and water behavior that make maintenance easier.
- Dry with microfiber. Use a clean microfiber drying towel, blotting or lightly dragging with support from airflow if available. The goal is to remove water without grinding leftover particles into the clear coat.
What changes for coated vehicles and PPF
Coated cars still need the same careful wash mechanics. Use pH-neutral shampoo for routine maintenance, because harsh cleaners can shorten topper life and leave the surface looking flat even if the coating remains.
PPF needs the same approach. The film protects against chips, scratches, and contaminants better than bare paint, but it can still collect stains, bug residue, and water spots. Gentle washing on about a 2-week cadence is common for film-covered front ends and high-impact areas.
A common first-timer mistake is drying a just-washed hood with an old bath towel because the car already “looks clean.” Under direct sun, that shortcut often leaves fine, straight scratches that were not visible when the panel was still wet.
How should you remove bugs, sap, bird droppings, and water spots?
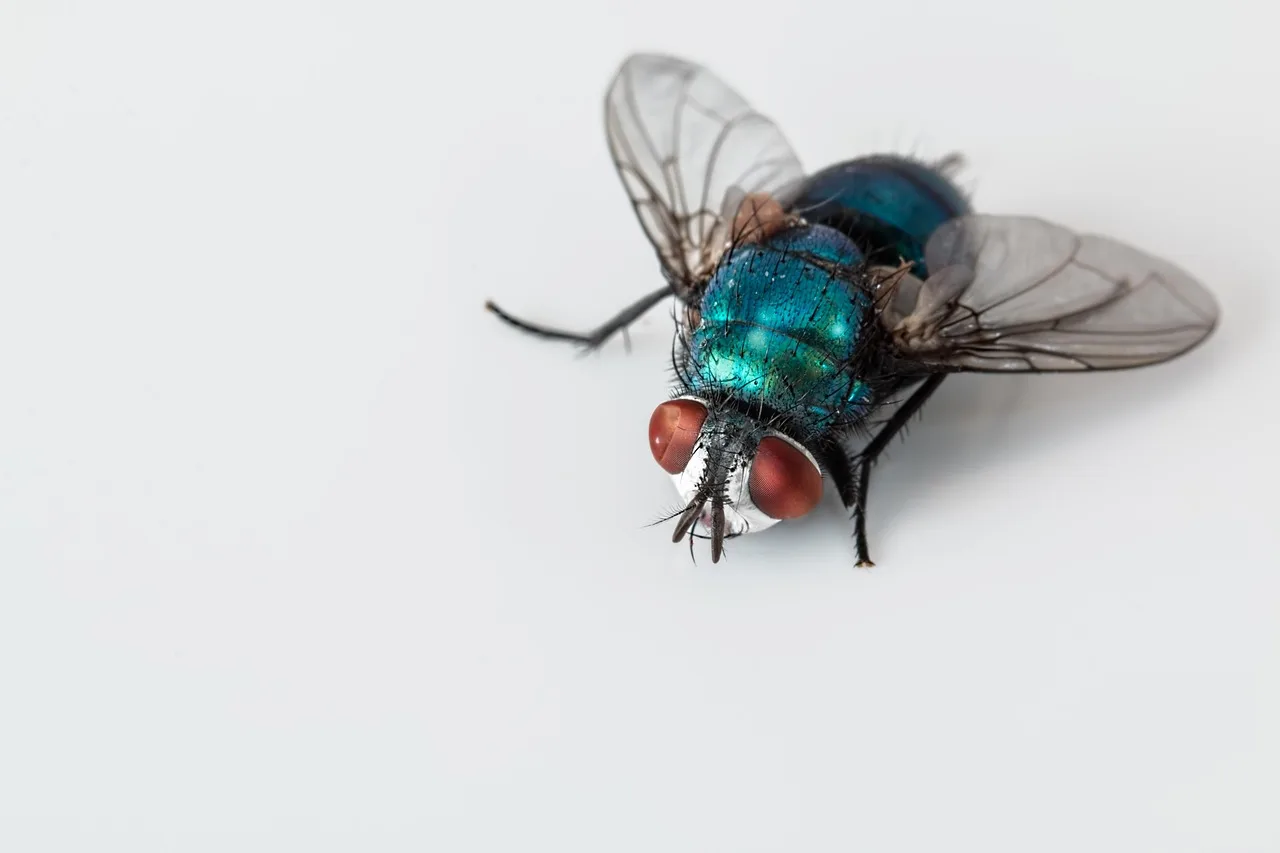
Remove fresh contamination by spot-cleaning the affected area as soon as practical, because heat and time raise the risk of etching. Bird droppings, bug remains, sap, and fresh mineral spots do less damage when you soften and lift them early instead of scrubbing hard after they bake onto the clear coat.
Safe spot-cleaning procedure
- Soften before wiping. Saturate the contamination with wash solution, dedicated bug remover, water-spot remover, or sap-safe product appropriate to the defect. Let it dwell briefly so the residue loosens instead of dragging across the paint.
- Lift with microfiber. Fold a clean microfiber towel into quarters and blot or wipe with minimal pressure. Rotate to a clean face after each pass so removed grit does not go back onto the panel.
- Rinse the area. Flush away dissolved residue and product. If the panel is still dirty around the spot, wash that section fully rather than rubbing a clean circle into a dusty panel.
- Inspect in shade. Look for remaining residue, staining, or etching once the surface is dry. If the mark remains smooth and faint, leave correction for a proper polishing session rather than increasing pressure on the spot.
Urgency by contaminant type
Bird droppings should be addressed quickly because they can etch quickly, especially on hot panels. Bugs matter too, because their remains get harder and more acidic with heat. Sap often starts as a sticky residue but can harden and stain if ignored.
Fresh water spots are different from etched spots. Fresh spots are usually mineral residue on top of the paint and may respond to a dedicated water-spot remover or mild acidic cleaner made for automotive finishes. Etched spots have already damaged the surface and often need polishing.
When spot cleaning is better than a full wash
Spot cleaning is safer when the car is otherwise clean and the problem is local. If your hood has a single bird dropping about the size of a coin after an overnight parking stop, a careful spot-clean that same morning is better than leaving it in sun until the next weekly wash.
When does paint need decontamination or polishing?
Paint needs decontamination when it still feels rough after a proper wash, and it needs polishing only when defects remain that cleaning cannot remove. The safest rule is to start with chemistry, use clay only for bonded contamination that survives washing, and polish only enough to improve the defect.
How to tell contamination from scratches
Contamination feels raised or gritty and often disappears after chemical treatment or clay. Scratches and swirls sit in the clear coat, so they change how light reflects even after the panel is clean. Water-spot etching behaves more like damage than contamination once minerals have bitten into the surface.
Least-aggressive correction path
- Wash completely first. A proper wash removes loose grime and reveals what is actually bonded or damaged. Do not judge the paint while road film is still masking the surface.
- Try chemical removal. Use a dedicated remover for the specific defect, such as bug residue, sap, fallout, or mineral spotting. Chemistry removes contamination without the extra abrasion that clay or polishing introduces.
- Clay only if needed. If the paint still feels rough after washing and chemical treatment, use a clay bar or synthetic clay media with plenty of lubricant. Clay can cause marring, especially on soft or dark paint, so it should be conditional, not routine.
- Polish after inspection. Use a mild polish by hand for small, light defects or a machine polish for wider swirl patterns and etched spotting. Stop when the defect is acceptably reduced, because chasing every mark can remove more clear coat than the finish can spare.
What polishing can and cannot fix
Light swirls, faint towel marring, mild haze, and some etched water spots often improve with polishing. Deep random isolated scratches, stone chips, and clear-coat failure do not polish away safely. If the finish is peeling, cracking, or showing color-layer damage, routine paint care has ended and refinishing work begins.
Wax, sealant, ceramic coating, or PPF?
Choose protection by threat level and maintenance tolerance. Wax gives the shortest sacrificial coverage but easy refreshes, sealant usually lasts longer with less frequent reapplication, ceramic coating gives the strongest long-term chemical resistance and easier cleaning, and PPF adds physical chip protection that the others cannot match.
How each option fits
Wax: Adds a sacrificial protective layer, boosts gloss, and helps repel water. It is easy to use, but it needs more frequent reapplication than sealants or coatings.
Sealant: An alternative paint-protection layer commonly compared with wax and ceramic coating. It usually outlasts many waxes and offers good contaminant and water resistance with a moderate upkeep burden.
Ceramic coating: A long-lasting protective layer that bonds with paint. It improves water behavior and makes routine cleaning easier, but it still needs maintenance and can still stain or water spot.
Paint protection film: A clear film applied to exterior paint, mainly for chip, scratch, and contaminant defense on impact-prone areas. It still needs careful washing and stain prevention.
Protection comparison
| Option | Protection type | Typical maintenance burden | Typical lifespan range | Contamination resistance | Best-fit use case |
|---|---|---|---|---|---|
| Wax | Sacrificial surface layer | Higher; frequent refreshes | About 1 to 3 months | Fair against light grime and water | Garage-kept cars, hobby use, gloss-focused owners |
| Sealant | Synthetic protective layer | Moderate | About 4 to 6 months | Good for routine road film and rain | Daily drivers needing lower upkeep |
| Ceramic coating | Bonded long-term layer | Lower on reapplication, ongoing on wash discipline | Commonly years, depending on system and care | Very good, but not immune to spots or stains | Frequent drivers, dark paint, owners in hard-water areas |
| PPF | Physical film barrier | Moderate; frequent washing still needed | Varies by film and exposure | Good stain resistance, strong chip defense | Highway use, front-end protection, expensive paint |
Automotive paint care checklist
| Threat | Seasonal pattern | Exact action | Urgency window | Recommended product/tool |
|---|---|---|---|---|
| Swirls | Any season, often after washing | Stop using the towel or mitt that caused marring, rewash if grit remains, then assess for polish only after the panel is clean and dry | At the next wash; same day if contamination is still on the paint | pH-neutral car shampoo, 2-bucket wash method, microfiber wash mitt, microfiber drying towel, mild polish if needed |
| Water spots | Spring and summer, hard-water exposure | Rinse and dry promptly; if spots remain, use a dedicated water-spot remover before considering polish | Fresh spots: same day; baked-on spots: within 1 to 3 days | Microfiber drying towel, water-spot remover, shade for inspection |
| Bugs | Spring through fall, highway driving | Pre-soak the front end, soften residue, and lift without scrubbing hard | Within 24 hours; sooner on hot panels | Bug remover or wash solution, microfiber towel, pH-neutral car shampoo |
| Sap | Spring and summer, tree parking | Soften the spot, blot and lift, then wash the section | Within 24 to 48 hours | Sap-safe remover, clean microfiber towel |
| Bird droppings | Any season | Soften immediately, blot off gently, rinse, and inspect for etching after drying | Same day; within hours in heat | Quick-detail style cleaning solution or wash solution, clean microfiber towel |
| Winter salt | Winter | Wash lower panels, wheel arches, and rear bodywork more often; do not let salt film stay on seams | Within 1 week of visible buildup; sooner after slush-heavy driving | pH-neutral car shampoo, dedicated wash tools for lower areas |
| Fading | Summer and long-term UV exposure | Keep protection active, park under cover when possible, and correct oxidation lightly before it advances | Inspect monthly during high-UV periods | Sealant, wax, ceramic coating, mild polish for early oxidation |
How to repair small paint chips before they turn into rust
Small chips are worth fixing early because exposed metal can rust fast, and a sloppy touch-up can leave a raised spot that still needs correction later. The supporting guide shows when a chip is small enough for DIY repair, when edge damage or larger chips should go to a body shop, and how to match OEM paint so the repair blends better with the surrounding panel.
It also walks through the full process: cleaning and prepping the chip, applying primer, color, and clear coat in the right order, and avoiding common mistakes like overfilling the repair. If you want a practical step-by-step overview, see car paint chip touch-up.
How do you choose the right paint-care plan for your vehicle?
Choose the plan by storage, mileage, climate, and how easily the paint shows defects, rather than by product hype. Outdoor daily drivers need a routine you can repeat, winter vehicles need faster salt response, dark paint needs stricter wash technique, and coated or film-covered vehicles still need regular washing because protection lowers risk instead of ending maintenance.
Daily driver with outdoor parking
Prioritize repeatable washing and durable protection. Sealant or ceramic coating makes more sense than relying on frequent wax reapplication if the vehicle sees rain, sprinklers, pollen, and weekly commuting.
Weekend or garage-kept vehicle
A lower-use car can do well with wax or sealant if it is washed carefully and contamination is removed early. Lower exposure often matters more than the product tier.
Winter salt exposure and frequent highway use
Salt and bug pressure justify more frequent washes and stronger front-end defense. PPF on the bumper, hood edge, mirrors, and rocker areas is often the best match for highway-driven vehicles, paired with normal wash care to prevent film staining.
Coated or PPF-covered vehicle
Do not switch to harsh detergents just because a coating or film is installed. Safe washing remains the baseline. If a coated SUV beads water well but feels rough after drying, that points to contamination on top of the coating, not a reason to scrub harder.
What is paint care versus paint prep?
Paint care preserves the existing finish, while paint prep for refinishing is body-shop work aimed at creating a new surface for primer, basecoat, and clear. DIY owners should separate wash-and-correct tasks from sanding-and-repaint tasks, because the tools, defect goals, and acceptable material removal are very different.
Prep for correction or touch-up
For polishing or a small touch-up, prep usually means washing, decontaminating if needed, drying fully, and cleaning the target area so residue does not interfere with correction or adhesion. That is still preservation work.
Prep for a full repaint
Full repaint prep involves sanding strategy, substrate evaluation, body filler work, masking, dust control, and compatible coating systems. That is outside routine paint care. If the clear coat is peeling, rust is active, or prior repair edges are failing, the job has moved past wash-and-protect maintenance.
When DIY care should stop
Stop at home correction when defects are through the clear, when edges and body lines already look thin, or when a panel has mixed failures such as peeling, deep scratches, and corrosion. Professional refinishing is the right answer there, not a stronger compound.
Frequently asked questions
How do I keep car paint looking new?
Wash weekly or every 2 weeks with a pH-neutral shampoo, remove droppings and bugs the same day when possible, decontaminate only when roughness remains after washing, and keep wax, sealant, or coating active. The goal is to preserve clear coat thickness by using the mildest correction that works.
How do I remove bird droppings from car paint safely?
Soften the dropping with wash solution or a paint-safe spot cleaner, blot and lift it with clean microfiber, then rinse and inspect once dry. Do it the same day, and within hours on hot paint, because bird droppings can etch clear coat quickly when baked by sun.
How do I prevent water spots on car paint?
Do not let rinse water dry on the surface, especially in sun or hard-water areas. Dry promptly with microfiber, wash in shade when possible, and remove fresh mineral residue with a dedicated water-spot product before it turns into etched spotting that needs polishing.
Wax vs sealant vs ceramic coating: which protects paint best?
For the longest chemical resistance and easier cleaning, ceramic coating leads, but it still needs maintenance and can still water spot. For lower cost and longer routine durability than many waxes, sealant is a strong middle ground. Wax is the shortest-term option, best for easy refreshes and gloss.
How do I remove swirl marks from car paint?
First fix the wash and drying process that caused them. Light swirls may improve with a mild hand polish on small areas, while broader or heavier marring usually needs machine polishing. If scratches are deep or the clear coat is failing, reducing visibility is safer than chasing full removal.

Hi, I’m Melvin, an automobile engineer with extensive experience in automobile equipment. I currently work for a local automobile firm, where I specialize in the car parts industry. I’ve had the opportunity to collaborate with seasoned inspectors, gaining invaluable hands-on experience that goes beyond just theory.
My passion for automotive care started at a young age, which led me to create CarSpareCare. Through CarSpareCare, I share the knowledge and skills I’ve acquired over the years to help others navigate the world of car maintenance and repairs.
My goal is to provide practical tutorials, essential safety advice, and the latest industry insights so that anyone—whether a beginner or an expert—can confidently tackle their automotive projects.

